Zamiokulkas reproduction methods
Zamioculcas is a very beautiful and unusual plant covered with many myths and legends. Florists are happy to grow it in winter gardens and on window sills, which is due to the absolute unpretentiousness of the flower and the beautiful juicy green of its leaves. However, not all indoor plant lovers know how to propagate a flower correctly, so the question of breeding it is relevant for many of them.
A little about the form
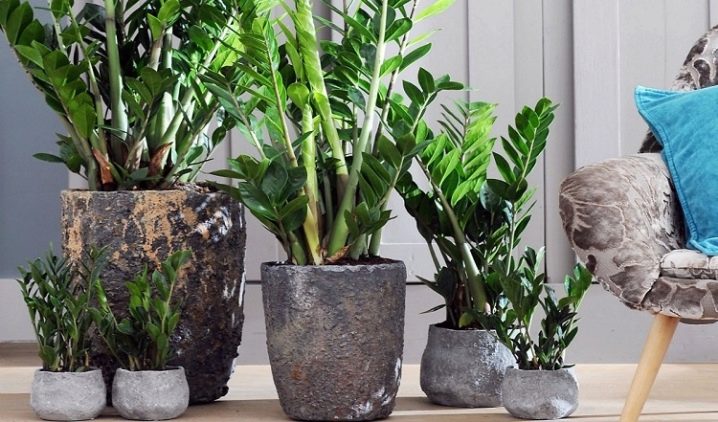
Zamioculcas (lat.Zamioculcas) is one of the most famous representatives of the Aroid family among the general public and is considered monotypic. This genus has only one species, which is called zamiokulkas zamielistny (lat.zamiifolia) and is a succulent, which is generally not typical for the Aroids. Southeast Africa is considered the homeland of the plant, where the flower covers large areas with its lush greenery and sheds its leaves when a prolonged drought occurs, thus reducing the area of moisture evaporation. Along with the official botanical name, the flower also has several folk names.
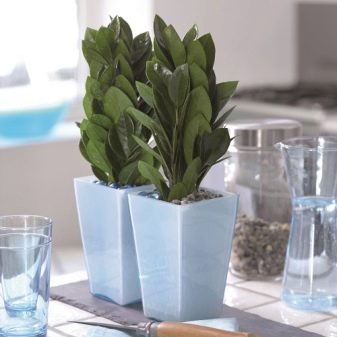
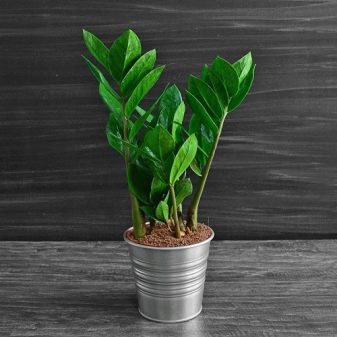
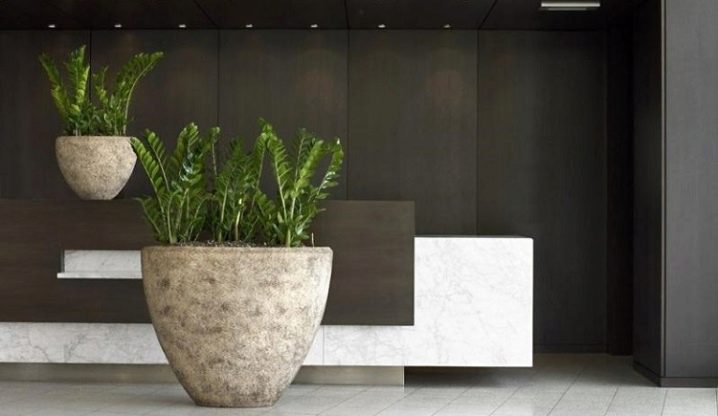
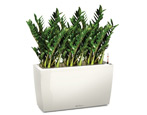
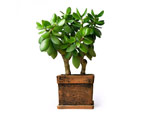
In our country, it is better known as the "dollar tree", although in other countries it is called both the "aroid palm" and the "Zanzibar pearl". According to Chinese beliefs, the plant is considered one of the symbols of the New Year and promises to its owner an improvement in material well-being. Fans of decorative flowers love zamiokulkas for its unusual complex-pinnate leaves - very thin and at the same time tough to the touch, attracting attention with an even gloss and rich dark green color. The leaf blade has an interesting structure and consists of 8–12 feathers, which is also atypical for Aroids. If you look from afar, the flower can be easily mistaken for artificial: its leaves are so regular and one-dimensional.
Breeding rules
Reproduction of zamiokulkas at home is a long and painstaking process, but subject to a number of rules and creating comfortable conditions, the success of the event is almost guaranteed.
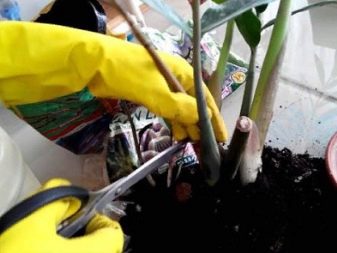
- Compliance with personal precautions. The fact is that zamioculcas, like all representatives of the Aroid family, is a poisonous flower. Its leaves contain a rather caustic milky juice, which, if it gets on the skin and mucous membranes, can cause severe irritation, redness and burns, and if it gets into the stomach, it can even provoke a serious upset. Therefore, before planting or planting a flower, it is imperative to wear protective gloves.
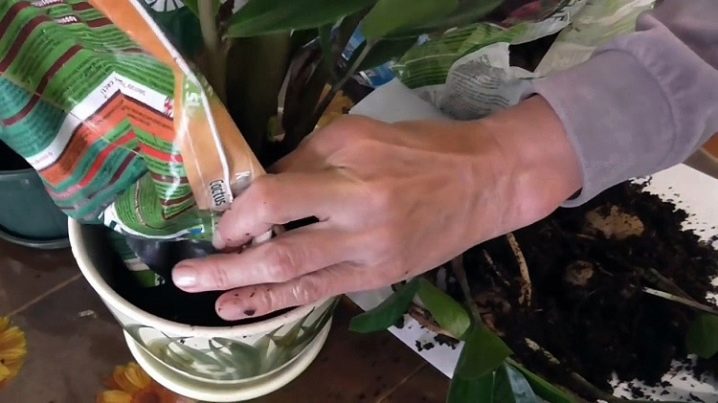
- Choosing a suitable soil. To do this, you can take a ready-made substrate for cacti and succulents, mixed in equal proportions with leaf humus, sand and peat. It will be useful to add vermiculite, perlite or crushed pumice to this mixture, as well as red brick chips or pieces of charcoal. Any of these components can be included in the prepared substrate, but its share should not exceed 5–7%. Such substances significantly improve the aeration properties of the soil and ensure the flow of oxygen to the root system, which does not allow the roots to rot, and also contributes to the timely outflow and evaporation of excess moisture.
- Drainage arrangement. For these purposes, expanded clay or medium river pebbles are well suited, the layer of which in the pot should not be less than 3-4 cm.
- Providing warmth and bright diffused lighting. Direct ultraviolet rays can burn the leaf blades and spoil the decorative appearance of the plant. To create the optimal temperature regime, the containers are placed with young shoots in homemade mini-greenhouses using glass caps or plastic wrap.
- The optimal time for reproduction of zamiokulkas is the beginning of spring. It is in the spring months that the active vegetation of plants falls, and therefore, by the fall, the young shoot will have time to accumulate the necessary amount of nutrients and calmly leave for the winter.
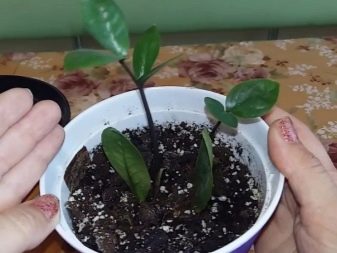
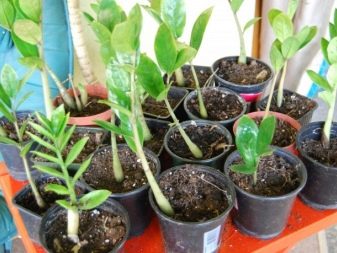
The ways
When reproducing zamiokulkas at home, they use methods such as cuttings, dividing the bush, rooting the leaf blade, as well as tuberous and seed methods.
Cuttings
Cutting is the most common and effective way to propagate a flower. It is worth considering this method step by step.
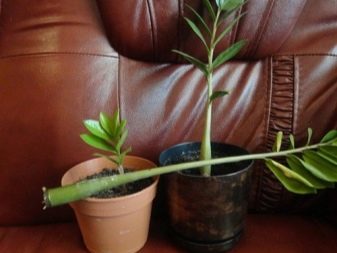
- To begin with, choose a strong and healthy shoot, from which a small shoot with two or three leaves is cut off. The top of the mother plant over 5 years of age is ideal. In addition to the crown, you can take any other part of the bush, the main thing is that the base of the branch from which the cutting is cut should be semi-lignified. It is not recommended to take a plant recently purchased from a store as a parent. This is due to the fact that suppliers often treat the bushes with growth stimulants and other chemicals. The action of such drugs significantly reduces the percentage of rooting of cuttings and makes the reproduction process very difficult. In order for such a plant to participate in reproduction, at least 1 year must pass.
- Cut the stalk from the flower with a well-sharpened knife, which should be disinfected before the procedure. After cutting, the stalk is placed on a clean napkin and the wound is allowed to dry out a little. After 2–3 hours, the cutting is placed in the prepared soil mixture or placed in water, after having mixed 2–4 tablets of activated carbon or several crystals of potassium permanganate in it. Before planting in the substrate, it is recommended to treat the cut with a powdery biostimulator, and then deepen the process by 2–3 cm.
- Next comes the most important part of the event - creating greenhouse conditions for escape. For this, the seedling is provided with lower heating, a moisture content of at least 70% and a temperature of at least +25 degrees are created. The first watering is allowed no earlier than the third day after planting. The soil is moistened as it dries up, using a weak Kornevin solution. Young roots usually appear after 2 weeks, from that moment the watering intensity is slightly increased. The formation of young tubers occurs after 7–8 weeks and is a signal to transplant the plant to a permanent place.
- The first leaves of a young zamiokulkas appear in a tightly twisted and covered with a red film, but this does not happen soon, but 6–8 months after planting. Experienced experts recommend grafting several shoots at once. This is due to the very low survival rate of shoots, of which not all can take root. As for water rooting, here you need to be very careful and try not to miss the onset of decay, which often begins in succulents from excess water.
By dividing the bush
Propagating zamioculcas in this way is very convenient when transplanting a plant. It is worth performing a few simple steps.
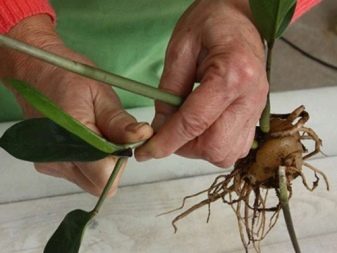
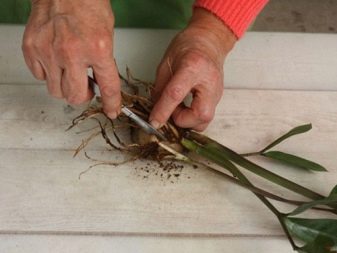
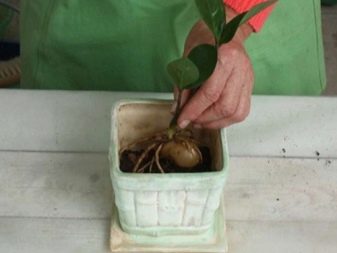
- The bush is carefully removed from the pot and the root processes are thoroughly cleaned from the substrate. Then the roots are carefully untangled, trying not to cause damage to them, and the bush is divided into two or more parts, focusing not on the presence of adult branches, but exclusively on the growth points.So, at least one such point must be present on each detached shoot.
- Then both plants are left for a short time in the fresh air and sprinkle the damaged areas of the roots with crushed charcoal. Planting of independent shoots is carried out in a prepared substrate with the obligatory formation of a drainage layer in the pot.
The soil mixture should be insufficiently poured to the edge of the pot by 2–3 cm, which in the future will save from pushing the soil out with a strong growth of roots.
Sheet
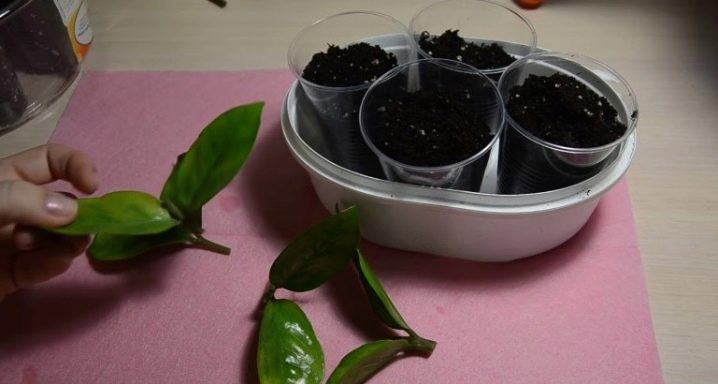
You can also grow a new flower from a leaf. It is worth doing the following:
- take a sharp disinfected knife and cut off several large healthy leaves, preferably together with the stem;
- then the leaves are left for 2 hours in the air, after which the cut points are treated with "Zircon" or "Kornevin";
- further, the leaves are planted in a substrate and covered with glass or film;
- cultivation is carried out by analogy with the cultivation of cuttings, regularly moistening the soil and airing the mini-greenhouse.
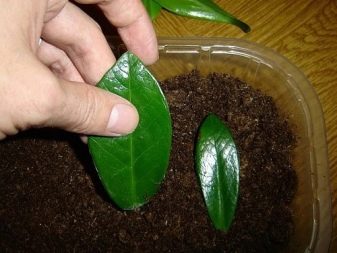
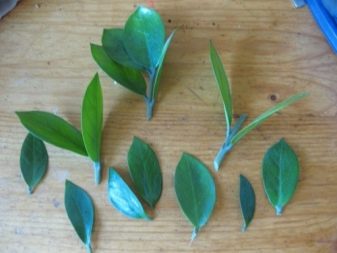
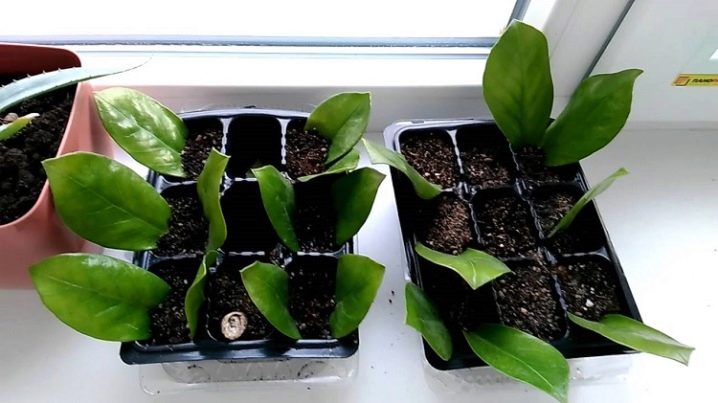
A significant disadvantage of the leaf propagation method is the fact that it will not be possible to root and grow a young plant in a short time. It usually takes at least six months to form an independent plant. With this method of reproduction, the leaf gives rise to the formation of a tuber, from which root processes subsequently grow. At the same time, the leaf blade dries up, and the strengthened tuber gives new shoots. When the first leaf appears, the flower is transplanted into a pot with a diameter of 7-10 cm and transferred to the general care regimen.
The growth of green mass occurs very slowly, for example, in the first year, no more than 3 leaves appear on a young plant.
Tubers
Planting zamioculcas in this way is quite risky. This is due to the fact that the division of the tuber often provokes the death of the entire plant. Therefore, for tuberous propagation, plants are chosen at least 50 cm in height, with a well-developed horse system and an aerial part. The optimal time for propagation of tubers is from the end of April to September. The breeding procedure is as follows:
- the flower is taken out of the pot and the root system is cleaned of the earth;
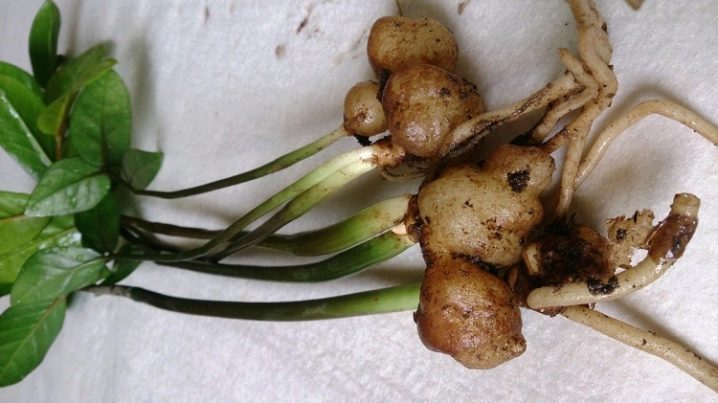
- further, a tuber is dissected with a sharp knife in such a way that on each part of it there are several roots and at least one growth point;
- the cut points are sprinkled with a thick layer of crushed charcoal and left in the open air for a day, which helps to dry the cut tuber a little and reduces the risk of rotting;
- the next day, the bushes are planted in nutritious soil and placed in a warm place, away from drafts and direct sunlight;
- fertilization at the stage of rooting of the bush is completely eliminated, and instead of watering, spraying is used;
- fertilization of plants with mineral fertilizers begins no earlier than 4–6 weeks after planting.
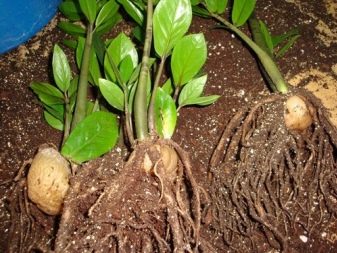
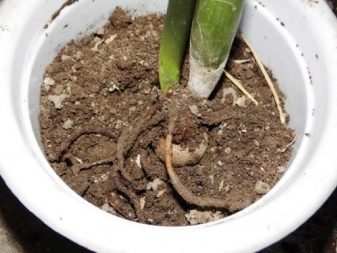
During the first year, only 2-3 new leaves appear on the flower, so the growth of the bush at least to medium size takes a long time.
It is because of the timing of the growth of the green mass, as well as because of the risk of losing both plants at once, the tuberous method is not very popular.
Seeds
The procedure for growing zamioculcas from seeds is an ineffective, long and laborious task. The first difficulties arise with the acquisition of seed material, which is almost impossible to find on the free market. More experienced growers get it by cross-pollination of two flowering plants, waiting for a long time for the seed pod to ripen and collect the seeds. The collected seeds will need to be used as soon as possible, until they are old and have not lost their germination.
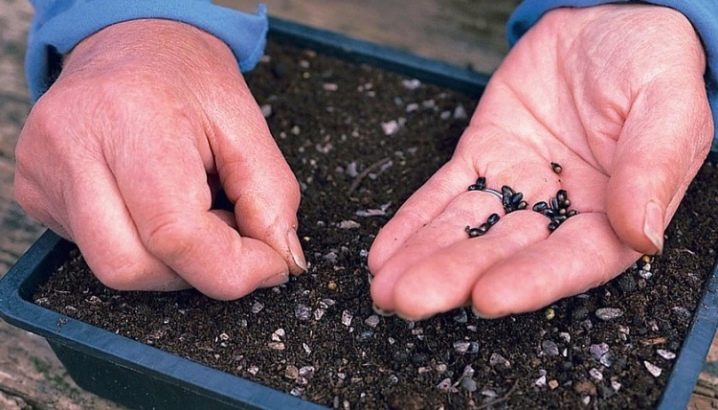
This way looks like this:
- immediately before planting, the seed is treated with a weak solution of potassium permanganate, dried, mixed with river sand and sown in a moist substrate consisting of equal parts of sand and peat;
- a mini-greenhouse is built over the pot and the structure is placed in a warm, bright place, without temperature extremes and drafts;
- watering at first is replaced by spraying, which is performed with warm settled water;
- Once a day, the greenhouse is ventilated and the condensate formed from its walls is wiped;
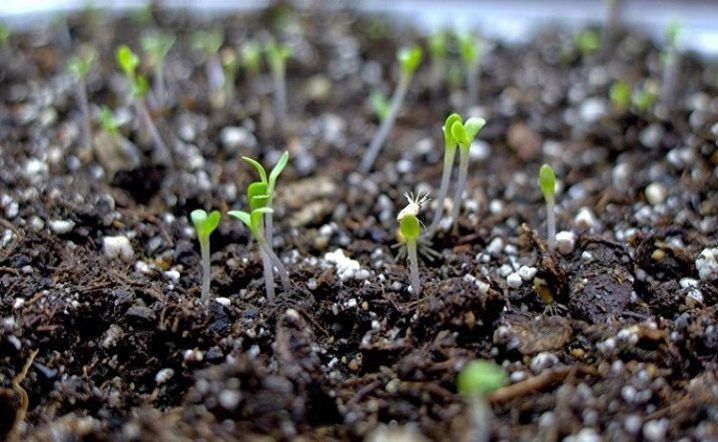
- the first shoots appear after 2–2.5 months, after which they are thinned out, leaving the largest shoots;
- after 2 leaves appear on them, the plants dive into small pots or plastic cups.
Follow-up care
Caring for a young zamiokulkas is quite simple. This requires providing the plant with comfortable conditions of temperature, lighting and humidity, as well as watering, pruning, replanting and feeding the flower on time.
Watering
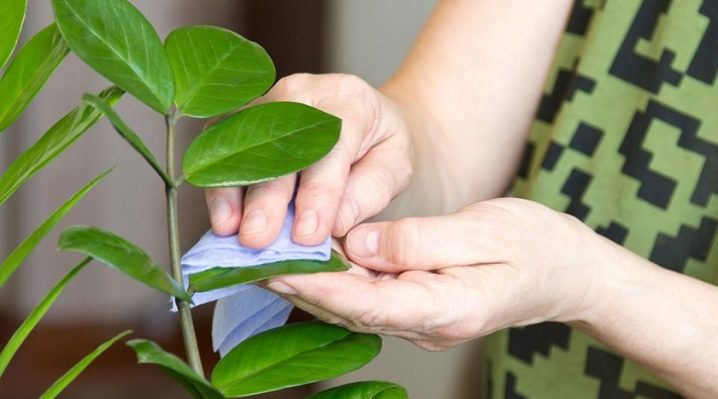
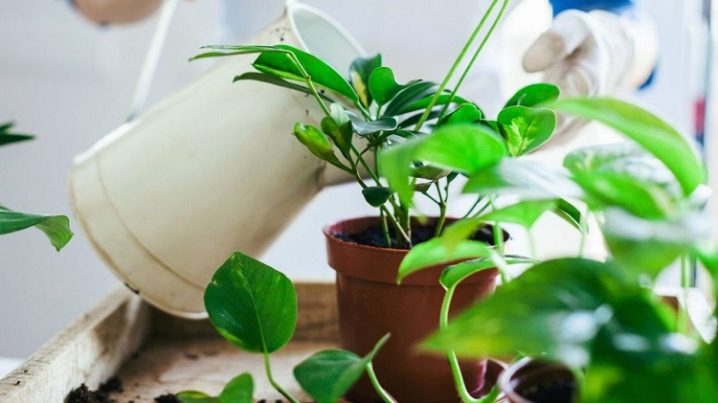
Watering the flower should be done only after the substrate is completely dry. This is due to the fact that the plant is a succulent and stores a sufficient amount of water in its tissues. From excessive moisture, the root system of the plant can begin to rot, which will cause the death of the flower. In the hot season, 2 waterings per month are enough for zamiokulkas, provided the soil is completely dry. In addition to watering, the plant is very fond of a warm shower.
However, this procedure should be performed not so often, and the earthen substrate must be covered with a film during the procedure.
Lighting
Despite its African origin, Zamioculcas does not like direct sunlight. It is better to provide the plant with bright, but at the same time, diffused light by erecting an artificial screen for this or by placing the flower in partial shade of higher species. However, the lack of ultraviolet radiation affects the plant rather badly. The leaves of the flower become faded and lose their former decorative effect.
Top dressing
It is better to feed young zamioculcas by foliar method. Spraying is carried out no more often than once every 20 days, using for this any complex of mineral fertilizers for decorative leafy plants or succulents. As a result of this treatment, the leaves become beautiful and shiny, and their petioles become noticeably denser.
In the autumn-winter period, when the plant is dormant, the application of fertilizing is stopped, resumed only in mid-April.
Temperature and humidity
The plant is well adapted to home conditions and feels fine at a normal room temperature of + 22– + 25 degrees. A prerequisite is the absence of sudden temperature changes and drafts, from which it can throw off foliage and die.
As for humidity, the grown flower feels great at 50-60% and does not need additional moisture in the room.

Pruning and replanting
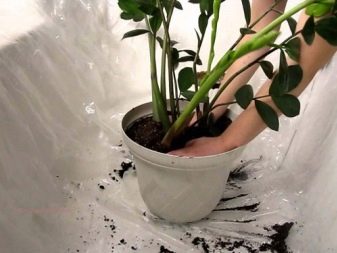
Pruning in its full sense is not a mandatory event for a flower. However, dry peduncles and infected shoots must be removed in a timely manner. It is recommended to transplant the plant into a wider pot every year, using the technique of transferring a bush while preserving an earthen coma.
After the procedure, the flower is left alone, and the first watering is carried out no earlier than 3 days later.
Possible problems
The most common problem in the reproduction and cultivation of zamiokulkas is the defeat of the root system by rot. In most cases, this is due to errors in agricultural technology, in particular, due to a violation of the humidity and temperature regime. If the soil in the pot does not have time to dry out, and the room is much less than +20 degrees, then it is almost impossible to avoid the appearance of fungal infections. To prevent this kind of trouble, it is recommended to regularly examine the flower for signs of decay.
And if black-brown weeping spots are found on the stem and leaves of the plant, immediately take measures to save the flower.
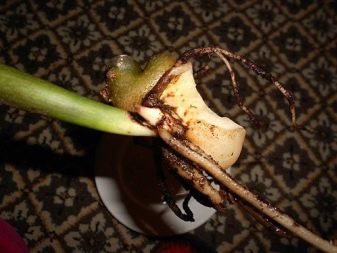
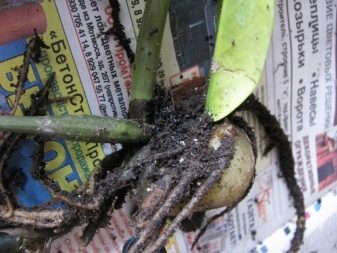
For this, with a sharp disinfected knife, leaves and shoots affected by the decay process are cut off, the wounds are treated with crushed chalk, activated carbon or colloidal sulfur. Further, the plant is removed from the pot and its tubers are placed for half an hour in a weak solution of potassium permanganate or 1% composition of Bordeaux liquid. While the flower dries up after disinfecting the roots, and this takes at least 2 hours, they begin to sterilize the pot and prepare a new substrate. To prevent fungal infections, several granules of the preparations "Glyocladin" and "Trichodermin" are added to the soil, after which the disinfected drainage is placed on the bottom of the pot and a new soil mixture is poured.
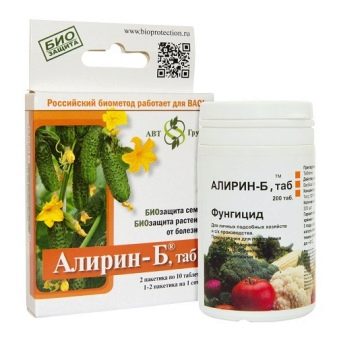
Within 3 months after planting, not water is used for irrigating zamiokulkas, but a 0.5% solution of "Alirin-B", "Fundazola" or "Previkura". Moreover, watering is performed in a very metered manner. In this case, light underfilling will be much more useful than abundant soil moisture.

When providing emergency assistance, it is necessary to take into account that the plant can be saved only at the initial stage of the disease. If putrefactive processes have affected most of the root system and aerial shoots, then all measures to save the flower are meaningless and will not bring results. Signs of irreversible processes are too easy separation of leaves and shoots, mold growth and an unpleasant putrefactive smell from the bush. In this case, the plant and the earthen mixture must be thrown away urgently, and the pot must be washed well with laundry soap and sterilized.
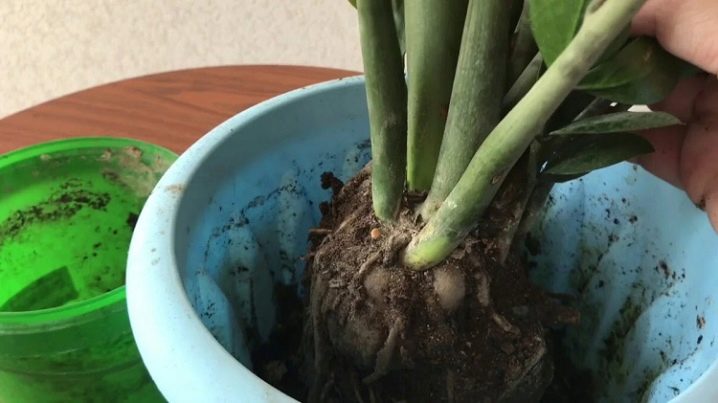
You can find out the secrets of Zamioculcas transplant by watching the video below.









The comment was sent successfully.