Planting grapes by cuttings
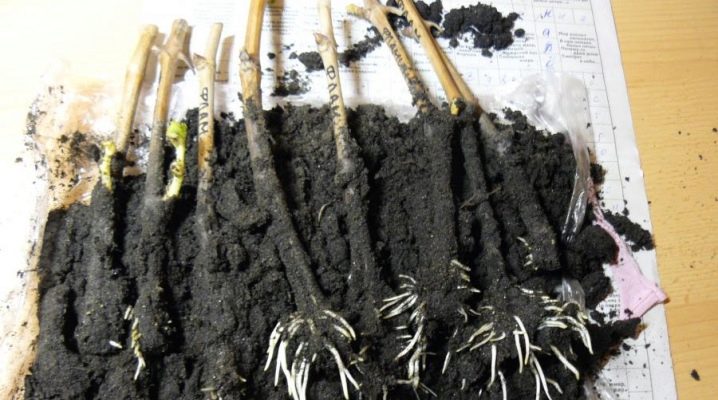
So that after 3 years after planting you can treat yourself to grapes from your site, you need to choose a plant variety that suits the region and conditions, find a good cutting, grow a seedling (or even a whole bush) from it, and simply create all the conditions for normal development.
Conditions and place
Grapes love light and warmth, and therefore the site must meet these requirements. It is recommended to place grape bushes on the south, west or south-west side of houses or other buildings. During the day they will be heated by the sun, and at night they will give off this heat to the plants, which affects the ripeness of the berries and the quality of the harvest. Even in the northern regions, some varieties can be successfully grown based on this rule.
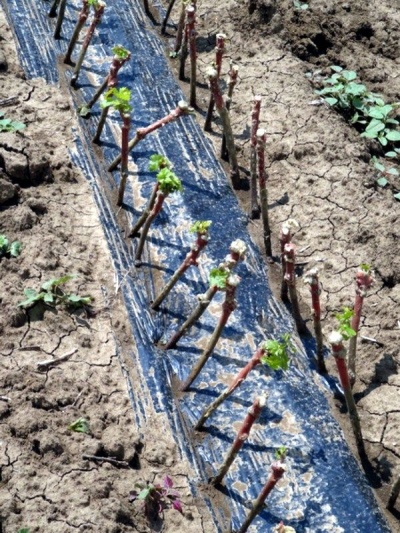
The slopes of the south, southwest and west are the best places to grow grapes. The lower part of the slope should be avoided because the effects of frost will increase there. Also, do not plant grapes closer than 3-6 m from the trees (you need to rely on the approximate root system of the tree). If the soil needs to be fed, enriched, this is done strongly in advance before planting, because the soil is not saturated with nutrients immediately.
And, of course, it is not easy to guess with the varieties: they are selected for the region, and for the climatic conditions, and upon request for the specific taste of the plant.
Timing
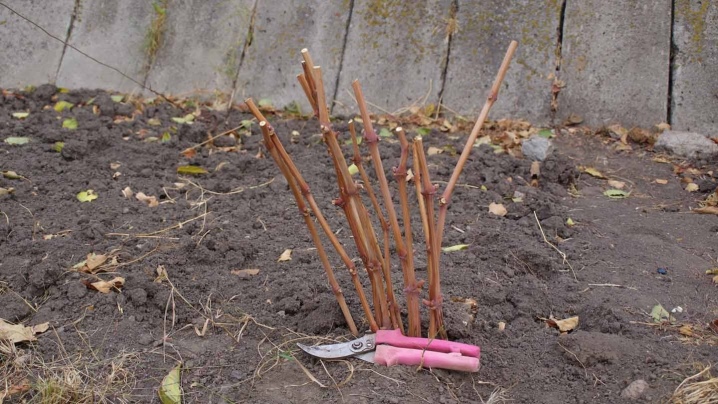
Both in the spring and in the fall, this can be done quite successfully. From mid-April, during the month, you can plant annual seedlings, which are already lignified, and from the end of May, green vegetative plants are planted. But if it is decided to take up the autumn planting, it is planned from the beginning of October until the moment the soil freezes. In principle, the landing algorithms themselves are similar, with the exception of some significant nuances.
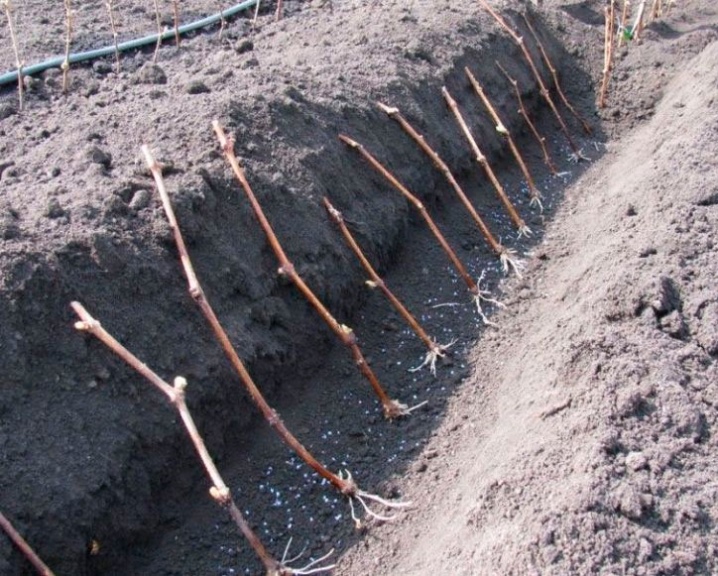
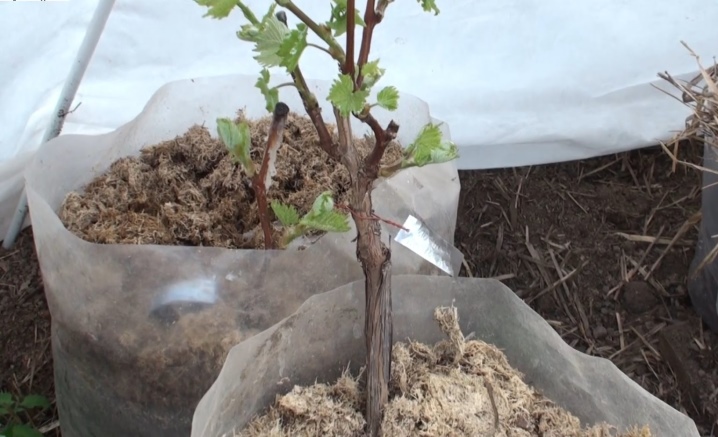
After the autumn planting, even if it happened in September or late August (northern regions), the tree will need to be much more carefully protected from frost. The risk of freezing a young, not yet adapted plant is very high. First, it will be a plastic bottle cut in the right way with three holes made ahead of time. And the land around the landing site must be spilled with three or even four buckets of water. Then they loosen it well.
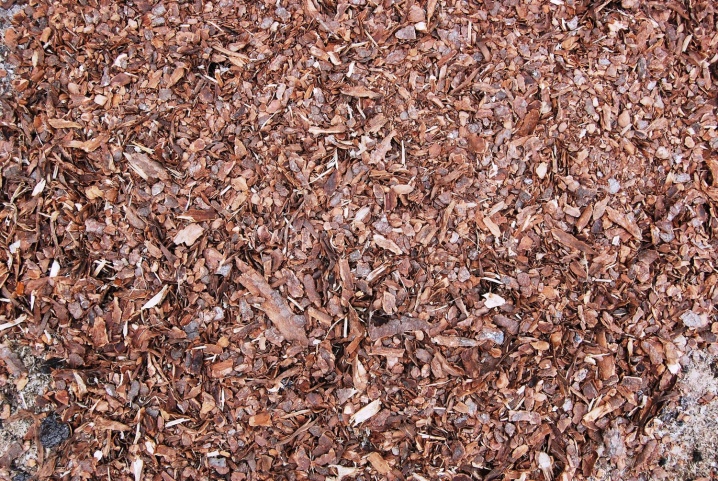
Before frost, the bushes will need to be covered with needles, peat or sawdust, filling the planting hole with them. And the usual soil, in the end, is also good. The hole is filled up, and then a mound is made up to a third of a meter high.
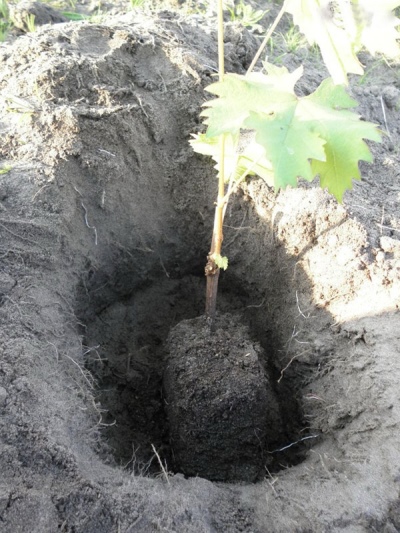
Still, spring as well as early summer plantings are considered more successful and less risky. Earlier, on April 15, grapes were not planted, but in the summer the process can drag on until mid-June. True, the place will have to be prepared in the fall.
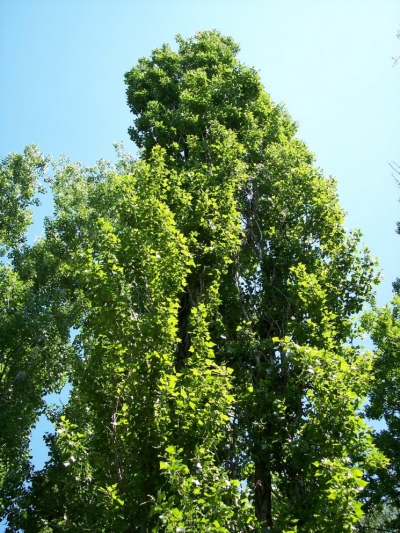
By the way, if a future shrub needs to be protected from the wind, you can focus on a hedge - it can be trees with a taproot system, for example, pine or poplar.
Well, the quality of the soil is also being improved in the fall.
- This can be achieved by sowing winter rye. In the spring, it is left between the rows, and in the rows themselves, before the grape planting, they are mowed.
- Such crops will not allow the shoots of young grapes to break off under the influence of strong winds, they will not allow sandy soils to wither, and the humus layer - to wash off.
- But when the shoots get stronger, the rye can be mowed, it will become mulch.
Conditions, place, timing are important, but it is even more important to properly prepare the plant planted by cuttings for planting.
Preparation
Cuttings are lignified fragments of a vine (well-ripe), and are harvested in the fall, when the grapes are pruned. Then the cuttings are stored for the whole winter, usually in the basement or cellar, in the sand, but it is also possible in polyethylene, in the refrigerator. To root cuttings more successfully, they need to be prepared for this procedure.
Let's consider the features of the process.
- Cuttings from successfully overwintered vines are cut with pruning shears just before planting. Their length varies from 10 cm to 40 cm.
- Even before planting, each cutting should be checked to see if the eyes are preserved on it, whether the cutting is fresh. And the freshness is checked like this: by pressing on the handle with a knife, you need to see if droplets of moisture have appeared on the cut. If the cortical strip is carefully removed with a knife, you can find green tissue under it - this is a good sign. But a yellow or brown open core indicates a dead plant, it can no longer be reanimated.
- Washed fresh, good specimens must be dried. A soft rag or plain paper is good for this. Then you can cut it.
- If you make a cut across the eye, there should be no darkening, blackening of the central kidney too.
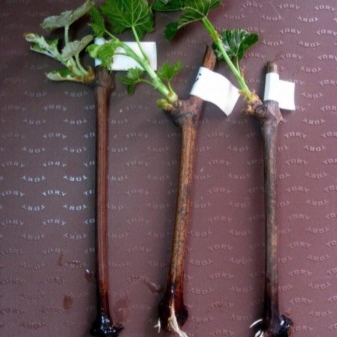
And this is important, because only healthy cuttings should be prepared for planting.
And in order for them to take root better, before planting, it is imperative to update the slices. Disinfection will also be required: the cuttings must be held in a solution of copper or iron sulfate (100 g per 10 liters of copper water, 300 g per 10 liters of iron). You can also hold them in potassium permanganate, diluting 2 g in the same 10 liters of water.
Also, if the cuttings are dried, they must be soaked before rooting. This, by the way, is an important and obligatory stage. The fact is that winter storage, long enough, takes moisture from the cuttings, and the lost must be replenished. Usually it takes 2-3 days, sometimes it takes 5 days (it all depends on the condition of the cuttings). Soaking is either total immersion in water, or lowering only the bottom tip. And the water must be changed once a day during the soaking process.
What else can speed up rooting is furrowing and blinding of the eyes. Furrowing is the application of longitudinal wounds on one or two internodes (namely the lower ones), which contributes to the flow of nutrients to the injured areas. This also activates cellular activity. The handle should be pulled with the lower tip along the teeth of the saw-hacksaw, on both sides. The wounds should not be very deep, otherwise the wood of the cutting will be affected. You can also make a couple of scratches with the tip of a knife or secateurs, this is also a furrow, only more laborious.
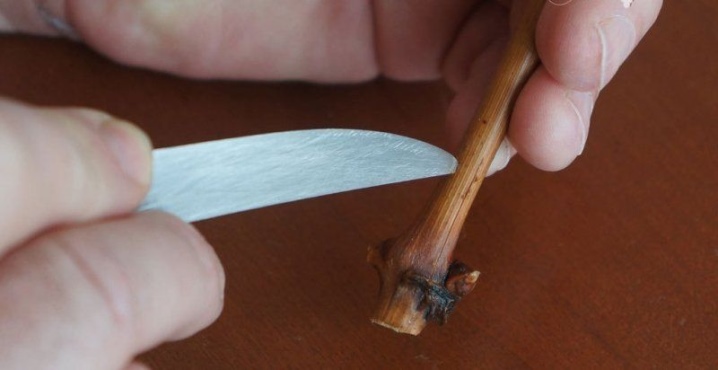
But the blinding consists in removing the lower eye of the cutting, which optimizes root formation. But the operation is still risky: the upper kidneys may not open up elementarily (if the case takes place in an apartment, dry air can interfere with properly preparing the cuttings).
And of course, it is worth focusing on the use of rooting stimulants. These are special solutions, "Epin", "Heteroauxin", "Novosil", "Gumisol". There is always a specific instruction on the package, the proportions must be adhered to strictly. If the stimulant is in powder form ("Kornevin", for example), then it is better to use it in solution.

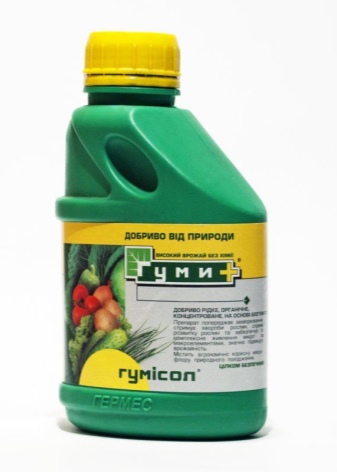
If you want not to use "chemistry", take natural honey as natural stimulants. It doesn't always work, though.
Rooting
There are two common methods that are roughly equal. One is more difficult, but more effective, the other is much simpler, but does not always work.
In the substrate
The bottom cut is made straight, under the knot, and the top cut is 4 cm above the knot. Next, the furrow described above is carried out, which stimulates the flow of hormones to the injured areas, and this is very good for root formation. Well, growth stimulants will also be appropriate.
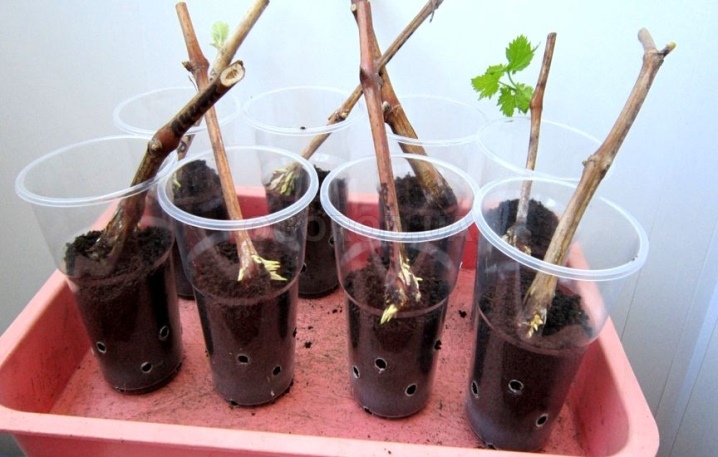
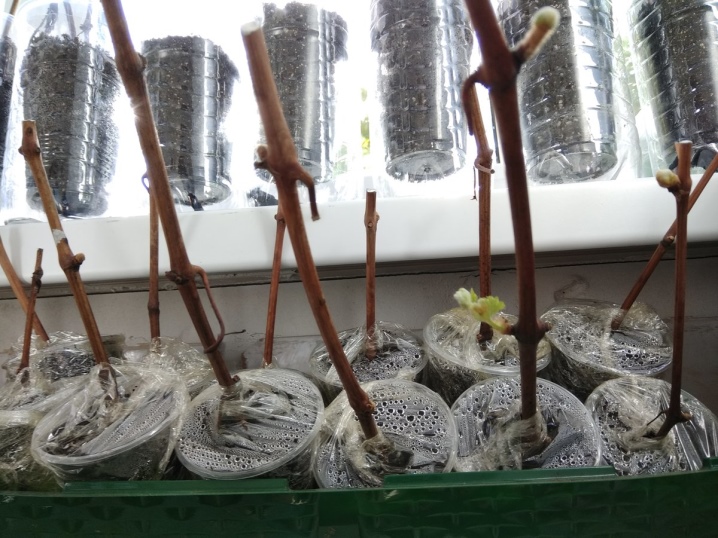
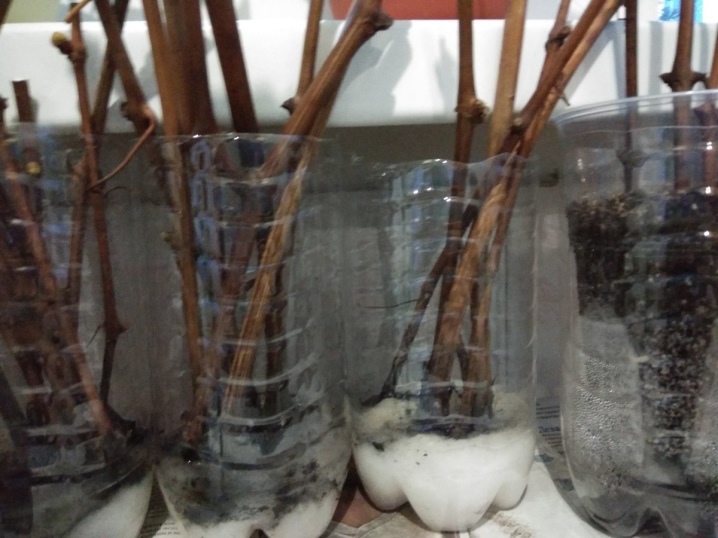
Ordinary plastic bottles are suitable as rooting containers. The containers, together with the cuttings, are placed on a pallet, preferably closer to the light.And you need to remember about maintaining a constant moisture content of the substrate. But the substrate itself will be coarse and clean coniferous sawdust, river sand, coconut shavings, fine gravel or even sphagnum moss are also suitable. And ordinary cotton wool is also used. But small sawdust (right from under the saw) is not the best choice, they quickly turn sour.
As soon as rooting is complete, the cuttings are very delicately shaken out, sent to other containers or a ground cuttings. There should be a lot of river sand in the new substrate. Before planting already rooted samples, the substrate is spilled with a manganese solution.
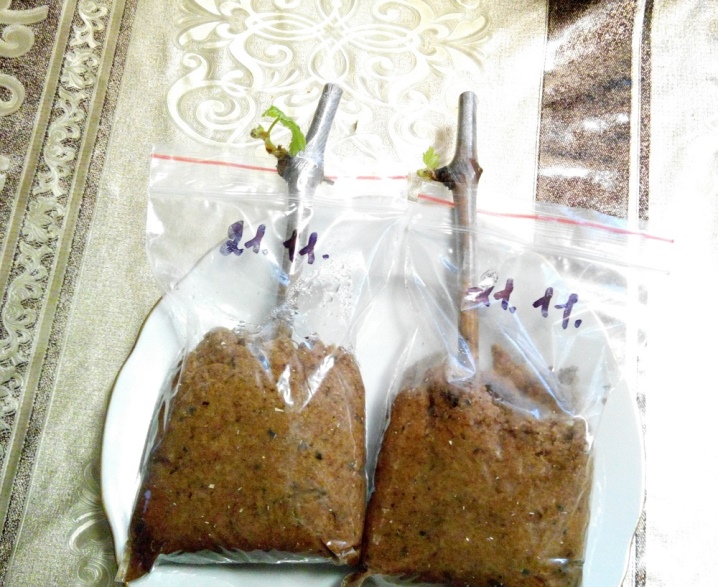
And there is also a horizontal rooting method in the substrate: the bottom of the shanks (this is also the name of the cuttings) is sent to the moss, for example, then to a bag and a cabinet.
You can also use natural fabric. But it may be difficult to maintain normal humidity, the rag may dry out or even fade.
In water
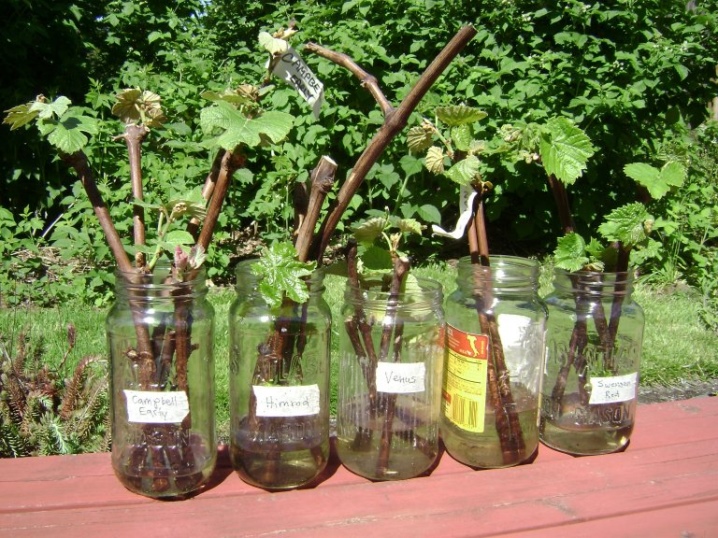
Here it is - a technique that is definitely simpler, but not always effective. It is better to take rainwater or thawed water. But it is also possible from the tap, but it is all the same defended. Cut and prepare the cuttings as usual, but the lower cut is made 3 cm below the knot, and then the cuttings are placed in a container with water so that the lower knot is on the same water-air border. The container is sent to the light.
It is important that the water temperature does not exceed 26 degrees. Otherwise, the roots simply do not form, and the cutting will die.
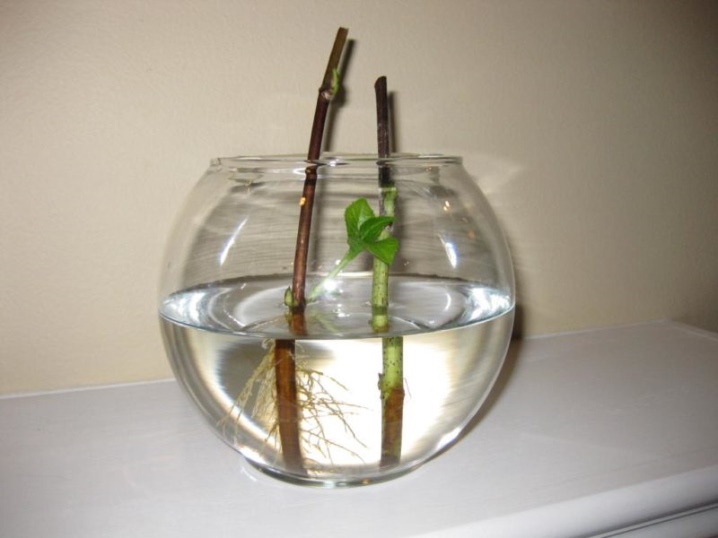
The water in the jar will turn sour, this is inevitable, because about once a week it needs to be replaced with fresh water. And keep the same recommended temperature. Also, a couple of pieces of charcoal are often placed in the water, which does a good job of keeping the water from souring. Cuttings do not keep in water for a long time: as soon as the roots grow a centimeter or two, they are quickly sent to a container with soil. And watering, leaving will be already normal.
Disembarkation
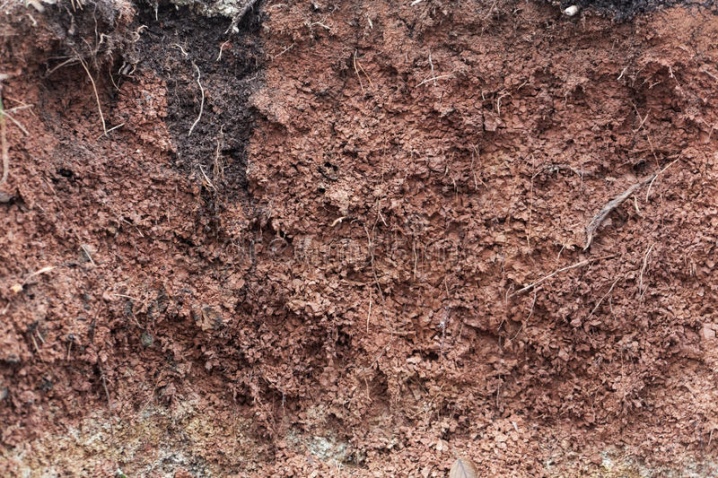
There are three types of soil in which grapes will eventually grow: black soil and clay (the rules are the same for them) and sands.
On black soil and clay
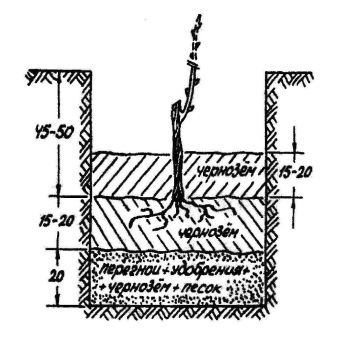
It is necessary to dig a hole 80x80x80 cm. At the bottom of the hole formed a nutrient layer with a thickness of a quarter of a meter. Take from 7 to 10 buckets of humus, as well as fertile soil (reaching the desired level). The mixture is well compacted, sprinkled with mineral fertilizers on top. As a mineral fertilizer, such an option would be good: 300 g of superphosphate, 300 potassium fertilizers, 3 liters of wood ash. Then all this is mixed with the ground and sent to a depth of 5-10 cm, and again there is a new compaction of the layer. The next will be a layer of fertile soil of 5 cm, without feeding. And you get a hole half a meter deep.
Step-by-step instructions will guide you through further procedures.
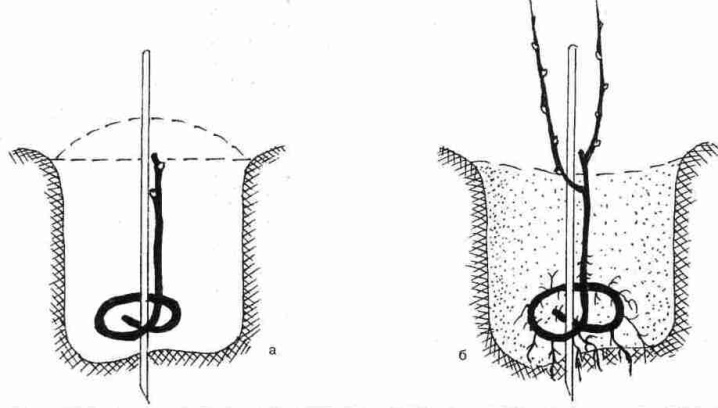
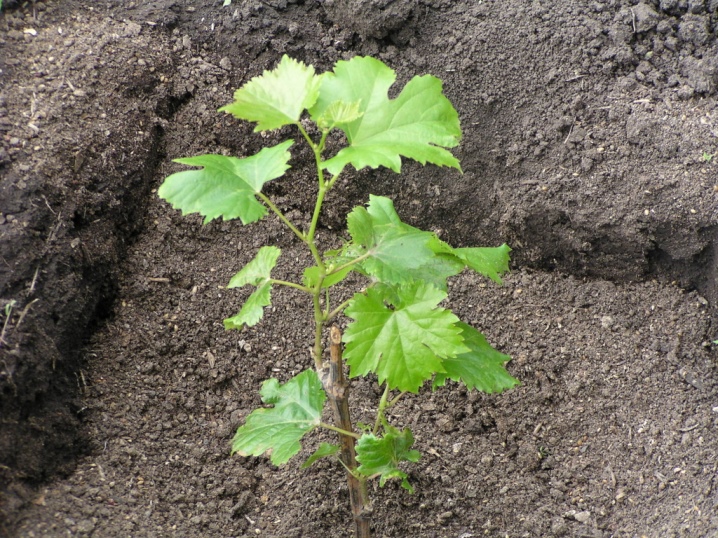
- In the center of the pit, a mound is made, in which the rooted plant is installed, the roots are straightened evenly along the contour.
- Then it is covered with a fertile layer without fertilizers, which must be done before growth.
- Seedlings obtained from rooted cuttings are placed vertically, but if the length of the seedling is 25 cm +, then they are placed obliquely. After disembarking, the hole will be 25 cm deep.
- After planting, the soil is slightly compacted, and then watered with about 2-3 buckets per bush (this depends on the soil moisture).
- After the top layer dries up, the earth is loosened 5-10 cm in depth. Then you need to water a couple more times after 2 weeks. The bush will have an average of 2.5 buckets. After the next watering, the soil is loosened, and then mulched. Further, the pit will have to be loosened after each watering or rain.
It seems to be nothing complicated to properly plant a seedling in black soil or clay. But with sand everything will be a little different.
On the sands
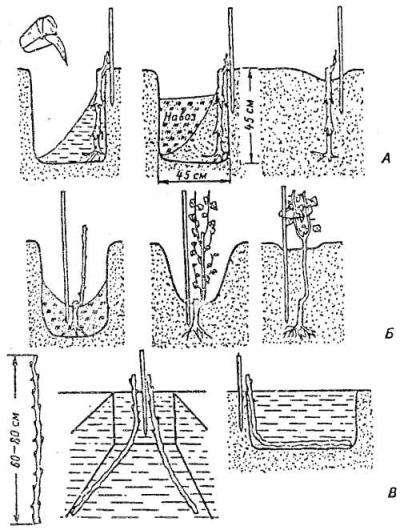
Sandy soil, unlike chernozem, freezes more in winter, but in summer it warms up more. It does not retain moisture and nutrient as well as fertile soil. In this regard, the landing pit will have other dimensions - 80x80x105 cm.And in order to retain moisture and nutrients, a kind of "lock" is made at the bottom of the pit of well-compacted clay, 20 centimeters in size. It is saucer-shaped in shape.
Then a 25 cm thick layer of nutrient substrate is sent to this place (everything is like with black earth). Top dressing involves potash fertilizers, better - potassium magnesium. The depth of planting the seedling on sandy soil is about 60 cm, and the depth of the pit after planting is at least 30 cm. Watering is carried out three times, 3-4 buckets of water per hole, after a week and a half.
Other important expert tips and solutions will come in handy.
- There are several planting methods - for example, in trenches with the transfer of the upper fertile layer. They even make non-standard boxes with walls, which are reinforced with slate or boards, bricks.
- But there is another option, a more simplified one, which does not involve trenches and trenches with a decent depth. It assumes winter shelters (both temporary and permanent), convenient watering - and in the northern regions this is a good solution. In each new row, a groove with a flat bottom is dug (it should be equal to the depth of the fertile layer), and its width is 40 cm. When digging, the fertile top layer is placed on one side with a roller. In the sand lying below, planting holes are made 5 cm in diameter, and up to 80 cm deep (the removed sand is folded on the other side).
- There is no need to organize drainage in the sand, but the same "castle" is necessary, because the bottom is filled with lumps of clay with broken bricks. This layer must be both moistened and tamped. And on top you need to pour compost, and even higher - a layer of fertile soil. A seedling is placed on it obliquely.
- To properly water and feed the grapes, you need to dig in plastic bottles next to the seedling. They should not have a bottom and are installed with the neck down.
- If you need to install supports for trellises, they are fixed from the side of the row spacing, 10 cm from the edge of the base-groove, the walls of which would be nice to strengthen with slate (you can also use boards).
- To create heat accumulation around the seedlings, you need to dig in cobblestones. And if the trench is on the "west-east" line, glass bottles are placed with the neck down along the southern edge.
- You can protect the seedling from frost by wrapping it in plastic, placing it inside the earthen tunnels. From above it is sprinkled with sawdust, covered with spruce branches. You can also cover it with a tarpaulin cloth, cover it with soil.
All standard safety methods are used in the technology of planting grapes by cuttings. For example, the cut is made only with sterile pruning shears or garden shears. And about disinfection of cuttings, too, should not be forgotten.
In general, this planting method is not considered difficult and is suitable even for beginners who will store cuttings in the winter at home.
Planting grapes by cuttings in the video below.


The comment was sent successfully.