Making a cleaver with your own hands

Cleavers have been known since ancient times - this is a type of ax, characterized by an increased weight of the chopping part and a special sharpening of the blade. Their task is not to chop the log, but to split it. At the moment the tool's iron honor hits a tree, an ordinary ax sticks into it and gets stuck. The cleaver, having a greater mass and a blunt blade, splits the tree into two parts under the influence of the impact force. There are many cleaver configurations. They differ in shape, weight, sharpening angle, handle length and other design characteristics. At the moment, there are modifications of cleavers in electric, gasoline, semi-automatic, manual form, and even cleavers for bricks.
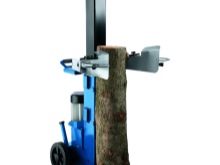
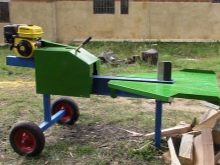
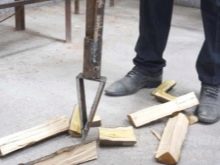
Tools and materials
When making a cleaver with your own hands, you need to take into account the peculiarities of local wood in order to achieve the best result when splitting. List of tools that you may need when making a homemade cleaver:
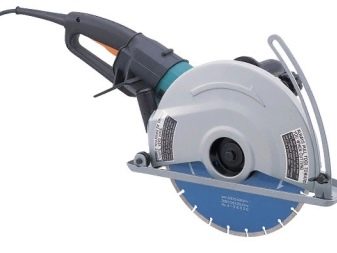
- Bulgarian;
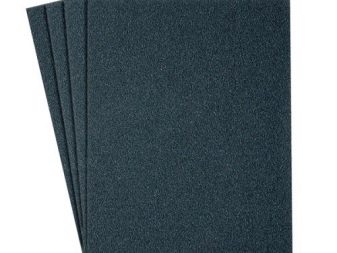
- abrasive sharpening tools (emery, sandpaper, file and others);
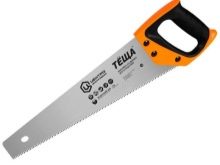
- hacksaw;
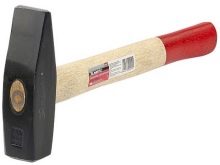
- hammer;
- knife;
- welding inverter (in some cases).

The material for the manufacture of the chopping part of the cleaver can be:
- old ax (no cracks in the butt and base of the blade);
- spring element.
The handle is made of hardwood:
- oak;
- beech;
- Birch;
- dogwood;
- Walnut.
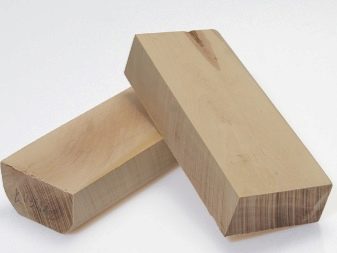
The material for the ax is harvested in advance - a few months before the start of the cleaver production. The tree is picked up during the period of suspension / stopping of sap flow - this will reduce the likelihood of rupture of the workpiece when it dries.
Cleaver making process
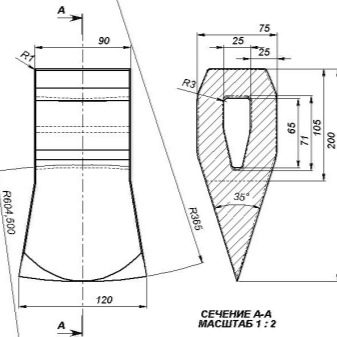
Before starting the process, you need to draw up drawings of the future cleaver. This will allow you to maintain optimal shape parameters, maintain proportions and maintain a balanced center of gravity. If the cleaver is made from an old ax, reflect it on paper while maintaining the dimensions, then apply the proposed additions over the image of the ax. The version from the spring is reflected on the paper, taking into account the parameters of the workpiece - width, thickness and length. An important aspect of preparing to make a cleaver is drawing a suitable handle shape.
An incorrect selection of the appropriate parameters of the ax can impair the chopping characteristics of the cleaver.
From the ax
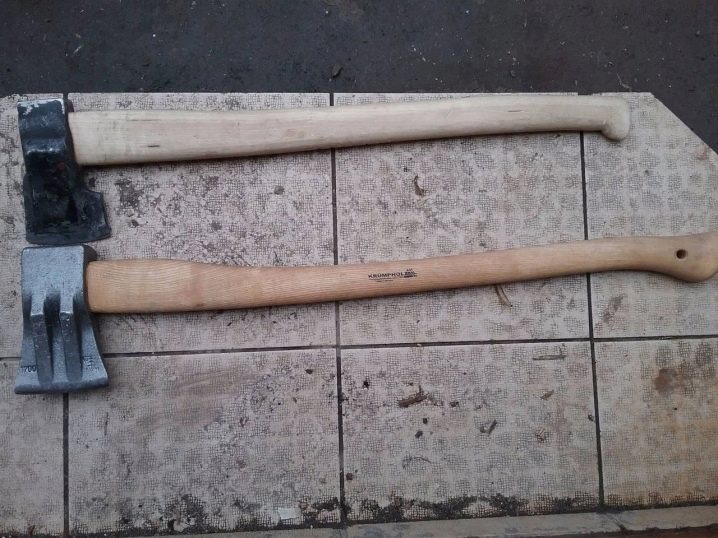
An old ax cleaver is the simplest version of a stabbing tool. There are several ways to make this model. Let's consider them in the order "from simple to complex". If it is intended to split soft woods in the form of small diameter chocks, the modification of the ax is minimized. It is enough to change the sharpening angle - to make it more blunt. The ax will not stick, but will "push" the chock to the sides.
To cut harder wood, it is necessary to increase the weight of the iron part of the splitting ax. Weld special "ears" to its sides - metal bulges. They are designed to increase mass and a sliding effect at the moment of impact. Such weldments can be made from fittings, springs, or from any metal blank. The reinforcement is welded in two sections on each side. It is important to boil them well together and weld them with the base. After joining, grind them to the narrowing. The result is the effect of two wedges on the sides of the ax. In order to increase the mass and impact force, it is recommended to use fittings with a diameter of 15 mm and above.
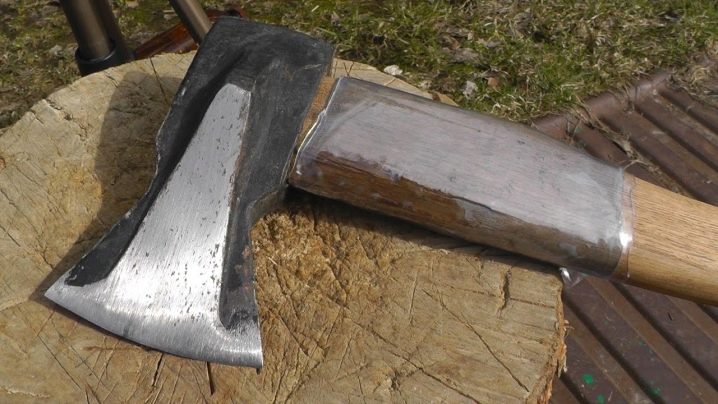
The spring is welded in a similar way.In some cases, it needs to be shaped like an ax so that the protruding edges do not interfere with the felling. Finally, you need to carry out a tapered sharpening, similar to that used for reinforcement. In both cases, the side welds should run from the butt to the edge of the blade. In the area of the blade, a particularly thorough welding is done. During sharpening, the edge and weld beads should merge into one whole blade.
It is permissible to use a combined version of an ax and a cleaver. In this case, the sharper sharpening of the ax and the weight of the cleaver are preserved. At the moment the metal touches the wood, it will stick into it, and the side "ears" will create the effect of pushing the chocks to the sides. Such a cleaver-ax allows chopping and splitting of firewood without changing the tool.
From the spring
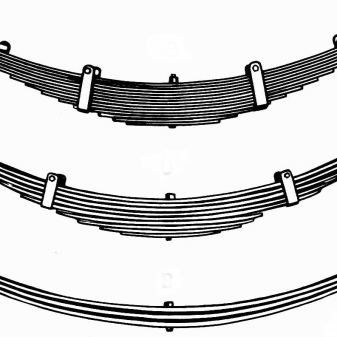
Modifying a cleaver from a spring is a more labor-intensive manufacturing option. It will take more time, tools and materials. The spring leaf from a heavy-duty vehicle acts as a basis. The characteristics of this particular spring are optimal. To form the main blade, a spring section will be required equal to two longitudinal lengths of the future cleaver with the addition of the value of its width. The workpiece must be bent in the shape of the letter "P".
The spring metal has increased strength and elasticity. It will be possible to bend it into a given shape only by heating it to extremely high temperatures, close to the melting point. You will need to make a mini-oven - heating will be carried out in it. The quick assembly option for such a furnace involves the use of several refractory bricks. They need to be laid in such a way that you get a cube with empty space in the core. It should be enough for the complete placement of the workpiece in it. Refractory bricks are needed to prevent heat loss when heated.
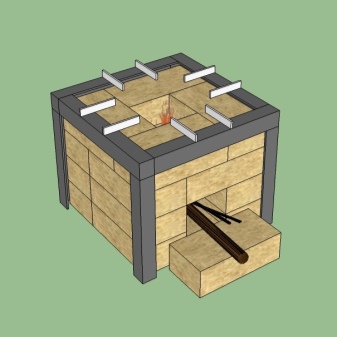
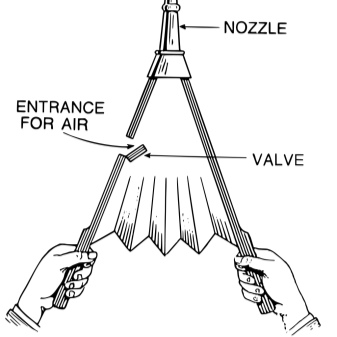
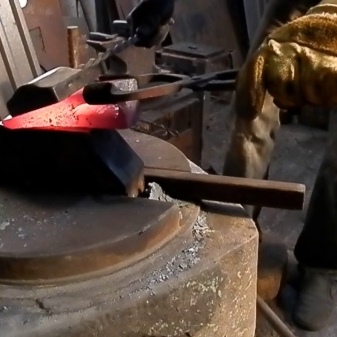
Heating can be carried out using a gas burner or coal. In both cases, an additional supply of oxygen will be required. It is supplied by a compressor under pressure or with the help of improvised bellows: a diagram of their assembly is shown in Figure 1. The workpiece will be red-hot. Remove it with special pliers. Put on an anvil or an impromptu blacksmith's table. Use a heavy hammer to bend the spring into the shape of the letter "P". If it was not possible to bend before the metal cools down, it must be heated again.
This procedure is best done together. One person holds the workpiece firmly on the anvil with both hands, the other strikes with a hammer. After giving the desired shape, allow the metal to cool slowly - this way it will not harden and will be malleable during further processing. Another spring section is being prepared. Its length is equal to the distance from the butt to the blade. It is inserted into the middle of the previous "P" -shaped blank. The edges of the "P-blank" are pressed against the spring section by hammer blows. The result should be a "three-layer" cleaver. The layers are welded together and grinded with a grinder with a grinding disc. The final shape of this cleaver should have streamlined features without protrusions that would prevent the penetration of metal into the wood.
A spring cleaver can be easily modified into a tool of the same name with an offset center of gravity. This model is called the "Finnish" cleaver. On one side of the chopping element, an additional thickening is welded - only one "ear". At the moment of impact, the shifted center of gravity forces the cleaver to rotate in the transverse plane. The effect of tearing the lumps is enhanced - its two halves literally fly apart. The "Finnish" model is equipped with a hook-shaped protrusion in the butt area. It is designed to hold one of the pieces of the log and does not allow it to fly off to the side. This allows the lumberjack to move less physically, making the whole process easier.
Hatchet making
The previously prepared workpiece is processed to give it the shape of a handle, reflected in the drawings.
The overall configuration of the cleaver handle has the following optimal characteristics:
- length from 80 cm;
- thickening in the area of the metal part;
- palm rest on the edge;
- oval cross-section.
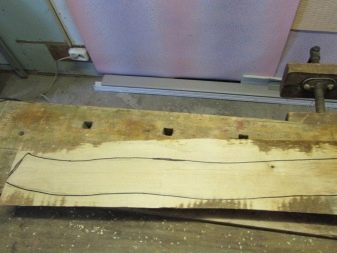
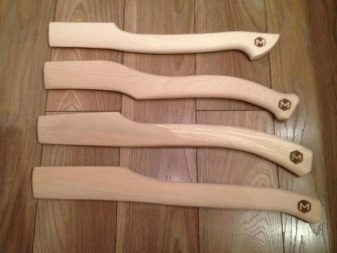
The cleaver has a longer handle than the ax. This value provides sufficient shoulder span and increases the force of the impact. In most cases, the cleaver's ax is straight - no bends required for the palms. The thickening next to the iron element prevents the handle from breaking at the point under maximum stress. Sometimes a metal rod is welded on the cleaver, located on the side of the lower part of the handle. In the process of splitting, the latter hits the wood. The welded rod serves as protection in such situations.
The high swing ratio due to the weight of the cleaver creates centrifugal force. She strives to snatch the tool from the woodcutter's hands. To avoid this, a stop is provided at the end of the ax, which does not allow the palm to slide off. The oval cross-section creates a stiffening rib, preventing the handle from breaking at the moment of impact. The round shape in this case has a lower strength factor.
Fitting a cleaver on an ax can be done in two ways. The first is holding the cleaver through the handle. There should be a thickening at the end of the handle, which will prevent the cleaver from flying off. A similar thrusting system is used in the pickaxe. The second is inserting a hatchet into a cleaver. It is ground so that it can be inserted with sufficient force. To fix the cleaver on the handle, spacer wedges are used. To use them, the ax must have a thin cut in its thickened part. The cutting depth is 1-1.5 cm less than the butt width. This value prevents the handle from splitting in the area of the metal element.
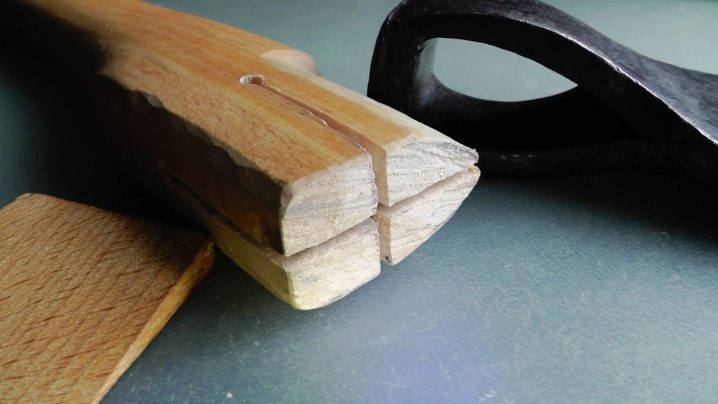
When the cleaver is mounted on the handle, the spacer wedges are driven into the cut. They are made of metal or the wood from which the handle is carved. It is not recommended to use wedges of a different type of wood. The difference in their properties can lead to premature drying of the spacer element and weakening of the landing fixation of the cleaver on the handle. Screw wedges, which are screwed into the workpiece, are not allowed for use. They are ineffective and can weaken the structural strength of the ax.
Sharpening subtleties
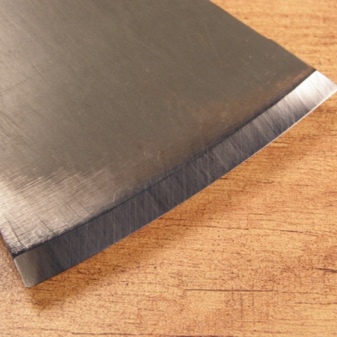
Sharpening a cleaver blade is different from sharpening a regular ax. It is not the sharpness that is of paramount importance, but the angle. At the cleaver, it is more dull - about 70 degrees.
The sharpening angle of the cleaver can be combined.
In this case, from the side that is closer to the handle, it is sharper. On the opposite side - as dumb as possible. This allows you to achieve the best splitting result. The sharper part of the first meets with wood, pierces into it. This allows the thicker side to penetrate deeper into the chock and increase the sliding effect. This way, with fewer hits, more splits can be achieved.
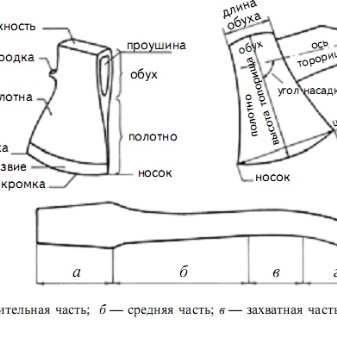
How to make a cleaver from an ax with your own hands, see the video below.


The comment was sent successfully.