How do I connect a VCR to a TV?
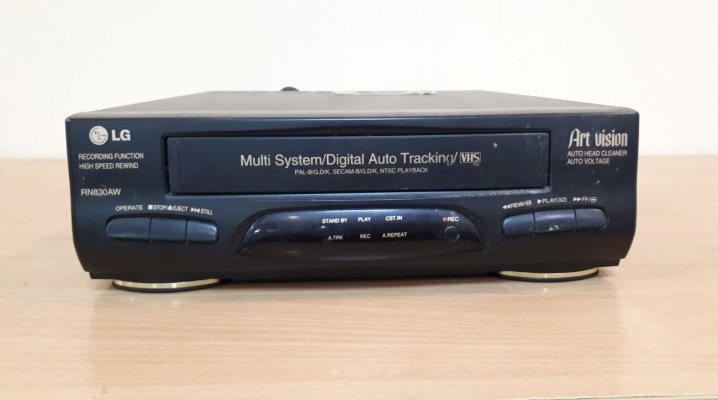
“Progress does not stand still” - how many times have we all heard this phrase. Most often, the expression is used for technique. Indeed, in the days of modern digital equipment those things that were popular 15–20 years ago have become a rarity. Telephones and televisions have changed, pagers, cassette players, tape recorders and video recorders have practically disappeared into oblivion. Now very few people use rare video equipment, so models of modern television equipment from any manufacturer do not have special equipment for connecting video to TV.
Fans of rare equipment still use tape recorders for their pleasure, however, the question of equipment synchronization often arises.
However, nothing is impossible, the main thing is to find a suitable method of connecting one device to another.
Basic connection methods
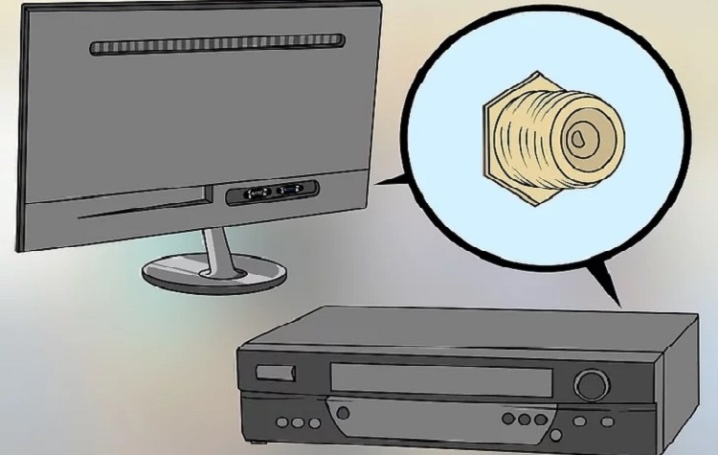
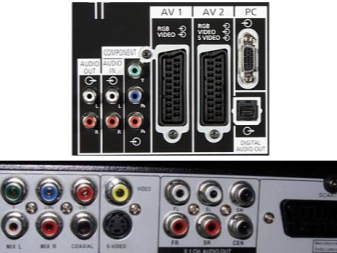
The instructions provide for connecting video devices to a new TV, setting up the operation of equipment takes one to two hours. It is necessary to connect the necessary connectors by means of a special cable, but here some problems may arise, because not every person will immediately understand the names and purposes of wires and connectors.
There are several basic ways to connect a VCR to any TV. The main ones can be considered:
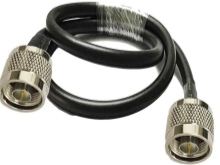
- coaxial cable connection;
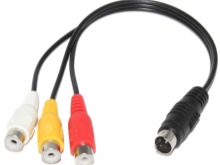
- connection via RCA-cord (via "tulip");
- connection via SCART adapter;
- connection in parallel with cable TV.
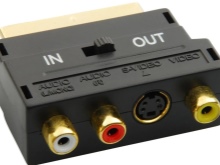
Each method has its pros and cons, the final version must be chosen based on the interface that is inherent in the TV.
It is possible that the connectors you need in your equipment are missing, this mainly concerns new TVs. The problem can be easily solved by purchasing a special adapter.
We will analyze step by step all of the listed methods of connecting the equipment.

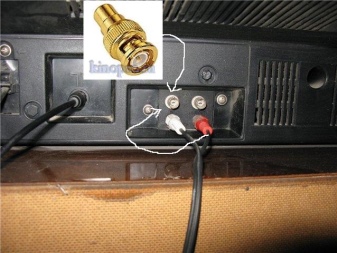
Via coaxial (antenna) cable
To connect a radio tape recorder to a TV using an antenna wire, you need to do a few simple steps.
- The plug connects to the VCR input labeled "RF / COAX Out".
- The second plug must be connected to the TV panel through the input labeled "RF / COAX In".
- Turn on the video player, insert the cassette and click on the "Play" or "Play" button. Through the search, we find the channel number we need, which will display a picture with sound waves from the cassette, and enjoy watching the video.
Via RCA cable ("tulip")
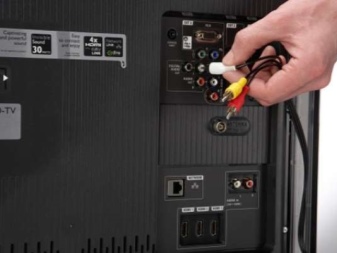
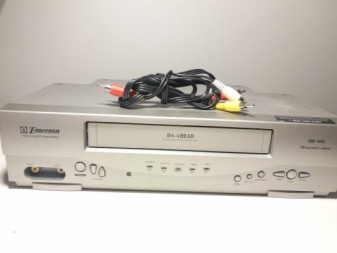
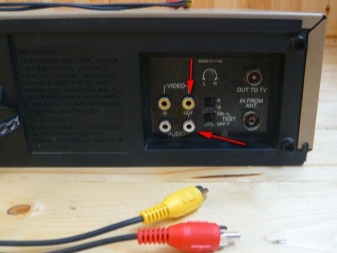
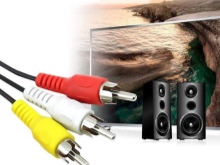
This method of connection is also quite simple, as the cable with a little hint - it has three connectors in red, white and yellow. Let's analyze the connection step by step.
- The yellow connector is inserted into the video recorder socket marked "Video Out", the other side of the connector is connected to the TV panel through the input marked "Video1" or "Video IN". For ease of connection, the inputs are color coded, so the yellow connector mates with the yellow input. Using the same scheme, we connect the rest of the plugs to the inputs corresponding to their colors on the equipment panels.
- On video equipment, press the button with the designation "Start", "Playback" or "Start", the name of the button depends on the model of equipment and may differ.
- Using the remote control, select the button "Video1", "Input1" or "AV", which also depends on the model and manufacturer of your video player.
The above connection methods are suitable for connecting the video recorder to old TV equipment, in the case of new LCD plasma devices or models with Smart TV, you need to use the third method.
Via SCART interface
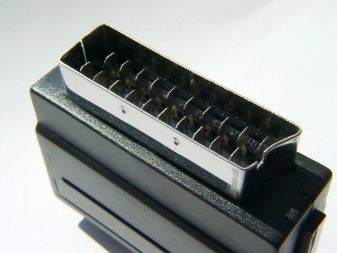
This connection will be optimal, as it allows you to display a very high-quality picture. In the absence of this connector, you must use a special adapter, the plug of which is inserted into the USB or RCA input (this depends on your TV model).
When using an adapter with RCA-input, a wire of two “tulips” is used, so that the VCR connector marked “RF / ANT In” can be used to connect the antenna cable.

Connecting parallel to cable TV
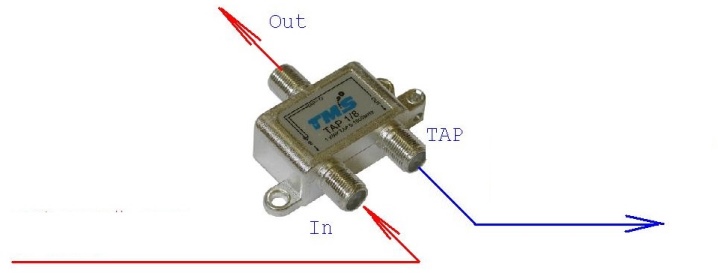
Another interesting technique for combining techniques. It is possible when receiving TV channels through a coaxial cable connected through a receiver to the cable TV input or through a special cable TV receiver, otherwise called a tuner.
Then the video recorder is connected to the receiver (tuner), and only then to the TV, which requires a set of two RCA cables and one antenna cable.
Let's analyze step by step the connection steps.
- We connect with a coaxial cable the input labeled "Cable Out" on the TV / tuner and the input labeled "RF In" on the VCR.
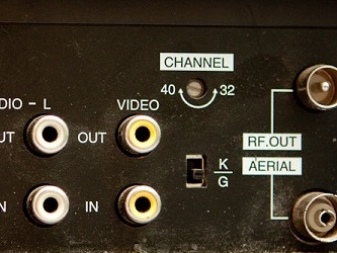
- With one set of "tulips" we connect the inputs labeled "Audio Out" and "Video Out" on the receiver to the inputs labeled "Video In" and "Audio In" on the VCR.
- With another RCA cable, we connect the video equipment to the TV panel (you can replace the RCA cable with a SCART adapter).
- We turn on the equipment. On the TV, select the input labeled "AV", "Video 1" or "Input", on the VCR - labeled "Cable".
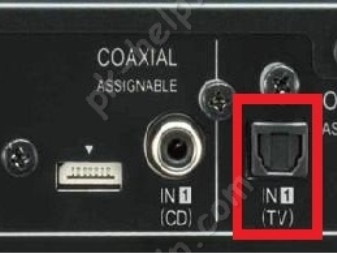
Technique check
It is necessary to carefully check all types of connectors on the equipment to determine which option will be optimal in order to connect the VCR to the TV. After connecting, it is imperative to make sure how correctly the procedure was carried out by performing a technique check. This action will not take much time.
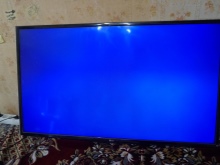
When connecting via an antenna cable, you must turn on the video recorder; if the connection is successful, the video goes into standby mode (the screen turns blue or black).
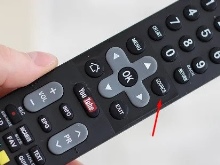
When connecting via SCART, both devices must be turned on at the same time, the signal source is changed with the Sourse button.
Possible problems
When connecting devices of different generations and manufacturers, problems often arise, but they are all solvable.
- Interference. If interference appears, first of all we check the wire, it is possible that it is not fully inserted into the connector.
- The TV does not “see” the signal from the VCR. This problem has a number of reasons: the wrong transmission channel is configured, the cable is damaged, or the socket is broken. In the first case, you need to select a different source of the transmission channel in the settings. If the wire is damaged, it must be replaced with a working one. In the latter case, you need to either replace the socket yourself, or give the equipment to a repair shop.
- TV and video connectors do not match. This problem is solved by purchasing a special adapter (SCART).
- The sound from the TV is superimposed on the video. The audio signal can come from a different source in the background, this inconvenience arises from the television antenna. To get out of this situation, you need to carefully move the antenna in different directions, thus slightly changing its previous location.

Recommendations
Before connecting, be sure to study the instructions for television and video equipment for an approximate understanding of the principle of operation of the technique. It is also necessary to check the health of both devices, otherwise the connection may be dangerous to your life and health.
Cables are checked in advance for serviceability and compatibility with all connectors on the equipment.Do not forget about safety precautions, it must be remembered that the connection is made with the devices turned off in order to avoid their breakdown.
Observing simple recommendations and choosing the necessary option for connecting a VCR to your TV, you can indulge in nostalgia and watch your favorite films on cassettes or video recordings of some important life moments for you.
For more details on the connection, see below.


The comment was sent successfully.