How to make a camera obscura with your own hands?
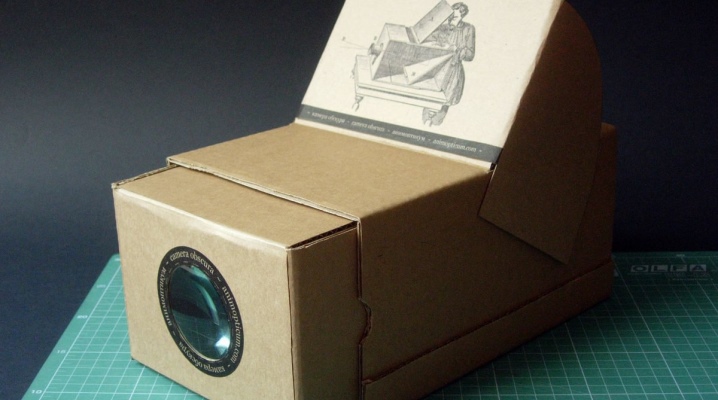
A pinhole camera is the simplest optical device that can be easily made with your own hands at home. A shoebox, an empty coffee can, a sheet of plywood, and even a matchbox can all be used to make a homemade camera.
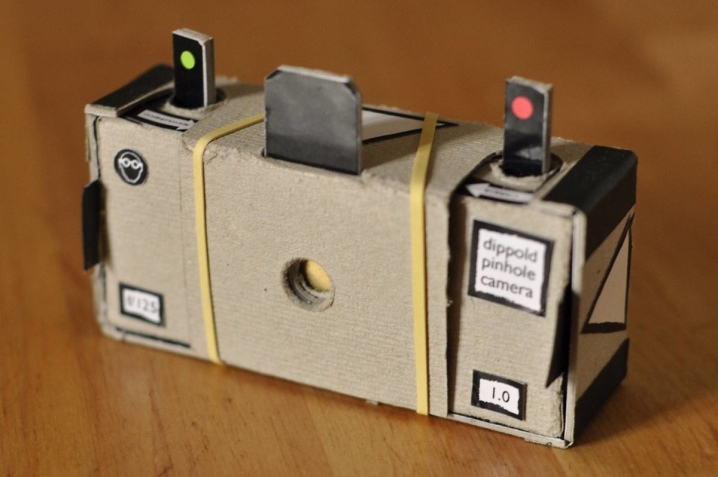
Manufacturing features
Let's consider several features of such devices.
- Such a chamber consists of two main parts: a wall with an opening and a screen. Others serve to render or photograph an image.
- In a pinhole camera, the hole is analogous to the camera diaphragm. The distance from the aperture to the screen acts as a focus.
- In large-sized devices, the dimensions of which range from tens of centimeters to meters, the quality of the hole processing does not play a special role. But on a centimeter scale, this is no longer the case.
- The most suitable material is aluminum sheet.
- It is best to pierce the diaphragm with a steel needle on a hardboard backing, then sand both surfaces with sandpaper.
- The optimal diameter depends on the focal length of the camera. The relationship between these two parameters is approximately as follows: the diaphragm diameter is several hundred times smaller than the focus. You can take it 100-500 times, depending on the desired quality and technological capabilities.
Assembly instructions
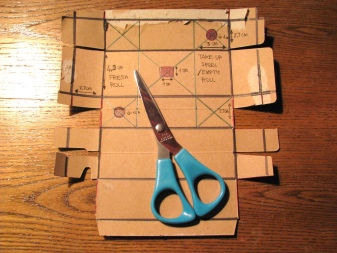
There are several ways to assemble a pinhole camera yourself.
With curtains
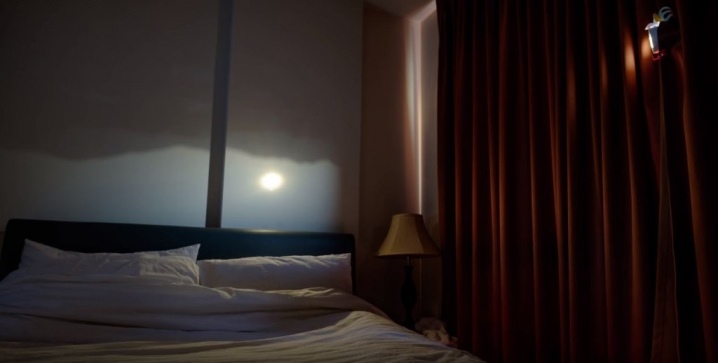
If the room has blackout curtains, it can be turned into a camera obscura in 5 minutes. To do this, we take a roll of toilet paper with a hole of several centimeters, a couple of any clothespins and slide the curtains.
We insert a roll between the curtains, fix it at the top and bottom.
Ready! On the opposite wall, an upside-down image of the landscape outside the window will appear.
From the can
Materials we need:
- a couple of empty coffee cans: the higher and narrower the better;
- translucent plastic lid for one of the cans;
- thick black paper;
- scissors and a sharp knife;
- insulating tape;
- thin nail;
- hammer;
- colored material (for decoration);
- as dense a canvas as possible;
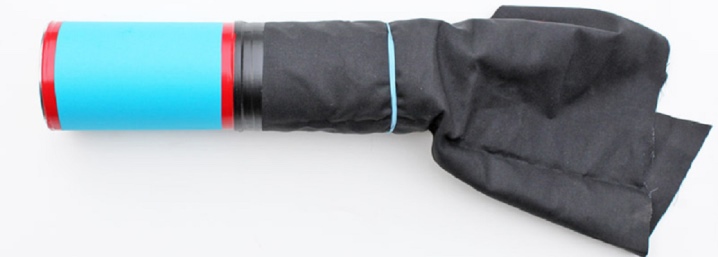
We punch a hole in the bottom of one of the cans. Cut off the bottom of another can. Cut rectangular pieces out of black paper so that they cover the inner surfaces of both cans. We put them in.
Now you need to assemble the camera: put the first jar with the hole down, put on the lid, attach the second and fix it with electrical tape. It turned out to be a long tube with a screen in the middle. Finally, decorate with colored material and attach the canvas.
From the box
The following materials will be required:
- cardboard box;
- scissors;
- glue;
- translucent paper (tracing paper, parchment);
- drawing pin.
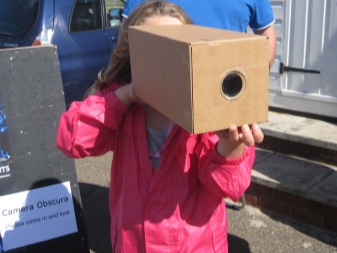
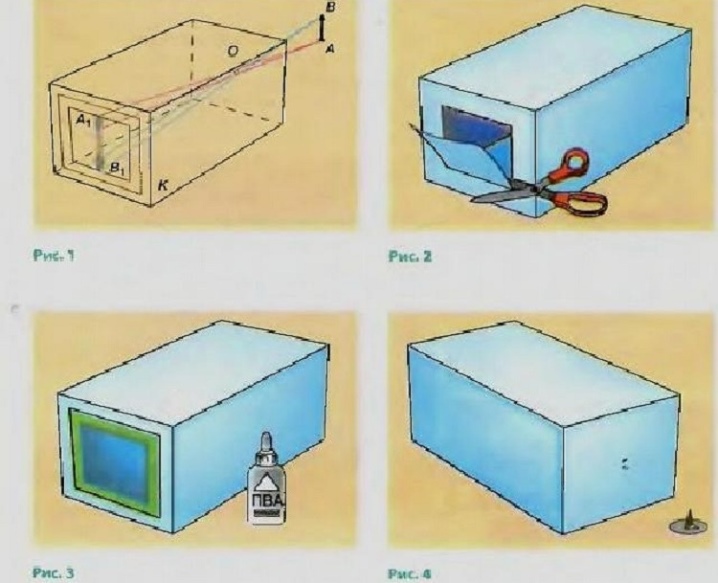
In the middle of one of the smaller walls of the box we pierce a hole with a button. Cut out a rectangular "window" in the opposite wall.
We glue this "window" with a piece of translucent paper. The camera is ready. It must be said that with the help of such a device, only brightly lit objects can be observed.
From a matchbox
The camera obscura from the matchbox is closest to the camera - it allows you to take a photograph. To make it you will need the following:
- 2 matchboxes;
- cardboard;
- photographic film 35 mm;
- empty cassette;
- a piece of plastic;
- aluminum plate;
- electrical tape, scotch tape;
- needle;
- file.
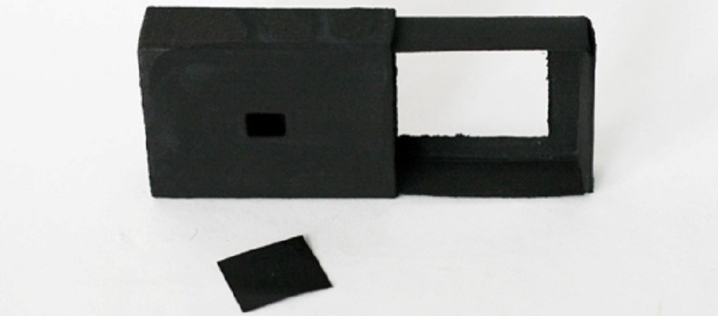
In the center of the sliding part of the box, we cut out a hole with dimensions of 32x24 or 24x24 mm. In the outer part in the middle we also make a "window" of 8x5 mm.We prepare a 15x15 mm plate from aluminum and punch a very small hole with a needle. We clean the burrs with a file. We blacken all the received details.
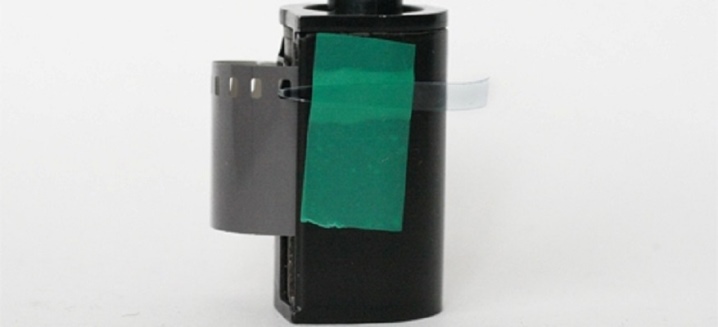
We prepare the frame counter from plastic: cut off a narrow strip, twist it with our fingers. We attach the strip to the film cassette at the perforation level.
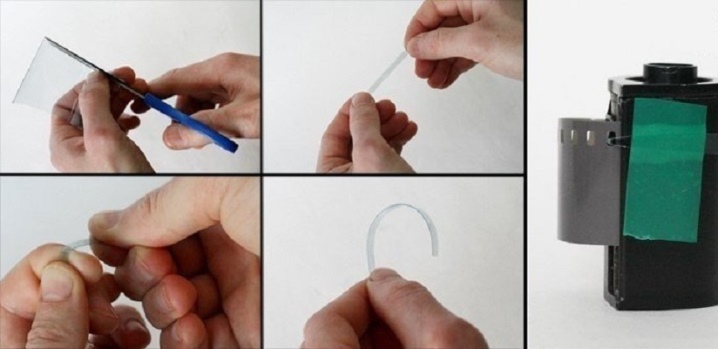
When the film moves, clicks will be heard: 8-9 clicks at a frame of 36x24 and 6-7 at 24x24 mm.
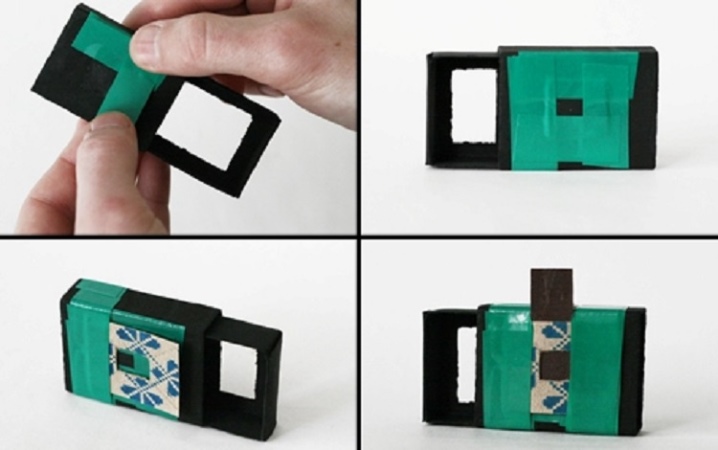
We make the shutter. Cut out a 40x25 mm rectangle from the wall of the second box, in the middle of which we make a 15x8 mm hole. We make a rectangular shutter 10x30 mm from thick cardboard, blacken it. With electrical tape or tape we attach an aluminum plate with a hole exactly in the middle of the side of the box where the "window" is cut out. We put a 40x25 mm frame in the top center and wrap it with electrical tape in such a way that the shutter tightly closes the camera hole.
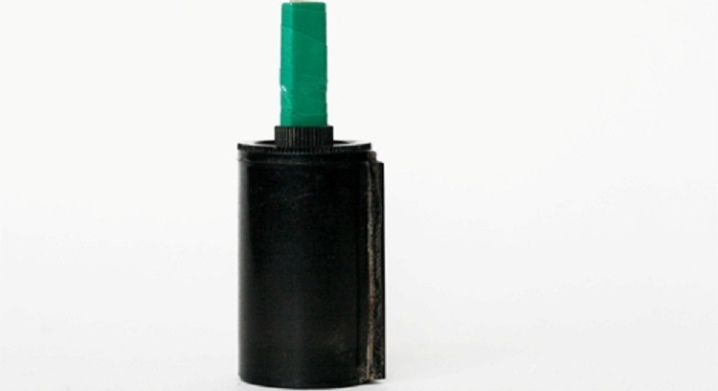
You need to rewind the film with a 5x20 mm cardboard handle.
We stretch the film through the boxes, insert the sliding part of the box so that the film passes behind it. We fix the film in the second cassette. We cover all joints with electrical tape.
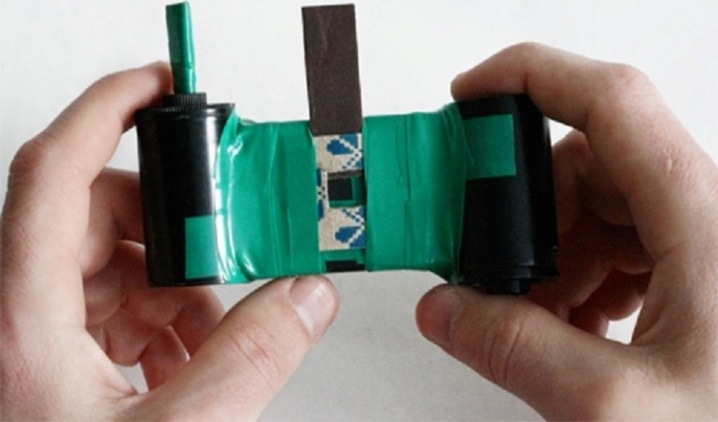
You should take pictures with a tripod or with a good stop, as any movement of the camera will lead to blurred images.
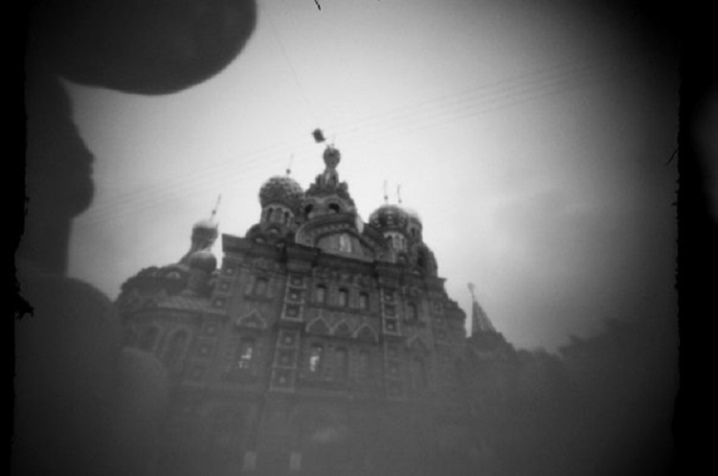
Here is a picture taken with the described camera from a matchbox.
From foam board
Necessary materials:
- ruler;
- knife;
- thin needle;
- sandpaper;
- black paint;
- glue;
- ball pen;
- a piece of thin metal (you can from a tin can) measuring 2x2 cm;
- 3 rolls of film;
- foam board sheet 5 mm thick.
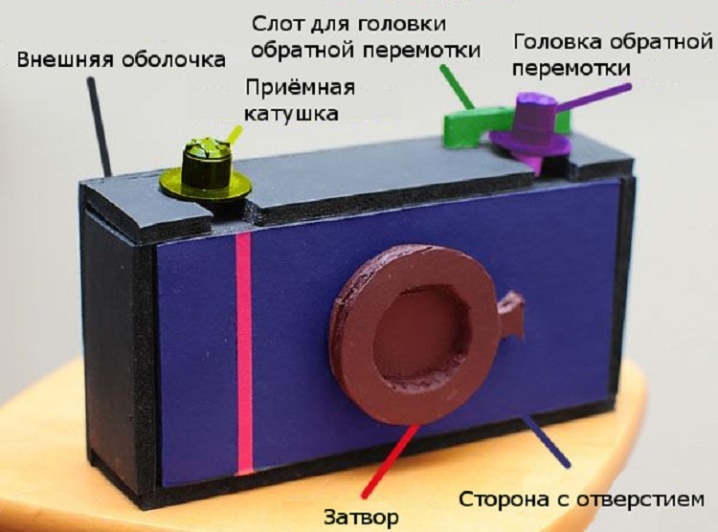
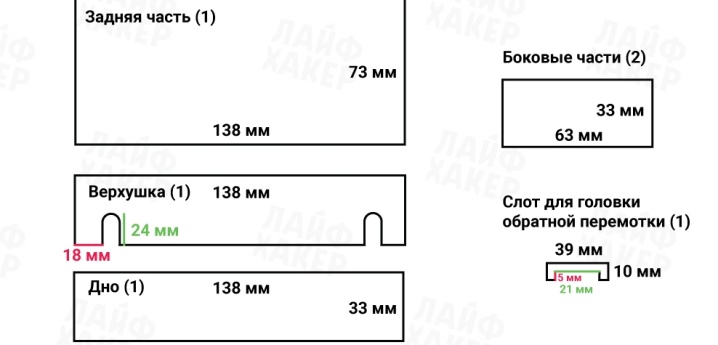
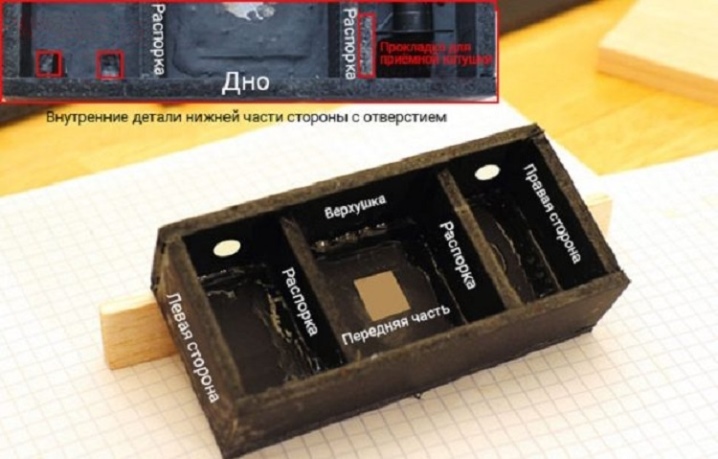
Cut out parts of the outer shell from the foam board according to the presented drawings. We glue the outer shell. We make the parts and glue the side with the hole according to the attached drawings.
Side view with a hole.
We make the shutter assembly according to the drawings and glue it to the side with the hole.
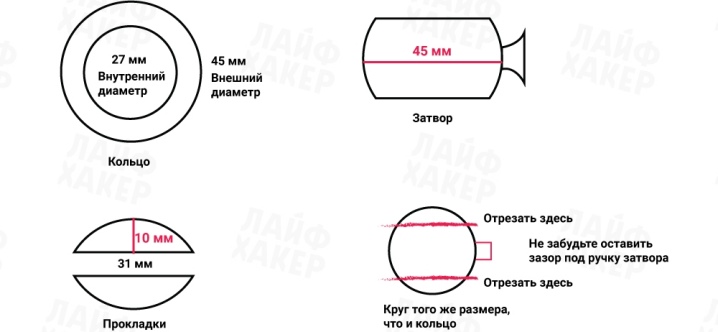
The bolt itself and the gaskets are easiest to cut from a circle that coincides with the ring in diameter.
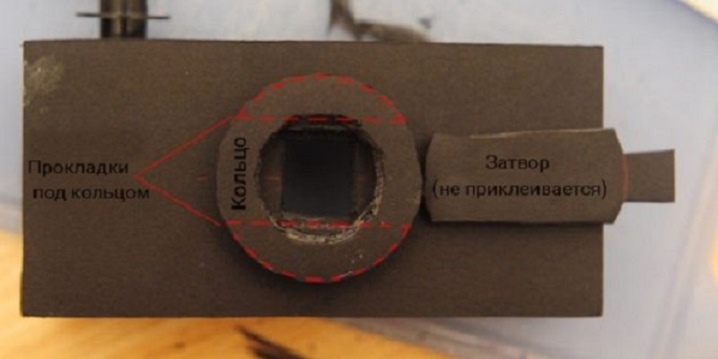
Carefully punch a small hole in the center of the tin plate with a needle. We carefully clean it with sandpaper. We glue the diaphragm to the front side between the spacers so that both holes are centered.
Now we make the rewind head. We cut off a part of the coil so long that it is convenient to rewind the film. Separate the 30-35 mm cylinder from the ballpoint pen tube.
At one end we make recesses for a roll of film, the other is glued into the cut of the roll, leaving a part 21 mm long. Install the take-up coil.
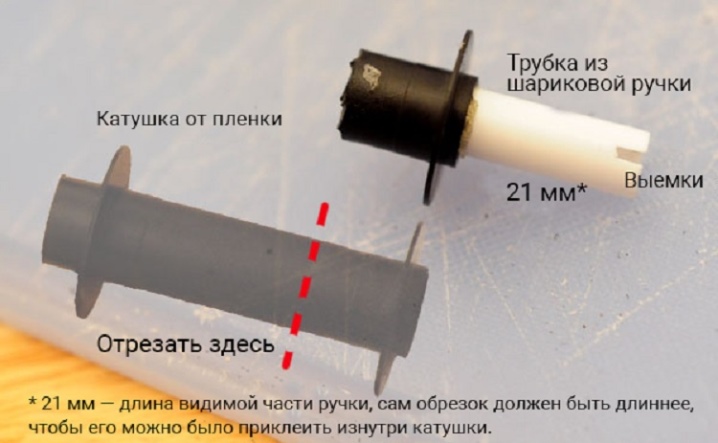
Cut off part of the coil again. Insert the other coil into the hole on the right side of the upper part of the case. The distance between the discs (11 mm) is adjusted by grinding. A plug-in piece of foam board is used for the strength of the connection. We glue the take-up spool assembly.
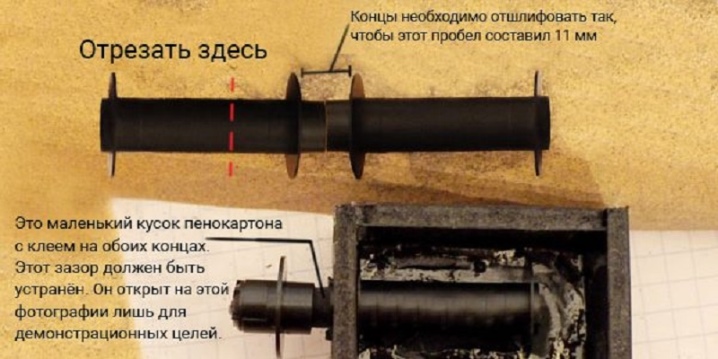
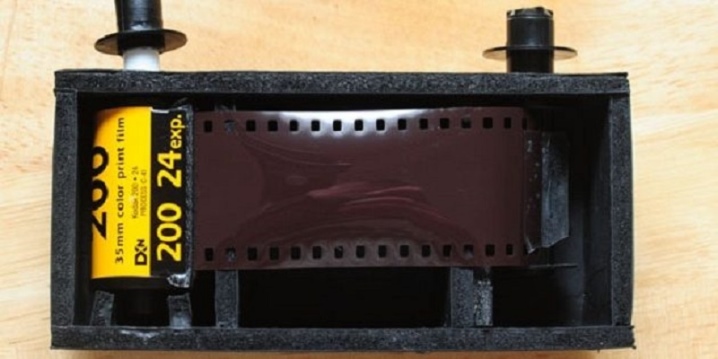
Insert the film into the left section of the inner part and fix it with the rewind head. We stretch it to the take-up spool and attach it with tape. Finding the optimal shutter speed will take some experimentation. The geometry of the described pinhole camera gives an approximate aperture value of f / 75-f / 80.
Recommendations
The considered device is based on the laws of geometric optics. Displaying the picture on the screen does not require the use of optical elements, which by their nature distort the light rays. This is the reason for the relative simplicity and low cost.
When building a photographing camera obscura, exposure is measured in seconds and even hours, depending on the illumination of objects. Therefore, it is very important to eliminate at home any possibility of exposure of photographic material in the camera: carefully isolate it from the penetration of the weakest ray with electrical tape or in another way.
For the same reason, all interior surfaces of the camera must be coated with black paint to prevent glare. Another prerequisite for photographing is the immobility of the camera during the exposure. Use a secure, solid support or tripod.
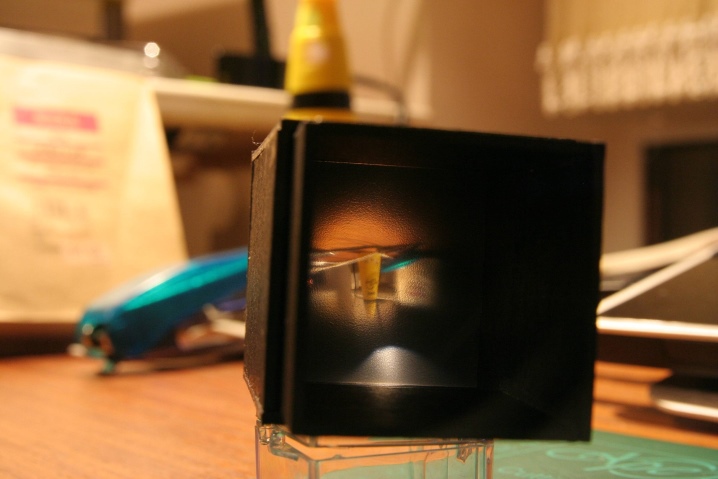
How to make a camera obscura with your own hands, see below.


The comment was sent successfully.