Amplifier case: characteristics and do-it-yourself manufacturing
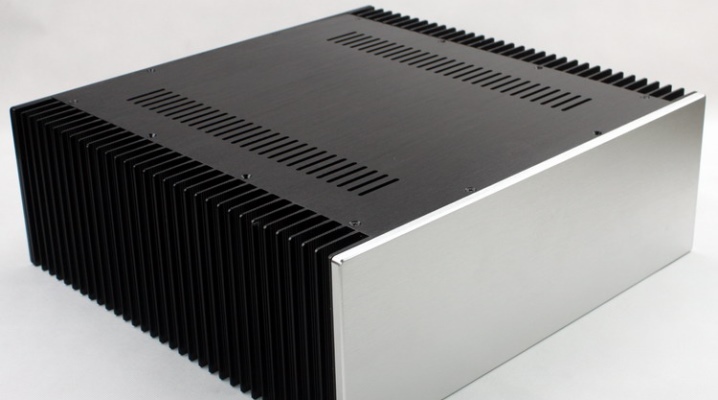
It is quite possible to make a high-quality and attractive case for an amplifier with your own hands. All procedures will not take much time, and labor costs will be minimal. In this article, we will find out what stages such work consists of and what is needed for this.
Peculiarities
The body part of any device plays one of the most important roles. It is the case that protects and covers the entire internal structure of a particular device. This component is usually performed not only as reliable and durable, but also attractive. This is due to the fact that it is the body that is always in sight and attracts all the attention.
Many home craftsmen undertake to make their own case for different devices, for example, for an amplifier. Carrying out such work requires special care and accuracy. If you do not follow these simple and understandable conditions, the result may upset the user.
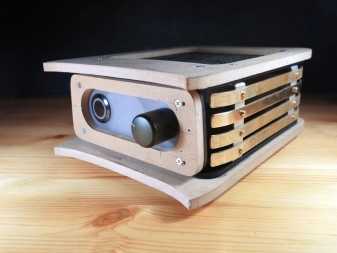
When designing a homemade amplifier enclosure you should always take into account not only constructive, but also all its design features... The product should turn out to be convenient and neat, so the master should, before starting all work, think about what the body of the equipment will be in the end.
It is advisable to sketch all ideas in detail in the form of diagrams.
Manufacturing materials
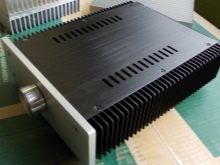
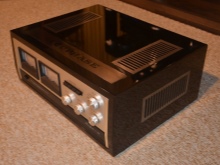
To build a high quality and reliable amplifier enclosure, you need to stock up on all the necessary materials. They must be in perfect condition if you want to get a good product as a result of all the work. Many users make their enclosures out of wood, but homemade structures can also be constructed from materials such as aluminum. If the body part is made from it, then it should not contain any wooden or steel elements (with the exception of fasteners). We must not forget that the cabinet design of the amplifier is both a heat sink and a screen at the same time.
To build blanks for the future product, it is allowed to use hollow aluminum beams, which are usually used in 12 and 14-storey buildings of the P46 and P55 series to protect window structures in corner entrances. You will also need to stock duralumin plates, the thickness of which is at least 3 mm. From them it will turn out to build the bottom and cover of the amplifier case. Having found all the necessary materials, it is recommended to immediately expand them at the place of assembly of the future hull structure.
It is better to do this so that at the right moment you do not look for a part throughout the house, wasting time.
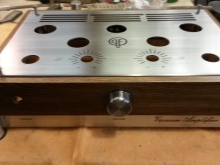
How to do it yourself?
Before starting all work, it is strongly recommended to draw up a detailed plan for the future design. Sketch the detailed diagrams of the case indicating all sizes and features of certain parts. Try to be as accurate as possible so that you don't run into unexpected problems or mismatches during assembly.
Having prepared all the necessary materials, tools and circuits, you can proceed to the direct assembly of the amplifier body. Let's take a look at how this can be done correctly.
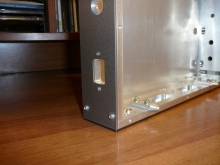
- First you need to make the correct blanks for the future design. This is where the hollow aluminum beams mentioned earlier come in handy.
- You will need to saw the aluminum beam along its length... As a result, you will get a U-shaped profile.It can be used for the construction of reliable side parts of the future structure, as well as partitions in the inner part.
- You can use a 15 mm aluminum corner (more possible) by cutting it into separate segments of the length you need.
- Now you need to prepare duralumin plates. From them, you can build good walls and the bottom of the structure for the amplifier. Instead of these elements, it is permissible to use a special decorative type profile, which is often used for decorating and cladding various buildings.
- If you are planning to combine an amplifier and an exciter, then one of the walls of the hull structure is desirable to be made from a single piece of the beam. Place the frequency control circuits and the generator board in the formed container.
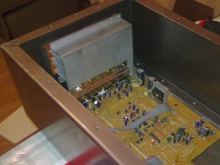
- For all cascades, you will need to build your own separate "pocket"... As an exception, only 2 first cascades, differing in low power indicators, can act. They can be placed in the general department. The outlet filter piece will need to be placed in a separate compartment.
- Be sure to measure the dimensions of the board and compartments. In this case, if necessary, it will be easier to dismantle the specified part without dismantling the walls of the product.
- Make special cuts in the partitions of the structure. You will need them to get the jumper cables running.
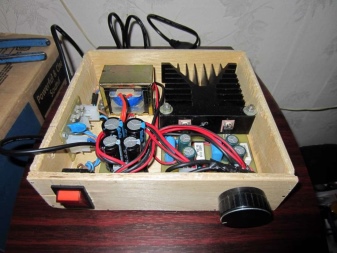
- Both cables and boards do not need to be attached to the sides of the chassis. They will need to be fixed at the bottom of the product. The described approach will significantly simplify the user to adjust the amplifier later.
- Close attention will need to be paid to the issue of fitting the required panels to size... There should not be the slightest gaps and crevices between all the components of the hull structure. If you give up on this nuance with your hand, in the end you can get not the best quality case, which will definitely not please you.
- Between the partitions located in the inner cavity of the product, very small gaps are allowedranging from 0.3 to 0.5 mm and no more.
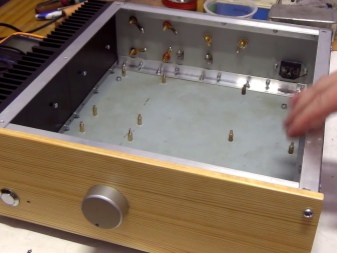
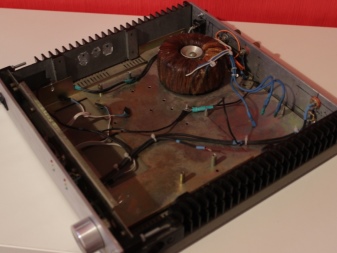
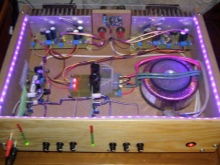
Helpful hints and tips
If you decide to make a high-quality amplifier case at home, you should check out some helpful guidelines.
- Instead of buying new materials to build a quality structure you can use old technology housings. Such things can be bought both hand-held and ordered on many sites. The result is a good and professional design, but the design is simple, devoid of personality. It is because of this that many users abandon this idea.
- Before starting all work, drawing up a diagram of the future design, pay special attention to the dimensional parameters of all parts... If you make a mistake in some calculations, this can result in serious problems during the assembly of the product.
- If you want to "bring to mind" and prepare a corpus taken from a "donor", you should make sure that it has ventilation holes... It is best to place the amplifier in a ventilated enclosure.
- Making a body with your own hands, it is very important to be very careful with all the important parts of the amplifier itself. Be especially careful with all circuit boards and wires. If you accidentally damage an important part of the device, it will entail a lot of unnecessary problems and worries.
- Use only high-quality tools for assemblyin good condition. Broken and crooked fixtures can take a long time.
- Try to assemble the case, bearing in mind that in the future you may need to get to a certain part of the amplifier... The design should be such that you have the opportunity to repair and repair technical units located in its internal cavity.Otherwise, you will have to violate the integrity of the case, which will negatively affect both its appearance and the condition as a whole.
- Take your time assembling the amplifier case... In a hurry, you run the risk of forgetting about installing some important units and parts. Because of this, you will have to go back a couple of steps and fix the error.
- After completing all the technical work and installing the amplifier in a new housing, be sure to check how it works.
If you notice that you have made any mistakes during manufacturing, immediately correct them and repeat the testing of the technique.
For information on how to make a case for an amplifier, see the next video.


The comment was sent successfully.