All about dill

It is useful for gardeners and gardeners to learn everything about dill, whether it is a vegetable or a herb. Information will come in handy not only about how the fruits and inflorescences look, but also what type of greenery does the fragrant dill belong to. You will also need to deal with the seeds of a garden plant and its root, with other important nuances.
general description
For a long time, gardeners had no doubt that dill belongs to a type of greenery known as grass. Indeed, its appearance is more similar to dandelion, rose or lawn grass than most edible plants grown.
And botanists share this opinion, starting from a number of features of such a culture. However, from a culinary point of view, while dill looks like an herb, it is a vegetable.
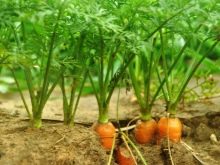
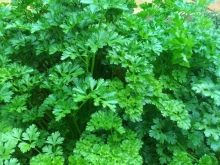
Both of these definitions are completely accurate - you just need to remember which of them belongs to which area. From a botanical point of view, fragrant dill, aka garden dill, is a plant from the genus dill (it is the only species of this genus). The genus itself is part of the umbrella family - as you might guess, this is due to the widely known umbrella it forms. Other members of the family are:
-
celery;
-
carrot;
-
parsley;
-
hogweed;
-
caraway;
-
fennel.
In the wild, dill has inhabited the territories of Asia Minor, Iran, northern Africa and even the Himalayan mountains. In culture, he became an ordinary inhabitant of all continents. And also thanks to man, this species has become a weedy everywhere. Although perennial crops are also found in the umbrella family, dill is characterized by a strictly annual development - even in areas with hot climates.
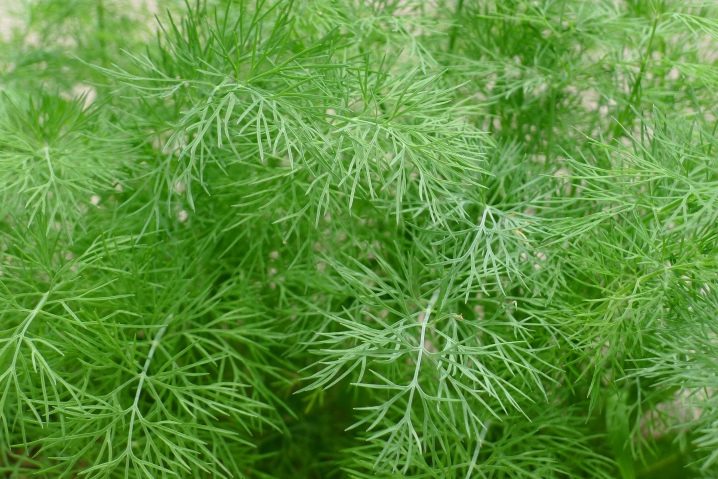
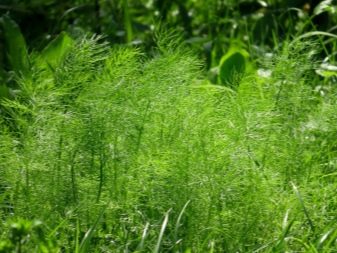
Dill fruits belong to the unusual category of droppings. Such fruits are approximately found not only in the umbrella, but also in the aralian family. The culture itself exudes a strong expressive aroma. A significant and well-known characteristic of the species is the appearance of single stems. These stems themselves can have both a straight, simple and branched structure.
The stem height reaches 0.4-1.5 m, depending on the variety and cultivation conditions. Pubescence is not typical. Dark green color is characteristic. The spans of the branches are strongly bent. The leaves belong to the pinnately dissected species, they are dissected three or four times (these are normal variants).
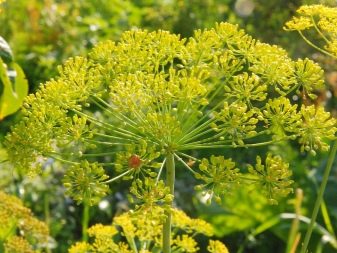
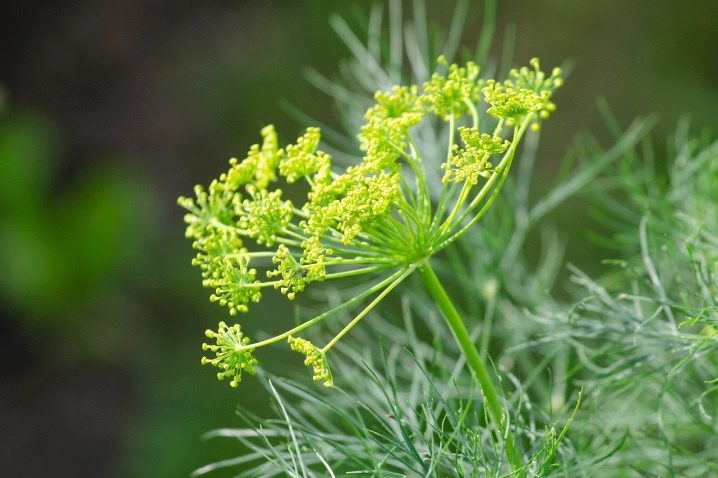
The leaf is shaped like an egg. The lobules of the last order have a linear filamentous or bristle-like format. The lower foliage is on cuttings, the upper foliage is of the sedentary type. Double dill umbrellas complement its look as elegantly as possible. The cross section of these umbrellas, dividing into 20-50 rays, is no more than 15 cm.
The flowers are also grouped in an umbrella-shaped inflorescence. The section of the inflorescences varies from 2 to 9 cm. The petals are yellow in color. The bars are relatively short. At the time of flowering, they go straight, later bend back.

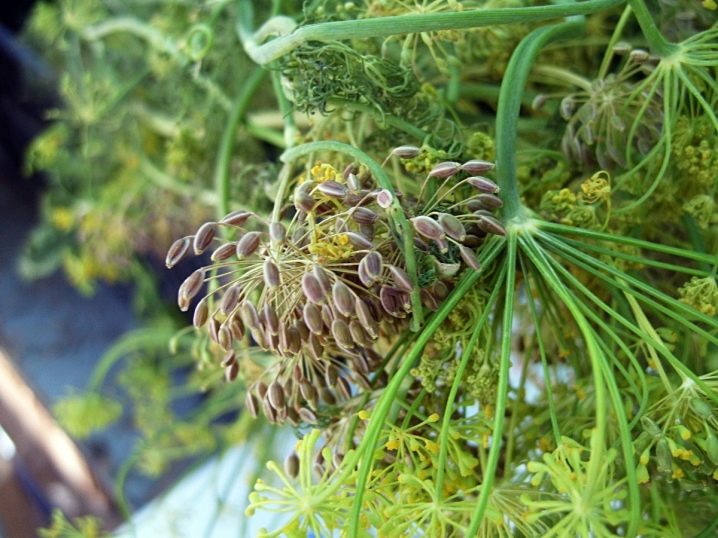
The seeds are shaped like an egg or a short ellipse. Their length is 0.3-0.5 cm. Thickness can vary from 0.13 to 0.15 cm. Flowering occurs in June and July. The root system of dill is strictly tap-type, and the main root, visually similar to a spindle, is very fleshy.
Landing
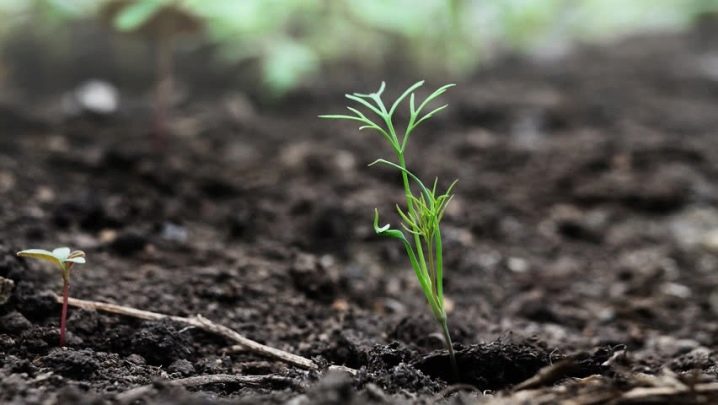
Dill seeds can withstand even relatively severe frosts. It is better to choose areas with high humidity for planting. For a plant to develop as efficiently as possible, it needs an abundance of light. In addition to these obvious considerations when choosing a site, one must remember about the weak germination capacity on acidic soil.
It is also worth noting that even with strict adherence to the basic principles, seedlings will not appear so soon.
Pre-inoculum is soaked in water for 72 hours with an initial heating of 50 degrees. After the appearance of signs of sediment, the liquid is poured 4 or 5 times in 24 hours. This will sanitize the seeds and shorten the waiting time for sprouts. The following preparatory steps:
-
laying out on the same gauze bags in which the seeds were soaked;
-
covering them from above with pieces of slightly wet matter or steamed sawdust;
-
exposure for 4 days at room temperature, until the emergence of sprouts.
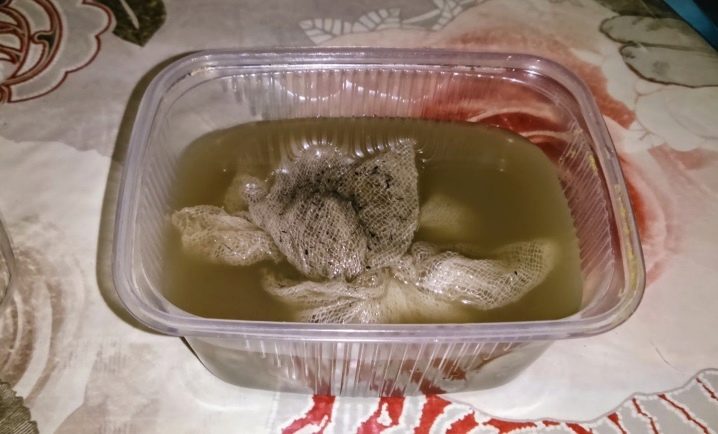
They will not appear on all seeds, but only on some - there is no need to worry about this, it should be so. Before sowing, the seeds must be dried for about 30 minutes. This should be done in warmth, but without excessive heating. The sowing itself goes into well-shed soil, otherwise you cannot count on success. Additionally, hydrothermal aeration and bubbling of the planting material may be required.
For such procedures, a conventional aquarium compressor is used. An early harvest of dill is obtained differently by planting seedlings on a windowsill. It is then transplanted to its final location approximately 35 days after disembarkation. More precisely, you can determine the right moment only taking into account the condition of specific plants.
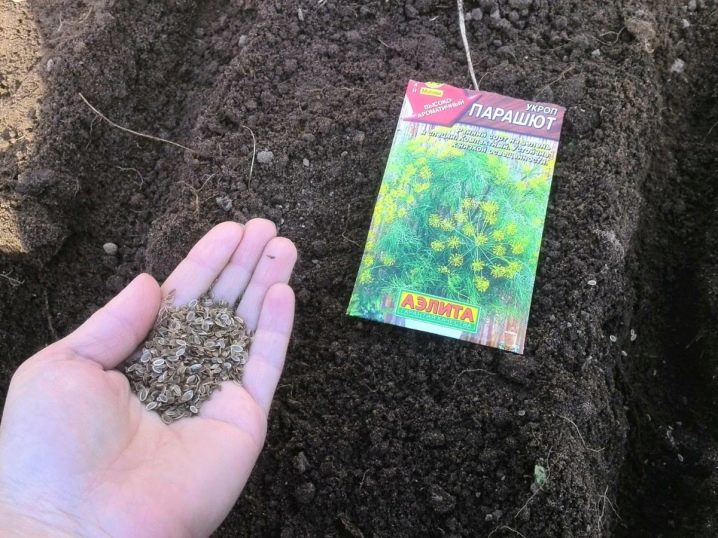
Sowing directly into open ground is possible already in the middle of spring - the main thing is that the temperature is stably kept above –4 degrees. But it is better for the air to warm up to +15 degrees and above.

Over-sowing seeds every 2 weeks allows you to get crops for a long time and consistently. Mostly in Russia, dill is planted between April 20 and 30. The ridges are better prepared in the fall, which makes it possible to speed up the receipt of the result. It is necessary to dig up the soil to a depth of 0.2 m, or on the bayonet of a shovel. Watering the planting is not required so that the seeds do not sink too deep.
Sometimes planting is practiced before the winter. It must be done 7-14 days before the onset of strong frosts. The earth must be dug up. It is worth fertilizing it. The sowing depth is 1.5-2 cm, the row spacing should be 20 cm.
Care
In the open field
There is nothing unusual about leaving. As with other plants, dill requires:
-
irrigation;
-
thinning;
-
loosening the soil;
-
weed removal;
-
feeding.
Loosening of the soil should be done to a depth of 5 cm immediately after the plants have taken root. Two loosening will be needed every 2 weeks when the plants are watered (or when it rains). Fortified dill almost does not suffer from weeds, but they very often kill young shoots.
Watering the grass should be done quite often, since it is hygrophilous. In hot periods, irrigation is carried out twice a day.
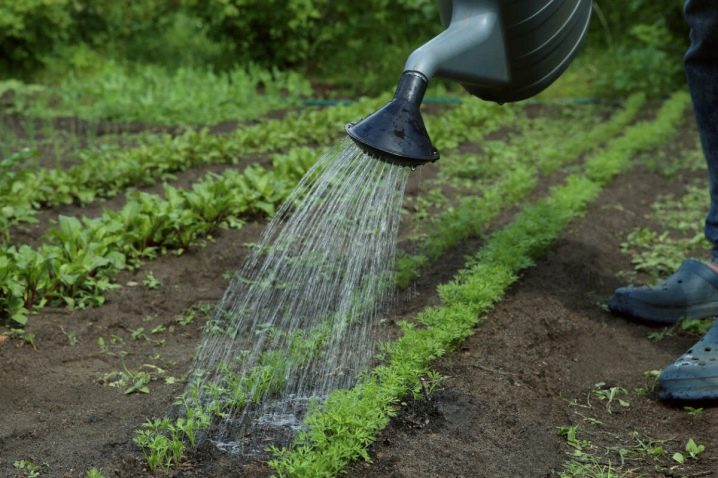
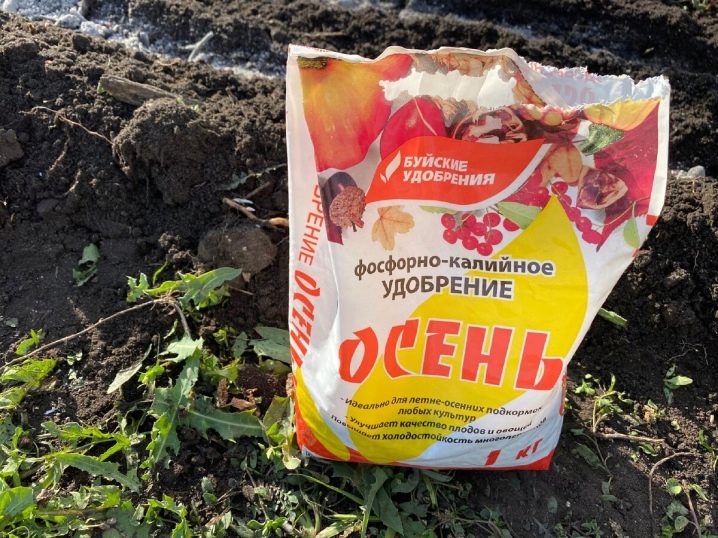
For 1 reception, use from 20 to 30 liters of water. To simplify their life, gardeners can install an automatic irrigation complex. Nitrogen fertilizers are useful for dill, but it tends to accumulate nitrates, and therefore should be applied in moderation. The best fertilization option is a five-day infusion of nettle. Phosphorus-potassium mixtures in the amount of 15 g per 1 sq. m are brought in exclusively as needed.
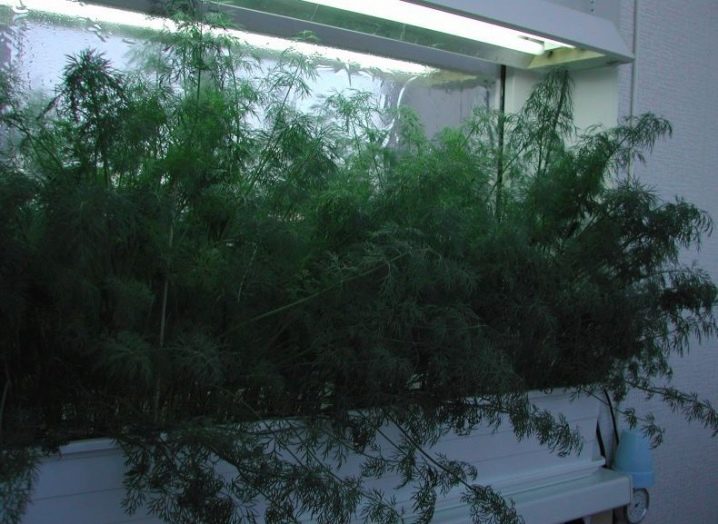
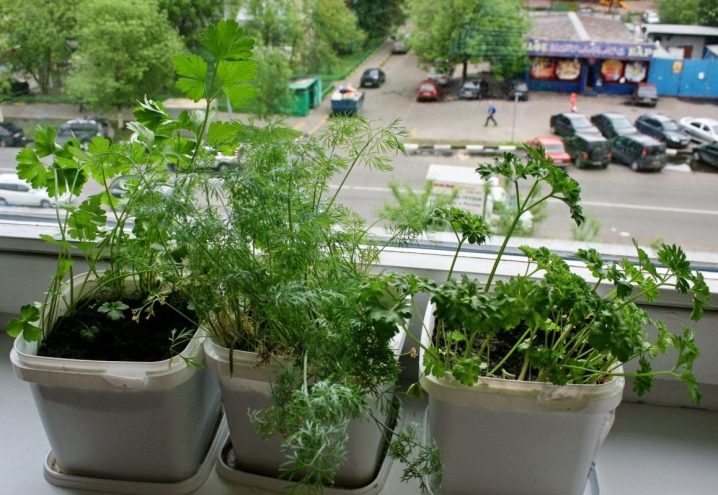
On the windowsill
At home, dense dill seedlings are much more critical than in the garden. There should be a gap of 2-3 cm between the seedlings. In the future, the plantings are thinned out if necessary. An excessively high temperature for this culture is contraindicated, since it threatens to pull out the seedlings. In the first 5-7 days of maintenance, it is better to keep the air temperature 2-3 degrees below the general norm.
Such a plant at home needs active insolation. It can be provided in spring only by means of special phytolamps. The power of the fluorescent light source can be from 40 to 80 watts.
Keep the lamp at a distance of 60 cm from the stem. Additional lighting starts early in the morning and lasts from 5 to 6 hours, depending on the result.
Dill is extremely vulnerable to chlorine.That is why it is strongly recommended to settle the water for a day or more before watering.... The water itself should be at room temperature or slightly warmer. It is important to monitor the looseness of the soil and keep it moist. But it is worth overmoistening, and the plant will be struck by a black leg. If possible, it is best to supplement and partially replace conventional spraying irrigation.
Diseases and pests
Peronospora is a formidable danger for dill. This disease is developing very rapidly. To combat it, use "Fitosporin" and other advanced drugs. Home remedies are practically ineffective. Treatment with biological products is carried out twice with a gap of 14 days.
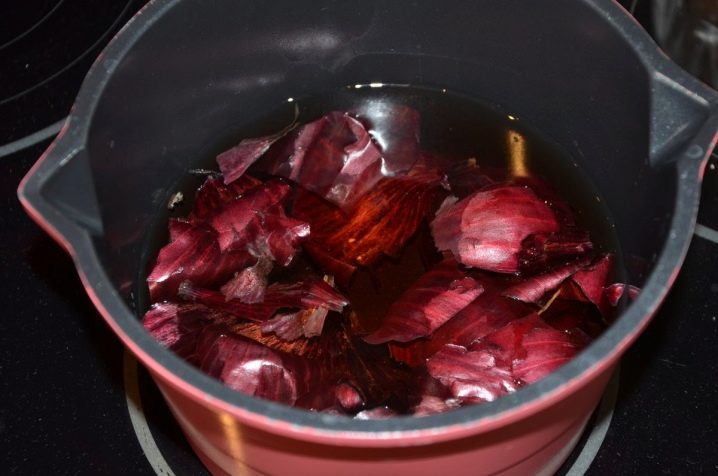
Powdery mildew can at first be treated with a decoction of onion peel or milk whey, but if the situation is neglected, Bordeaux mixture and newer preparations are used (observing safety requirements).
And also the threat is posed by:
-
phomosis;
-
cercosporosis;
-
verticillary wilting;
-
fusarium wilting.
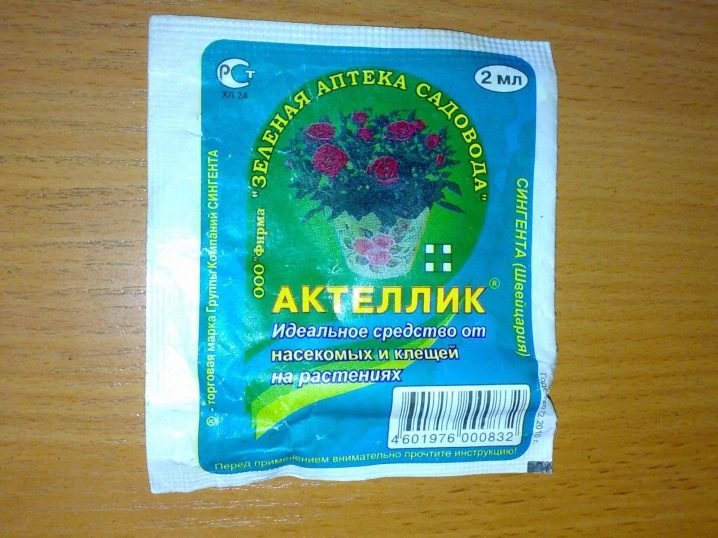
Of the insects for dill, the horsefly bug is dangerous. It is suppressed by Aktellik and Fitoverm. To combat the Italian bug, there remains only the option of manually collecting the pest and observing crop rotation measures. Aphids are usually defeated by infusion of potato or tomato tops, as well as infusion of tobacco. Tobacco mixed with soap will also help against carrot flies, but if infected with an umbrella moth, diseased plants will only have to be destroyed.
Collection and storage
Dill leaves are usually harvested 30-40 days after sowing. The criterion for readiness is the appearance of 4 or 5 leaves. The leaves themselves are cut with scissors, although you can carefully tear them off. In large beds, whole stems are harvested. If dill is planned to be salted, it must be harvested in 55-60 days, and the seeds will be ready for about 90-120 days of growing season.
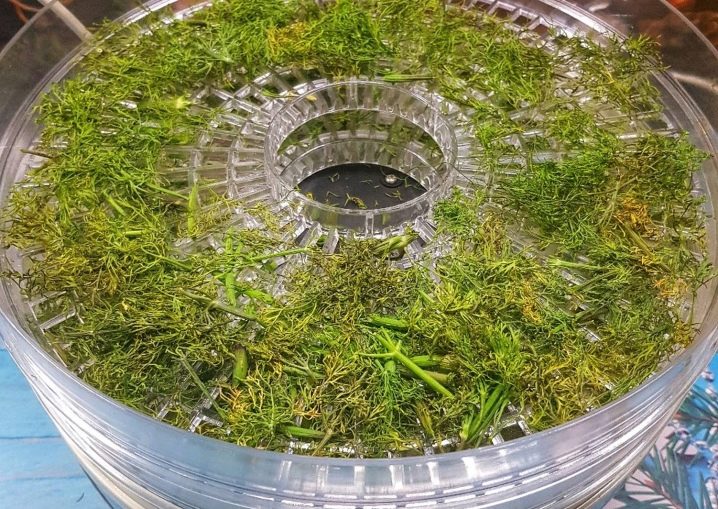
Harvesting is possible only before the inflorescences open. Pickling heads should be green and pliable. Leaves and shoots are dried and frozen. The shelf life of dill after salting reaches six months. Its seeds are easy to store for up to 3 years.


The comment was sent successfully.