How to plant dill in open ground with seeds?
Dill is not only a herb that we love to use in cooking. It is also a medicinal herb that is used for medicinal purposes. At first glance, there is nothing difficult in growing dill in your garden.
Some sow a crop once, and it multiplies from year to year like a weed, while others are constantly fighting for the harvest of this greenery. In the article, we will tell you how to plant dill in open ground with seeds, which variety to give preference to, how to choose the right planting site, and how to care for a dill plantation.
Variety selection
You need to choose dill varieties based on the region where you live. It is better to sow varieties that are resistant to temperature extremes and have a high germination capacity.
From such seeds, you are guaranteed to get a lot of greenery with simple agrotechnical plant care.
Let's consider several such varieties.
-
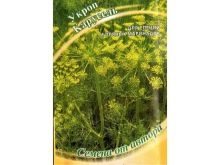
"Mischievous". This variety does not produce umbrellas, which allows it to build up green mass on stems for a long time, and not shoots in the form of umbrellas.
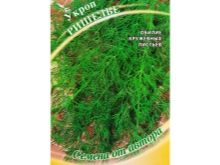
- "Lesnogorodsky" grade dill are classified as mid-season varieties. This species constantly gives foliage, builds up greens, even when the process of forming umbrella shoots of seed ripening is underway.
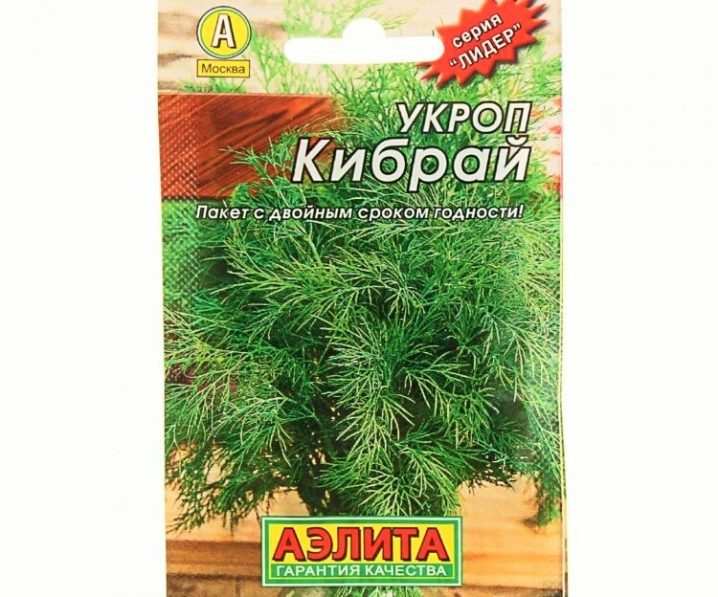
- "Kibray". This variety gives a late harvest (late ripening), but by sowing such dill, you are guaranteed to get abundant foliage. This variety demonstrates one hundred percent germination.
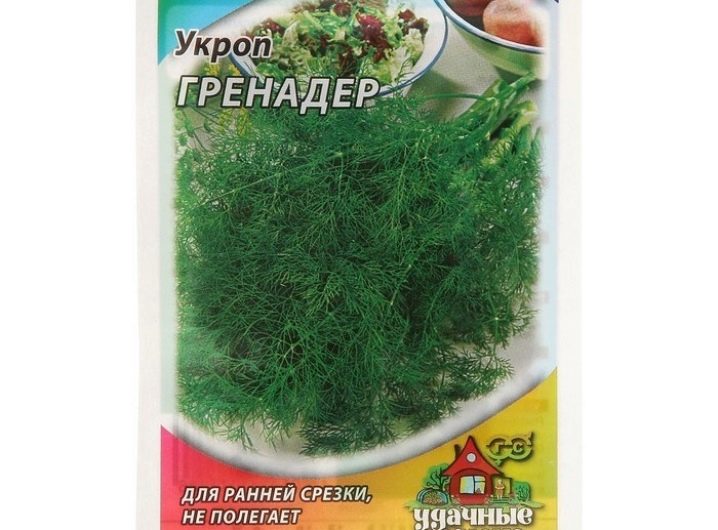
- "Grenadier" belong to early maturing varieties. You can pick greens 4 weeks after the first dill sprouts appear on the site, and after 2 months the stems and seeds will be ripe for use in conservation and as spices.
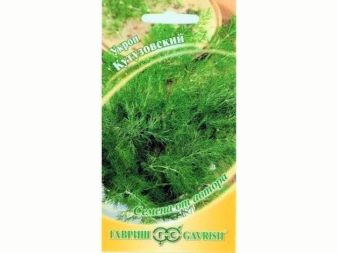
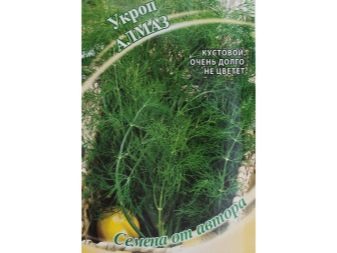
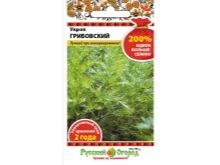
If your goal is to get good umbrellas, then it is better to sow "Gribovsky" or "Preobrazhensky" dill; varieties such as "Richelieu", "Max", "Carousel", "Redoubt" and others are also suitable. Plants of these varieties give juicy greens: "Salut", "Almaz", "Hercules", "Kutuzovsky" dill and others.
Having decided to sow dill, decide how soon you want to get the harvest, and what exactly interests you more: greens, seeds, umbrellas or stems. Based on this, choose the desired variety. And don't forget about regional specifics.
Landing dates
Dill is one of those crops that can be planted in the garden from the first days of spring to late autumn. Let's consider in detail the spring, summer and autumn crops.
-
In the spring you can start sowing dill literally as soon as the snow melts and the soil thaws. Dill seeds are able to germinate at a temperature of 3-4 degrees Celsius. And to ensure you get an even planting, finish sowing the seeds every two weeks.
-
Summer, before sowing the dill, it is better to germinate the seeds. Without additional preparation, there is a risk that they will not sprout: hot weather negatively affects the germination of seed.
-
In autumn dill is sown when it gets colder and the temperature is below 3 degrees Celsius. This is to prevent the seeds from germinating. And so that a crust does not form on the ground in winter, it is better to mulch the beds.
Spring plantings give abundant greenery, dill planted in summer gives good umbrellas and seeds, and autumn dill is more robust and hardy. A plant that is planted in the fall has a stronger immunity, it is rarely exposed to diseases.
Preparation
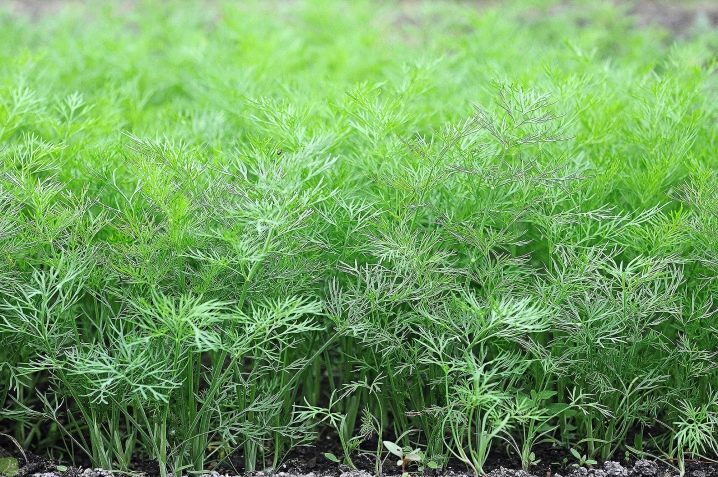
For dill crops, choose sunny areas - then you will get juicy and bright greenery.Shaded plants will stretch out, will be pale in color, but most importantly, such bushes lose some of the useful elements. Dill loves loose and neutral soil.
Dill growing on acidic soil will have a reddish color, and on an alkaline surface it will be yellow in color. In both of these options, dill will grow slowly, the timing of obtaining spicy greens will significantly shift.
It is not recommended to sow dill in a muddy or always wet environment.
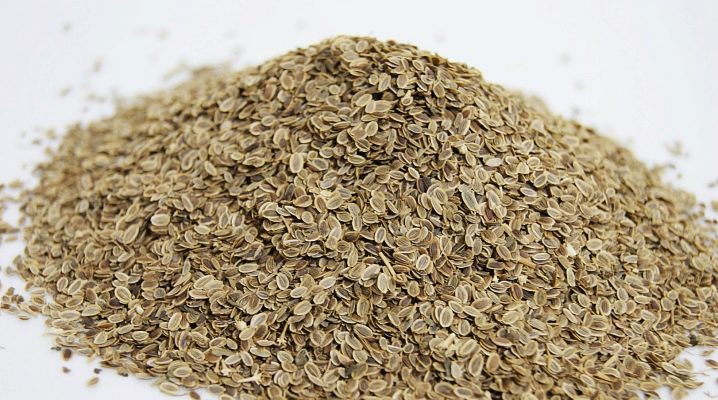
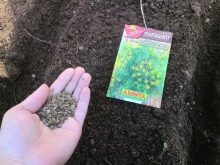
For a guaranteed result, it is better to sow pre-germinated seeds into the ground. Here's how to prepare them before planting.
-
Quality seeds are wrapped in a gauze or linen bag and kept for three days in warm (up to +45 degrees) water. To maintain the specified temperature, the liquid is changed 5-6 times a day. This procedure improves germination and promotes seed disinfection.
-
After that, the seeds are covered with a damp base in the form of a wet cloth and left at a temperature of 18-22 degrees for germination.
-
The germinated seeds are dried before planting.

Such treatment will accelerate the rooting of seeds in the soil and promote germination after 5-6 days, while untreated seed will emerge only after 15-20 days. Pre-planting preparation increases the immunity of the plant.
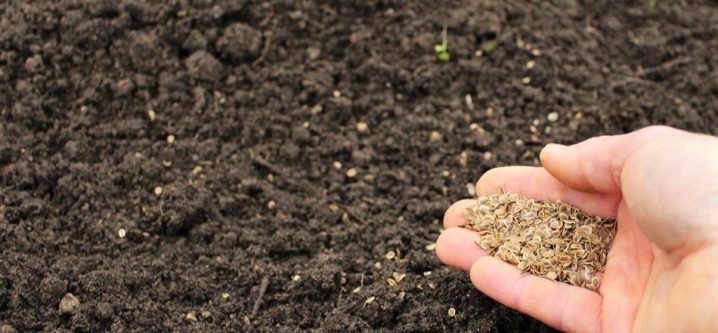
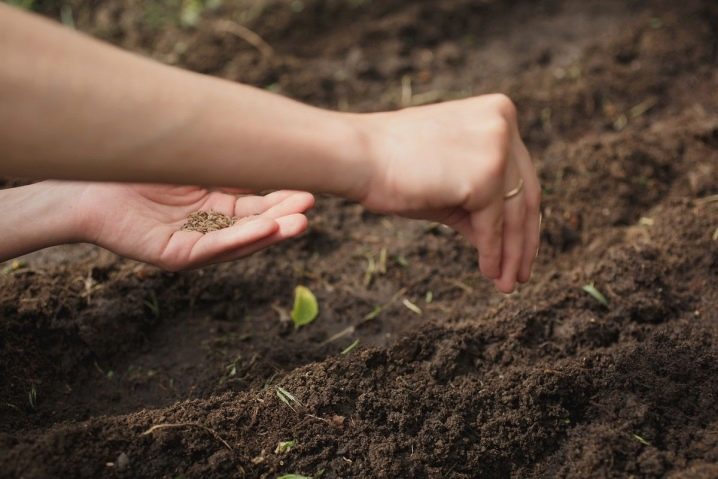
How to sow correctly?
It is necessary to plant dill in open ground with seeds (whether in a summer cottage or in the garden of a private house) to a certain depth. The rules are the same.
-
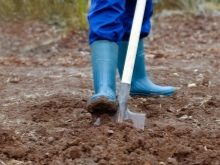
First, dig up the area well so that the bayonet of the shovel goes at least to the level of 25 centimeters. Add organic matter.
-
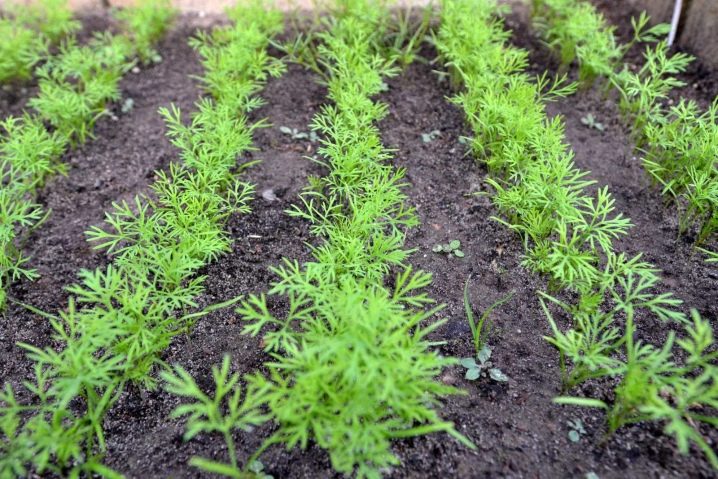
Spring planting (March, April, May), as a rule, does not require additional watering if seeds are sown in wet soil. It is enough to make grooves 2 centimeters deep with a distance of 20 cm from each other with a stick or a special bar, sow, and cover the seed with moist soil.
-
If this is an early planting, then the beds are covered at night to avoid negative consequences as a result of return frosts.

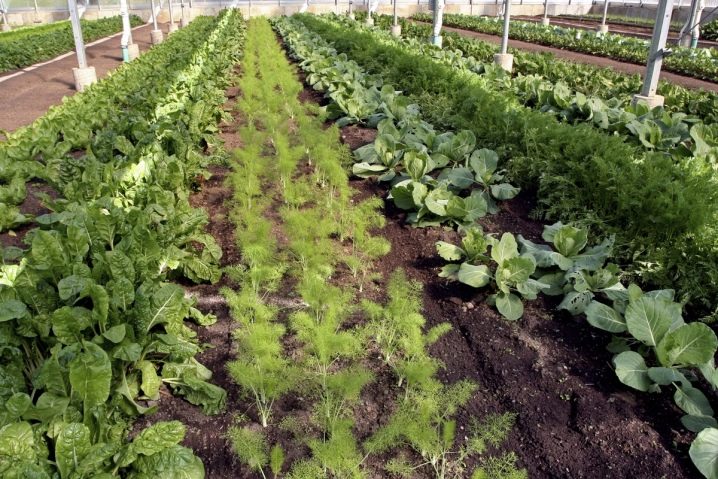
In the spring, 1 g of seeds is distributed per 1 square meter; for autumn plantings, this amount is doubled. Dill does not need to be sown in separate beds, it grows well in the aisles, for example, between tomato rows, in a cucumber or cabbage plantation.
In addition to saving land, such a neighborhood will protect other crops from harmful creatures - dill emits fragrant essential oils that are harmful to many insects.
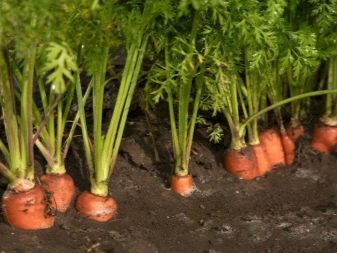
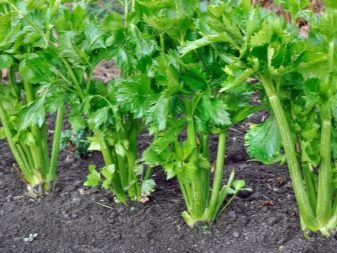
But there are also plants incompatible with dill, such as celery and carrots. Such a neighborhood is undesirable.
Follow-up care
The first step after planting is to ensure that the dill plantations are well-watered. If, by the way, the ground is not wet, then spill the grooves before placing the seeds in the ground (at a distance of 1-2 cm from each other). An exception is autumn planting: dill is not watered in the fall.
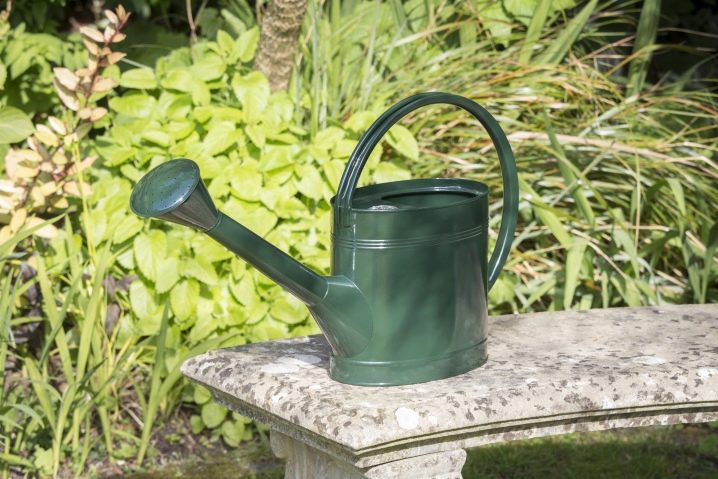
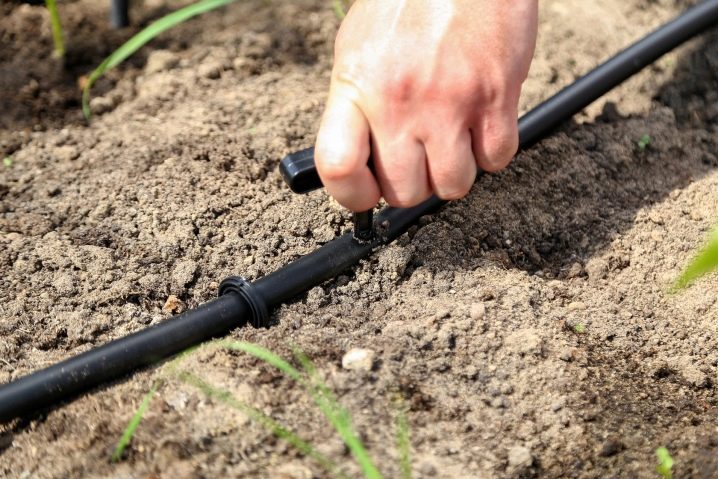
So, spring and summer planting of dill will be most favorably affected by drip irrigation. Before the seedlings appear, watered with care so as not to wash off the seeds. After watering, a crust should not form on the soil - this will make it difficult to break through the seedlings.
In the absence of a drip irrigation system, on hot days, greens are watered by sprinkling - this is very beneficial for plants. The soil on dill plantations should always remain moderately moist. By the way, if the groundwater is close to the surface, dill is not planted on such soils.
Like any plant, dill needs feeding, but not in large quantities: dill will grow well anyway, especially if the soil was fertilized before planting. After 2-3 leaves have appeared, urea can be given to dill seedlings.
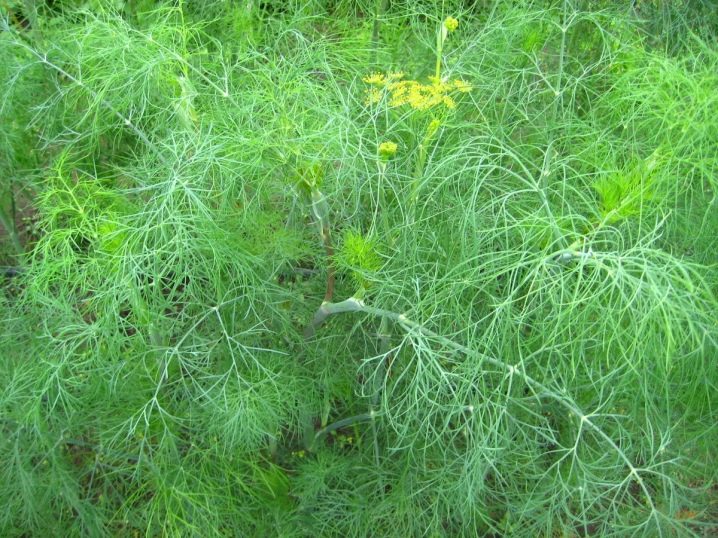
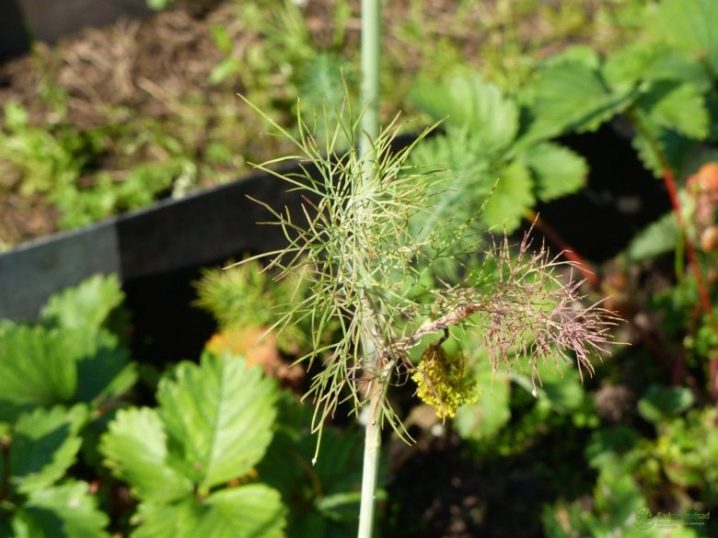
To get more greenery, at the stage of forming the umbrellas, they are pinched. After this technique, a new stalk will break out of the leaf bosom.
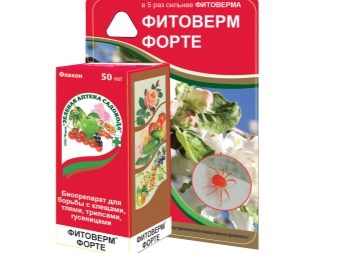
To combat diseases and pests, do not use chemical compounds - after all, these are greens that immediately go into food.
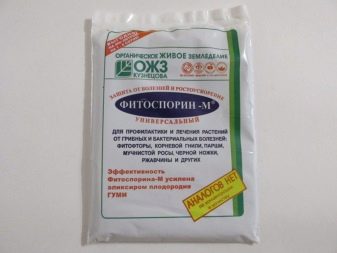
Therefore, if affected by powdery mildew or the appearance of aphids on dill, treat the beds only with biological preparations, such as Fitosporin, Fitoverm, and other biofungicides. Tobacco dust can be sprayed.
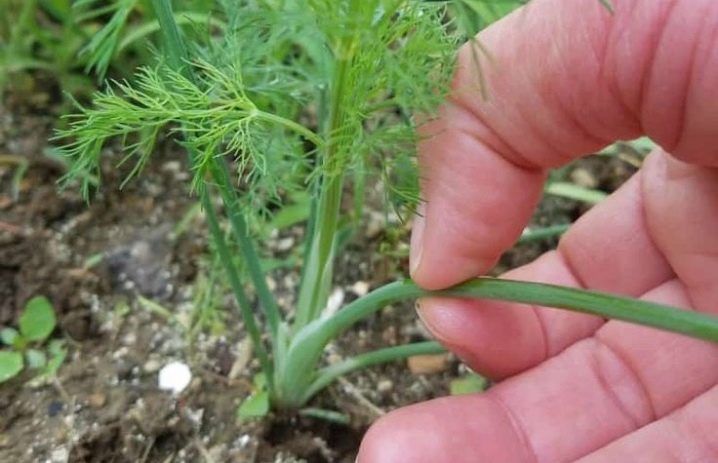
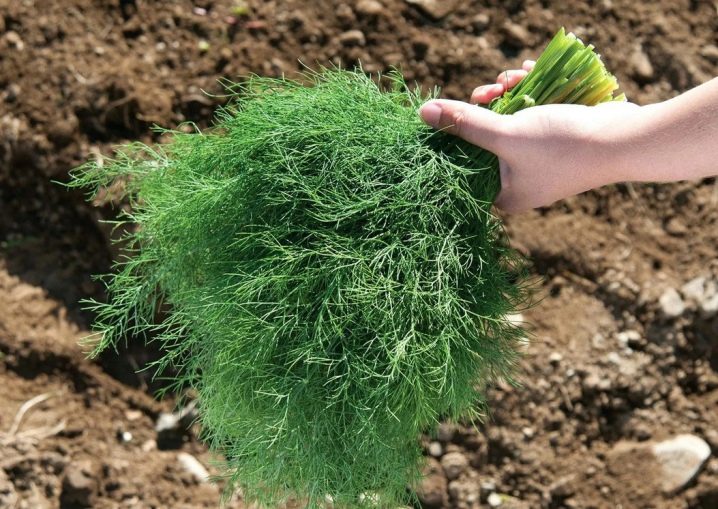
You can start collecting dill greens about 4-5 weeks after germination, but if you wish, this can be done earlier - there will be no harm from this to the plant. It's just that when the stem height reaches 15-20 centimeters, it is more convenient to collect green mass.


The comment was sent successfully.