How to make vermicompost at home?
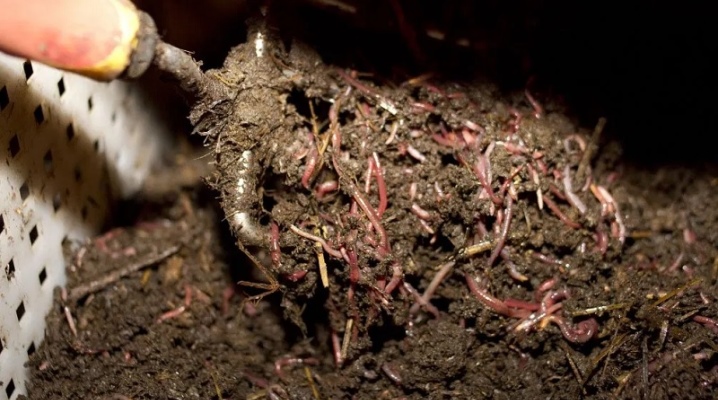
A valuable biologically active compound that can be obtained by transforming the soil with earthworms is called biohumus. Thanks to it, it is possible to guarantee excellent germination of the crop, natural protection of plants from pathogenic bacteria. It is possible to make such a soil base at home.
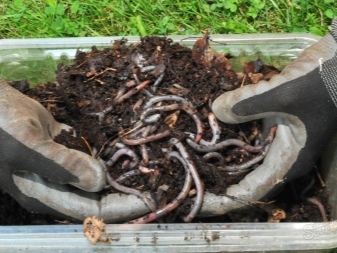
What do you need?
Vermicompost has significant differences from compost and humus: a different level of nutritional value and a different effect on the yield. Earthworms recycle the land in an environmentally friendly and natural way. The earth changes its composition, is saturated with useful elements. This soil is also impressive with its excellent moisture capacity, organic raw materials are immediately disinfected, and the components of vermicompost are well absorbed by plants.
Of course, it is not difficult to buy soil in a store: the production of vermicompost is now on stream. But it so happens that store-bought vermicompost is not exactly what the buyer wants to see in terms of price / quality. And there shouldn't be any special difficulties in making it at home. In the home production of vermicompost, two basic elements are used - worms and a nutrient substrate created especially for them.
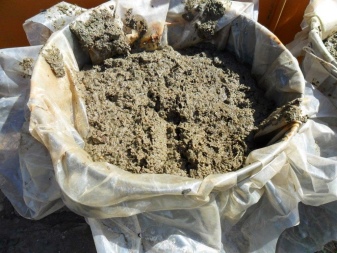
This substrate consists of:
- one share of rotted sawdust, tree leaves, hay or straw;
- one share of organic waste - it is said here about poultry droppings or already lying cow dung, small residues of vegetables, beet tops, etc., are also suitable;
- sand, which will make up 5% of all compost.
You should not rush to mix the worms, the substrate should only be composted for 10 days. The prepared mixture must be thoroughly warmed up in the sun, add peat there (about 2% of the total mass).
Whether the humus is ready can be checked with the following test - put the worms into the container where the prepared compost is located. They should be buried deep into the train. If this has not happened, the compost is not yet ready.
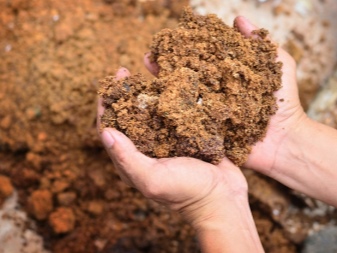
The entire technology consists of the following stages.
- Soil preparation (described above).
- Compaction of the substrate into special convenient boxes. Every 2 days, the earth must be thoroughly mixed, moistened with warm water.
- Launching worms. It is imperative to run a trial batch, as already noted, so the receipt of a high-quality substrate will be checked. A trial batch is about 50 pieces of earthworms.
- Top dressing. The worms themselves come into play: they feed, multiply, and themselves process high-quality bio-soil for summer cottages.
- Removal of humus. When it becomes obvious that the density of soil colonization is high, the worms will have to be planted, to collect the fertilizer that has accumulated at the bottom of the box.
From the equipment you will need the following: containers in which worms will be bred, a sieve, a shovel, scales, a device that measures the acidity of the soil and soil temperature. Sometimes California worms are not grown in special containers, but in a hole on the street, but there are risks. Ordinary worms can enter this hole. Moreover, low temperatures can affect the quality of the substrate. Finally, collecting humus from a pit is not easy.
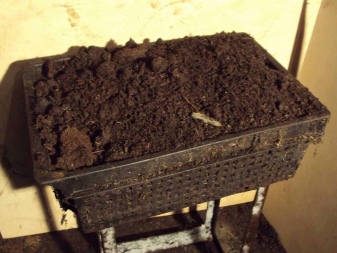
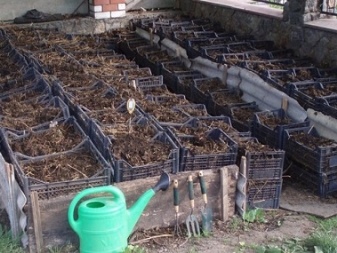
Which box to take for vermicompost? Usually it is a plastic or wooden structure. You can make it yourself, for example, from plywood sheets. The usual size: 1 x 2 x 0.5 m. And so that rodents do not get inside this box and do not "cover" the worm farm, the seams of the box must be reinforced with a tin tape. Do not forget to make holes in the bottom of the box so that it is easy to collect the vermicelli.The container is usually placed on small blocks, making a slight slope to drain the liquid.
And to save space, trays for making vermicompost are stacked on top of each other. A small vermi farm can fit in a room of 14 squares. And this is often enough not only to serve their summer cottage needs, but also to run a small business for the production of vermicompost.
Worm growing technology
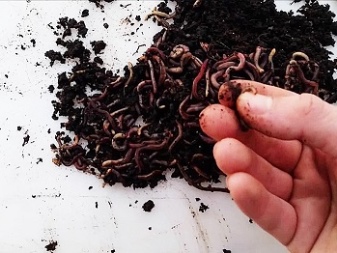
California red worms are ideal. They are centenarians in their own way, they can live up to 16 years. They reproduce well, do an excellent job with the processing of organic waste. But Californian worms are not predisposed to low temperatures, it is quite possible that they will have to be insulated for the winter. Although many summer residents make vermicompost at home and with less "outlandish" types of worms: they also use simple red dung.
Let us note such mandatory conditions for keeping worms.
- Temperatures below +12 degrees lead to the death of "pets". But it is also impossible to increase it more than +30 degrees. True, you need to focus on a specific type of worms. If non-Californian reds are used, temperature requirements may be different.
- Humidity must be maintained within 70-80%, therefore regular watering of a homemade compost heap is required.
- Acidity indicators should be neutral - pH 6-7.5. It is impossible to tightly close the container with compost, because the inhabitants of the soil also need air.
- The compost should be shaded from the sun's rays, since the worms are afraid of active ultraviolet radiation. Therefore, they go into the soil during the day, and rise to the surface only at night. When preparing vegetable waste for worms, you need to clearly monitor what gets into them. For example, citrus residues can acidify the soil, which should not be done.
- In order to have enough air in the "dormitory" for the worms, the compost must be loosened a couple of days a week. Loosening is usually very neat, with a small spatula.
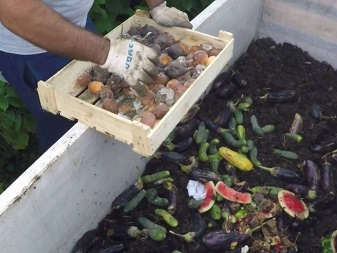
- They feed the worms with a variety of foods: from tea leaves to waste fruits and vegetables. Moldy flour products that have stood porridge will do. But it is better not to use meat waste. You can add grass and leaves. The top compost layer can be called worm food. It is updated approximately every 10 days. Top dressing is applied in a sufficiently thick layer, 5-6 cm. It is necessary to constantly monitor how much nutrient soil lies on the surface and is it time to give the “pets” a new “treat”.
So, at the bottom of a box or other container, made by hand or purchased in a store, you need to lay out drainage. It can be crushed stone. Or you can just get by with the organization of several holes in the bottom. This is done so that moisture does not stagnate in the container. If moisture stagnation is allowed, the worms risk dying. Then the container is filled with a nutrient mixture (it is described above how to prepare it in advance). It is better to warm the mixture for 10 days. If testing the mixture on 50 test worms led to a positive result, you can start the rest.
The standard for vermicompost is from 700 to 1500 worms per 1 square meter of soil. For the first couple of months, the inhabitants will adapt and get used to the new home. And after 2 months (or a little more), they will start active reproduction. Every 10 days, you need to feed the worms.
How to separate vermicompost?
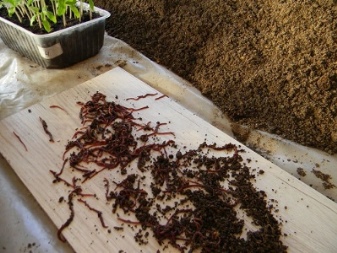
Worms produce a valuable soil product on average for 4-5 months. Then they will have to be removed from the soil to collect the fertilizer. But in order to do this, the "pets" will first have to go on a real hunger strike: when the time comes to bring in one more portion of food, you need to delay it for 3-4 days. And then spread the food on the surface of the soil and the hungry worms will quickly rise to the surface.
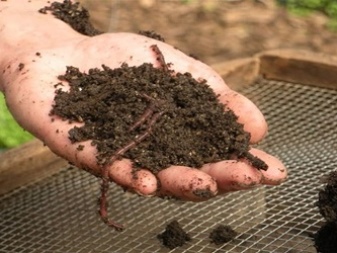
All that remains is to remove this topsoil together with the invertebrates, transfer it to another, previously prepared place. It is possible that not all "workers" will be collected, often the procedure has to be repeated 1 or even 2 more times within 3 weeks. But after separation, you can enjoy the result: the mass that remains in the box is vermicompost. Of course, it is not immediately possible to take it into action: first you have to dry the humus, sift it, and then send it for storage. Do-it-yourself dry fertilizer can be stored for a whole year.
There is another tricky way that enterprising vermi-farmers offer. From the very beginning, you need to take an empty box with a solid bottom, and a container with a perforated bottom is placed in it. Worms are inhabited in the second container. When the soil in the second container is processed, the next lattice container is placed in the box. It is worth not forgetting to add a decent portion of top dressing there. Hungry worms will move to a new place in about a week and release a container of fertilizer.
Recommendations
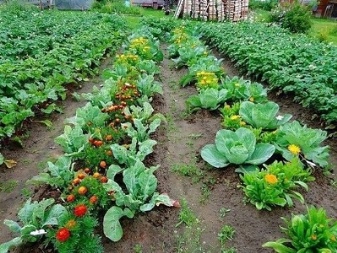
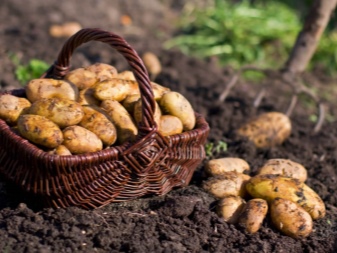
Why does the idea of making vermicompost really have excellent prospects? Because the results of using this product are impressive. Gardeners manage to grow two crops of onions and carrots on it, get twice as much radish and salad. Potatoes on vermicompost increases the yield by a quarter, and greens grow 8 times more actively.
Finally, the use of vermicompost allows you to get an environmentally friendly product. The main thing is, when the fertilizer has already been collected, it is good to sift it and organize proper drying. And then you can safely feed seedlings or home flowers with ready-made vermicompost, add it to the holes when planting plants in the garden, seedlings, sprinkle it into the grooves during the process of planting seeds. They can also mulch the beds.
And if you like the process, then mini-vermi farms can be turned into a real business. Making a valuable, environmentally friendly fertilizer with your own hands can be both fun and good money.
How to make vermicompost at home, see the next video.


The comment was sent successfully.