How to plant tulips in spring?

Bright juicy tulips can turn even the simplest flower bed into a luxurious flower garden. Unfortunately, it is far from always possible to plant them before winter, but you should not be upset - planting any bulbous plants is also possible in spring. If you know all the subtleties of carrying out such work, then this season you can admire beautiful multi-colored hats on your personal plot.

Peculiarities
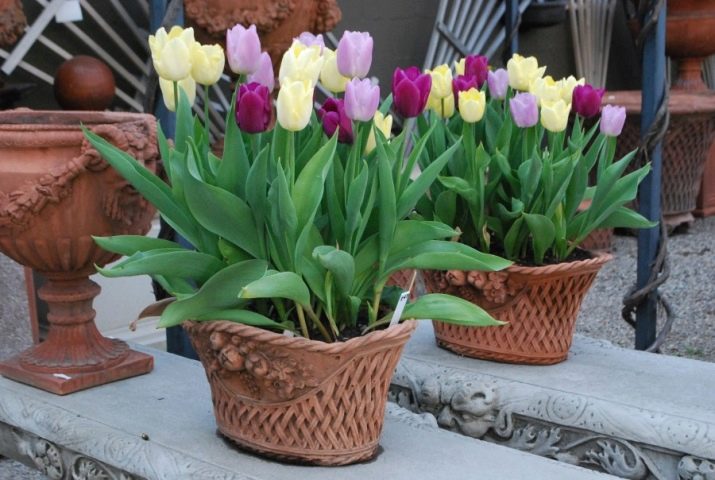
Tulips bloom best in spring, which were planted in the ground in autumn and survived the winter in the ground. Usually, the planting of bulbs is carried out in the second half of September - early October., during the cold winter, plants accumulate the strength necessary for abundant and long-term flowering. However, these beauties can be planted in March or the first half of April. True, in areas with a cool climate without forcing in containers, they will be able to bloom only after a year - they need time for the flower bud to fully mature. If you pre-plant the bulbs in a small pot so that they have time to acclimatize and adapt, the plants can please with their spectacular flowering already in the current season.
Of course, the flowering of "spring" tulips is not so abundant in comparison with the "winter" ones, and multi-colored hats will appear a little later, but the flowers planted in autumn are replaced by spring ones, and the flower bed remains bright and colorful for a long time.


Timing
Spring planting of bulbs is carried out as early as natural and climatic factors allow. It is best to plant them in small containers even on winter days, and at the moment when the air temperature becomes stably warm and the threat of return frosts has passed, move them to a permanent place. To prevent the very first shoots from freezing, the temperature of the substrate at a depth of 10-15 cm should be at least +9 degrees Celsius.
The varietal characteristics of different types of tulips should also be taken into account: there are earlier and, conversely, later varieties. An important factor that largely influences the characteristics of cultivation is the climate in different regions. For example, in the Kuban, you can plant bulbs for further distillation in pots already in mid-February, in March, and in the northern regions, the planting time is shifted a month ahead, but keep in mind that in any case, you need to complete the planting before June - in the summer it should be carried out it is forbidden.




Preparing the bulbs
The secrets of the abundant flowering of tulips are very simple - the bulb must have a flower bud, prepared for budding, and in order for it to mature, the bulb needs to stay in a cool place for some time. Moreover, she should not lie there for a day, or even a week, but for a much longer time, preferably at least a month. Only in this case will it be able to form correctly, and tulips will not only release leaves, but at the same time will please with their spectacular flowering.
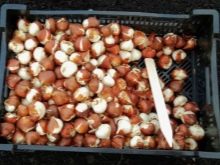
If you bought seed in the period from November to the first ten days of March, just place it in the refrigerator.just don't try to store it in the freezer - the bulbs won't survive it. It is advisable to wrap each one in thin paper - this is necessary for the greater safety of the seedlings, but you do not need to use a plastic bag, the kidney in them will simply suffocate.


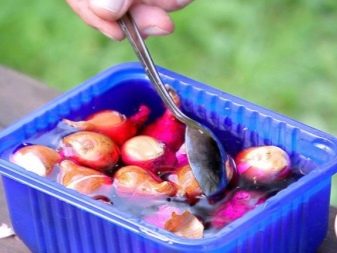
In order for the bulbs to give full and strong shoots during spring planting, it is important to carry out procedures in advance aimed at strengthening the immunity of tulips.In particular, after hardening, the planting material is disinfected in order to exclude possible infection with fungal diseases. To this end, the tubers are kept in a pale pink solution of potassium permanganate for about 30 minutes. Do not neglect this step - remember that strong and healthy tulips grow exclusively from the highest quality bulbs.
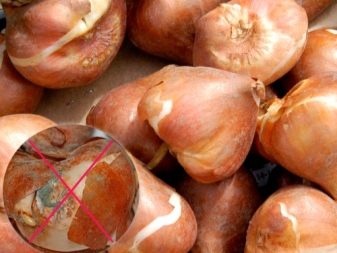
Before planting, you need to carefully examine the seedlings to make sure that the integrity of the top layer is not compromised. The surface should be free from rot, stains, cracks and splits. Any planting raw materials with a marriage should be immediately postponed - only stunted, weakly flowering plants can be obtained from them.
Experienced growers recommend additionally keeping the tulip bulbs in an infusion of celandine before planting - this gives the plant a special resistance to external adverse factors.
Landing
In spring, tulips can be planted outdoors and in regular pots. The potting method is preferable, since the flowers obtained in this way are more robust and hardy than those grown in open land.
In open ground
Tulips respond quite gratefully to organic fertilizers. The best substrate for them is humus-enriched soil with neutral pH values, it is advisable to take a mixture of loam and sandy loam.
Clay soil requires the addition of fine river sand, as well as the introduction of a small amount of peat and manure; to create the necessary acidity, a little lime is additionally introduced.
With the arrival of heat, as soon as the soil thaws, it is necessary to prepare the soil for planting tulips. To do this, you need to dig it to a depth of 25-35 cm and add any organic fertilizing, except for manure - rotted compost is best suited for this.


If the fertility of the land allotted for tulips is in doubt, then you need to add mineral fertilizing: potassium preparations, as well as nitrogen and phosphorus, are most effective.
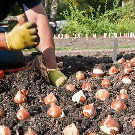
If you have large bulbs at your disposal, then they should be planted in the holes one at a time, but last year's young children can be placed in each in groups - 4-5 pieces.
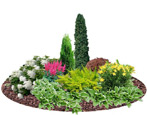
Keep in mind that as they grow, the stems of tulips rise quite high above the ground, so to give the flowerbed a more decorative look and create the effect of a "blooming carpet", you can plant forget-me-nots, daisies or other low-growing crops on them, tulips look quite impressive next to hosts, bruners and astilbe.

Planting depth also depends on the size of the bulb: large ones are located at a depth of 10-15 cm, and small ones - by 7-8 cm.In this case, the distance between the holes should not be less than two diameters of the seedling, usually 8-10 cm, the row spacing is made a little more - 20-30 cm.
The bulb must be placed in the hole as accurately as possible, in no case should they be squeezed, as this can violate the integrity of the planting material and slow down the emergence of shoots.
Keep in mind that tulips react extremely negatively to stagnant water, so it is advisable to organize the flower bed so that it has a slightly sloping shape, the presence of depressions and all kinds of pits in the flower bed is strictly not allowed - moisture can accumulate in them.

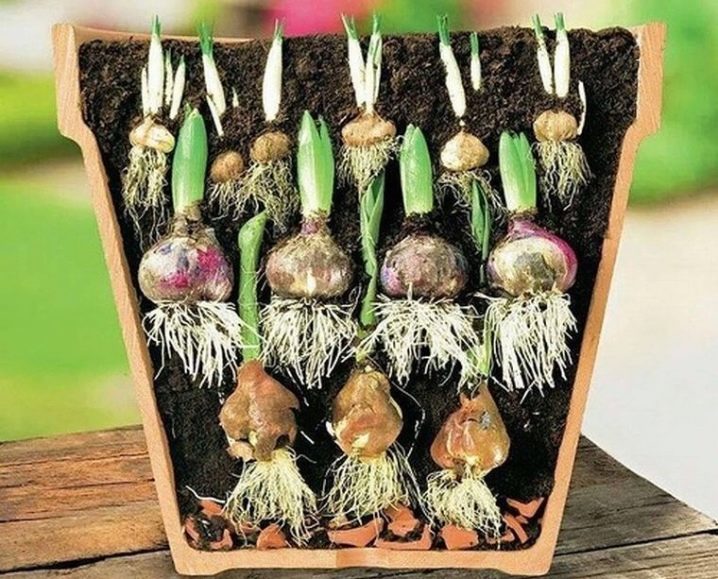
Interesting: Dutch flower growers have introduced the practice of "multi-storey" method of planting tulip bulbs in the open field - it allows you to grow several groups of plants with different flowering periods in one area. The technology is elementary - crops are planted with different depths. For example, a bulb of bush tulips is planted and sprinkled with soil 5 cm, hyacinths are planted on top, another small layer of soil is placed on top of them, and crocuses are planted closer to the surface.As a result, at the dacha, you get a flower bed, in which, successively replacing each other, several exotic plants bloom, and all that is required of you is just to admire them.
In pots
First, you need to finally decide whether you plan to plant tulips for the purpose of further distillation, or they will remain to develop and bloom in spacious decorative flowerpots.
In the first case, you can use absolutely any containers, in the second case, preference should be given to ceramic models, preferably wide and low. Of course, plastic products are much cheaper, but they do not allow air to pass through, which is so important for the full formation of the root system of your tulips.
The rest of the landing technique is the same and includes several main stages.
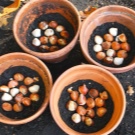
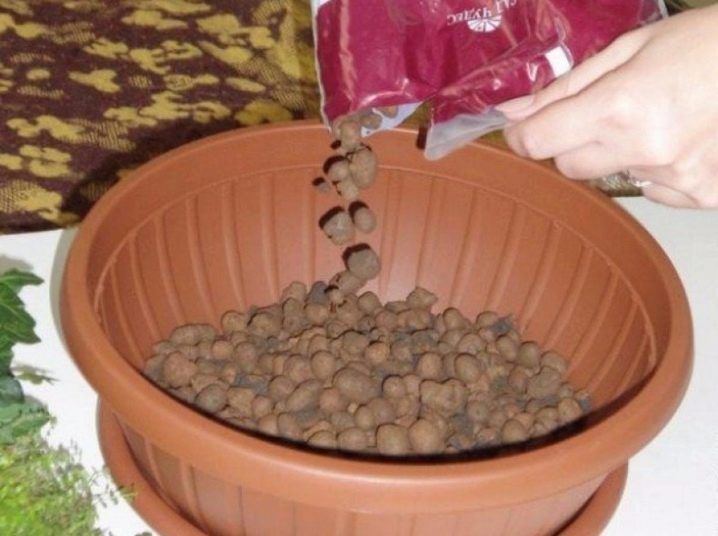
To begin with, the bottom of the pot is sprinkled with expanded clay or large pebbles - it will perform the functions of drainage, which removes all excess moisture and does not allow the bulb and roots to rot in the substrate.
The rest of the pot is filled with a mixture of turf and garden soil with the addition of river sand and humus so that about 10-15 cm remains to the top.
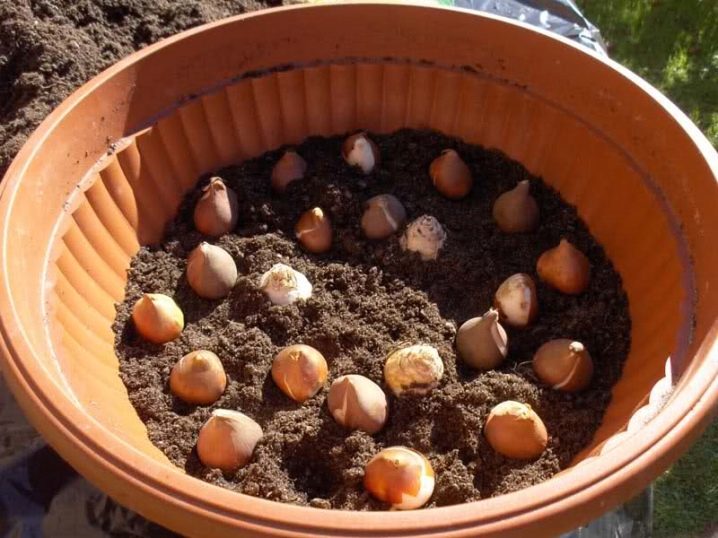
The planting material is placed on a layer of soil with the pointed end of the onion facing up. If several bulbs are planted in one container, then a step of 10 cm should be maintained between them.
The bulb is covered with soil mixture, leaving 2-3 centimeters to the edge of the container.
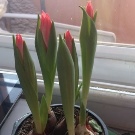
The containers are placed in a well-lit place - a window sill or a balcony.
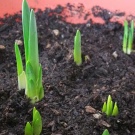
When the sprouts hatch, you can start hardening the plant - for this, the containers are taken out into the street for several hours, gradually increasing the time of its stay in natural conditions. As soon as the threat of spring frost has passed, tulips can be transplanted to a permanent place.
Initial care
Tulip bulbs planted in spring must be properly cared for even at the stage of leaf formation, during this period it is necessary to carry out:
- digging up all defective plants, their further destruction, otherwise they can become a source of infection for other sprouts;
- carrying out light watering to exclude the drying out of the earthen coma;
- careful loosening of the soil near young shoots - this is important for air access to the developing root system;
- carrying out the very first feeding - it is advisable to fertilize tulips with nitrogen-containing fertilizers, which cause the accelerated growth of lush green mass.
You will learn more about how to plant tulips in spring in the next video.
















The comment was sent successfully.