How to germinate pumpkin seeds?
Novice gardeners are hesitant about soaking pumpkin seeds before planting. The more experienced ones definitely give an affirmative answer: such a procedure is mandatory, it will allow you to grow an excellent harvest.
The preparation of planting material allows you to increase the germination of seeds by up to 1/3. We will tell in the article the details of how to choose the right pumpkin seeds, how quickly to germinate them at home, the better to process them.
The need for preparation
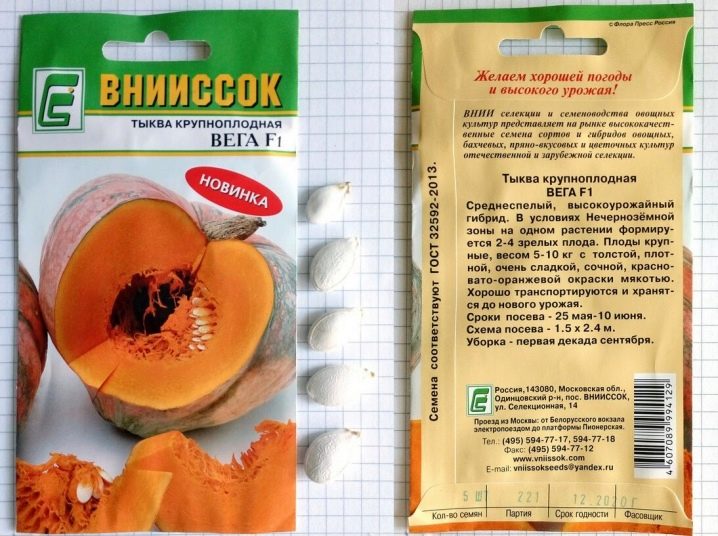
Before sprouting pumpkin seeds, they need to be prepared... Immediately, we will make a reservation that seed material purchased in specialized stores or agricultural stalls does not need preparation - such seeds are immediately put on germination.
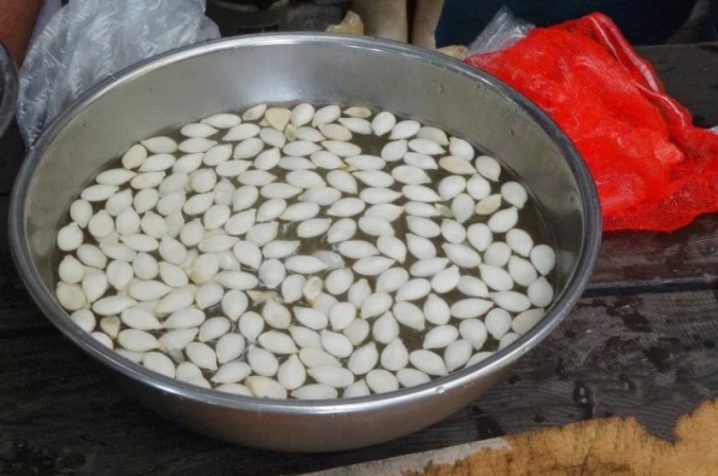
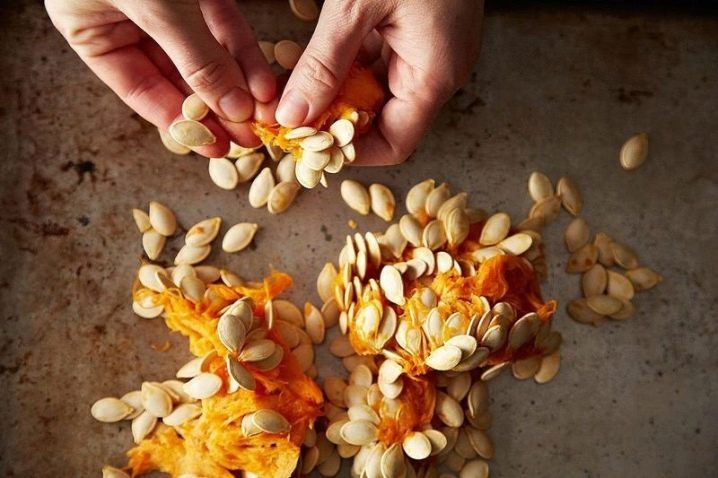
But pumpkin seeds, harvested on their own, are first culled and disinfected by dropping them into a 2.5 percent salt solution. After a quarter of an hour, pacifiers will pop up, which you need to get rid of, since they are not suitable for germination.
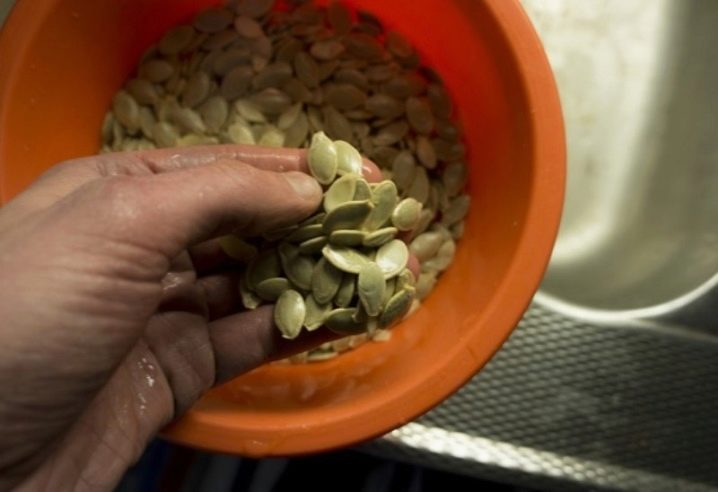
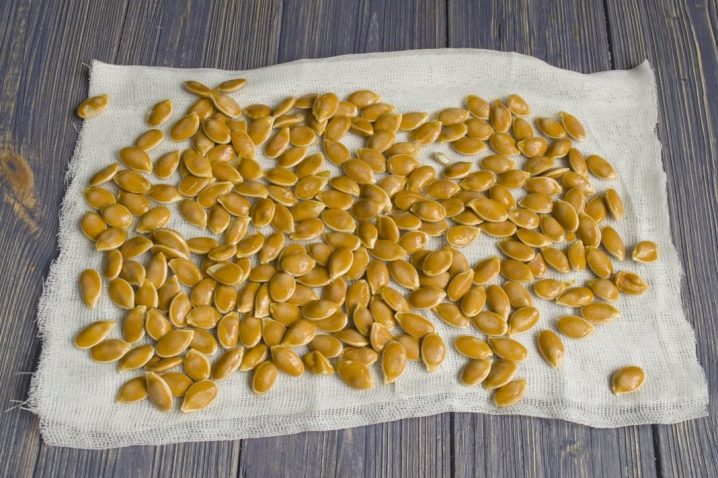
Heavier and fuller specimens are taken from the bottom - they will give good shoots, but for now they need to be dried on a napkin. After that, they are disinfected - they are kept in a solution of potassium permanganate for at least three hours (you can leave it up to 5 hours). The liquid is brought to a pink hue and the seeds are dipped there.
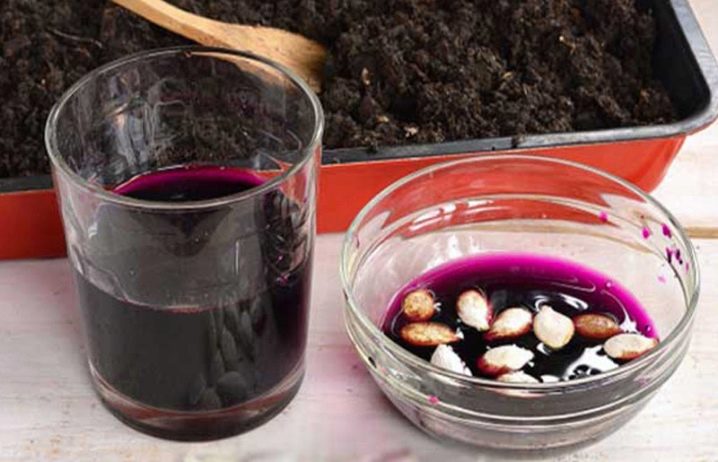
As a result of this procedure, fungal spores and harmful microorganisms are destroyed, which "settle" on the surface of the seeds.... Disinfection strengthens the immunity of the seed and increases the germination of the pumpkin. Each seed that passes through it is laid out on a dry napkin, which absorbs excess moisture. This is done in a warm room.
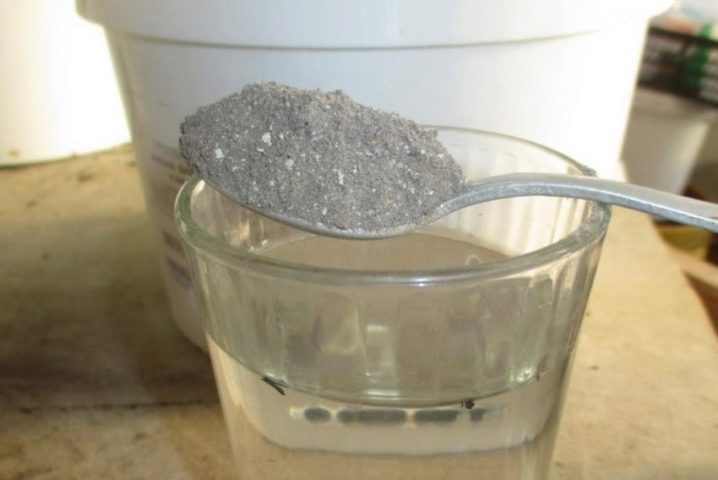
At this, the preparatory stage is not over: to improve germination, you need to make another bath in an ash solution. 1 tablespoon of ash is stirred in 1 liter of hot water and pumpkin seeds are left in this mixture for 5-6 hours.
There is no need to doubt this procedure - this is a quick way to increase germination. Seed material purchased in garden stalls also passes through similar processing, only it is processed with specialized industrial means.
Such preliminary preparation before germination allows you to increase germination by 20 or even 30%, and as a result leads to a good high-quality pumpkin harvest. Next, you have to do the germination of the seed, and this again through soaking. But they do it the next day after disinfecting measures.
How to soak properly?
Soaking is necessary for faster germination of seeds. For pumpkin, this is especially true, since the seeds of this culture have a strong skin. Well, after soaking, pumpkin seeds lose their attractive taste and pests eat them less.
There are several ways to germinate pumpkin seeds before planting - all involve soaking. Let's consider each separately.
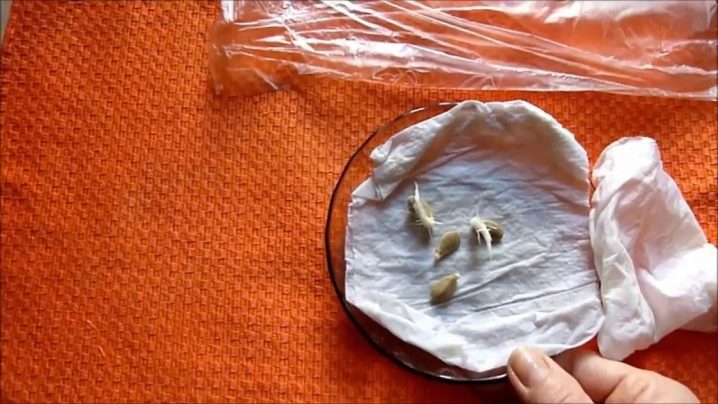
- On a wet cloth or damp cloth. This is the simplest and most traditional way - most gardeners do this. A napkin or piece of cloth is spread on a plate, and seeds are placed on top. They are not flooded with water, but only kept moist the lower base - cloth, otherwise the grains will begin to rot. The container is not kept near a heat source to prevent rapid evaporation of moisture. The gauze is not suitable for this event for the reason that the processes can become entangled in the holes and when they are removed, there is a high probability of damaging them.
- Pumpkin seeds germinate well in linen bags. Seed material is poured into it and dipped into water 2 times a day for literally 60 seconds. After this "bathing" the bag is suspended to drain the liquid.
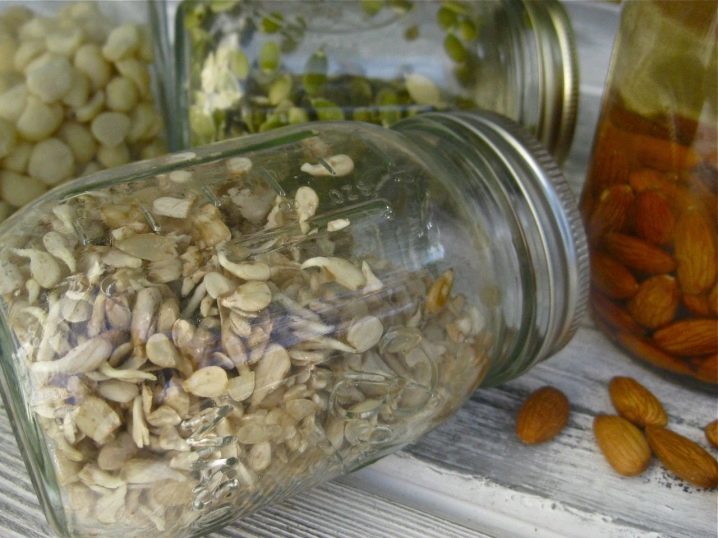
- Germination time can be accelerated by using the method of keeping seeds in a jar as a basis - this way you can get sprouts for a few days faster... The thing is that with this method, greenhouse conditions are created for the seeds. So, put the jar in a warm place and pour in the seeds. Tie the container with a piece of gauze or cover with a ridged lid. We put the structure under running water for washing the grains (a volume of 2-3 liters will be sufficient for washing). Then the container is suspended to drain excess liquid and this washing procedure is repeated 2-3 times a day until the roots appear.
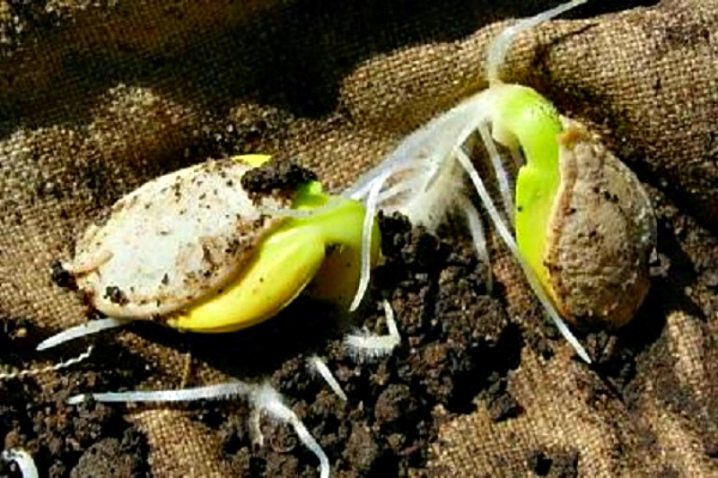
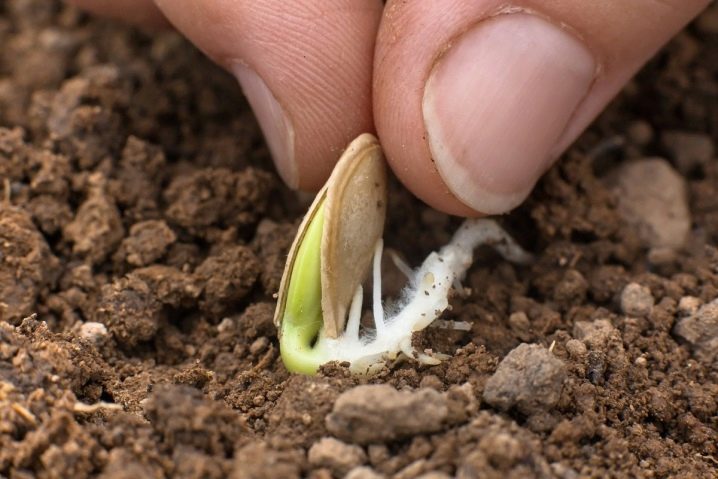
Many gardeners simply throw pumpkin seeds into warm water and wait for the roots to hatch. This does not always work, it is still better to complete all the activities in stages. Properly prepared seeds can hatch as early as 6-8 days, full shoots can be observed after 10 days.

Additional activities
High germination can be obtained not only from the purchased seed fund, but also harvested pumpkin seeds at home. In addition to the actions described above, additional activities can be carried out to quickly get sprouts.
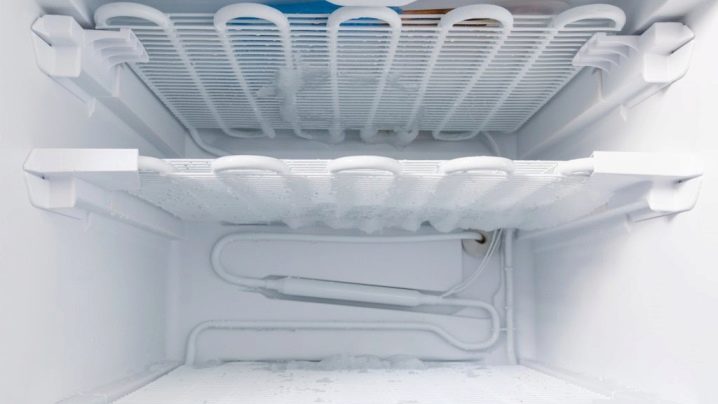
So, there is another technique that not all summer residents use, but in vain. Freezing is a stage that allows you to harden future sprouts and increase germination. After the selection of the seed, it is wrapped in a natural base (it can be slightly damp) and at a temperature of 1-3 degrees below zero, it is placed in the refrigerator for 24 hours.
Some leave them in the freezer for up to 3 days. By the way, this "harsh" hardening is suitable not only for pumpkins. The seeds of peppers, tomatoes, and other nightshades are also hardened in this way, the main thing here is to observe the temperature regime.
This will work especially effectively when the gardener wants to plant the pumpkin in the open ground as early as possible. Before planting, many are accustomed to keeping seeds in specialized solutions - growth stimulants.
For the pumpkin, you can buy "Ellin" or "Zircon". Ask what other drugs of this type are sold by specialty stores in your region. It is necessary to act according to the instructions and strictly adhere to the specified time.
Well, if you are a supporter of exclusively environmentally friendly products, then it is better to prepare natural stimulants.... So, a good effect will give ash, mummy, honey, propolis... The listed components are diluted in water (with the exception of propolis), propolis - in alcohol.
By the way, while the seeds are soaking, you need to start preparing the site for planting pumpkins. The first step is to clear the area, remove weeds, plow and ensure looseness of the soil, outline the beds in advance with an impressive distance from each other.
It is necessary to germinate seed material when the earth warms up to 15 degrees and above. Loosen the beds and fertilize with organic matter. Once the sprouts are ready for planting, make holes for each sprouting seed separately, no more than 5 centimeters deep.
The first shoots will emerge from the ground in a week. Any of the above methods increases germination, but only the strongest seedlings are left to grow in the open field, the rest are removed.
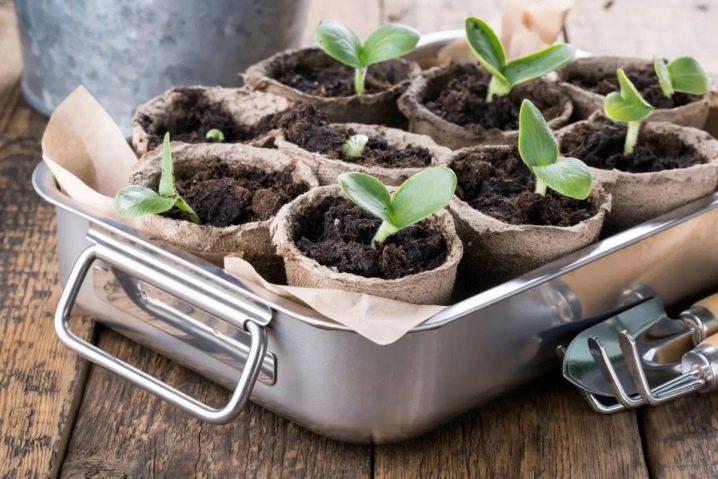
Remember that pumpkin is a climbing plant, and therefore we leave enough space for each bush to develop... By the way, seedlings can be grown from germinated seeds: this is done in the same way as with other crops. At home, you can use peat cups or boxes with the appropriate substance.
This additional activity will allow you to get good seedlings, which quickly adapt in the soil and give a strong bush. It is recommended to grow seedlings when there is a need to get fruits earlier.
But it must be borne in mind that pumpkin seedlings are not easy to transfer, so it is better to put sprouted seeds in peat cups to get seedlings. This is done three weeks before the planned planting of seedlings in an open space.


The comment was sent successfully.