How to properly grow thuja from seeds at home?
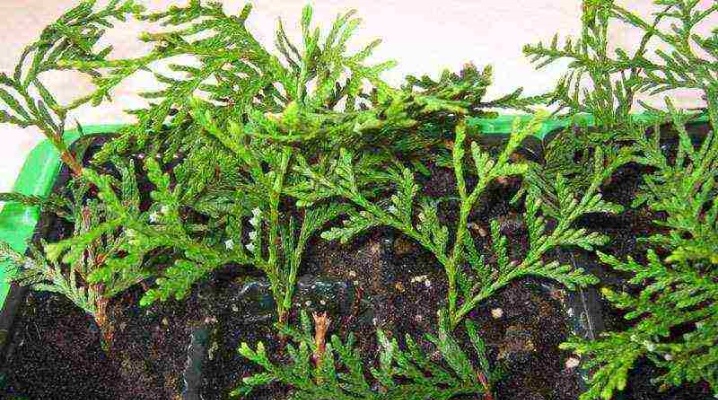
Thuja is one of the most popular plants used in landscaping. The preservation of an attractive appearance throughout the year, as well as the relative ease of care, explain the love for this plant. Most often, the planting of thuja occurs after the purchase of seedlings in specialized nurseries, but in some cases, skilled gardeners propagate it using seeds collected on their own.
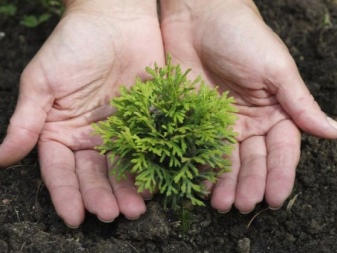
Pros and cons of the breeding method
Having decided to propagate thuja using seeds, you should familiarize yourself not only with the advantages of this process, but also with the disadvantages. The main advantage in this case is that it is possible to obtain seedlings practically free of charge and in large quantities. They will all be the same age and the same size, which will delight gardeners who decide to use the plant to form a hedge. Besides, if you grow thuja from seeds, you can be sure that the plant will feel comfortable in the existing climatic conditions and soil composition.
As for the disadvantages, the main one is the excessive duration of growing trees, especially when compared with propagation by cuttings. At least 4 years will pass from the moment the seed is used until the seedlings are planted in their permanent habitat. Quite often, gardeners note that sometimes the varietal characteristics of the parent specimen are lost.
In this case, even plants grown from the same seeds may differ in the shape of their crown.
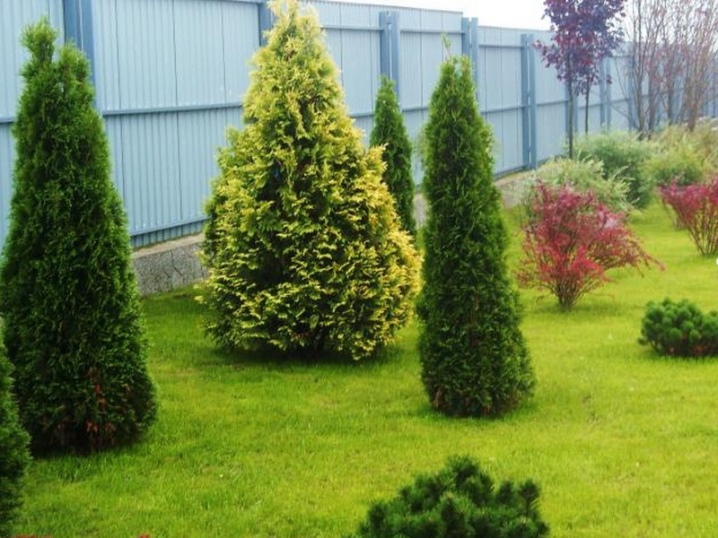
Collection and preparation of seeds
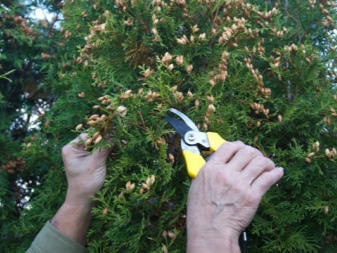
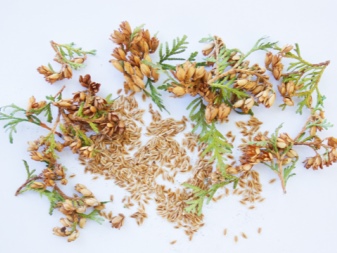
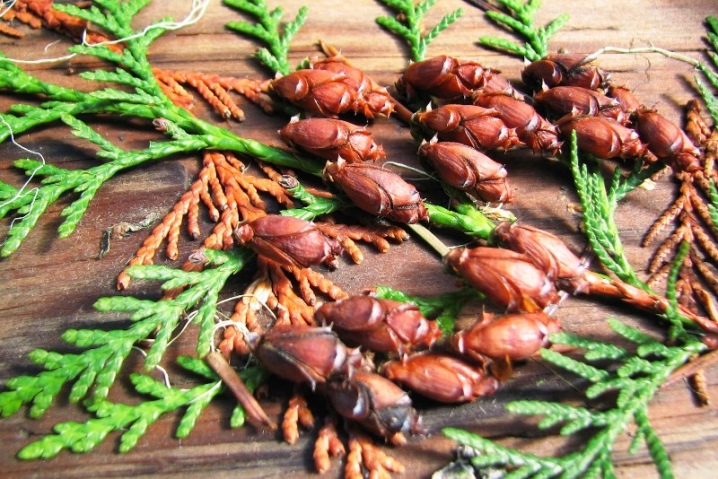
Thuja seeds can be harvested in September or even in the second half of August. They look like brown bumps. It is important to have time to collect them even before they open up on their own, and the flat seeds sprinkle. Ripe fruits are carefully cut from the plant or separated directly with part of the shoot, and then laid out on clean paper in the apartment to dry completely. The selected room must be dry, warm and well-ventilated.
The temperature in the place where the seeds lie should be in the range of 6-7 degrees Celsius. Direct sunlight in this situation is undesirable; diffused lighting should be organized whenever possible. After a few days, the cones will open themselves, "releasing" the seeds outside. If this does not happen, then in addition it makes sense to lightly knock on the bump. Thuja seeds look like brown grains of a rather small size. Also, seed is easy to purchase at a gardening store.
In order to increase the probability of seed germination, a stratification procedure is required. For this purpose, the seed is wrapped in a cloth and buried in the ground in autumn, after which it is protected by some natural insulation, for example, a heap of fallen leaves. When the earth warms up in the spring, the seeds must be dug up and put into a jar with a lid.
Everything is covered with sand on top and put into the refrigerator for a couple of months. Quenching in the refrigerator is considered no less effective.
The seeds are first removed into a container filled with wet sand or sawdust, after which they are closed with a lid and removed to the lower shelf of the chamber for several months.
How to sow?
Sowing thuja seeds can be carried out both in autumn and spring.Autumn is considered the best option, and immediately into open ground for natural stratification. Such seedlings will cope with the first winter with greater efficiency, and the first seedlings will actively develop. If the seeds are planted in spring, then preliminary preparation is indispensable.
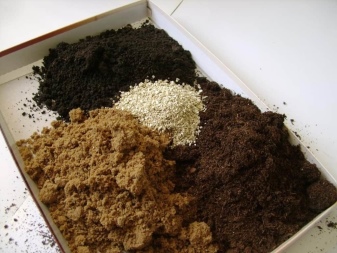
Having decided to plant seeds at home, it is important to follow the instructions of the professionals step by step. The soil mixture can be taken ready-made, intended for conifers. Otherwise, the soil is mixed with his own hands from a couple of parts of sand, part of turf and part of peat. Seeds can be sown immediately on the beds, or in separate boxes in order to monitor the development of thuja at home in the first years. First, the bottom of the pot or hole is filled with drainage, after which everything is covered with soil.
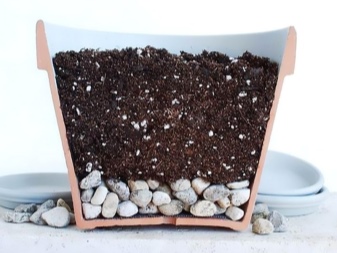
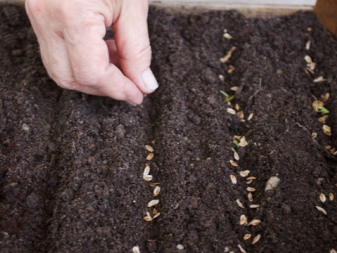
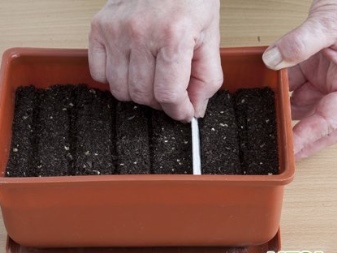
The surface is leveled and slammed so that its level is a couple of centimeters lower than the edges of the container. The grooves are formed so that there is between 5 and 6 centimeters. The seeds are laid out neatly along the length of the furrow. On top, everything is covered with a centimeter layer of earth and compacted. The plantings are sprayed with water and covered with a glass sheet or cling film.
For in order for the thuja seed to germinate, it is necessary to remove the box in a well-heated place and provide the necessary lighting... The emergence of sprouts signals that it is time to rearrange the container to a cool place. Glass or film is removed from time to time for ventilation and irrigation. Defective samples are eliminated immediately.
It will take Tue 40 days to achieve the necessary stamina and the ability to exist without shelter.
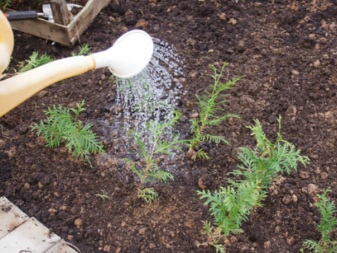
If the planting is carried out directly on the beds, it is recommended to immediately cover the bed with sawdust. In addition, you still have to wait until the soil temperature reaches the range from 10 to 15 degrees Celsius. In the spring, when the snow melts, the seedlings will sprout on their own. Natural cultivation guarantees an increase in planting height of 7 centimeters every year, if you do not forget about winter protection.
It is worth mentioning that containers are considered the most convenient for thuja, the height of which ranges from 10 to 12 centimeters. If the containers turn out to be too deep, then the unused soil will become sour, and if too low, then the roots will intertwine and thereby hinder the development of each other. Moreover, tangled root systems will be very difficult to separate for further planting in separate pots.
It is also recommended to disinfect the soil beforehand., which is easily accomplished by using a concentrated solution of potassium permanganate, easily recognizable by its bright pink hue. Before planting, the seeds still need to germinate, which will take no more than a day. The seed is left in warm water or moistened sand overnight, and in the morning it is already allowed to use it.
Further care
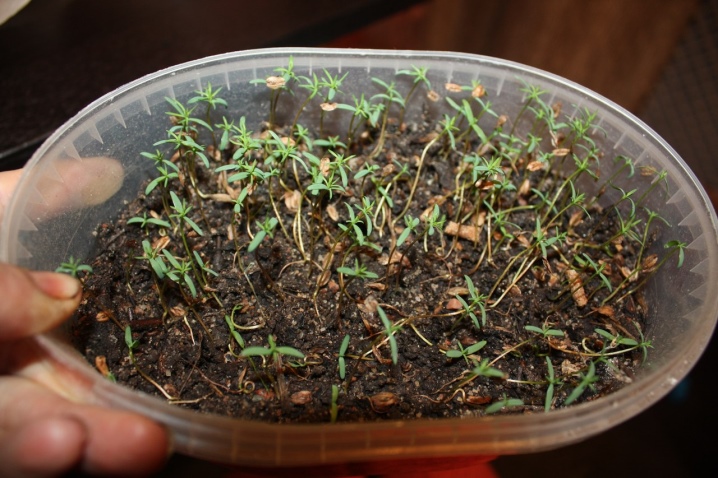
If the growing of seedlings is carried out in a pot, then with their growth it is not required to transplant the plants into separate containers if the seedlings do not turn out to be too thickened, and there is enough space for each specimen. In the first year, future thuyas will only need regular irrigation of the land. The plant should be grown in the shade, keeping the temperature from 17 to 23 degrees Celsius. Ideally, these should be the sills of windows facing north or west. In winter, the temperature is advised to be reduced to 15 degrees Celsius.
In order for the seedlings to successfully sprout, the seedlings must be fertilized at least 2 times a month with complexes of mineral fertilizers. It is convenient to purchase ready-made compositions suitable for conifers and apply the instructions accordingly. In the second year, individual thuja are seated in separate containers and taken out into the street. It is also necessary to choose a shady place and be sure to provide the plants with regular irrigation. In winter, trees must be brought into the room.
In the third year, young thujas are taken out into the street in May days, and in the fall they are planted in the beds.
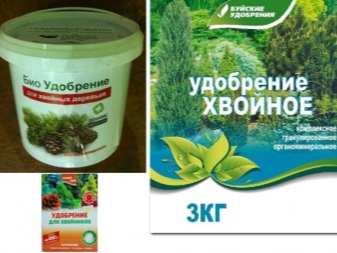
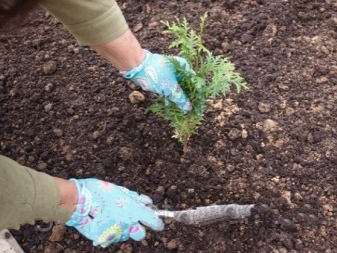
Thuja planted in a container or on a garden bed is taken care of in the same way, and they successfully sprout with the same care procedures. Irrigation must be extremely careful to prevent soil leaching. It is best to do it not with a watering can, but with a spray bottle that creates thin streams. In the event that it does wash out the seeds, they are immediately sprinkled with a thin layer of earth. The frequency of watering is determined depending on the condition of the soil - both waterlogging and aridity are considered equally harmful.
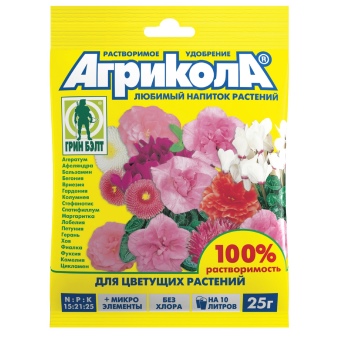
On the days when seedlings begin to appear, containers can be taken outside, taking into account good weather from 17 to 23 degrees Celsius, but it is extremely important to ensure that the seedlings do not get direct sunlight. The sun often burns the still fragile leaves of the thuja, and therefore it is better to place it somewhere under the crown of trees or under cover. The same applies to trees growing in the beds. For top dressing, experts recommend choosing complex fertilizers containing phosphorus and potassium.eg Agricola or Solution. While we are talking about young seedlings, the dosage should be reduced by 2 times, since the information indicated in the instructions is designed for adult plants. To prevent the disease, seedlings should be treated with fungicides.

Transplant to open ground
Although planting seedlings in the beds is allowed already in the third year of thuja's life, many experts advise postponing this event until the plant has blown for a five-year period. Visually, you can navigate by the height of the thuja - it should be at least 50 centimeters. It is recommended to plant a tree either in spring or in autumn, but always in a darkened area of the site. The soil should first be dug up, at the same time saturating it with fertilizers. By itself, it should be loose and light.
Usually, one square meter of land uses a bucket of humus, a glass of wood ash and a couple of tablespoons of nitroammophoska... Turf, sand and peat in this situation will also be useful. The depth of the dug hole should reach 70 centimeters and approximately 1.5 times the width of the clod of earth formed on the roots of the plant. The drainage layer can occupy up to half of the entire depth of the prepared hole.
Pebbles, small gravel or even expanded clay are suitable for its formation.
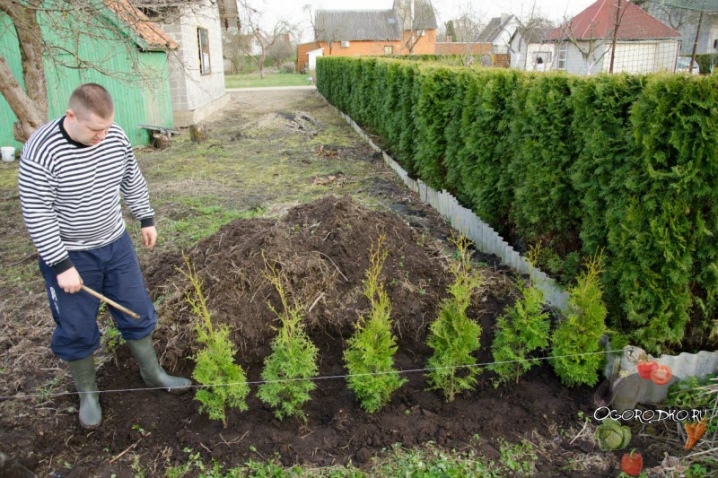
If several specimens are planted at the same time, then it is important to maintain a gap of approximately 30 centimeters between them (if we are talking about a temporary habitat) and from 1 to 3 m (in the case of a permanent place). Row spacings are usually 30 centimeters. When placing the thuja in the fossa, you will have to make sure that the root collar remains at the level of the surface, and the trunk does not turn out to be too deep. Otherwise, the plant will start to rot and simply die. Having slammed the earth, it should be watered and additionally mulched using peat or oak leaves.
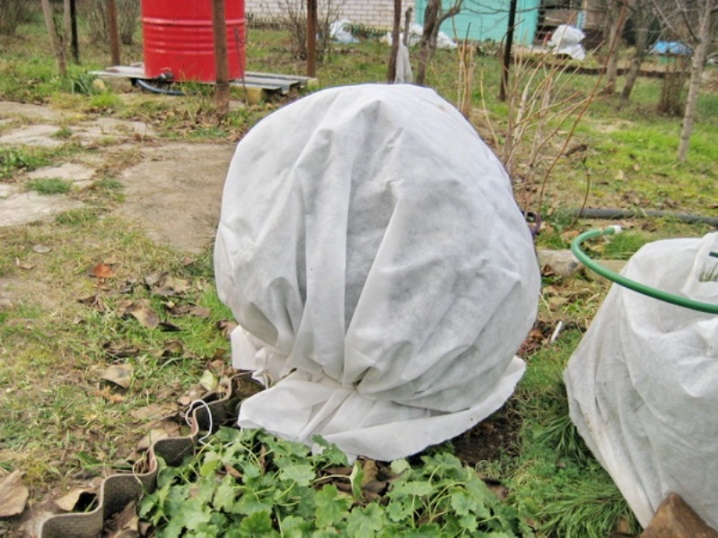
After completing the transplant, for young thuja it is recommended to set an irrigation regime corresponding to 2 times a week. In addition, you will have to apply fertilizers (at first every month, and then less often), loosen, prevent the development of diseases, combat the appearance of insects and perform other standard care procedures. After some time, you should definitely add a procedure such as pruning (wellness, anti-aging or design). For the winter, trees should be protected from frost and animals. It will be enough to hide the seedlings under branches, hay and leaves, and fix the burlap on top. On average, thuja can grow by 30 centimeters per year, but the exact figure will certainly be determined depending on the selected variety.
It is important to mention that leaving the thuja for growing in the container is logical if there is free space in it, and the seedlings have not yet thickened.
In this case, you only need to pour fresh soil mixture into the container. When thuja is planted in a permanent habitat, it may get a little sick, and its needles will change color to brown. But this effect is temporary, and you should not worry about it. In the event that the thuja remains in the pot, during the summer months it should always be taken out into fresh air, and during the rest of the year it should be constantly turned to achieve uniform illumination.
For information on how to grow thuja from seeds, see the next video.


The comment was sent successfully.