Features of toilets from a profiled sheet
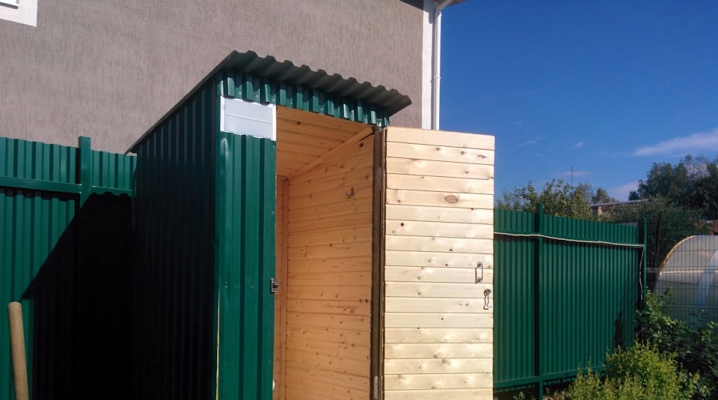
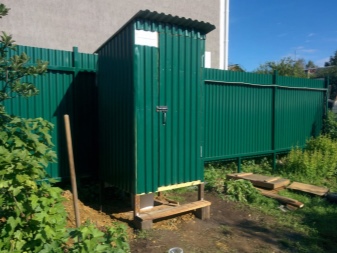
The summer cottage is a paradise for those who rest in body and soul, working on the earth. The tradition of building small houses surrounded by lovely beds has survived to this day, but usually the comforts and benefits of civilization are difficult in remote areas. A street toilet is one of those tricks that people resort to to make a dacha comfortable for themselves. Facing it with corrugated board is considered the most popular option among summer residents.
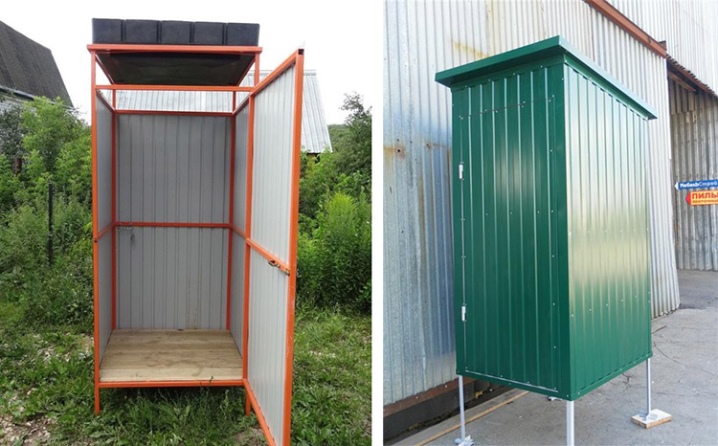
Advantages and disadvantages
A country toilet made of a profiled sheet has a number of its own characteristics.
First of all, it is very easy to install: you just need to select the required dimensions of the metal plates and supports. And depending on the internal structure of the toilet, it will be easy to maintain.
Its appearance will not lose its gloss for a long time, because the corrugated board does not lend itself to corrosion, and a very resistant paint is used to give it color. In addition to the pleasant design, the material from which the plates are made is durable and lightweight. The price for installing an outdoor toilet made of corrugated board will delight even the most economical buyer.
There are few disadvantages to such a toilet: the only difficulty that a person will face is cooking a profile frame.
In summer, such a toilet may also not be very comfortable: the sun's rays will heat the metal, which will make it stuffy inside.
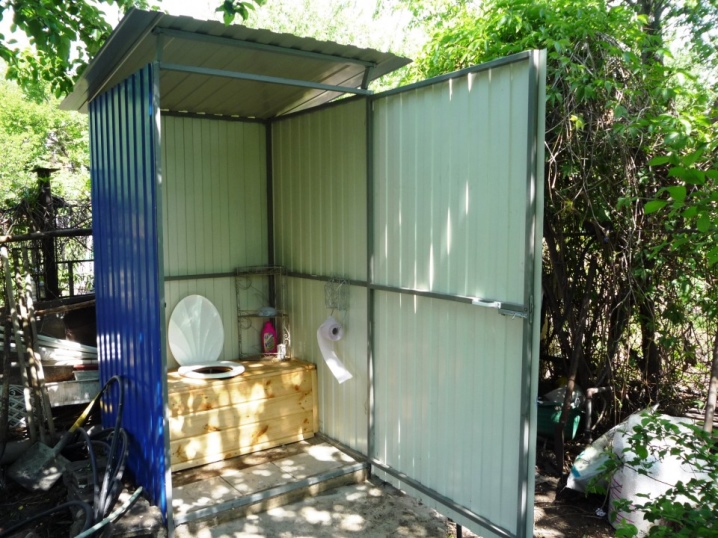
Preparation
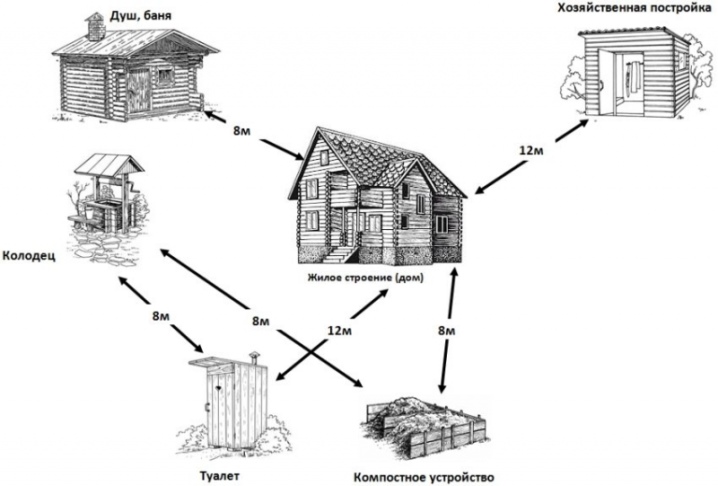
The first step in preparation should be choosing an appropriate location for the toilet. The entrance of the cleaning equipment should be wide and convenient, and the hatch space should be spacious and with good access. It is very important to take into account the characteristics of the soil on which the structure will be located. To prevent waste from clogging up water sources, the distance between them and the toilet should be:
- for clay - 20 meters;
- for loams - 30 meters;
- for sand and sandy loam - 50 meters.
The depth of the bottom of the cesspool should go down no more than 3 meters, while another 1 meter of soil should remain to the groundwater.
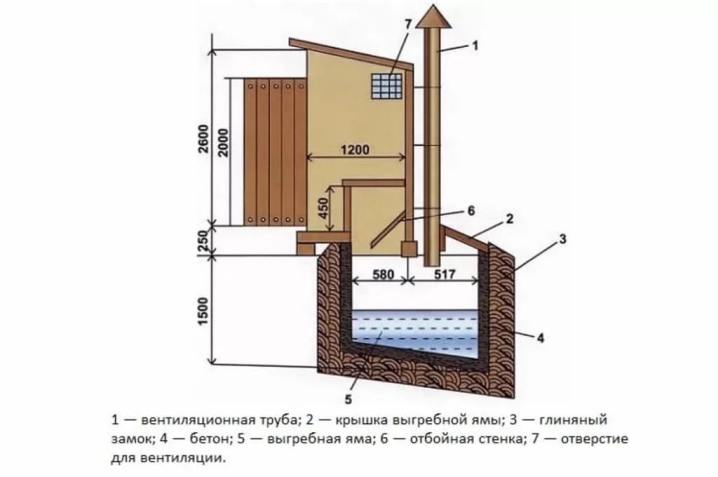
Next, it is worth deciding what type of pit you need to use on the site: completely sealed or drainage with a missing bottom.
The standard size of the pit for a sealed pit is 2 meters deep, 2 meters long and 1.5 meters wide. The toilet itself will be about the same size. You need to dig a hole so as to leave a margin for bricks and cement, so the depth is naturally increased by 15 centimeters. She is also given a slope towards the hatch through which sewage will be collected.
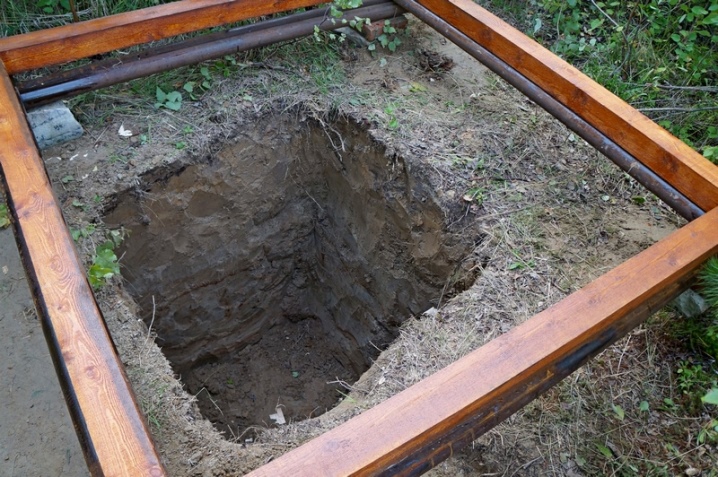
After that, the bottom is covered with a thick layer of sand, the pit is covered with an airtight film, which is clamped by reinforcement, and then filled with cement to form a 1 cm thick concrete plate at the bottom.
Thanks to crushed stone, which is an important ingredient in the mix, this slab will be strong enough in a week to continue working with it.
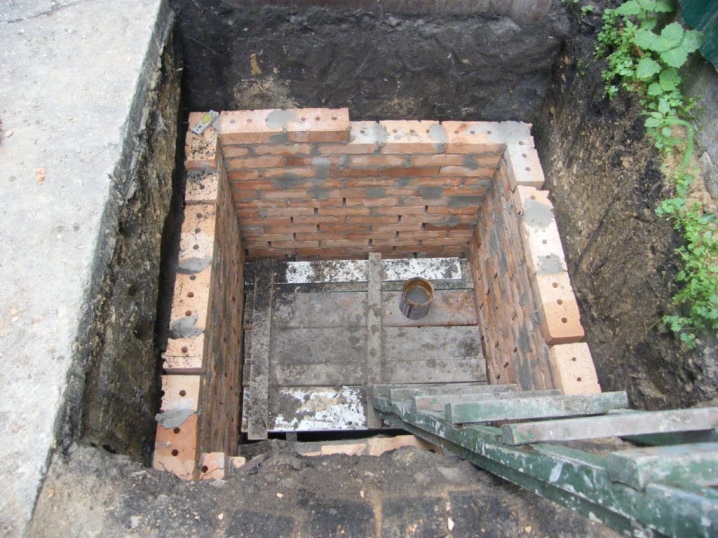
The thickness of the brick wall, which is erected inside the pit along each side of it, should be up to 25 cm. The seams between the blocks must be tightly filled with bitumen mastic in order to be tight. For the preservation of the brick, it must be covered with cement-sand plaster.
It is easier to equip a drainage pit: here you only need brickwork, which does not even need to be plastered and sealed. The more seams in it, the better, and the bottom should be sprinkled with only sand.
Construction stages
After the hole in the dacha has been dug and all the preparations have been made, it is time to install the toilet.
Making it yourself is very simple - just follow a simple scheme.
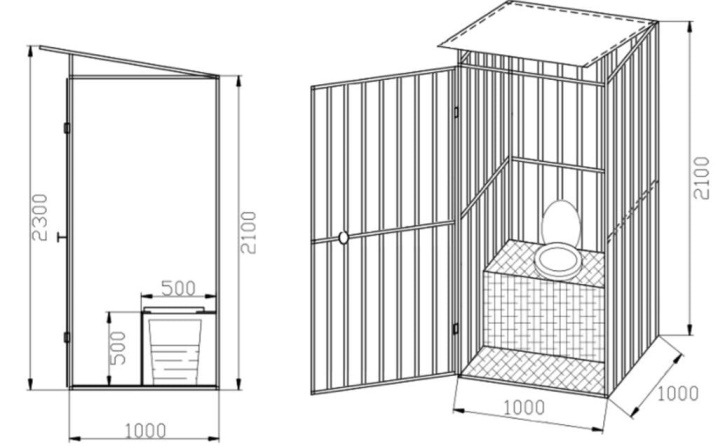
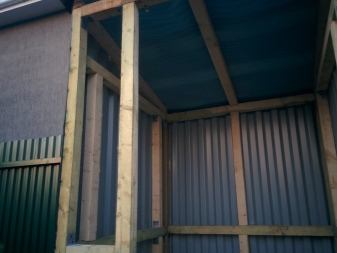
The first step is to install the racks: according to the drawings showing the average dimensions, their height should be at least 2 meters, and the wall thickness should be 40 or 60 millimeters. The shaped pipes are inserted into pre-dug holes and the whole thing is filled with concrete. The uprights behind the sump should be lower than the front ones to make it easier to install the pitched roof.
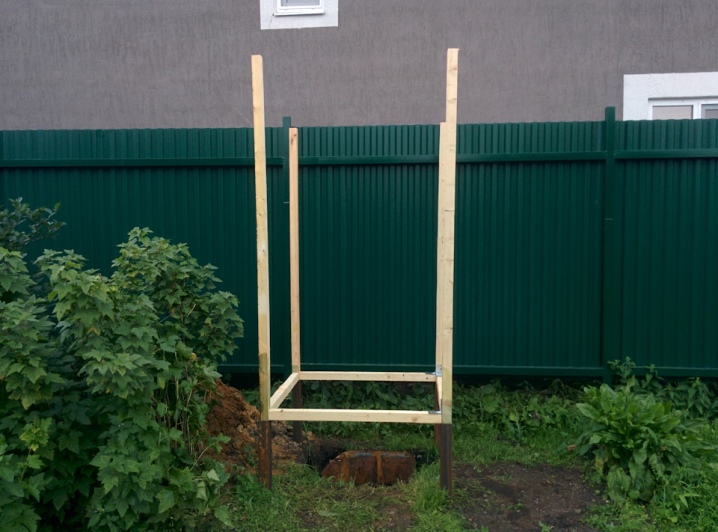
Having concreted the floor with the help of wooden formwork and fittings, having allocated space for a hole that opens access to the pit, you can start building a toilet seat. To do this, build a brick "counter" around the hole. The height of its walls should be no higher than 50 centimeters, otherwise it will be completely inconvenient to sit down.
A week later, when the floor has hardened, the distance from it to the top of the toilet seat will be only 40 centimeters.
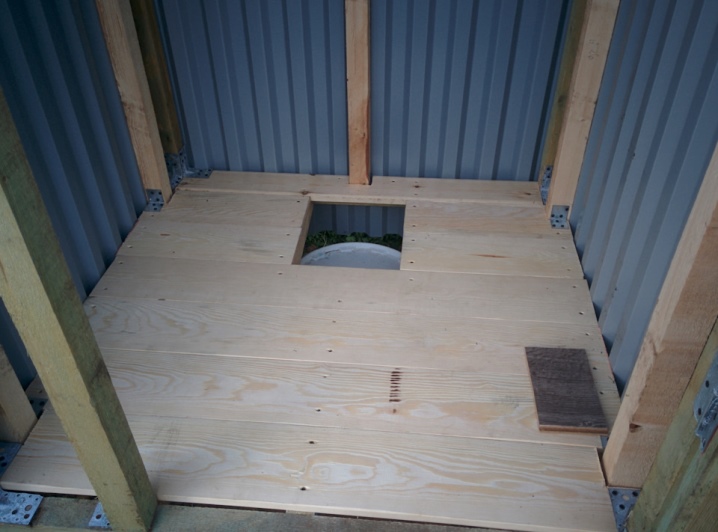
Cooking a strapping from a profile with characteristics of 0.4x0.2 or 0.6x0.4 centimeters is a difficult task, therefore, in the absence of experience in this matter, you should either contact a specialist or install bolted fasteners. After the installation of the lower metal frame, those pieces of strapping are welded that connect the upper points of the racks. The next stage is the manufacture of lathing for the roof: parts of the profile (front and back - 50 cm, on the sides - 30 cm) protrude beyond the walls, making it easier to fix the corrugated board.
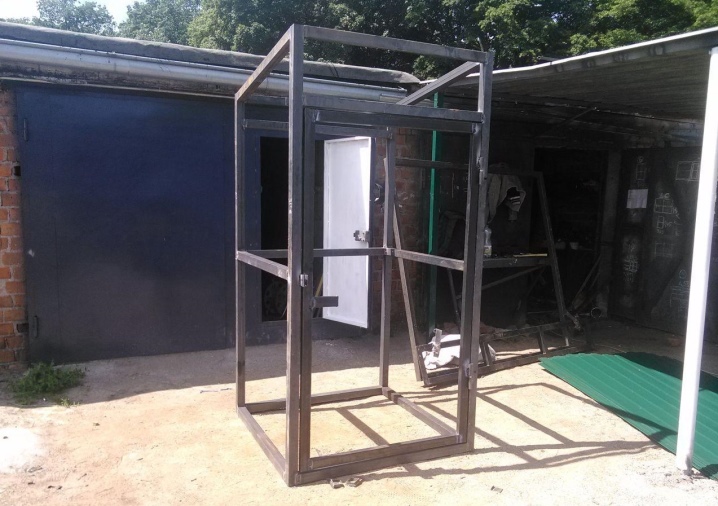
To strengthen the walls, another piece of metal is additionally fixed - diagonally and on all three sides, except for the door.
For the door, a frame is cooked from four pieces of profile, cut at an angle of 45 °. Crossbars are mounted to this rectangle to make the door even stronger. The hinges on which it will be attached are installed at a distance of 25 centimeters from the top and bottom.
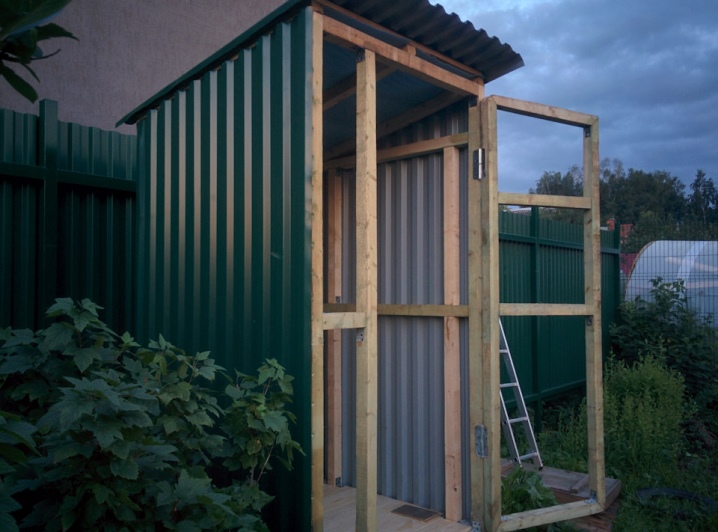
The toilet should be sheathed with C20 and C21 profiled sheets. Their thickness varies from 0.5 to 0.7 centimeters, installed with special overlapping screws, they protect the person sitting inside from rain and wind.
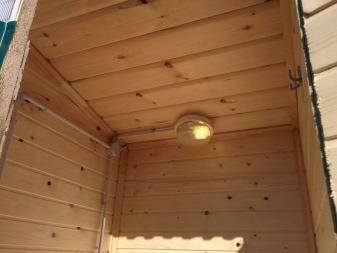
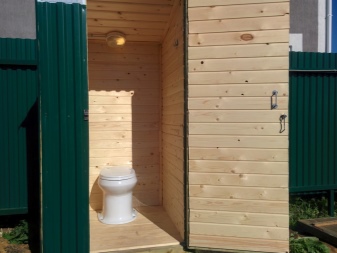
The last stage in the construction of the toilet is the lining of the counter. It is closed with a moisture-resistant plywood sheet with a cut out hole, on which the rim will then be mounted. The toilet should be decontaminated before use.
How to build a toilet for a summer residence from a profiled sheet with your own hands, see the next video.


The comment was sent successfully.