How to make paving slabs with your own hands?
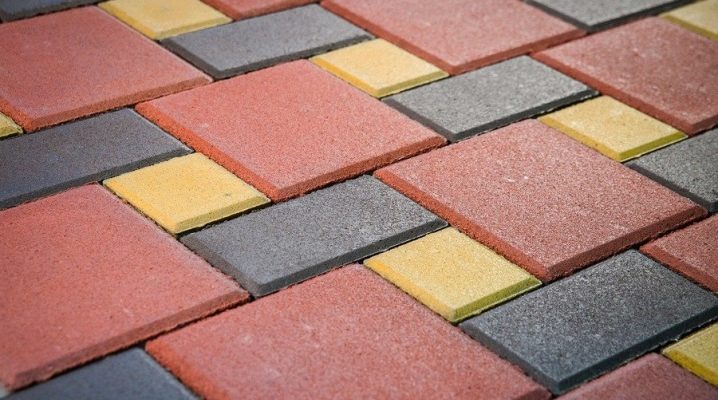
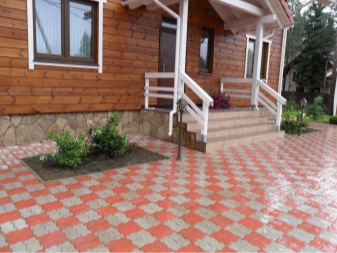
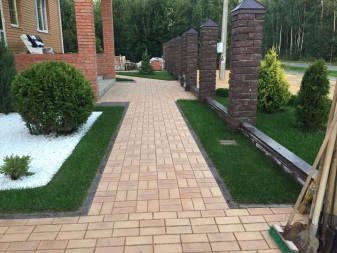
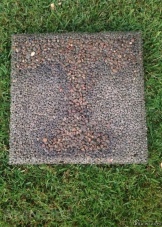
Paving slabs are a popular material for arranging garden paths, drozeks in the country or grounds near private houses. You can buy it, and to save money, you can make it yourself. We will tell you what you need for this.
What is required?
When producing paving slabs at home, you will need high-quality raw materials and special equipment.
Materials (edit)
The main ingredient is cement. The technical characteristics of the working solution and finished paving stones will depend on it. When making tiles, it is recommended to give preference to high brands of cement - not lower than M400. The best option is M500. The higher the value, the stronger the finished product will be. When using cement grade M500, the paving stones will have the following properties:
- resistance to temperature extremes and low temperatures;
- strength;
- water resistance.
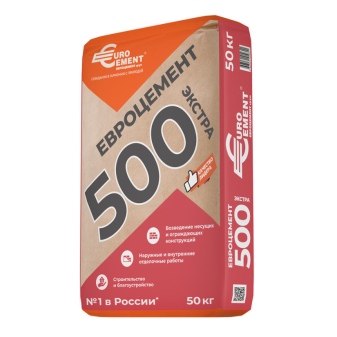
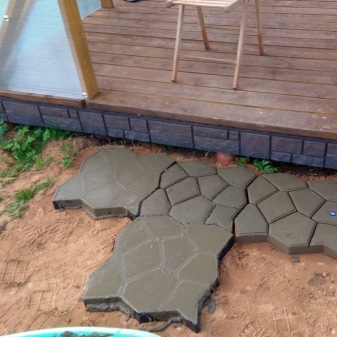
Note! When using cheaper cement of the M300 brand, it will not be possible to save money, since in this case its consumption will significantly increase.
Additional components are also required in the manufacture of tiles.
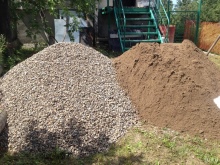
- Coarse filler. It can be crushed stone, pebbles or slag - their sizes should be in the range from 3 to 5 mm. The filler increases the density of the tiles and their resistance to abrasion. Sometimes expanded clay is used as a sealant. However, its use is undesirable, since due to the high porosity of this material, tiles can burst in frost.
- Fine-grained filler - sifted river sand (without mechanical impurities and clay).
- Water. Better to use drinking water at room temperature or distilled liquid.
- Plasticizer. In hardware stores, such additives are sold in powder or liquid formulations. Due to the addition of a plasticizer to the solution, the consumption of cement and liquid will decrease, and the density of the solution will increase. The additives not only improve the technical characteristics of the paving stone (increase the mechanical strength, frost resistance and moisture resistance), but also greatly facilitate the process of mixing the cement mass.
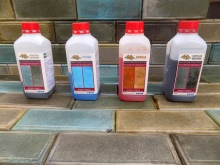
- Dyes. Colored tiles will help to decorate paths or platforms with taste or to match the constructed building. To give the shade, special solution pigments have been created. Depending on the amount of added paint, the composition can be light pale tones or, conversely, bright. Dyes are available in powder format. When using them, a concrete mixer must be used to prepare the working solution. Mixing the ingredients by hand will not distribute the paint evenly.
- Lubrication. It is necessary to facilitate the removal of tiles from the mold. You can buy a special lubricant, for example, "Emulsol", "Lirossin" or use motor oil or vegetable oil, soap solution.
Builders recommend adding hardeners to the solution - these are special additives that increase the hardening process and reduce the risk of paving stones cracking.
Equipment
To make tiles with your own hands, you need a concrete mixer or a perforator with a special mixer nozzle. The choice of this or that unit depends on the scale of the work. In the production of paving stones, you cannot do without a vibrating table.Such an installation is needed to compact the concrete solution, remove air bubbles and evenly distribute the mass in the form.
The vibration will make the tile more durable and its face smoother.
To make paving stones at home, you should not buy a production unit - you can make a vibrating table yourself from an old but serviceable washing machine or from an electric grinder (or other equipment with a motor of suitable power).

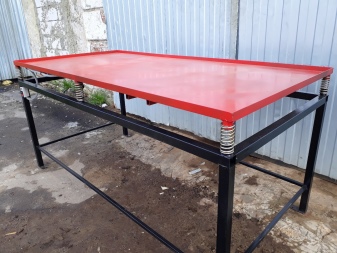
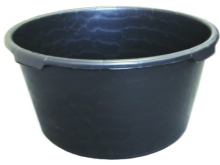
For mixing concrete mortar, you also cannot do without:
- containers (basin or large bucket);
- glasses with markings (for accurate measurements of the dye);
- trowel;
- paint brush for lubricating molds;
- forms.
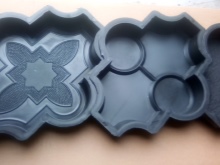
Pouring molds differ in materials of manufacture, configuration and cost. On sale there are products made of plastic, rubber and polyurethane. Rubber molds are one of the most durable, withstand up to 500 casting cycles. Plastic ones are less reliable, they are able to withstand about 250 cycles, and polyurethane - 100. Of the forms, the most demanded and popular products are made of plastic. They are distinguished by wear resistance, repeat the relief well, are durable, therefore they do not deform when filled with mortar.
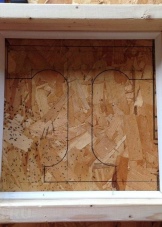
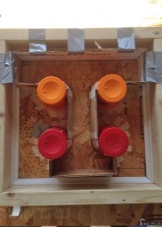
To save on the purchase of ready-made forms, their homemade production will help. For these purposes, wooden blocks, moisture-resistant plywood or thin metal sheets are suitable. Some craftsmen prefer to pour concrete into household trays. For the production of tiles, many forms are required (at least 20-30). With a small number of them, the manufacturing process will take a long time.
How to prepare the solution?
To obtain high-quality tiles when preparing concrete mass, the proportions of all components and the manufacturing technology must be observed.
To make a solution, you will need:
- filler (crushed stone, pebbles) - 38 kg;
- sand - 18 kg;
- cement - 17 kg (M500 brand);
- plasticizer - according to the instructions;
- water - 9 liters.
- color - depending on the desired color 3-5% by weight of the cement.
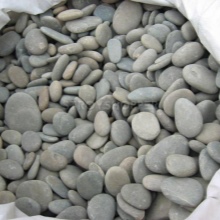
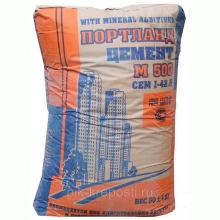
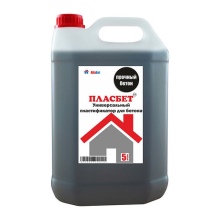
Mixing includes several stages. Let's consider them step by step:
- the entire volume of sand, 2/3 of crushed stone and cement must be poured into the concrete mixer, turn on the apparatus for mixing dry components;
- water, a plasticizer should be fed into the drum (the substance is preliminarily diluted in warm water until completely dissolved) and the components should be mixed for 1 minute;
- then you need to fill in the rest of the filler, color and mix for 1-2 minutes.
It is allowed to mix the concrete mass within 3 hours. In especially hot weather, moisture will quickly evaporate from the solution, causing the solution to thicken. It is impossible to add new portions of water to liquefy the mass - in this case, the technical characteristics of the concrete will deteriorate.
So that the solution does not have time to thicken, it is recommended to mix in small volumes (the optimal consumption of the prepared mixture is within 20 minutes).
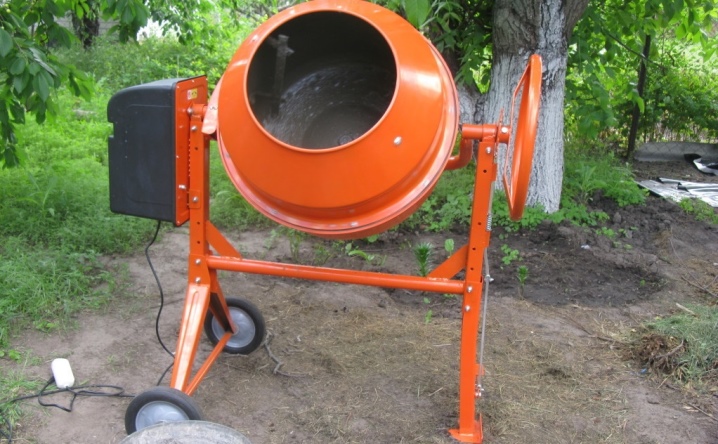
Mold lubrication
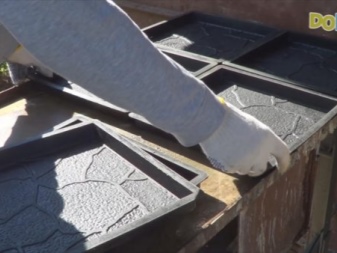
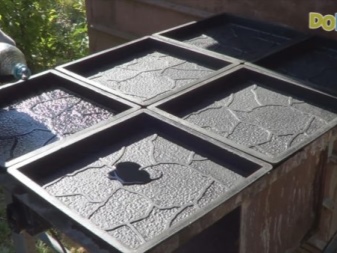
Before starting work, the forms should be cleaned - they should not contain small debris and other contaminants, since all this can spoil the aesthetics of the finished facing material. Soap solution or any gel-like dishwashing detergent will help remove grease.
It is impossible to lubricate the forms in advance, correctly - only before pouring the cement mortar. You need to distribute the mixture in a thin layer over the entire area of the mold so that there are no untreated areas. For these purposes, a paint brush, sponge or spray bottle is suitable. When lubricating, it is necessary to ensure that no brush bristles remain on the surface of the mold.
How to pour the cement mass?
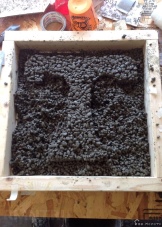
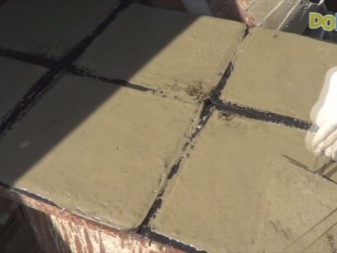
The next step is molding. It is best to fill lubricated forms with cement mortar by hand using a spatula. To make the colored tiles yourself and at the same time save on color, it is recommended to pour the colored mass first (about 25% of the mold volume), and then the gray one without dye.In this case, it is necessary to maintain an interval between fillings of 20 minutes. Otherwise, the painted and gray layer will not adhere firmly and may come off.

Pressing
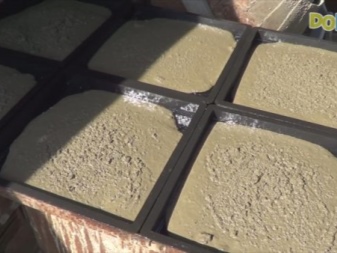
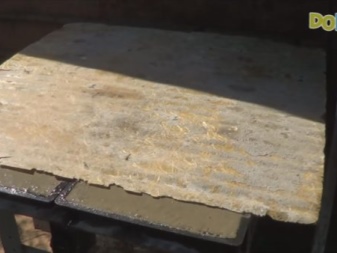
After pouring, the mold must be shaken slightly and placed on a vibrating table. The pressing time is 2 to 5 minutes. Sometimes, when compacted, the solution "sits down". In this case, it is necessary to report the cement mortar to the edges of the mold.
During pressing, air bubbles are removed from the mass and tend to the surface, forming a white foam. Its subsidence indicates that it is time to complete the seal. Do not compact the cement mass for too long, otherwise it will exfoliate.
If two-color paving stones are being made, the mortar should be compacted after pouring each layer. The second layer hardens within 2-3 minutes (in this case, the appearance of foam is optional).
Drying
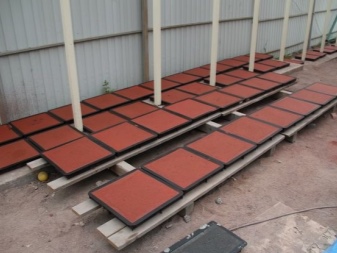
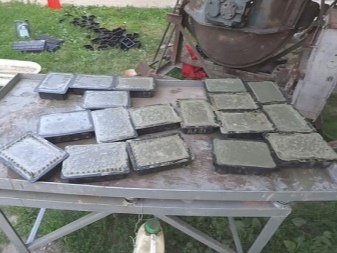
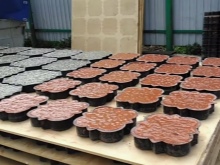
Forms with compacted mortar must be placed on racks for drying, during which excess moisture evaporates from the cement mass. The drying time depends on the temperature and is 2-3 days.
Shelves should be installed in a dry and well-ventilated place that is well protected from direct sunlight. When exposed to intense light, the paving stones will crack.
To reduce the rate of evaporation of moisture, it is recommended to put plastic wrap on top of the molds.
De-molding
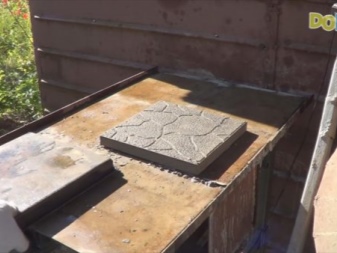
This term refers to the removal of paving stones from the mold. Submerging the poured mold in hot water (at least 60 degrees) will make it easier to remove the tile. When exposed to heat, the shape will expand, which will allow the product to be pulled out without chips, cracks or other defects.
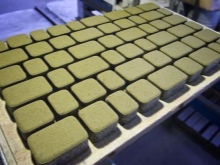
After removing the paving stones, they should lie down for another 7 days on the rack. After that, the products can be stacked on pallets and dried for another 30 days. Otherwise, the paving stones will not gain the required strength - they will crumble and break when laid.
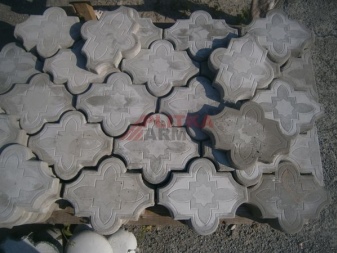
Dyeing
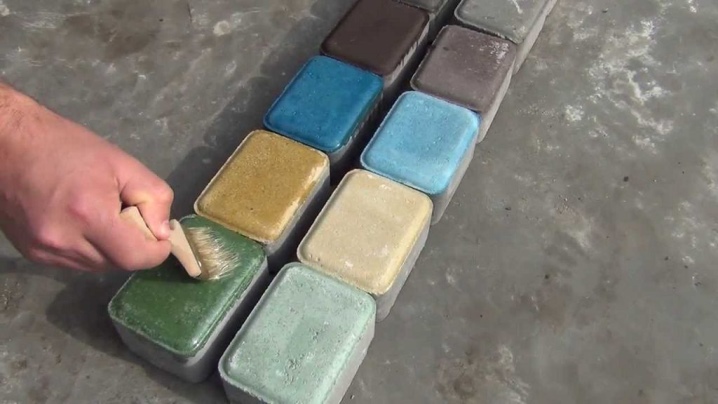
Surface staining will help to make the paving stones colored. They resort to it if no color was used when mixing the cement mortar. Or paving slabs become dull during operation. Using special paints is a quick and inexpensive way to add paints to your landscaping. In addition, due to staining, a shell is created that protects the paving stones from negative weather influences (temperature changes, precipitation, high humidity). Thanks to this feature, the life of the tile is increased.
There is only one drawback of staining - the need for periodic color renewal. In impassable places, work is carried out 1 time in 10 years, and where the traffic is high, it will be necessary to paint the tiles 1 time in 2-3 years.
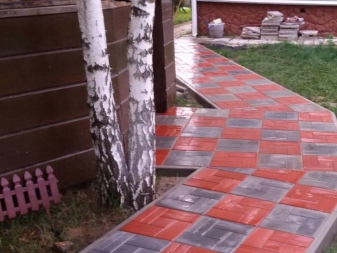
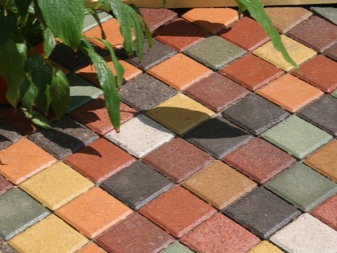
Several compositions are suitable for painting.
- Rubber. Their features are: high elasticity and water resistance. Rubber-based paints create an anti-slip coating on the surface of the coating, resistant to low and high temperatures, UV sunlight. Rubber paint does not crack and retains the brightness of colors for a long time. The formulations are non-toxic.
- Alkyd. They create a durable decorative coating on the surface that reliably protects the paving stones from mechanical abrasion. The disadvantage of such formulations is an unpleasant odor that takes a long time to disappear.
- Polyurethane. Such compositions are allowed to be applied even in winter.
Polyurethane paints dry quickly, do not emit a strong chemical odor, but quickly fade in the sun and fade.
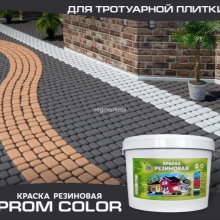
Painting should be done in dry, calm weather. Most of the formulations are allowed to be used at temperatures above +10 degrees (the conditions of use can be found in the instructions from the manufacturer).
It is recommended to treat the paving stones with acid mordant before painting. - it will make the material porous, so that the paint will quickly and easily penetrate into its deep layers.Mandatory preparatory work includes degreasing paving slabs, removing debris and dirt from its surface.
A paint roller or brush is suitable for painting. Any paint should not be applied with a light touch, but rubbed into the paving stones. The tiles should be painted over at least 2-3 times. In this case, it is necessary to apply the next layer only after the previous one is completely dry. Drying time depends on temperature and humidity conditions.
Helpful hints
Outwardly aesthetic paving slabs, made by hand, may soon begin to collapse. There are many reasons for this phenomenon, but most of them are a desire to save money and a violation of the rules of technology.
Here are some useful recommendations, the observance of which will help to obtain high-quality and visually attractive paving stones.
- The use of low-quality sand. A visual assessment of fine aggregate is not enough. Small shells are often found in the sand. When pressed, they settle on the face of the tile and spoil its pattern. To prevent this from happening, even at first glance, high-quality sand must be sieved.
- Failure to comply with the proportions of water. "Sticky dough" - the optimal consistency of the cement slurry. Excessive application of water will lead to increased fragility of the material, insufficient - to the formation of pores on the face.
- The use of waste oil for lubricating molds. To prevent the outer side from being damaged by black spots, you need to use special products.
- Drying of deformed products in hot weather. To prevent the tiles from cracking from the rapid evaporation of moisture, it is recommended to regularly wet the products.
Paving slabs should be made in a dust-free room and in overalls, since dustiness reduces the technical characteristics of the finished material. Subject to the proportions of the cement mass, the technology of its mixing and useful recommendations, you will not have any problems with the independent production of paving slabs.
For information on how to make paving slabs with your own hands, see the next video.


The comment was sent successfully.