Paving slabs and paving stones for cars
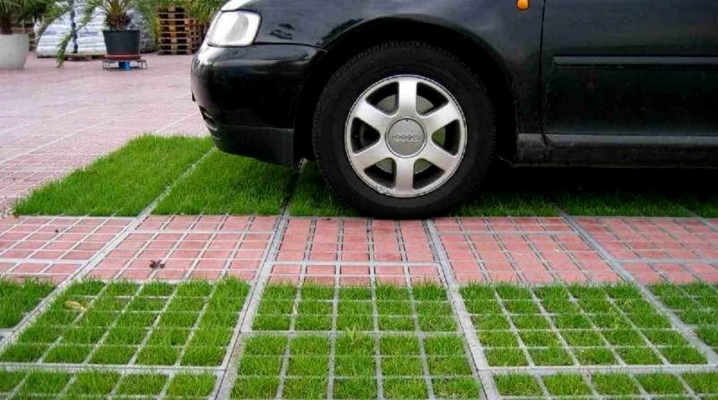
When organizing parking, they usually use special thick paving slabs. But even it will not last long if it is laid incorrectly. Therefore, before arranging parking, it is necessary to study in detail the rules for selecting material and laying technology.
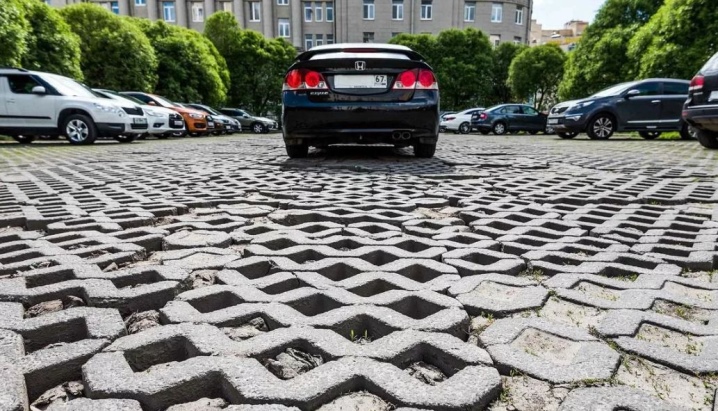
Primary requirements
The parking space will be constantly exposed to high loads, therefore the main requirement for it is strength. To prevent the surface from breaking down, the paving slabs under the car must be stable. To do this, you need to choose tiles or paving stones of increased density and thickness. Thickness standards for cars and trucks are different.
Water is one of the factors affecting the life of the coating. Since it destroys the tiles, there must be a drainage layer under the coating to prevent moisture penetration.
The surface of the parking space in the courtyard of a private house needs flat and dense. There should be no air voids between the plates. In order to protect the parking space for the car from destruction, it is necessary to provide for the installation of a curb. This will make the coating more durable and will also prevent the tiles from slipping.
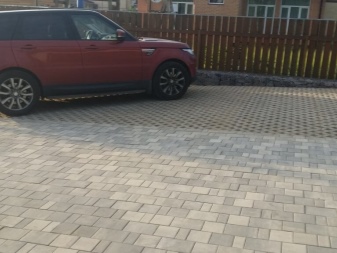
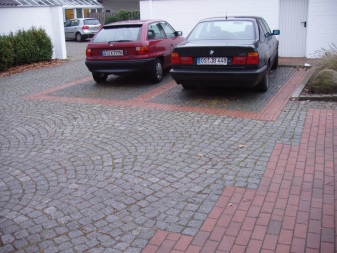
These are the basic rules, the observance of which will prolong the life of a parking space in the courtyard of a private house. Correct installation will prevent shearing and destruction of the surface.
Choice of tiles and materials
You will need paving slabs or paving stones to lay the parking lot.
The tiles should be placed under cars weighing less than 2 tons. Covers for heavier vehicles are made from paving stones.
The best option is vibropressed material.
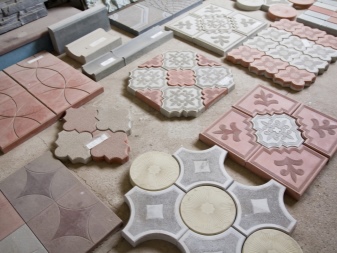
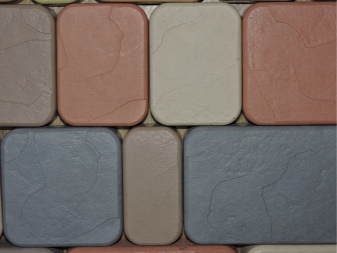
Let's consider the most significant characteristics of the material.
-
The thickness of the vibropressed products should be at least 6 cm. For parking of trucks, the surface thickness should be 8-10 cm.
-
The selected material must be dense, moisture-resistant, frost-resistant.
-
The size of the parking modules should be small. The smaller the components, the longer they will last due to the distribution of the load between them. It is not recommended to exceed the size of 30x30 cm.
-
It is better to choose a simple rectangular shape of the modules. Such elements are easier to fit and are capable of carrying heavy loads.
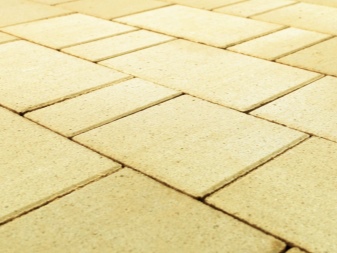
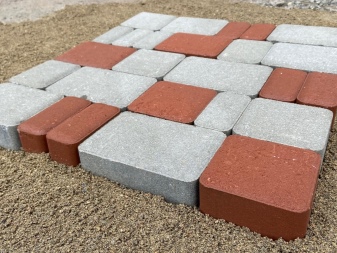
In addition to tiles, the following materials must be prepared before installation:
-
sand cleared of impurities;
-
cement creates a reinforcing layer over the entire surface and at the boundaries of the site;
-
crushed stone (or a mixture of crushed stone and gravel), with the help of which a drainage layer is created to prevent the accumulation of water;
-
geotextile with one-sided direction of moisture, which does not allow washout of the bedding and increases the strength of the coating;
-
curbstone, its characteristics depend on the coating - the thickness of the base and tiles, it must exceed their height.
If all the necessary materials are prepared, you can proceed to laying.
Laying technology
In order for the parking lot to serve for a long time, it is necessary to choose the right material and make a high-quality installation. To do this, it is recommended to perform the sequence of actions presented in the algorithm:
-
it is necessary to carry out preparatory work and mark the place of future parking;
-
level and compact the soil;
-
install the curbstone on the surface of the pillow;
-
install a drainage layer on the prepared surface;
-
place the main layer on top of the drainage layer;
-
lay tiles;
-
fill the joints with sand;
-
clean up excess materials.
Layout and markup
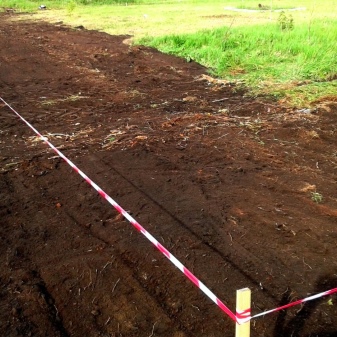
The execution of work begins with the preparation stage. It involves the selection of a territory and its survey. The area for the car site should be uniform, without holes or bumps. Experts advise doing it at a slope (no more than 5%) to prevent stagnant water.
The size of the parking lot can be any, but if the passage to the site is laid out, then it is recommended to make it at least 2.2 m. This width of the road will allow the car and the pedestrian to disperse. However, the size of the paving stones must also be calculated. If the width is a multiple of the tile size, then it will not have to be trimmed.
You can use pegs with a rope or cord to start marking. Measurements are made using a tape measure. The rope should be taut and fixed every 1.5 m on pegs.
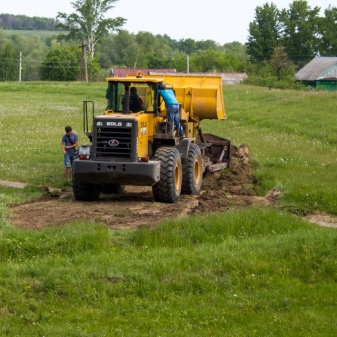
After that, in accordance with the marked outlines, the topsoil is removed to a depth of 30-35 cm. If the site is large, then it is advisable to attract a tractor.
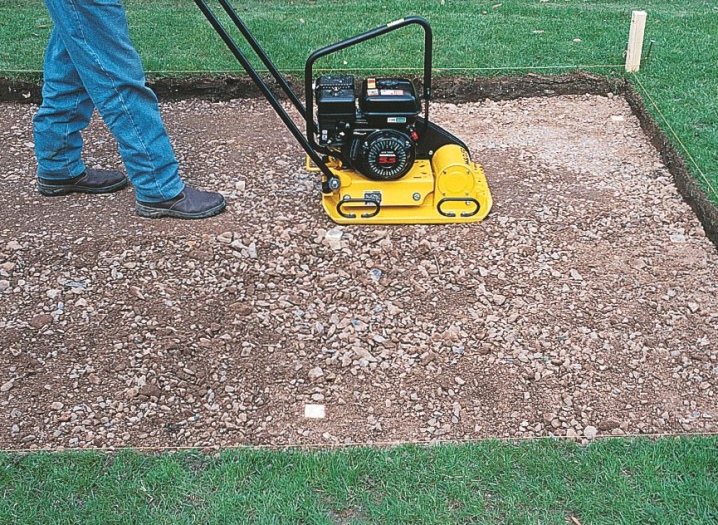
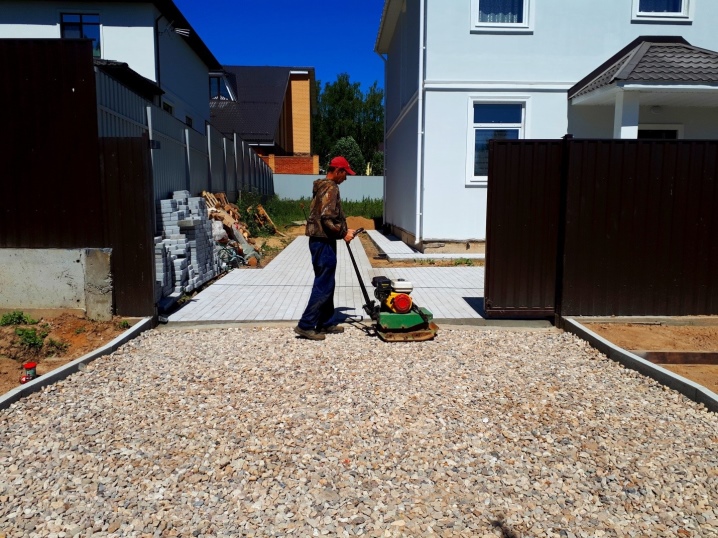
The surface must be flat and tamped down. You can try to compact the soil manually or with a hand roller. Professionals use a vibrating plate for tamping. Whichever tool is chosen, each layer must be tamped with high quality, otherwise individual parking areas may sag.
After that, the area must be filled with water, this will give additional shrinkage of the base.
Drainage layer and border
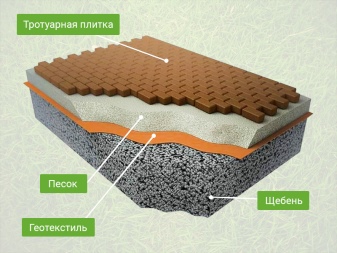
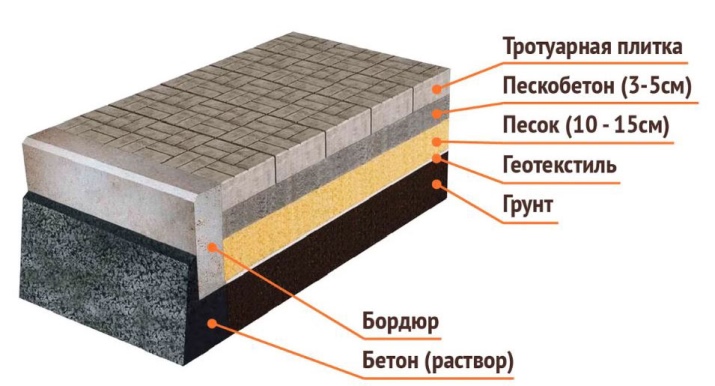
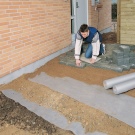
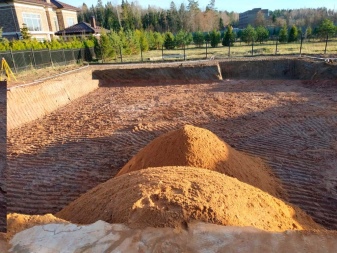
After preparing the soil, drainage is installed on it. Lay it correctly in layers using the pie method. The classic pie involves laying sand on top of the ground. The thickness of the layer should be 3-5 cm. The layer of sand should be leveled and spilled with water. Then it needs to be tamped. If the soil surface is uneven, then the sand is able to smooth it.
The classic version does not imply this, but experts advise already at this stage to lay out geotextiles. It is laid on a layer of sand, and the sides of the canvas should be wrapped so that their height is 30 cm. Neighboring canvases should overlap each other by 8-10 cm. The laid geotextile will prevent weeds from germinating and maintain a beautiful surface appearance. In addition, it will stop the rise of groundwater.
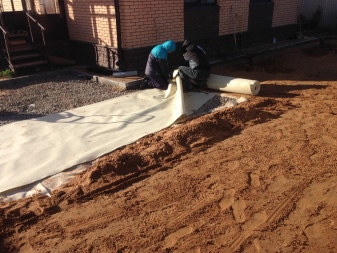
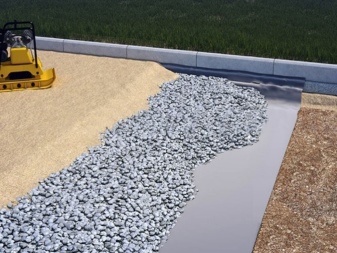
The next layer is crushed stone and gravel. They are also compacted. The total layer must be at least 20 cm after tamping. After that, the drainage layer is covered with geotextile.
Before installing the drainage layer, curbs must be installed. They should rise above the paving slabs, but no more than 14 cm, otherwise there is a risk of damaging the bumper of the car.
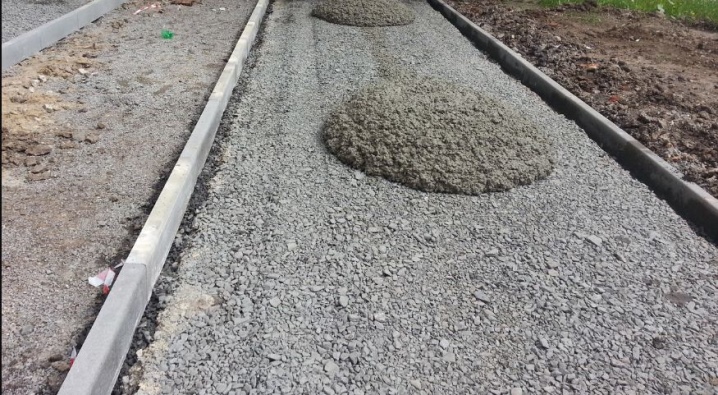
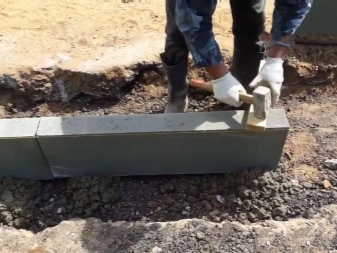
The curbstone can be installed in two ways: on a concrete base or using bulk materials of the drainage layer.
For the construction of a curb on a concrete base at the place of its laying, an excavation is made in the rubble using a trowel. It is filled with a concrete mixture of 3-5 cm. A stone is placed in it, which is then leveled, after which the surrounding rubble is leveled.
This is how all the tiles are laid sequentially. There should be a distance of 5-10 mm between them. This gap will need to be filled with a cement-sand mortar. The curb is laid with a slight slope (3-5%) in the opposite direction to the buildings.
If the path has a turn, then a grinder with a stone disc is required. It can be used to cut the curbstone into 4 pieces, which are used to create an arc. There should also be 5-10 mm between them for filling with mortar.
A similar option for installing the curb is fastening with props, the curb will be held on the drainage material. The vertical anchoring of the curb will be provided with stubborn pegs that are hammered from the inside. Outside, it should be sprinkled with a drainage layer material.
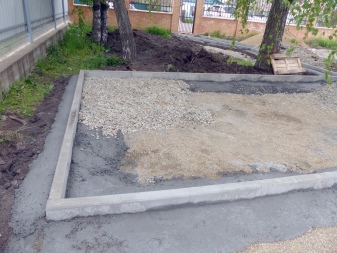
The main layer is laid on top of the drainage layer. It can be composed of sand or concrete.
If the base consists of sand, the laying procedure is as follows: it is laid out on the drainage layer 5-7 cm thick, spilled with water and tamped. Then the layer is covered with a dry cement-sand mixture (1: 4) with a thickness of 6-7 cm. It also needs to be tamped and leveled with a plastering rule. Now you can install paving slabs.
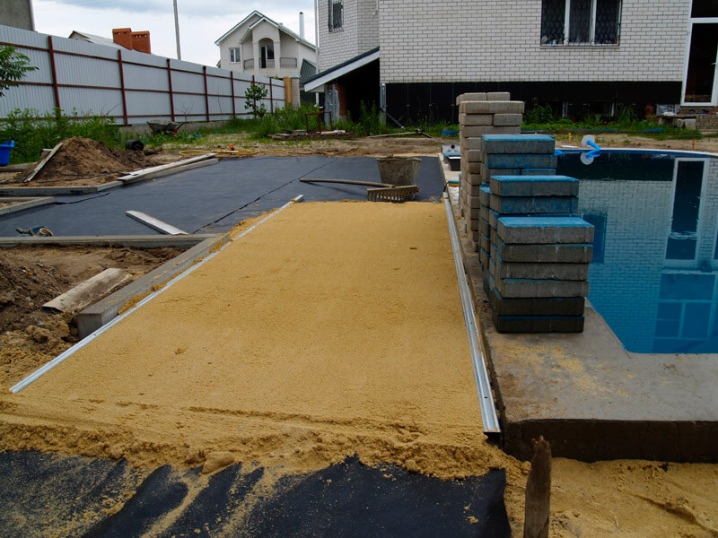
Concrete screed
The concrete base for the car park is durable but expensive. In addition, moisture does not leak through the concrete. This means that over time, under the influence of water and low temperatures, the paving stones can crack. but if the drainage system is properly organized, then the concrete base can be an excellent solution for parking, which will be subject to a large load.
In this case, it is necessary to create moisture traps: pieces of asbestos or thin wooden planks are placed in the concrete solution. The distance between them is about 3 meters.
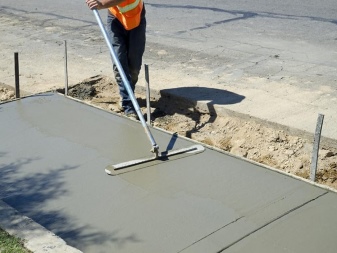
The concrete screed is laid with a slope. The percentage of the slope should be small, no more than 5% in the direction opposite to the existing buildings. If the parking area is large, then it is necessary to make reinforcement. It is best to choose fiberglass reinforcement with a diameter of 8 mm. It is tied with ordinary plastic clamps, and then the excess is cut off. The resulting mesh is laid on the drainage layer, a concrete screed is installed on it.
If the air temperature is above +25 degrees, then a day after installing the screed, it should be watered with water 2-3 times a day. After a week, tiles or paving stones can be laid on it.
Paving and finishing works
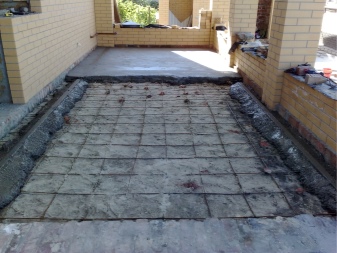
To lay the tiles with your own hands, you need to carry out the installation according to the rules. The base on which it is laid must definitely dry. Do not let it get wet.
To preserve the backfill layer, the paving stones are laid from the edge of the curb. Lay it out from the edge to the center. Around the perimeter, you need to pull the cord at the height of the masonry. The tiles are stacked in a row along and in a row across the driveway. Now you need to lay out the area, laying paving stones in areas of a square meter. From segment to segment, you must go across the passage.
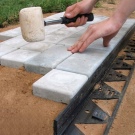
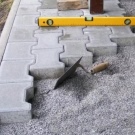
When installing tiles, a level is used. This will avoid elevation differences. Check the level as often as possible, the sidewalk should be flat. You can level the tiles with a rubber mallet.
If the tiles are laid on a sand cushion, then the tiles can be laid back to back without leaving gaps. Although, as practice shows, they are still formed, and they have to be filled with a mixture. On a concrete base, spaces of no more than 5 mm are required between the tiles.
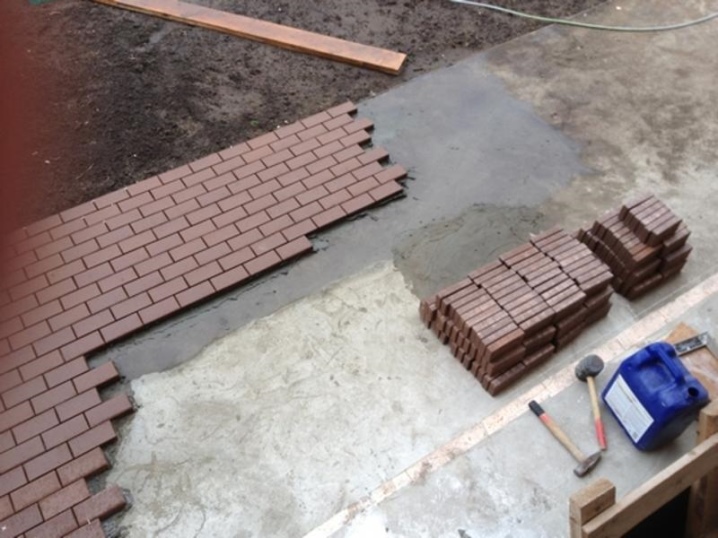
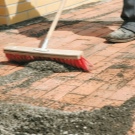
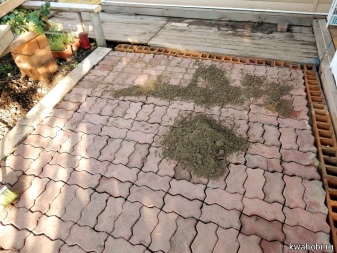
M300 cement mixture is poured over the spaces between the tiles. It is spread evenly over the entire area and spread with a brush between the seams. The mixture will fill all the cracks and set after the first rains.
Construction work is coming to an end with cleaning of the territory. After a couple of days, the surface is spilled with water so that the cement sets well. When this happens, you can start using the new parking lot. However, the more time elapses between watering and starting operation, the better.
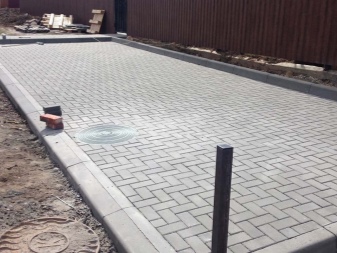
Thus, you can make your own parking in a private house or in the country. It is possible to do this with your own hands only if you have a special tool: a roller or vibrating plate. In addition, you need to understand that the dimensions of the layers are indicated taking into account the compaction already carried out. It is necessary to calculate the required amount of material, otherwise it will have to be ordered again.
To make a parking space yourself, you need to take into account many nuances of installation, but you can save a decent amount and be confident in the quality of work.
How to properly lay paving stones under the parking lot, see the video.


The comment was sent successfully.