What are the forms for paving slabs and how to make them?
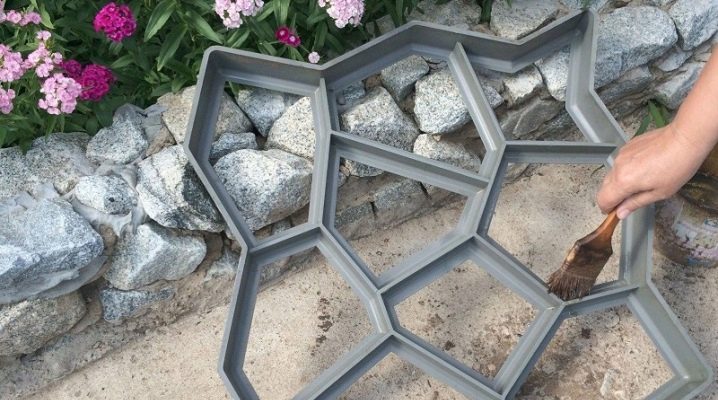
You can buy a ready-made mold for paving slabs - or you can make it yourself. The reason for creating such elements on your own is that the design of finished tiles and commercially available forms does not fit, the user's tastes are too individual. One thought about what the store is ready to offer immediately makes me remind myself: the industry is too monotonous in its decisions.
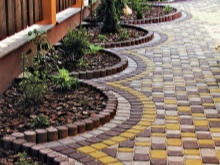
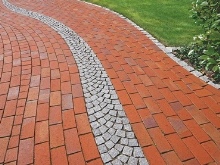
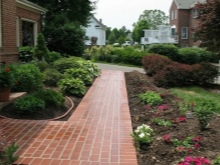
Species overview
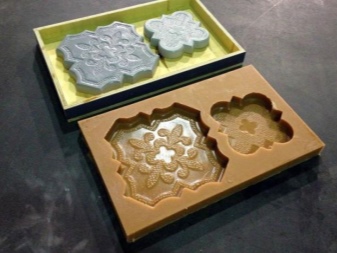
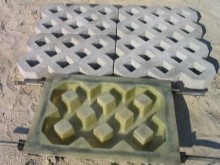
The paving slab mold is the best way to make slab fragments to your liking. It is impossible to do without it: it will not be possible to put this pouring process on the stream - the manufacture of tiles, even a small amount of it, will take a lot of time. There are cases when a unique fragment, split into pieces and discarded, is found near someone else's house, but the same tiles are absent in building supermarkets, and its delivery from afar is too expensive. You can make one or several shapes for this element, exactly repeating its contours - and then cast on them a copy of the found fragment, which you recreated, collecting it in parts.
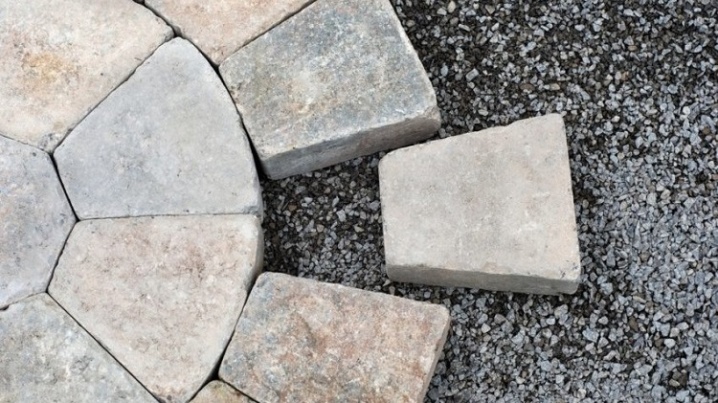
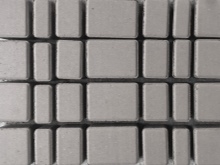
Hexagonal fragments in the form of honeycombs, squares, "bones", rectangles, rhombuses, some regular polygons are the simplest ones. However, there are cases when this form serves as a sum of smaller elements, put together so that the layout of the picture, although it tracks the general trend, but seems original. If you are an artist and an experienced designer, then you can use the multi-cell form, which allows you to lay out a huge (hundreds, thousands) number of fragments by drawing them and drawing them by hand. Then, from them, like a puzzle, the drawing that you conceived is assembled.
But such a case is too rare: with the same success, on a cement-sand mortar, you can use not tiles, but, for example, colored bottle caps.
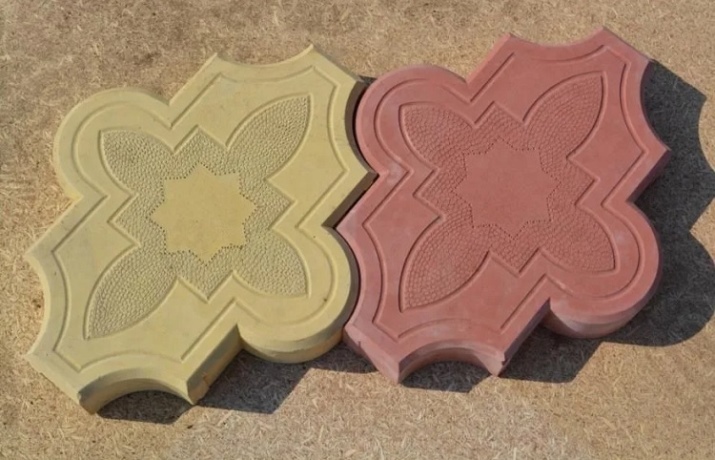
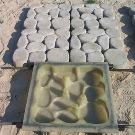
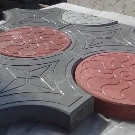
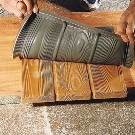
The varieties of forms are as follows: 500x500x50 mm, 50x50 cm, 77x77x5 cm, 600x600x60 mm, 1000x300 mm, 30x30 cm, 40x40 cm. Tiles of these sizes are sold in building supermarkets; molds can be made from them. If this option is not for you, then come up with a different look. So, in building markets, triangular tiles are a rarity: corners can be easily broken off during careless transportation, so not every plant produces it. It is difficult to cast a larger format - a fragment with an increased size weighs more than a dozen kilograms.
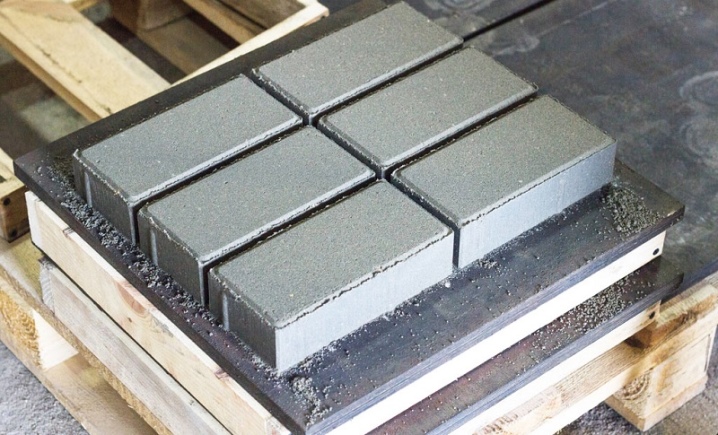
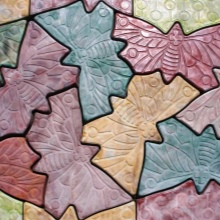
The variety of ready-made paving elements allows you to choose any design for your garden. And templates for making tiles are divided into different categories according to the type of material, installation methods and types of products. The mold is made for a stone - the hardened cement or concrete is just an artificial stone.
Although the use of plasticizers and other additives makes the stone more frost-resistant, it does not negate this fact.
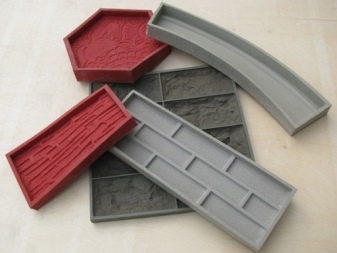
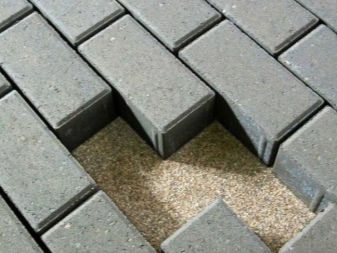
Materials (edit)
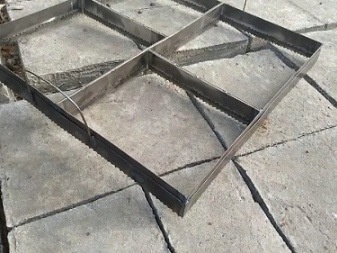
Plastic is the cheapest and most popular material... Ordinary, not flexible enough plastic is easy to cast on your own - even from old PET bottles, for example, from vegetable oil or soft drinks such as lemonade. Plastic molds - compared to silicone ones - are not flexible enough, however, silicone is easy to stretch and bend, which is why the flat tile will take an irregular shape, as a result, the fragments will not fit into the space allotted for them. Metallic - the most durable.A mold made of 4mm steel can be easily welded from its strips. But the most durable is from an L-shaped profile (corner) or a professional pipe: it will not bend, and it is easy to release the tile fragments from it, having lubricated its inner surface before pouring concrete.
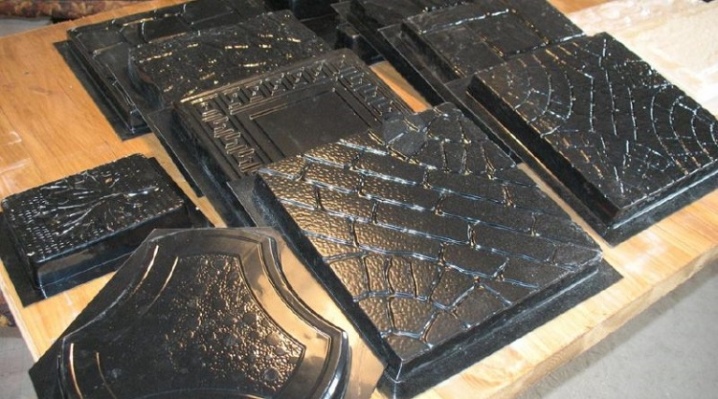
Rubber molds, like silicone molds, after being used in a casting, hundreds or more of the same fragments can be so worn out that they have to be replaced with new ones. In general, a liquid and hardened cement-sand mortar is a rather abrasive medium, and over time they will wear out much faster than a steel surface. Especially when removing tiles adhering to rubber, plastic or silicone, the mold loses some of its own particles. Rubber, plastic and silicone, being polymer products, crack, dry out over time, and are erased with an abrasive, which consists of a cement-sand mortar. Despite the lubrication of the mold surface, concrete or cement, after hardening, creates adhesion to polymers.
Selection Tips
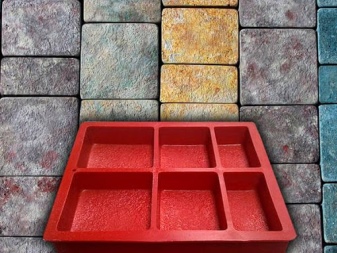
Ready-made forms can also be bought at hardware or hardware stores. As a rule, they are made from polymers - the commercial interests of companies are in the first place, and the production of goods with a service life of tens of years is economically unprofitable. It is impossible to advise anything in the choice of industrial forms - except that, for example, not steel, but aluminum forms may be found on sale. Aluminum alloy is more durable than plastic, but it also costs a lot more.
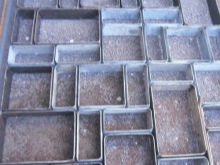
It is better to buy a corner or a professional pipe - necessarily from thick-walled steel - and make the form yourself, by a welded method, this is the most worthy option for production.
The steel mold is not afraid of being hit with a hammer from the back side, it will not bend even after thousands of ready-made tile fragments, since the corners create a reliable base.
How to do it yourself?
It is not difficult to make a steel mold for rectangular, diamond-shaped, triangular, in the form of a regular polygon tile. Equal parts (blanks) are cut out using a grinder, fixed with clamps and welded together at the ends. Before tack welding, do not forget to measure the correct angles using a protractor, a square and a level gauge: the design must be flawless. Since it is difficult to cast such a shape - on the existing tile - from steel without using a muffle furnace, some home craftsmen melt aluminum scrap: aluminum melts at 660 degrees, and steel needs a temperature above 1500, the difference is quite noticeable.
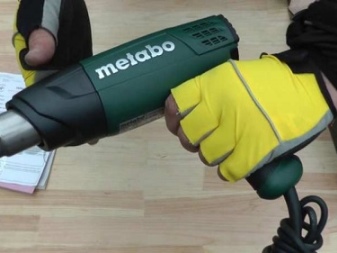
If making a mold from aluminum or steel did not impress you, then molding plastic yourself at home is an easier task. A homemade form made from scrap materials does not require too high temperatures: sometimes it is enough to melt, soften the plastic and use a construction hair dryer that creates a temperature of 350 degrees. Also, users are trying to make a wooden form.
Made of wood
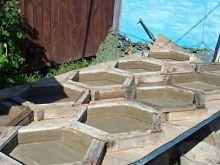
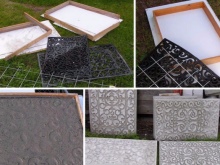
The easiest way to make a wooden mold is to do the following.
- According to a drawing of this shape, cut out slats or bars... If you have a router, suitable sticks can be carved from almost any shapeless block or even a piece of a branch of any tree from which the bark has been removed.
- Arrange them so that you get construction similar to the drawing.
- Glue everything together. For fastening with self-tapping screws, the parts are pre-drilled in the right places with a drill 1.5 mm smaller in diameter than the drill itself. If you do not drill, then the screws will open the pieces of wood, they will immediately crack, and the shape will not be quite rigid.
- Cover the resulting mold with several coats of waterproof varnish. This will protect the tree from moisture penetration - and subsequent swelling. An example of this is parquet, varnished with an epoxy or other water-resistant base.
Remember that cement and sand are abrasive materials. After several dozen casting sessions, each mold must be cleaned and varnished again in order to exclude wood decay.
Made of plastic
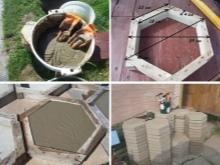
To make a mold from plastic, do certain actions.
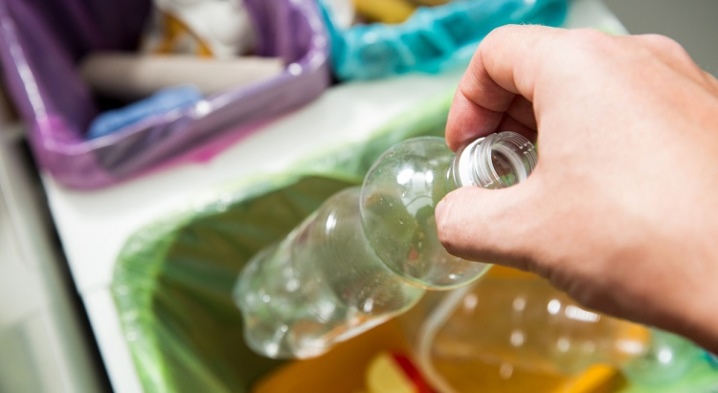
- Grind material (for example, PET from bottles).
- Place it in a vessel, for example: an old saucepan or skillet. Use a small fire or a blow dryer to soften the plastic. Most plastics become viscous already at 200 degrees, and at 250-300 - almost liquid. Important: do not allow ignition, for example, if you use polyethylene or polystyrene for casting: they burn on their own. PVC, PET and polypropylene, on the contrary, go out outside the igniting flame - there is no need to fear that they will burn out. Do not strive to exceed 300 degrees - the plastic will smoke and char, you will not get anything good from it.
- Lay the tiles on a flat surface, for example: steel sheet or concrete support of sufficient area. Pour the liquid plastic over it. Water the blank slab fairly quickly with a thick layer. The thicker the mold, the stronger it is, do not spare the melted plastic. Better to create a thick layer on the bottom and sides - a few centimeters.
- Wait for the form to freeze... It will take up to several hours, depending on the amount of plastic. A thick-walled base hardens for a long time, since the thermal conductivity of plastic is extremely low, compared to metals, due to its low density according to the laws of physics. Refine the shape by sanding its surface from the back (outside) side.
Do not remove the tile until the mold is level with it, check the flatness of the mold with a liquid or laser level gauge. The slightest unevenness will lead to the curvature of the cast tile, its imperfection, this is especially important when you have established your own production.
From plaster
A good gypsum, without additives prolonging its solidification - alabaster, freezes almost instantly, so you need to act quickly. However, for inexperienced craftsmen, there is a slowly hardening gypsum - for example, under the Habez brand, it is produced for plasterers who care not about haste, but the evenness of the wall covering, the ideal surface. Instead of a few minutes, it will take several hours to completely solidify.
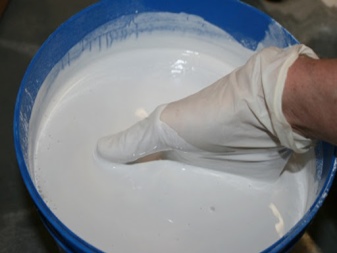
- Dissolve the plaster of Paris with water. Lay the tiles on a sheet of plastic or metal, perfectly horizontal.
- Pre-lubricate the tile fragment, so that the gypsum does not stick to the surface when solidifying.
- Pour out the plaster and wait until it is partially solidified.
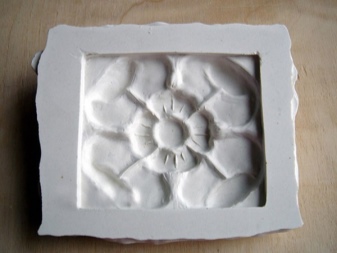
- Having found that it has begun to set, flatten the lower (back) wall of the future shape using a trowel or spatula. Try to create a thick shape - with walls 5 cm or more thick. Straighten it horizontally using a laser or bubble level gauge.
- Wait for the form to freeze and carefully, using, for example, a rubber mallet (not a mallet and not an ordinary one), pull out the tile.
The disadvantages of the plaster form are fragility, high weight.
Silicone
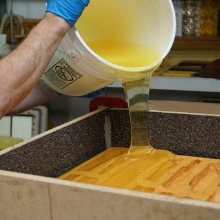
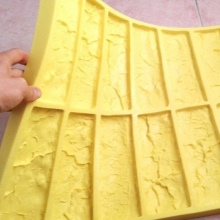
The silicone is melted with a hot air gun. A silicone mold is made in the manner described below.
- Get hold of old silicone stuff (used up their smartphone cases, hose cuttings or a leaky hose, etc.).
- Lay them out on a tile blank - and melt using a building hair dryer.
- Continue to apply the silicone by melting it... It is poured layer by layer. It is important to use a fairly powerful hair dryer. Wall thickness - up to several centimeters.
- Having achieved the application of the right amount of silicone, stop heating and wait until the resulting form hardens. Modify it by cutting off the protrusions from the back wall that prevent it from lying perfectly flat on the table.
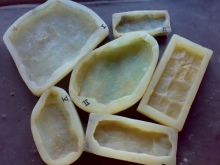
Secondary silicone, like any plastic, is of lower quality than that produced primarily from petroleum products.But its characteristics are enough for the mold to pass hundreds of cast blanks through itself, without breaking or thinning to a critical loss of strength and performance.
Polyurethane
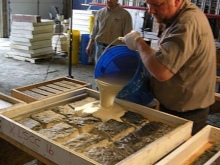
Melt polyurethane in the same way as you melted PET and silicone. Use a blow dryer and the same procedure for softening and applying the plastic. Polyurethane is also plastic, you can use foam rubber (polyurethane foam).
However, proceed with caution: it should not catch fire. Finish the resulting shape to a perfectly flat bottom on the outside.
How and how to lubricate?
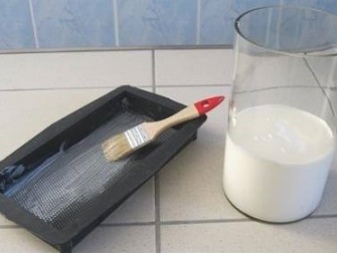
The lubricant should not promote the formation of bubbles. The form can be lubricated only with a semi-viscous composition, which does not become liquid at +30. It can be grease, lithol, graphite grease and other viscous materials, which, in order to become liquid, need to be heated to a hot state. Liquid films - vegetable, machine, industrial oil, machine-oil processing - penetrate into the poured concrete or cement, forming droplets in its thickness, which, being lighter than water, float upward. You will not get a good lubrication - all the oil will float up, on the upper side of the tile being cast, or get stuck in its thickness, reducing its strength, and adhesion, which is undesirable when removing the frozen fragment, is still formed.
A thin layer of grease is applied to the inner walls of the mold before grouting or concrete is poured. Then the mold is filled with basic building material. After a day, the hardened tile fragment can be removed.
Before you leave the mold with the building material to harden, use vibrations or movements of the trowel to etch out all air bubbles from the cement or concrete: they reduce the strength of the tile - porosity is not needed here.
How to use it correctly?
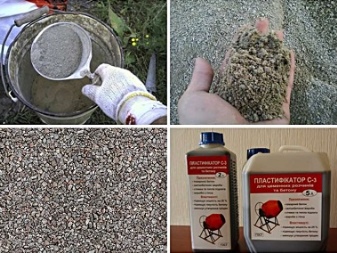
Pouring the mortar into a mold that has just been stenciled, you need to be of a fairly high quality. This is concrete or cement-sand mortar of the brand not lower than M400. His recipe - 1 part of cement for 2–4 parts of sand. Be sure to use a plasticizer - it does not allow autumn moisture to accumulate: with the onset of frost, it freezes and tears the building material. According to GOST, really good tiles are made for at least 35 winters - like bricks, gas and foam concrete, other building materials for capital buildings and sites. You can buy a plasticizer at any building supermarket. You can take the Soviet GOST standards for (iron) concrete products as a basis - check with the standards: slabs for sidewalks and access roads were previously cast on them.
It is necessary to use the forms without overloading the weight of the pledged / poured building material. Soft silicone can be squeezed under excessive weight. To prevent it from bending, place the shape in advance, for example, between the scraps of a thick board or timber, between the bricks that support its most important anchor points. Aluminum and steel molds, as a rule, do not require such scrupulousness and scrupulousness: they are quite tough.
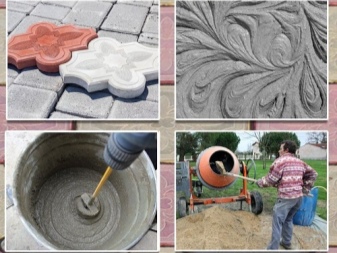
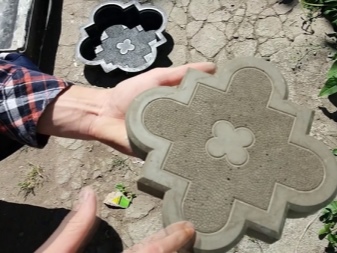
The same can be said for hard plastic or plaster.... If you leave the cast mold alone - after etching air bubbles from concrete or cement-sand mortar, then it will eventually make it possible to cast perfectly flat tile segments. Cured tiles can be easily removed from the mold. It is easy to wash, clean the form from the remnants of concrete. If a lubricant was used, then they themselves will lag behind. Pouring tiled segments "dry" will make the task more difficult. You can try to soak traces and residues of cement without using forceful methods of influence. For example, cover with oil working and leave for several hours or days. Then, so that your production process does not stand idle for days, you need to have dozens or even hundreds of such forms at hand: while some are "soaked", others are used.
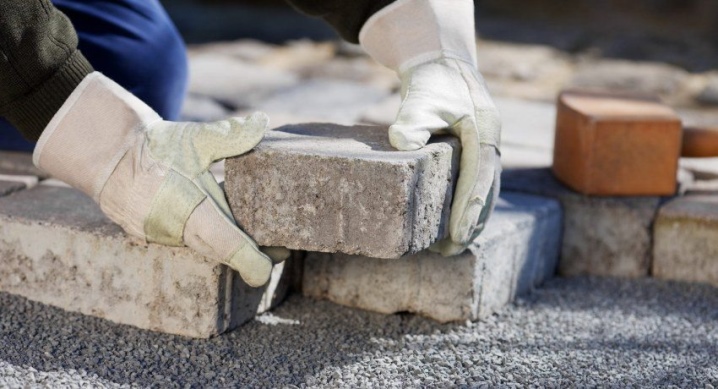
The ebb is perfectly flat tile blanks, you can process them additionally. For example, you can slightly sharpen the sharp edges of each fragment on the grinder so that they do not break off with the slightest careless movement. In this case, additional grouting of the gaps (seams) formed after laying out will be required.
For information on how to make forms for paving slabs with your own hands, see the next video.


The comment was sent successfully.