Making an ax from a rail
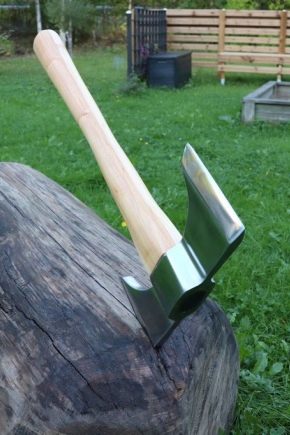
Axes are the oldest hand tools that have quite a few varieties. The technology of their manufacture has been perfected for millennia, while it still remains an actual inventory of both logging and construction brigades, and an obligatory element of equipment for extreme recreation enthusiasts, tourists and hunter-fishermen. Some seasoned forest travelers consider the ax to be a tool, sufficient for a solo hike of any length. With its help, you can prepare fuel, build a shelter, and these are two main tasks that ensure successful survival in the natural environment.
The ax is the main tool of Russian explorers who, in the most difficult conditions, mastered the vast unexplored spaces of Siberia in the 17th century. And nowadays, in any private courtyard, there will certainly be at least one ax, and a good owner may have about a dozen of them for different occasions: chopping wood, chopping them, carpentry, chopping meat, small gardening work, a camping ax, and so on.
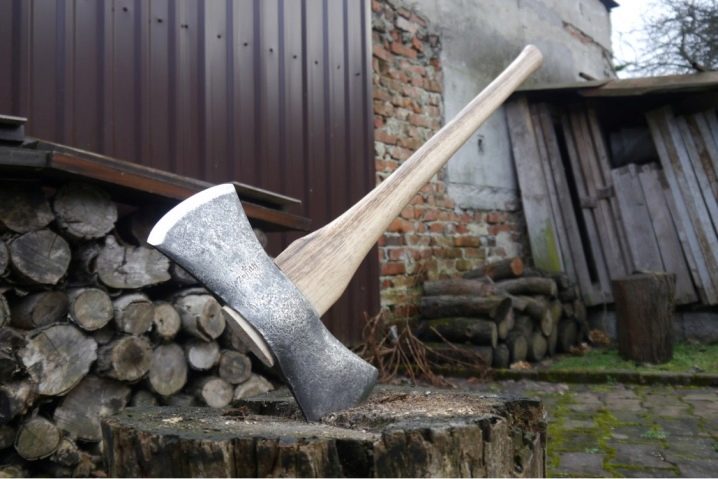
Tools and materials
There are always axes on sale, but the monotony often pushes fans of this brutal tool to try to make them with their own hands. In this case, the question arises about the quality of the material. Steel for the manufacture of an ax must be fairly hard, while having high ductility. Experiments with various materials led to the formation of a positive attitude of craftsmen towards rail steel.
A feature of the metal for such products is an increased requirement for strength (wear resistance). The structure of the material of the rails is characterized by homogeneity and the required ductility.
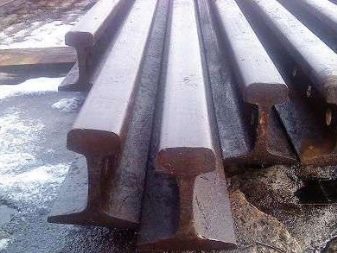
To make an ax, you need a piece of rail at least 50 cm long, and the weight of such a piece will be about 18 kilograms. Working with a steel rail is difficult, and you cannot do without serious equipment.
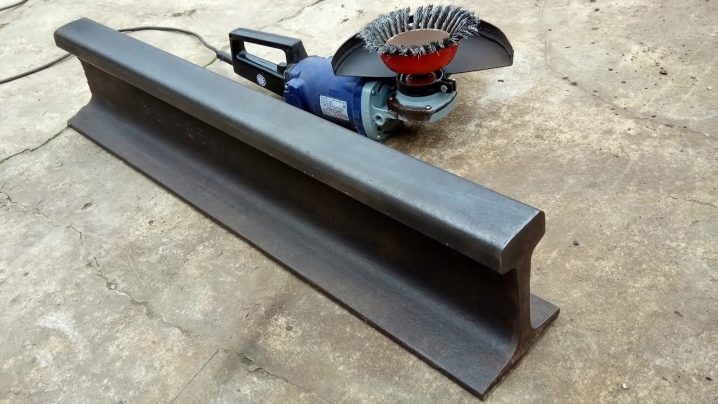
For work you will need:
- welding machine;
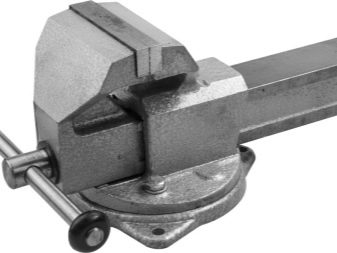
- stationary vice;
- a saw for metal or a powerful electric jigsaw with a set of files corresponding to the material;
- heavy hammer;
- roulette;
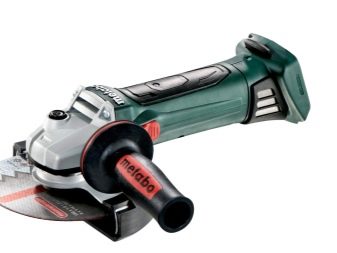
- grinding machine (grinder, for example);
- an angle grinder ("grinder"), and it is better to have two such units - a large one for rough work and a small one for finishing parts;
- birch block for an ax;
- plane;
- sandpaper.


Manufacturing techniques
Making an ax from a rail with your own hands, of course, differs from operations carried out in an industrial environment: there is no casting, the workpieces will need to be welded, and this is not at all the same.
The operations for converting a railroad bed into an ax are generally as follows.
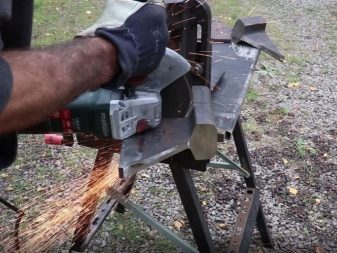
- The workpiece must be clamped in a vice and the rail foot must be cut off. Cutting should be done with a grinder, burning cutting wheels and making sure that the wheel does not break in a deep cut.
- The workpiece is given the appearance of an ax. After a series of operations, you should get two identical halves.
- The eye of the ax is made by sawing the rail head in both blanks.
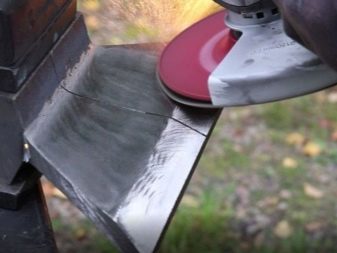
- The halves of the future ax are sharpened and polished.
- The workpieces are heated in an oven or oven, then they are carefully welded so that the two resulting blades are directed in different directions, and the cut grooves form the eyelet of the butt.
- Weld seams are ground.
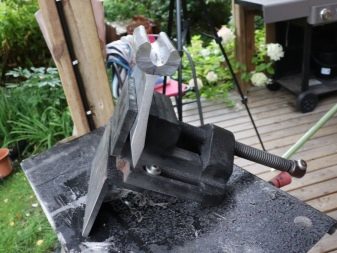
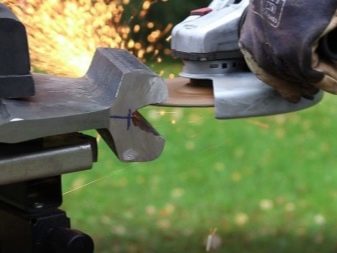
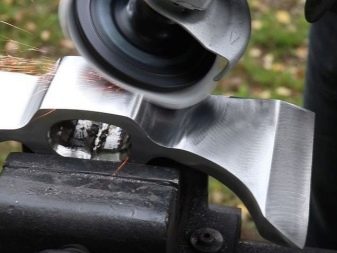
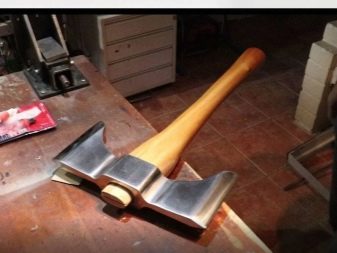
A product made according to the technology described above has mainly a decorative function.It will be quite difficult to work with it, the second blade can cause injury, and the weld between the halves of the blade will be quite laborious to make as strong as a cast structure.
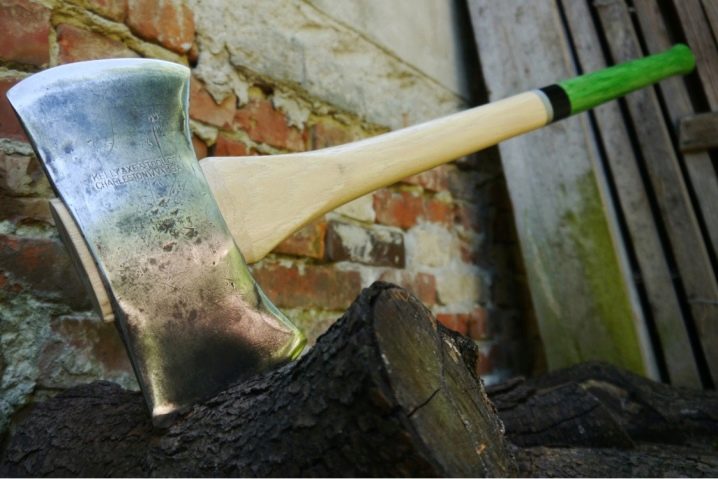
However, rail steel is also perfect for a more practical product. You can make a cleaver out of it. Cleaver is a powerful ax designed for splitting logs. The large angle of convergence of the edges of the blade allows you to successfully break the wood fibers, while the blade of a conventional ax gets stuck in them and you have to take additional - rather laborious - operations for splitting.
The wood splitter has one more feature - it is much heavier than the usual carpenter's brother. The weight of the cleaver can reach 2–2.5 kg, homemade monsters up to 3 kg are known.
To make such a cleaver from a rail, you will need about the same set of tools, with the only difference that the grinding of the product will not be so thorough.
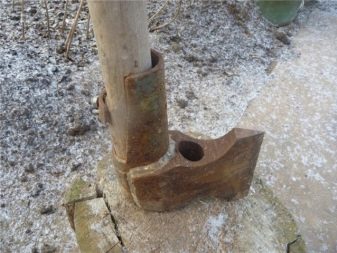
The stages of work are almost the same as in the case of making a decorative ax.
- Cut the sides of the rail support flush.
- Having marked out, cut out the butt of the future cleaver using a stationary vise.
- Shaping the blade with a flap grinder. Sharpness is not so important for a heavy cleaver, but a very heavy product will not work out of a rail blank, so the blade will have to be sharpened.
- An eyelet is cut in the rear part (rail head).
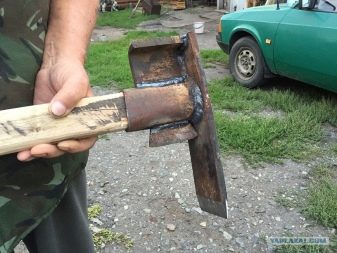
- From above, the eyelet is welded with a piece of steel cut from the rail support.
- The birch hatchet is made independently or is used commercially available.
The lightest type of ax is taiga. Its weight can be about 1 kg. This tool is designed for work in the forest: felling, felling, chopping branches, removing bark, cutting a rough groove, chopping wood and other rough work. Such a tool is perfect for extreme sportsmen. Lightness and functionality are its main features.
Outwardly, such an ax can be distinguished from a carpenter's one by the sharper angle between the ax handle and the head of the butt (70 ° versus 90 ° for a conventional ax), as well as the absence of a sharp toe protruding beyond the butt and the rounded shape of the blade.
Sharpening of a taiga ax is also peculiar: if the toe of the blade is sharpened on a cone, then the heel becomes thinner. This allows you to combine the properties of a splitting ax and a conventional ax in one tool.

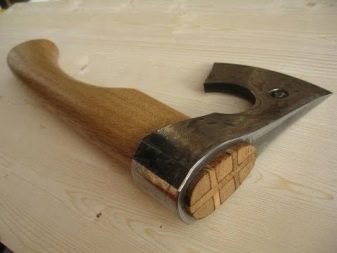
To make a lighter ax, you can use the rail pad rather than the rail itself.
- A block of about 3 cm wide is cut from the lining.
- The place of the eyelet is marked in the bar with the help of a drill.
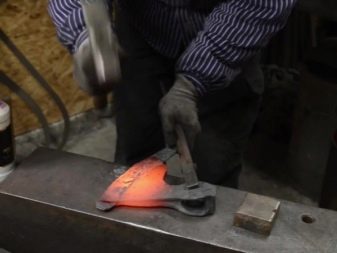
- Next, you need to warm up the workpiece, and the higher the temperature, the faster the work will go. With the help of a chisel and a sledgehammer, the eye hole is broken. The workpiece will have to be reheated many times.
- After creating a through hole in place of the eyelet, you need to expand it to the required size with the help of a crossbar.
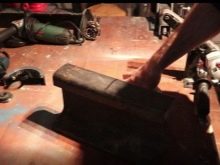


- Then you need to forge the blade of the ax. This operation is quite laborious, the workpiece will have to be repeatedly heated again.
- The blade can be reinforced with a special file shard insert so it stays sharp longer. To do this, insert a previously prepared piece of file into the cut along the blade. Connect both parts by welding.
- Forging the workpiece, make the final connection of the blade parts.
- Further forging of the ax is aimed at giving it the required shape.
- The final finishing of the workpiece will have to be done with a grinder using cutting and grinding wheels.
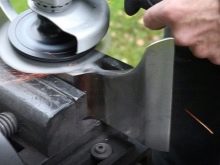
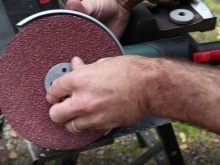
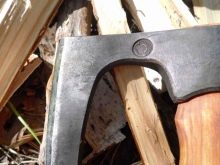
The ax of such a tool must be made longer than that of a carpenter's ax of the same size and mass. His task is not delicate and careful work, but strong strikes with a wide swing. However, it should be thinner and shorter than the cleaver's ax.
Possible mistakes
When making an ax yourself, you need to approach this work with all responsibility. The ax is a serious tool and should be taken seriously.
Most of the mistakes stem from the lack of preparation of the master. Before starting work, it is necessary to think over all its operations, in production this would be done by a technologist.
Inability to perform individual operations will also make it difficult or even stop work.
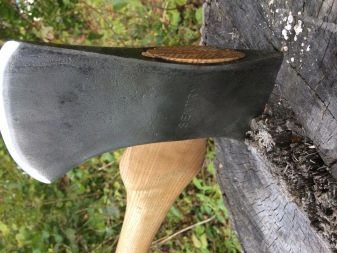
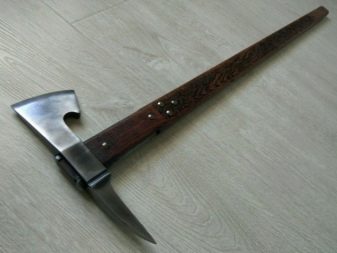
It is better to think in advance if it is possible to do the difficult stages on your own. Sometimes it is worth entrusting part of the work to a specialist.
For information on how to make a carpenter's ax from a royal rail and an ax cover, see the next video.


The comment was sent successfully.