How to grow a good crop of tomatoes?
It is believed that tomatoes are a rather capricious garden crop. That is why they are rarely planted by novice summer residents. In order to choose the right variety of tomatoes, plant them on time and properly care for them, you need to study all the available information and use the already proven tips. This will help to avoid most of the potential problems and to grow a good harvest every year.
Variety selection
In any store that sells seeds, you can find many bags with different names and characteristics. In order not to waste time and avoid unsuccessful acquisitions, it is important to take into account several nuances.
- Consider the climate. In southern varieties, the bushes are taller, with dense greenery and a developed root system. In the north, everything is focused on reducing the timing of the harvest. For the middle lane, it is better to select varieties that are resistant to bad weather, since those that are more thermophilic in cold summers may not meet expectations in terms of yield.
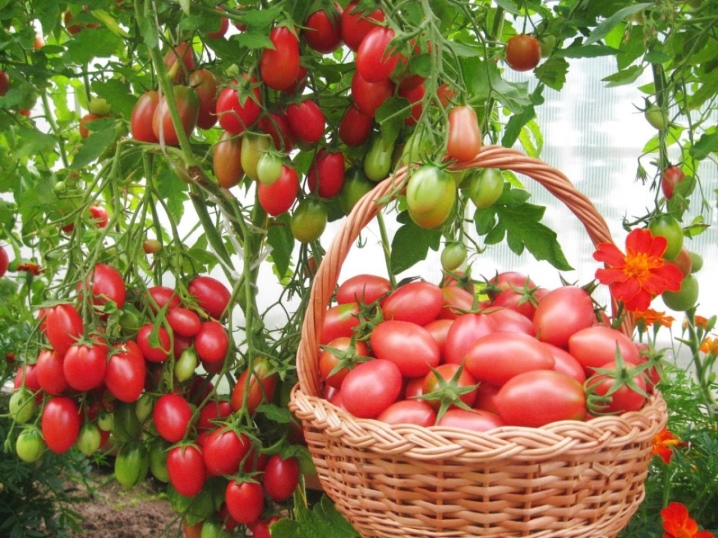
- Choose a landing site. Determinant tomatoes (undersized, bush) with early ripening are planted in open ground. For greenhouses, indeterminate ones, which grow like vines, are well suited. For growing on a balcony or windowsill - undersized and early maturing.
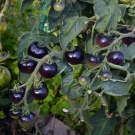
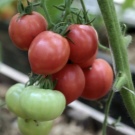
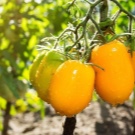
- Determine the appointment. Large fruits are eaten fresh or in salads. For conservation, smaller ones are needed. In addition to reds, fruits can be yellow, pink, purple and black.

If space and conditions permit, both early maturing and late maturing varieties can be planted to harvest until autumn.
Necessary growing conditions
Before you start growing tomatoes in the open field, you need to choose a suitable place. The plot must be sunny, but protected from the wind with a fence or plantings... If other nightshades grew in this place (for example, peppers or potatoes), you will have to postpone the planting. The best precursors and neighbors for tomatoes are onions, cabbage, legumes, and cucumbers.
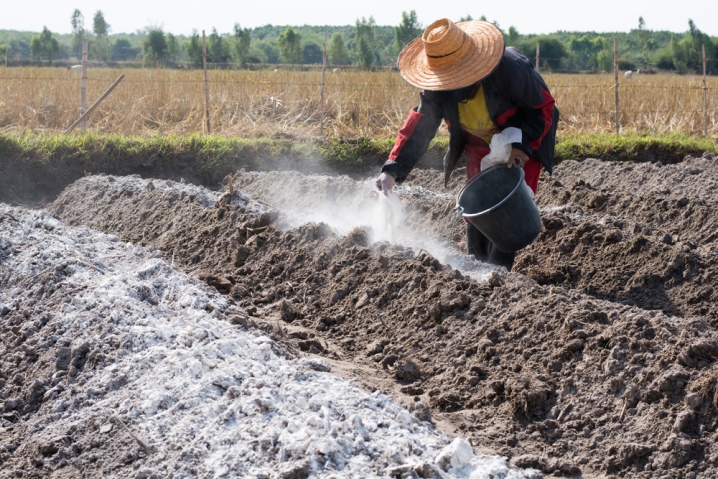
Since the fall, the planned site must be cleared of previous plantings and dug up. It is then that manure, straw or humus are additionally introduced into the soil. If added in the spring, large amounts of nitrogen can build up. And already before planting, you can add superphosphate and potassium chloride.

The soil for tomatoes should be neutral acidity. If it is higher, liming can be carried out in the spring. This culture also loves light, crumbly soil. If water stagnates in the area, it is better to move the tomatoes to another place.
How to grow healthy seedlings?
The timing of planting seeds varies depending on the region. In order to transplant seedlings to a permanent site on time, seeds are planted in the south in February, and in the north in March. Auspicious days can be determined according to the gardener's lunar calendar.
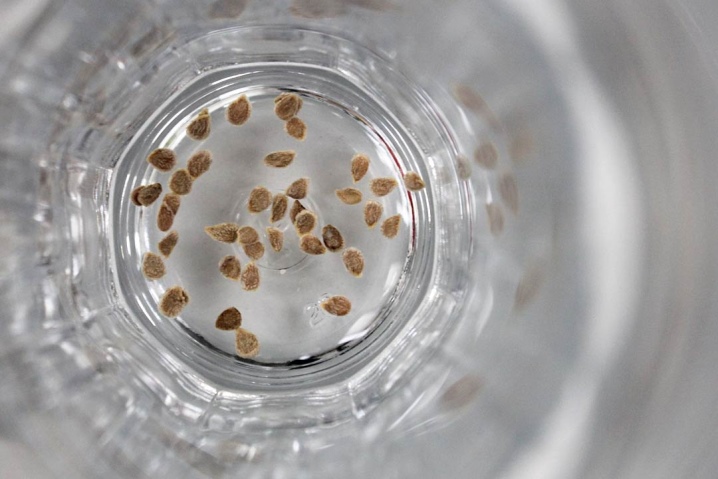
Any agronomist will tell you that half of the success depends on the quality of the seeds. To reject empty ones, planting material can be soaked in salted water - they will float. Those that have sunk to the bottom must be drained and dried on a napkin.
To revive and disinfect the seeds, they can be soaked in a weak solution of potassium permanganate.
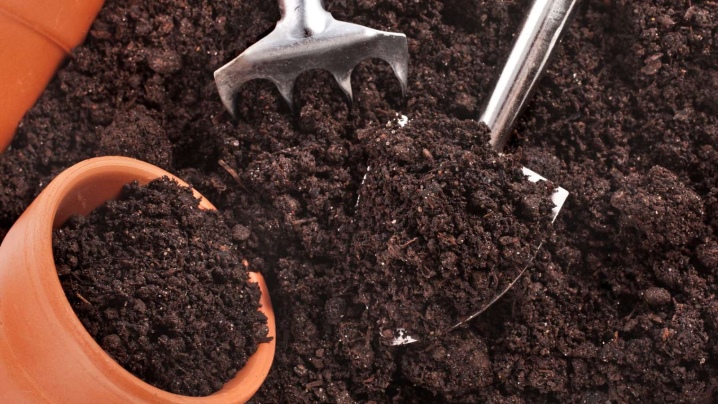
For planting seeds, it is better to purchase soil in bags or peat tablets. You can prepare the soil yourself by mixing 2 parts of leafy soil, 1 part of peat and half the amount of well-rotted humus. You can make it looser by adding sand or perlite. To disinfect these components, they can be frozen, treated with steam or boiling water, and then dried well.
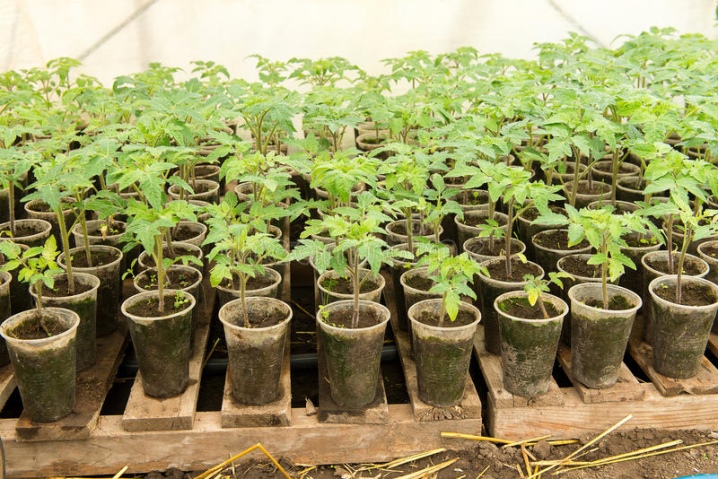
Progress:
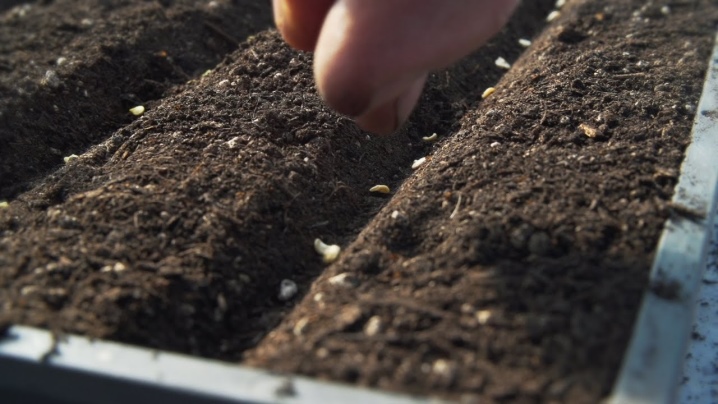
- fill wooden boxes or plastic containers with a good drainage system with soil;
- moisten and form grooves at a distance of 4 cm from each other;
- spread the seeds (after 2-3 cm);
- sprinkle with earth on top, irrigate abundantly from a spray bottle, cover with foil until shoots appear.
Seedlings are watered sparingly, once a day. Lighting above it should be at least 16 hours a day. Shoots must be protected from sunburn and drafts. Two weeks after germination, it is better to plant each bush in a separate container along with an earthen lump. Before planting in the ground, you can begin to harden them - take them out to the balcony or street. In the same period, a complex fertilizer is applied to each plant.
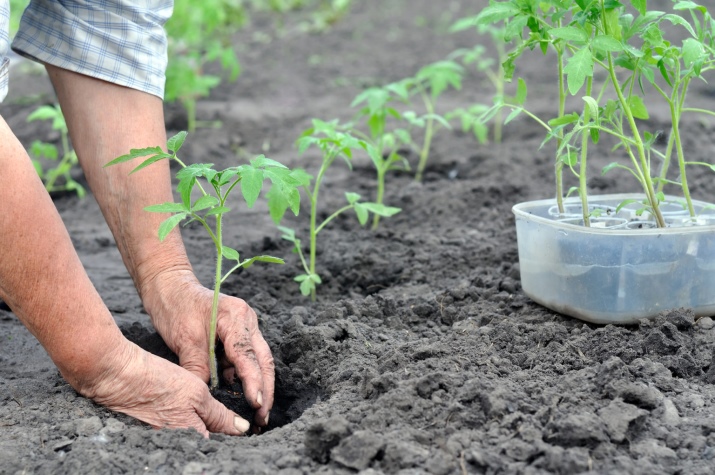
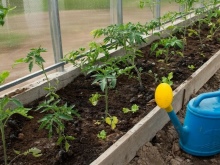
Transplant to open ground
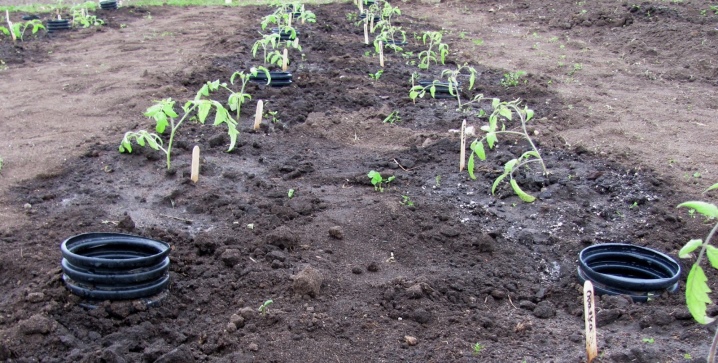
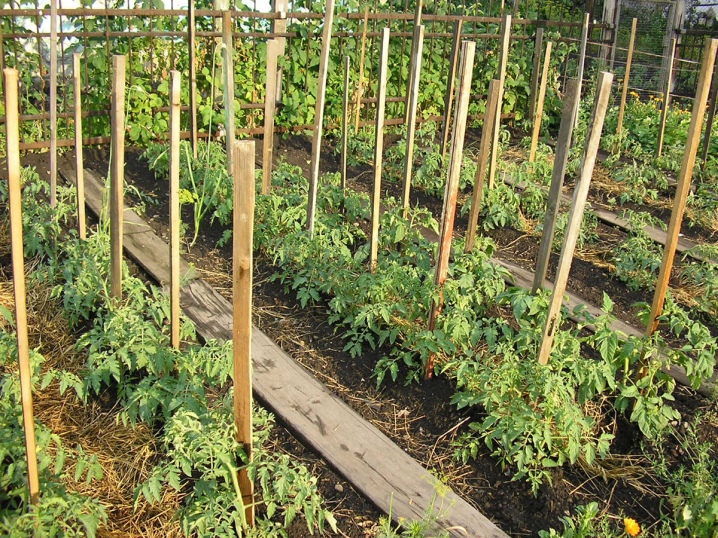
Tomatoes are planted in open ground in holes arranged in rows or beds. The scheme and method of planting depends on the height of the given variety:
- undersized tomatoes are planted at a distance of 30 cm, leaving at least half a meter to the next row;
- for tall bushes, the distance between plants increases to 50 cm, and the row spacing - to 70 cm.
How to plant:
- it is good to water the earth in cups;
- take out the bush along with the soil;
- place vertically in the middle of the hole, sprinkle with earth on the sides and tamp with your fingers.

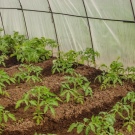
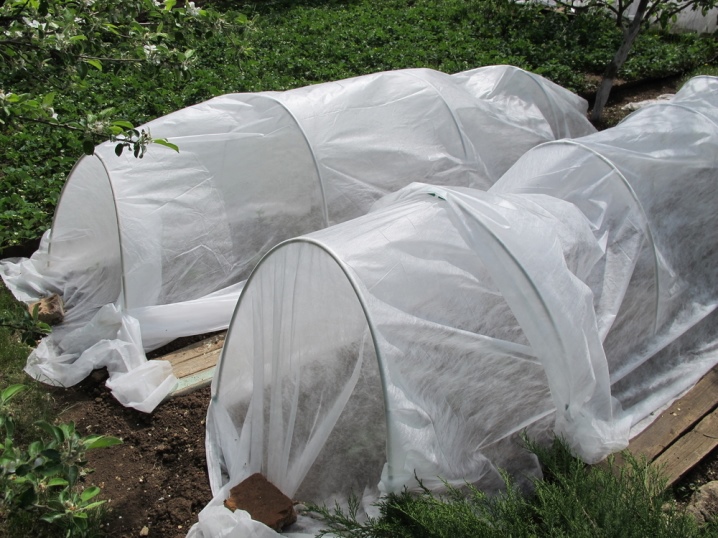
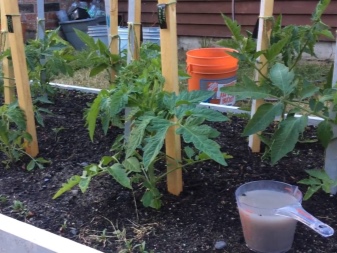
If the tomatoes are overgrown, then you can slightly deepen the bush or lay its lower part, and then bend up. In accordance with agricultural technology, when planting near the plant, you need to put supports (pegs or trellises). Of course, it is better to cover young plantings. In the simplest tunnels made of film and arcs, they are not afraid of even frost.
For planting in greenhouses, the Kazarin method is well suited:
- form a furrow about 30 cm long and up to 10 cm deep;
- add a little compost and a handful of ash, moisten;
- at the seedlings, tear off all the lower leaves, leaving three on the crown;
- lay the seedling bush together with the soil (if it is not there, the roots should be dipped in a liquid mixture of clay and humus);
- cover with earth, tie the top to a peg.
The secret of this technology is as follows - the roots of tomatoes actively grow, which get everything they need from the soil, without watering.
Another unusual cultivation method is upside down. The bottom line is as follows:
- a hole is made in the bottom of the pot or any suitable container, which is closed with cardboard or cling film;
- then the earth is carefully poured inside and slightly compacted;
- the pot is turned upside down, the film is torn and, if possible, removed, and a bush is carefully planted into the hole - as soon as it takes root, the container can be turned over and hung in the right place.
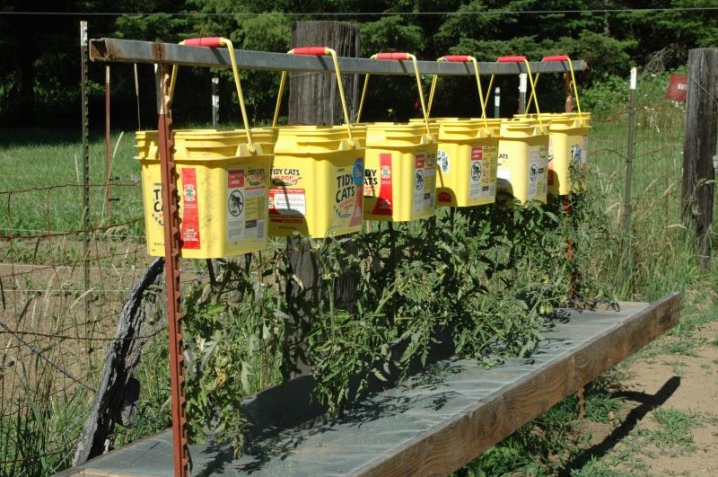
The containers with tomatoes hung in this way not only allow rational use of space and serve as decoration, but also give a rich harvest.
Further care
When the seedlings are grown and planted in place, do not relax. Tomatoes need to be monitored and looked after in time to prevent the appearance of diseases and pests that can ruin the future harvest.
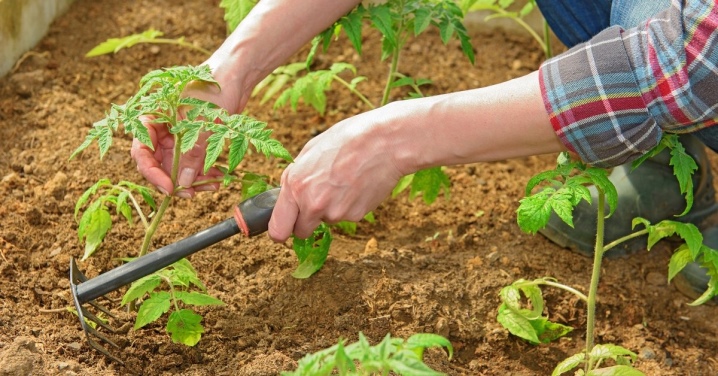
Loosening
Ideally, the soil under the tomatoes should always be loose - this contributes to good water and air exchange. Therefore, you can loosen the soil almost immediately after rooting and repeat at least once a week. This applies not only to the soil around the bush, but also between the rows. These procedures should be combined with weeding, because weeds not only spoil the overall picture, but also steal nutrients from tomatoes.
And if we are talking about young plants, they also shade them.
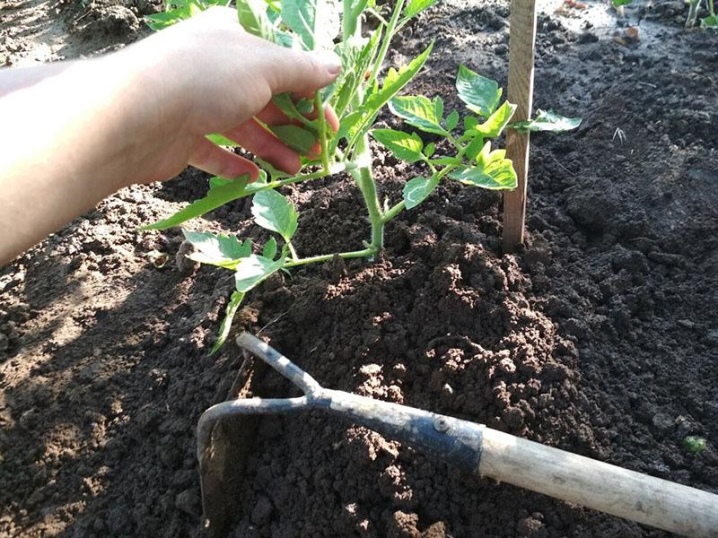
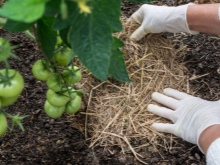
Overgrown tomatoes need not only loosening, but also hilling - this will protect the roots and retain moisture.For the same purpose, after watering and loosening, it is necessary to add mulch - a layer that prevents rapid evaporation of water and serves as additional protection. If a person does not have the opportunity to constantly be present in the country or in the garden, mulching can save time on loosening and watering.
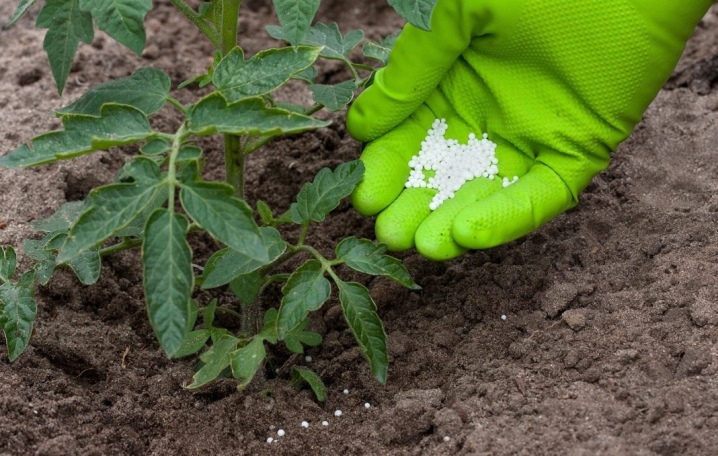
Top dressing
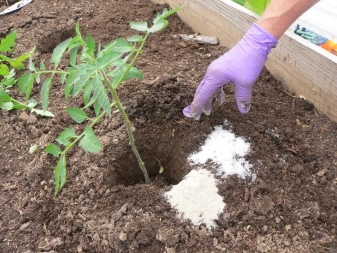
Before planting, fertilizer can be applied directly to the prepared wells. Then, for this purpose, it is better to use aqueous solutions, the composition of which may be different:
- 1 packet of dry yeast and 2 tablespoons of sugar in a bucket of warm water - pour immediately half a liter per bush:
- 10 drops of iodine per 10 liters - 1 liter for each plant for fast growth and flowering:
- dissolve a glass of ash in a bucket of water, leave for several hours and water as usual;
- infusion of herbs, for the preparation of which it is necessary to fill a bucket with grass or nettles by two-thirds and add water, leave for at least 3 days (for watering, dilute 1 liter of infusion for 5 liters of water);
- in addition to folk remedies, tomatoes can be fed with complex fertilizers (for example, nitroammophos).
In general, you need to fertilize tomatoes in three cases:
- when planting to strengthen the plant;
- during the ovary and if the plants do not bloom well;
- in case of detection of a disease.
Watering
Since tomatoes are planted in well-watered holes (at least 5 liters in each), they do not actually need watering for the first two days. Plants must be allowed to take root, and for this there is enough moisture in the ground.
Then you need to act according to the weather:
- if spring and summer are dry, then you can water every other day;
- under normal conditions, twice a week is enough;
- if the summer is cold, rainy, then artificial watering should be minimal.
After the beginning of flowering, watering can be reduced, since the fruits may crack from an excess of moisture. For each bush, 2-3 liters of water is enough. It is necessary to direct the stream closer to the root, and so that it does not spread, form grooves or grooves.
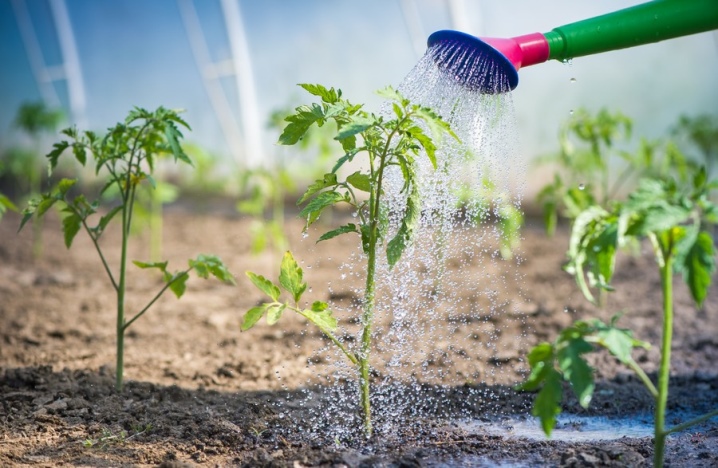
The water must be warm and, if possible, settled in advance.
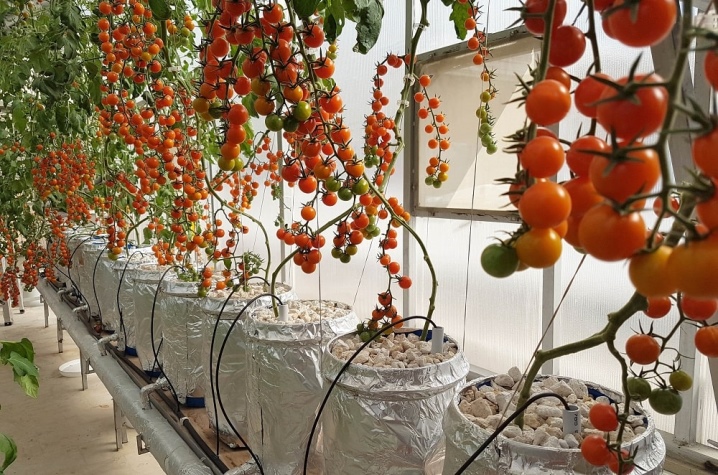
Alternatively, tomatoes can be grown hydroponically, a nutrient solution that is fed to the roots. So tomatoes bloom well and give an excellent harvest. In addition, this method allows you to directly influence the condition of the plants.
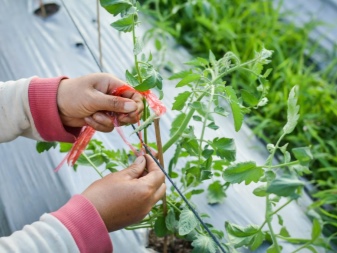
Bush formation
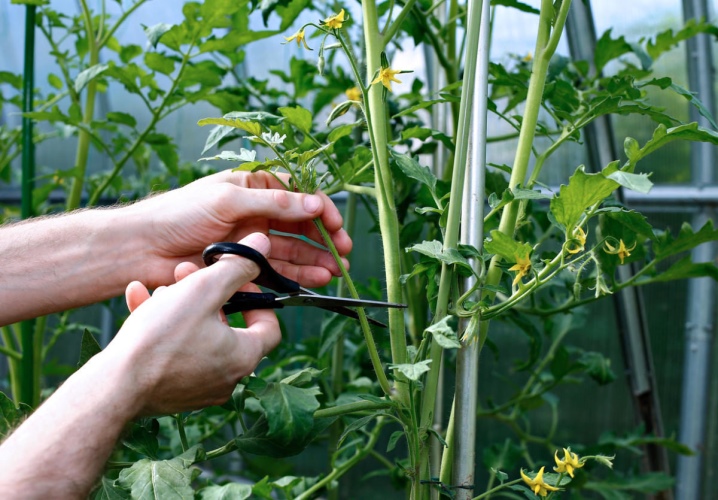
Another important procedure that cannot be ignored is pinning. It allows you to get a bountiful harvest without wasting the power of the plant on growing stepchildren - this is the name for the side shoots, which are always located on top of the leaf.
If you understand this, then there is practically no risk of removing the desired part of the stem.
They can be removed with a knife, pruning shears or scissors, or even just gently break off. It is advisable to do this in dry weather, in the morning. But if it suddenly started to rain, then the sections can be powdered with ash. Usually they start with healthy plants, and then move on to bushes that are in doubt (with dried leaves, spots, etc.). As a last resort, in order not to spread the infection over the entire area, the tools can be treated with a solution of potassium permanganate. Patching should be carried out at least twice a month, without waiting for the growth of lateral shoots.
Diseases and pests
In addition to all of the above, it is important for a novice gardener to know the main signs of tomato disease so as not to miss them and take appropriate measures in time. Fungus damage most often occurs due to improper care, high humidity and prolonged cold snap. Its features are:
- the appearance of depressions with dark spots (anthracnose),
- plaque on the stem and wilting of leaves (gray and white rot),
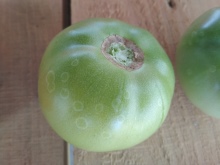
- a spot around the peduncle (phomosis),
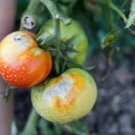
- brown or white spots on the leaves (cladosporiosis, powdery mildew),
- gray-brown spots (late blight);
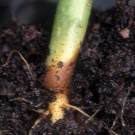
- root rot (black leg).


Copper sulfate, potassium permanganate, Ridomil Gold, Pseudobacterin, Baktofit, Agat-25 fight well against fungal diseases.
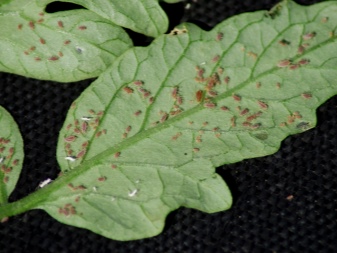
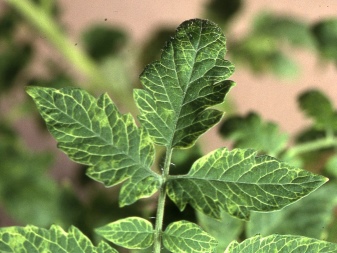
It is harder to fight viral diseases - if an infection occurs, then there is practically no chance of plant recovery and harvesting. If a deformation of the stem or flowers is noticed on the site, mosaic changes in fruits and leaves - the vegetation must be destroyed, and the site must be disinfected. Most often, these diseases are carried by insects (aphids, leafhoppers), so they practically do not occur in greenhouses or greenhouses.
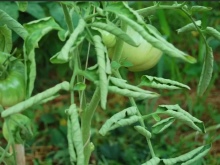
But in greenhouse conditions, all kinds of bacterial lesions flourish. Among the signs, the most common are stem necrosis, the appearance of brown spots on the leaves, wilting, twisting, damage to the petioles, white and brown spots on the fruits. The same copper sulfate, "Fitolavin-300" will help here.
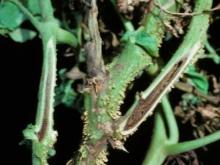
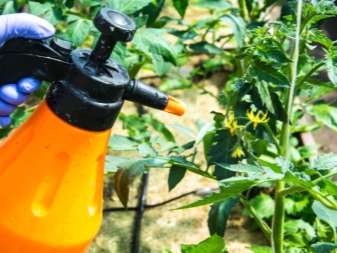
In addition to diseases, a large number of insects fall on the planting of tomatoes - scoops, bugs, aphids, wireworms, slugs, etc. e. They can be removed mechanically or spray plants with chemical compounds.
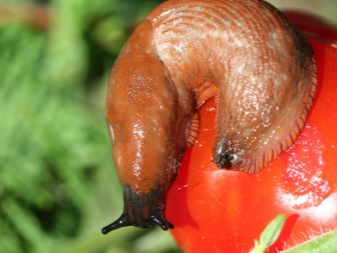
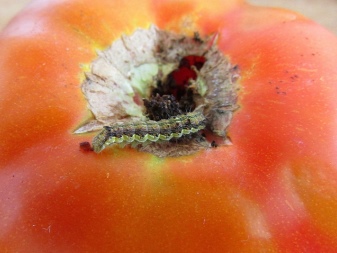
From folk remedies, treatment with infused mustard is recommended.
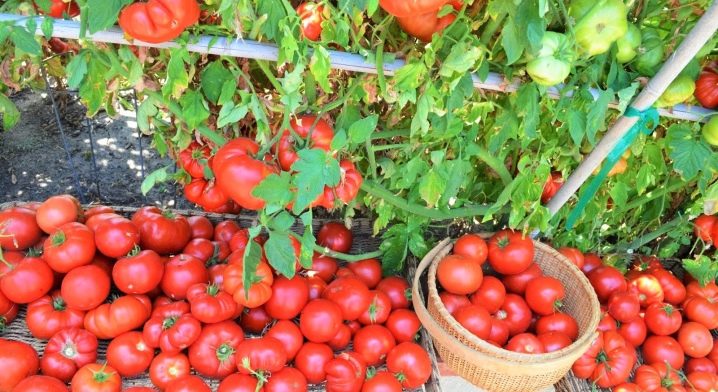
Harvesting
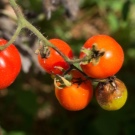
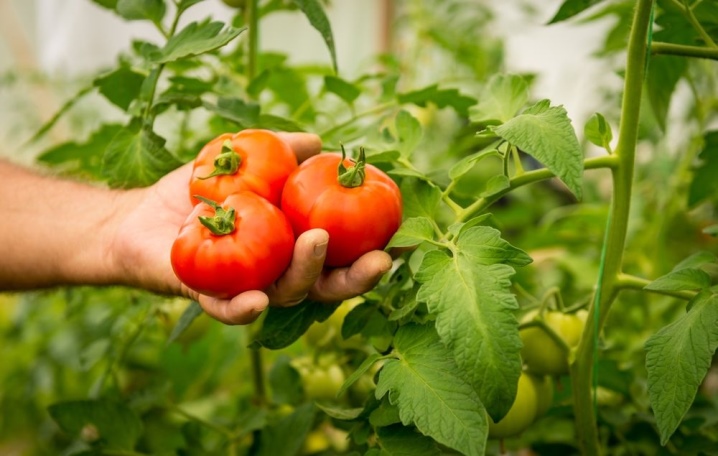
Depending on the area, the early ripening varieties begin to ripen in July. In principle, you can pick any tomatoes that are full and have reached their maximum size. But the tastiest are those that began to blush on the bush.
If the summer is rainy and cold, then the main crop is removed by the end of July, leaving to blush at home. But if the weather permits, it is better to postpone it to mid-August. After that, it is believed that the bushes with trifles must be removed. If this has not been done, it is best to store the later crop separately from the main crop to prevent possible contamination.
Tomatoes store well when arranged in a single layer in wooden boxes. Fruits from late varieties are used for long-term storage - in this case, they can be laid on straw, wrapped in paper or sprinkled with foam. It is better to store the crop in a cool, darkened room - in a cellar, closet, on a loggia.

From time to time, the boxes need to be inspected and spoiled tomatoes should be thrown away in time.
Useful Tips
- Do not plant seedlings too often - this will make them grow thinner and more painful. So that the seedlings do not stretch too much in height, constant illumination with a lamp, moderate watering and a cool room temperature are needed.
- In matters of watering, you should not be zealous. An excess of moisture will lead to excess growth of greenery and the development of diseases. It is noted that tomatoes that were watered less are sweeter, otherwise they will acquire a watery taste.
- To keep the ground moist longer, it can be mulched. For this, humus, peat, straw or a mixture of these components are suitable.
- For prophylaxis, the old lower leaves from the strengthened bushes must be cut off.
- To get as much ovary as possible, during flowering, the bushes are sprayed with boric acid dissolved in water.
- Pollination can be stimulated by shaking the bush. So that different varieties are not over-pollinated, they need to be planted further away.
- Even undersized plants need a garter.otherwise they risk bending and breaking under the weight of the fruit.


The comment was sent successfully.