Everything you need to know about planting tomatoes
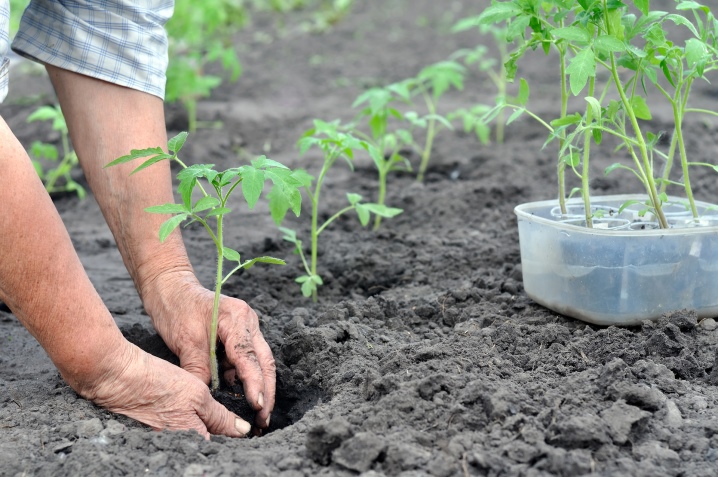
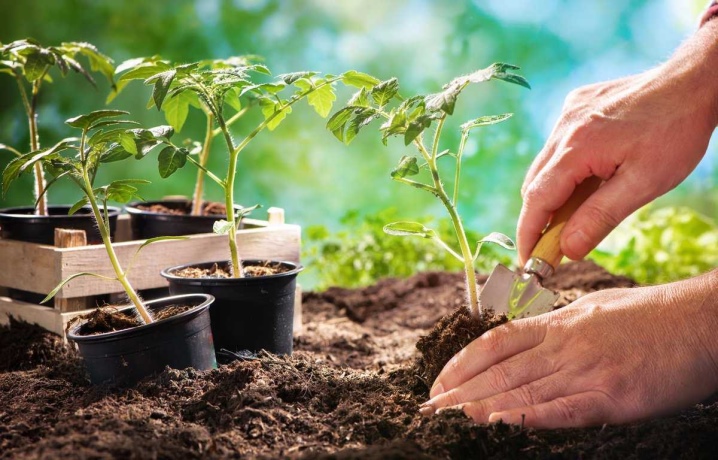
Everything you need to know about planting tomatoes should be figured out even before a suitable variety is selected or the development of the site begins. After all, not understanding how to plant tomato seedlings in open ground and at what distance it is correct to plant it, it is hardly possible to achieve a decent result. It is also worth figuring out what to put in the hole before disembarking, and also with other subtleties and nuances.
Timing
Planting tomatoes is an ambiguous concept, divided into two parts. On the one hand, this is the moment when seeds are sown in special containers or other containers. On the other hand, this is the period when it is time to transfer the mature seedlings to a greenhouse or to an open area. Yes, we can say that this is individual for each variety, and one must be guided by its description. But there are some basic general points to be aware of.
Early seedlings are very fragile and tender. In Siberia and in other areas of the risky farming zone, it may not give the effect expected by gardeners. It is believed that in southern Russia, planting seeds can be done from mid-February to mid-March.
In the north of the European part of the Russian Federation, this moment comes approximately from 1 to 15 April. The term "tentatively" is not accidental, because many other features will have to be taken into account.
Tomatoes are divided into the following varieties:
- early ripening;
- mid-season;
- late ripening.
When evaluating the growing season that must elapse between sowing and the placement of seedlings in the final places allocated for them, one must remember about the addition of 5-10 days. It is this period that is needed in order for the first shoots to form. If, when assessing the age of seedlings, this factor is not taken into account, it is easy to face unpleasant incidents. You can usually plant seedlings in a greenhouse earlier than in free, uncovered land. Some farmers also study auspicious lunar days. It is up to you to decide whether to trust such recommendations.
Preparation
Not all gardeners are sure whether to put something in the hole to improve the properties of the earth. If last season she already worked thoroughly and gave away a fair amount of her fertility, then this must be done absolutely precisely. Otherwise, one cannot count on a good harvest. According to many summer residents, it is advisable to add mineral fertilizers to the seats. Those dressings in which there is a lot of phosphorus show themselves especially well.
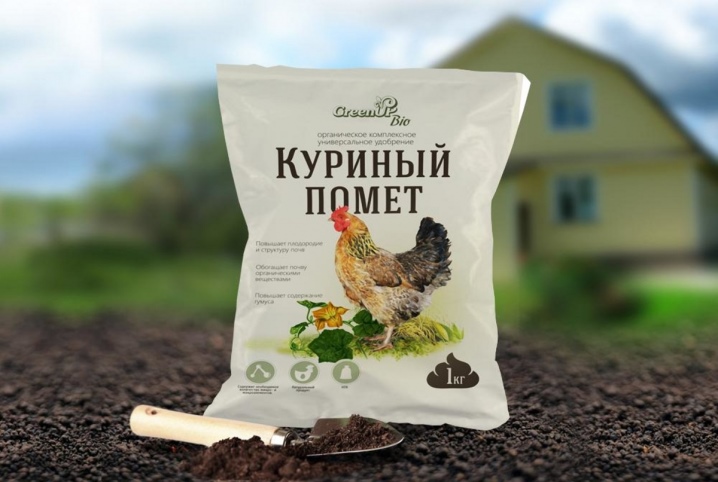
Whether it will be superphosphate or a mixture specially designed for cultivating tomatoes is not too important. Don't forget about organic feeding. About a week before planting, the soil is watered with a solution of chicken manure. It will serve as a good alternative to mineral formulations.
But it is completely useless to put pills for late blight and other plant protection preparations into planting holes.
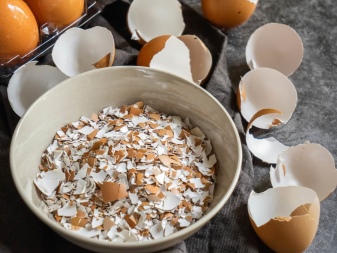
Instead, it is better to use eggshells. Before laying it in the ground, it is dried and crushed. 0.06 kg of shells are used per hole. Such an additive will saturate the earth with useful substances, and will become an excellent protection against a bear. It is also useful to use nettle, which is very effective in replenishing the lack of nitrogen.
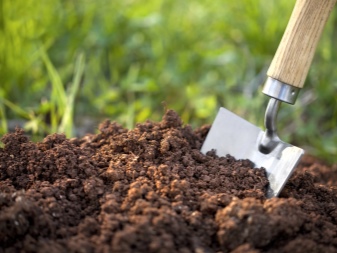
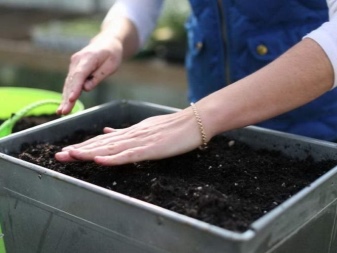
Preparation also includes choosing the right place. Tomatoes thrive best on loose, soft loam. It is very good if the soil has been saturated with organic matter since last season (not counting other fertilizers).Heavy, too wet and acidic soil has a detrimental effect on plants. Yes, land alteration is quite possible, but in some cases it will be easier and more practical to initially arrange the beds in a more convenient place.
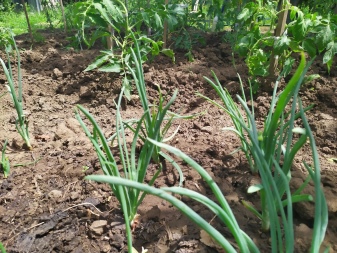
Neighbors and predecessors
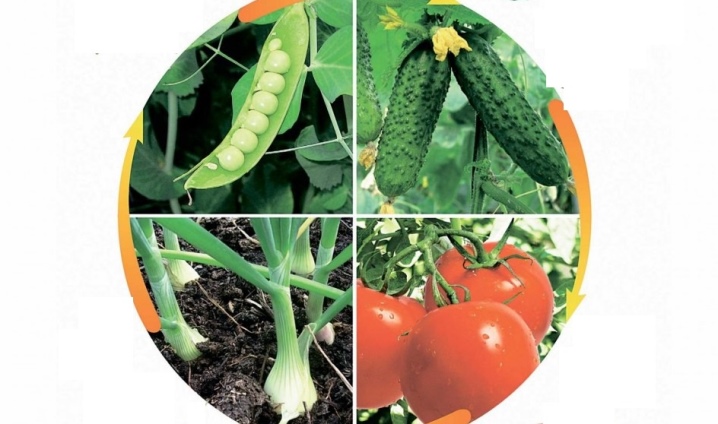
For effective cultivation of tomatoes, it is very important what exactly grew in the same place before them. Cucumbers are considered a neutral predecessor. Since they belong to a different family, they do not catch the same diseases. That's why it is possible to alternate these two cultures at least continuously over the years - the result will definitely please. The same applies to pumpkin, squash.
Another good predecessor is the bow. His diseases are also not transmitted to tomatoes. Moreover, onion planting improves the condition of the soil. But bitter pepper, like its sweet counterpart, are not suitable, since they belong to the same group of cultures. Planting tomatoes where they used to grow is also banned:
- they are;
- Strawberry;
- potatoes (this is generally the worst option you can imagine).
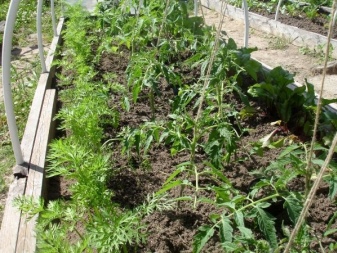
However, rarely does anyone plant tomatoes alone in the garden or in the garden. Therefore, it is important to know about common cultures as well.
Basil has long been considered a good candidate. He is able to scare off pests. Asparagus is also useful, suppressing slugs in neighboring plantings.
Broccoli, fennel, and cauliflower are hardly pleasant neighbors for tomatoes. But they can be placed next to marigolds, as well as with:
- onions;
- radish;
- sorrel;
- celery;
- parsley;
- carrots.
Planting schemes for seedlings of different types of tomatoes
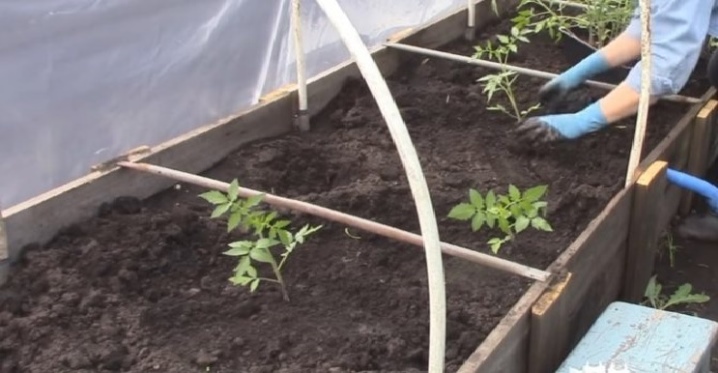
Tall and medium-sized
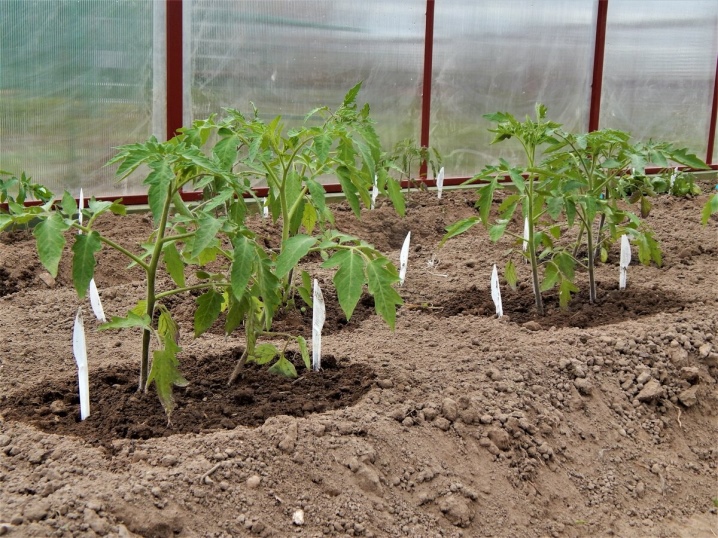
It is often believed that outdoors, you can choose the distance you want. However, this is not so - in fact, both there and in greenhouses, you should choose the right distribution scheme. High varieties and hybrids should be planted at a distance of 0.7 m. A typical row spacing will be 1 m.In some cases, the distances are reduced - up to 0.6 m from hole to hole, to 0.7 - 0.9 m in row spacing, for medium-sized types the gap is 0.5 - 0.55 and 0, 7 - 0.8 m.
Undersized
Low tomatoes allow early harvest. The row spacing in this case is usually 0.5 m. The gap between individual bushes can be reduced to 0.3 m. Some gardeners use a checkerboard pattern.
This allows you to fit more plants in the same area, which means that you can potentially harvest a larger crop.

The ways
In a warm bed
Planting tomatoes in warm beds is an attractive solution for many gardeners. To provide warmth, organic residues are laid in the ground. If everything is done efficiently, you can guarantee sufficient insulation for 7-8 years. The width of the trench is usually 1 m. The depth ranges from 0.5 to 0.6 m.
The length is theoretically unlimited. In practice, it is limited only by the size of the site itself. Under organic matter, clippings of trees and shrubs should be placed as a substrate. Manure is also placed on top - the layer should be at least 60 mm. The topmost layer is last year's rotted manure.
2 bushes in 1 hole
The need to plant two plants at the same time in one hole, like the use of a checkerboard pattern, is associated with saving space. Tomatoes are rarely planted in open ground like this. Basically, this approach is typical for greenhouse cultivation. But along with the positive effect, there are a number of negative nuances. Interference between plants is often a serious problem.
It is most effective to place both tall and short bushes side by side. If you use two large or two low varieties, problems are almost inevitable.
Difficulties also arise with the complex development of the hands. You will have to take into account the very active branching of tomatoes in one hole. They are being formed much more actively and persistently than usual.
In the trenches
The desire to make a trench is justified by the fact that it allows you to get an excellent harvest in areas of the middle lane. You need to start working as soon as the soil is cleared of snow. Basic rules require you to choose either a flat or parallel to the slope. Plots are laid with a step of 1.5 m. They need to be oriented from north to south. The width of the strips should be 0.6 m, and the length is determined at your discretion.
Weed roots must be removed. You should also get rid of other plant residues. In the middle of the bed, not too high ridges are poured. In the middle, with the help of a rounded hoe, grooves with low sides are cut. The bottom of the gutter is tightly covered with a film, the edges of which are designated with stakes or hairpins made of wire, at the right time the film is cut in places crosswise and the previously watered seedlings are placed there.
When the plants are planted, the ground around them must be compacted. Then it is watered with a combined solution of urea and potassium sulfate (in low concentration). After absorbing such liquids, mulch is placed in the root zone - compost or humus. Tying the center of the stem to a rail held on a stand approximately 2 m high helps to keep the tomatoes in place.
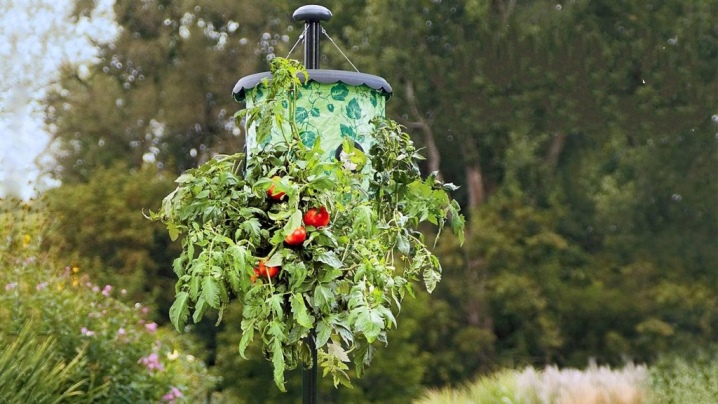
Up by the roots
This unusual way of planting tomatoes outdoors requires almost no shoveling work. But despite its unfamiliarity, it can give very good results. At one time, this approach began to be practiced to save space. Gradually, some of the gardeners had the idea that it was even better than traditional solutions. However, it has its own rules, failure to comply with which threatens with severe disappointment. It must be understood that inverted tomatoes will not be extremely fertile or especially decorative compared to conventional plantings.
The sequence is as follows:
- grow tomato seedlings up to a certain time in a common container;
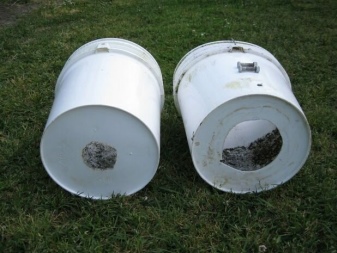
- transplant it into large tanks, pulling the stem through the hole in the bottom;
- they fall asleep there nutritious soil and watered;
- put the container on its side, waiting for the start of growth;
- fix the container on the support, achieving the orientation of the roots upward and free hanging of the stem;
- water and feed the plant through the hole.
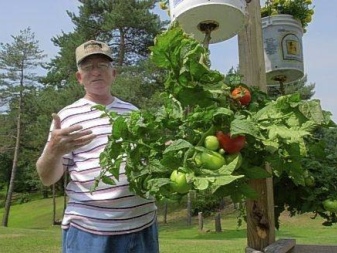
With this cultivation option, space is really saved. Leaving is somewhat simplified.
You don't need to tie up the tomatoes. To grow several plants, you can do with the usual improvised inventory. But if you need to grow a large number of tomatoes, you will need special equipment.
However, negative traits would be:
- the possibility of growing not all varieties;
- complication of landing;
- the desire of tomatoes to grow upward to compensate for the lack of illumination;
- the need to equip special structures that ensure the strength of the support and intense illumination at the same time.
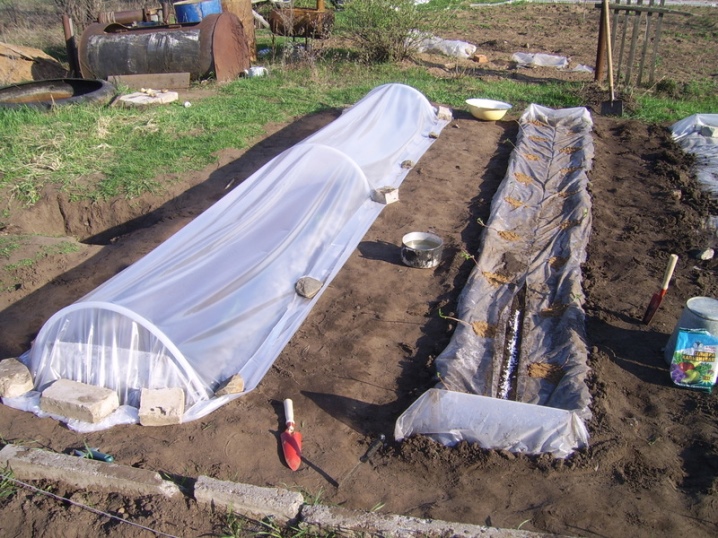
Under the oilcloth
This method is also often called film fit. It must be understood that even the use of a covering material does not mean that there is no need to properly plant a crop. This is a kind of compensation for the lack of a full-fledged greenhouse. Most often, temporary simplified shelters are beds up to 1 m wide, located opposite each other or in a checkerboard pattern. The distance between the planting holes is 25 - 40 cm, more precisely, it can be said only with reference to a specific variety.
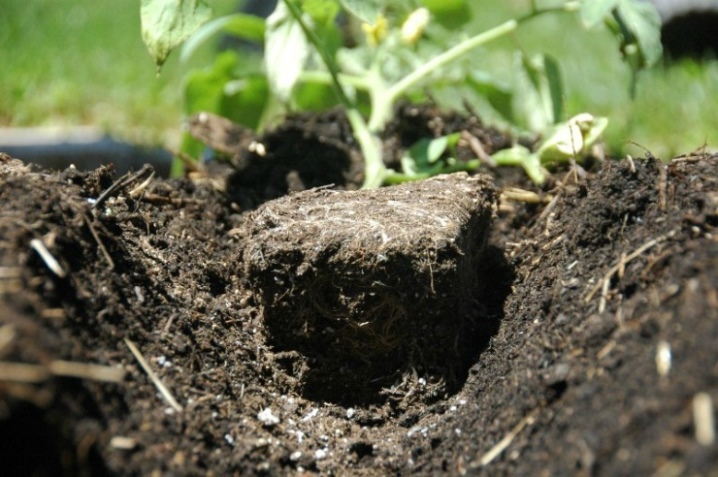
Planting under an oilcloth or under a film is also possible on several beds at once. Then the gap between them should be about 0.5 m. Deepening allows you to get more powerful roots, but then you will have to collect the fruits later. In relatively normal weather, ordinary film can be stretched over the arcs inserted into the ground. If the heat comes, the film is changed to spunbond, and with a sharp drop in temperature, a non-woven white material of great thickness is pulled under the film.
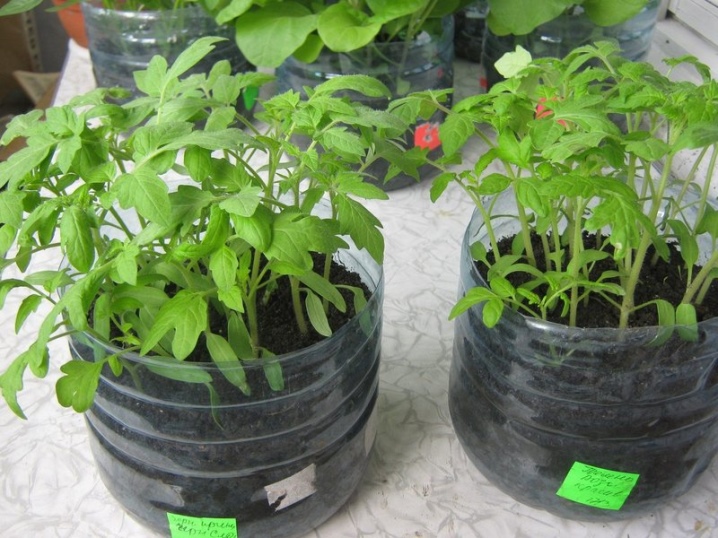
Into the bottle
The use of plastic bottles allows you to grow tomatoes even on a balcony or in another separate room. Small containers are used for seedlings. When the seedlings grow up, they are transplanted into 5-liter bottles. It is very important that the windows face south-east or south-west, rooms with a different orientation to the cardinal points are not suitable. On the southern balcony, shading will be needed, on the north and west - enhanced lighting.
Due to the limited space, it is necessary to choose undersized varieties with cherry fruits. The compactness of the bushes is also very important.
Experts advise to give preference to cylindrical bottles, the most convenient for the root system.
The bottom of the container must be covered with drainage (most often expanded clay). Bottles with seedlings should be covered with opaque lids and kept warm, and when early shoots are formed - rearranged closer to the light, it is very important that it is not colder than +15 degrees at night, and it should be 22-25 degrees during the day.
In boxes
This method allows for mobility of landings. In case of bad weather, they can be easily rearranged to a protected location. Another plus is that it will become easier to achieve order in the garden. Growing tomatoes in the ground above the level of the garden allows you to get all the required nutrients and water. Good rooting is also an advantage.
In one of the options, they start by digging and raising the ground level above the general level of the garden. Then they equip the dug area with a fence. In another version, the box is first mounted, and then the soil and fertilizers are put there. As boards, you can use boards, corrugated board, slate. Regardless of the material, it is critical to eliminate gaps at joints and corners.
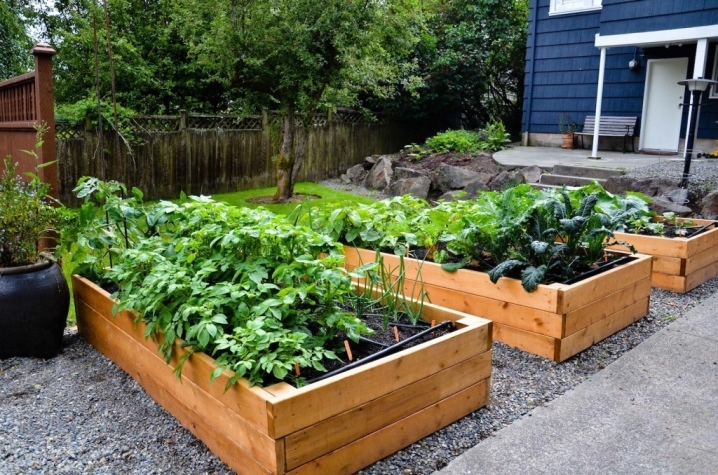
It is a good idea to use planks that are connected according to the principle of "thorn and groove". The walls of the boxes will be tightly attached to each other. The ridges should not be wider than 0.7 m. This width is already enough for a two-row planting of tomatoes with full care on both sides. The height of the sides varies at your discretion, but we must remember that it is inconvenient to work in a very high ridge, and low tomatoes there may be limited in access to light.
The location of the tall beds or boxes in the garden is chosen to your liking. It is best to place them where there is no draft, but there will be a lot of heat and sun. But placement next to buildings and various shrubs, trees is not recommended.
The soil is usually taken from the garden. Fertilizers are added there, taking into account the stage of plant development.

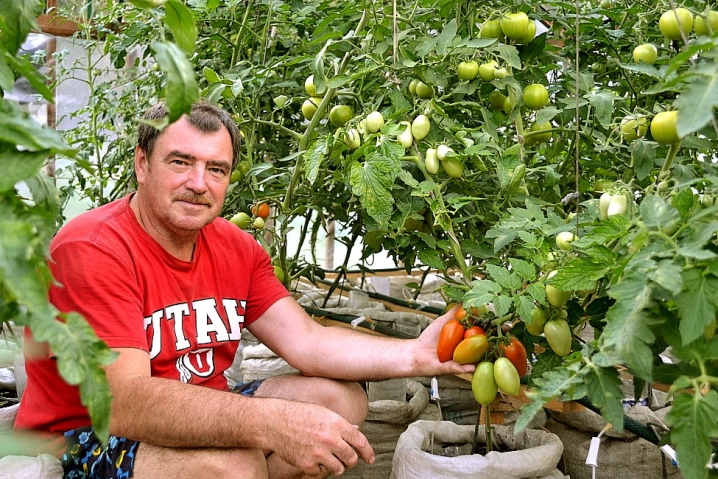
Into bags of earth
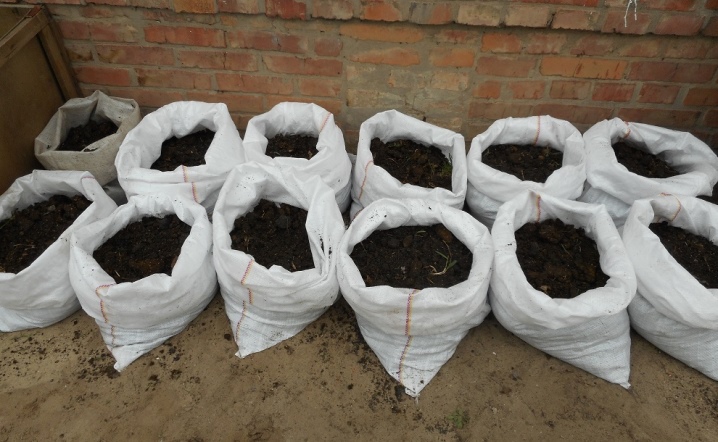
There are more and more adherents to this technique. One bag is enough for 1-3 bushes. More precisely, it can be said only taking into account the specific type and volume of the tank. Most often, bags or bags made of polyethylene with a volume of 30-75 liters are used. It is very important to choose containers made of as dense fabric as possible, for example, bags for sugar.
White bags are most preferred. Do-it-yourself soil preparation or the purchase of a ready-made mixture is left to the discretion of the farmers themselves. Small holes are formed in the sides and in the bottom of the tanks - they will be used for drainage. It is necessary to fill the bags with soil by 2/3, and the top of the container must be tucked up. Tomatoes will have to be tied to supports.
The main nuances to consider:
- bags can be delivered in any convenient place;
- the soil will warm up faster, and the crop will appear earlier;
- it is easier to care for the bushes;
- fungal infection is unlikely;
- the collection of fruits is quite large;
- the bags themselves are heavy and it is not very convenient to move them;
- the bottom of the containers can easily break through.
According to the Kizima method
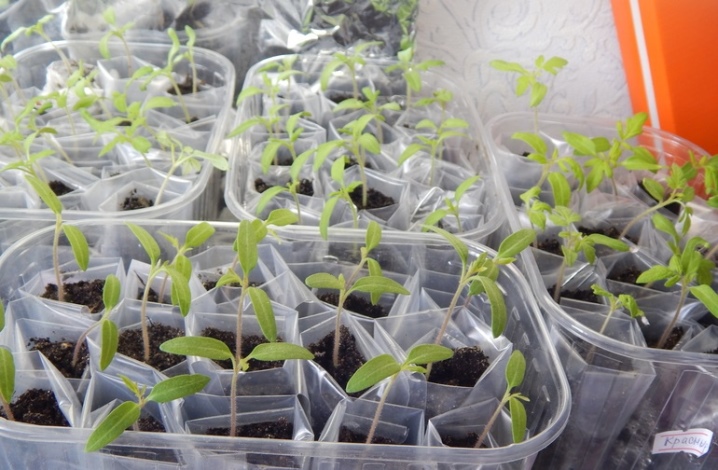
This approach allows you to prepare a large volume of seedlings, saving space. You will not have to sow seeds in pots or cups, but in non-woven fabric. Dense polyethylene is best. A small amount of soil is poured there, and this is quite enough to get high quality seedlings. The film container allows you to retain moisture more efficiently than other options.
With this method, you can place as many seedlings on a balcony or windowsill as there is no other way to put it. The picking of seedlings will be as easy and simple as possible. The casing is unfolded and the sprouts are sequentially removed. For 100 shoots, 5 kg of soil is required.
Another advantage is effective protection against disease.
The transparency of the shell makes it easy to track the emergence of seedlings. All shortcomings, of course, will also be visible immediately. But one must also take into account the weaknesses of this approach. In particular, the seedlings will not have much room to germinate. Due to the dense placement of containers, the illumination will be low, and therefore the development of seedlings will go rather slowly.
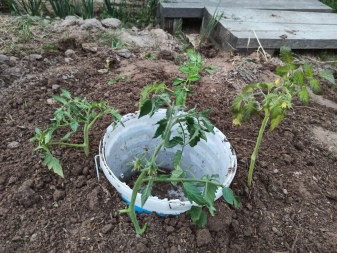
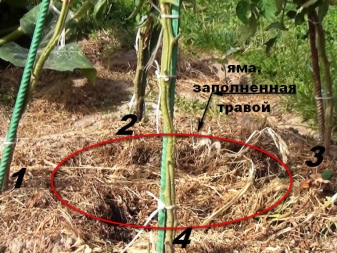
Landing around a dug-in bucket of water is also pretty good. You will have to drill small holes in the bucket. The second row of holes is at ground level. You can plant 4 bushes on 1 bucket. The square-nest method is a true classic. Instead of a bucket, an irrigation pit is used, in which ash and grass are placed.
Seedlings are planted in 50 or 60 cm increments. One hole is enough for 4 bushes. The capacity of the hole should be 20 liters, and the depth should be 0.2 m. 1 liter of ash is placed on the bottom. The pit is clogged with mown grass as much as possible, its rotting after watering gives off heat.
Follow-up care
Watering tomatoes too often is not worth it. This can block the normal growth of the root system. Timely pinching and garter are very important. The appearance of stepchildren should be constantly monitored. The lower foliage is removed after pouring the first brush, preferably in the morning, so that the wounds heal by night.
It is not necessary to pinch varieties below 0.5 m. Top dressing is carried out 14 days after disembarkation. When fruits grow and are poured, potash fertilizers are needed. Foliar dressing is carried out until dawn. In the fall, green manures are sown around - and these simple measures are enough for complete success.
There are some more tips:
- avoid both overflow and drought;
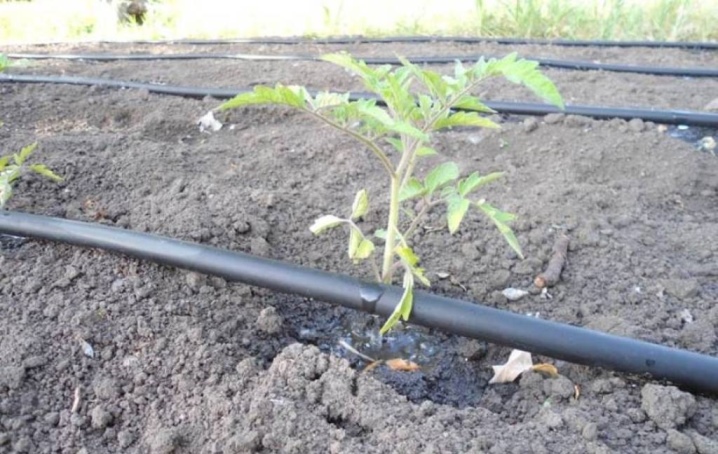
- organize drip irrigation;
- stepsons do not pull out, but break out;
- use beneficial microorganisms.


The comment was sent successfully.