DIY repair and restoration of locksmith vice

Locksmith vice - an irreplaceable assistant for home and professional work. Over time, any tool can fail. Do not rush to buy a new device. The vise can be repaired by hand. This article will discuss the causes and signs of breakage, as well as how you can restore the tool.

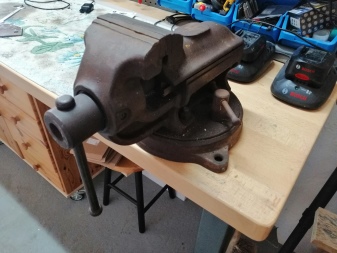
Signs and causes of breakdown
The main reason for the breakage of a locksmith's vice is the excessive force when tightening workpieces... The second reason may be misuse of the tool... Breakage detection occurs later, after several years or even more. As a rule, cast iron models of locksmith vices are subject to deformation.

Signs that the vise is broken:
- destruction of movable legs;
- breakage of the nut in machine models;
- destruction of the anvil in cast iron fixtures;
- curvature of the fixing legs;
- screw backlash;
- the shaft is unscrewed when trying to unclench the workpiece;
- the inability to unclench the workpiece;
- cut off pin;
- poor fixation of workpieces.
Some defects of a locksmith's vice can be detected immediately. Such minor breakdowns include cracks, chips, fractures or bending of individual parts.
After identifying signs of breakage, you should repair the vice... You can do this at home.


How to repair?
Before you repair the instrument with your own hands, you need to disassemble and wash every detail... If the fixture is covered with rust, it must be removed. For this, you can use both a professional rust converter and home remedies. Vinegar or kerosene will help get rid of plaque. The product should be soaked in liquid and left for a while. Later, you should walk over the instrument with a stiff brush. The vice should be polished until the native shine of the metal appears.
After the cleaning and disassembly procedures, you should proceed to the repair process itself.... If the cause of the breakage is the twisting of the screw in the nut, then it is necessary to cut the nut lengthwise into 3 parts and renew the thread. This will require a grinder. Then you need to restore the integrity of the nut by welding the cut parts into place.
The seams are cleaned with a petal circle. Also, welds can be filed for metal.


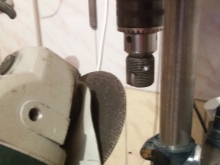
Now you need to reassemble the tool. The procedure for collecting the vice is as follows:
- the main legs are pushed onto the base;
- the legs are advanced as far as possible to the left, this will help to easily install the planks in the next step;
- first one bar is attached, then the second;
- for the final fixation of the planks, it is required to move the legs to the right;
- after that it is necessary to insert the nut and fix the screw in it.


If the vise is in disrepair, it is recommended to use kerosene to loosen rusty bolts and parts. You should lubricate the parts and wait a few minutes. After which the rusted bolts begin to gradually scroll. After repair, you can grind the fixture. You should not do this manually. Plus it will take a long time. For grinding, take a special brush for the grinder... During work, protective goggles must be worn. To eliminate minor defects (scratches, shallow cracks), the surface of the product must be cleaned or soldered.

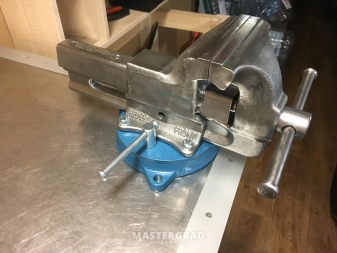
Recovery
After the repair has been completed, the vice needs to be restored. In order for the tool to take its proper form, it must be lubricated and painted. Before lubricating the vice, the surface must be degreased. For this, acetone or any other solvent is used. Ordinary lubricating oil is used for lubrication. You can also use silicone grease or lithol with grease. Since the device does not have units operating under heavy load, almost any tool is suitable for lubrication.


To lubricate the tool, do the following:
- remove the movable legs;
- scroll the handle, extend the foot and remove it;
- clean the screw and the hole of the foot with a brush and degrease again;
- then apply a moderate amount of grease to the screw.
Next, you should collect the vice and scroll the handle. If the mechanism runs smoothly, then nothing else needs to be done. If the yews go tight, then you can additionally lubricate the sliding legs with oil. After lubrication, the vise should be left for a while.


It is also recommended to apply several coats of primer to the vise during restoration before painting. The use of a primer hides all irregularities and holds the paint better
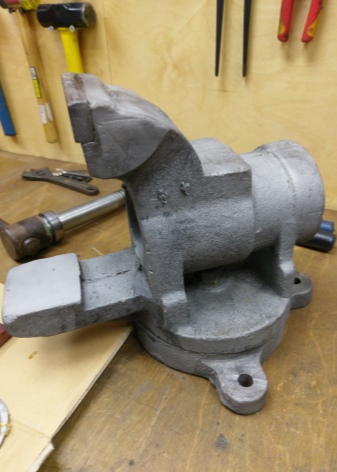

How to paint?
Tools for painting locksmith vices can be like this.
- Hammer enamel. This type of painting leaves behind an attractive appearance of the tool. But it should be borne in mind that with mechanical stress, the paint is easily chipped off.
- Epoxy paint. Reliable type of painting. It has no minuses. The small color palette of the presented assortment is considered a minor drawback.
- Sadolin paint. Car paint. Before work, the surface should be well primed.
- Bath painting set. A white epoxy two-pack paint is suitable for a locksmith vise.


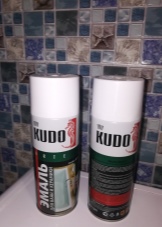
Those parts that are not planned to be painted can be sealed with tape. Some masters advise using soapy newspaper.... It also adheres perfectly to the surface. There is no need to paint the threads and those places where some parts move or are inserted. With further use, scrolling the handle will be quite problematic.
As you can see, it is quite possible to restore the locksmith's tool at home. Of course, you should not bring the device to a deplorable state. But some recommendations will help restore even those tools that have not been used for a long time and are covered with rust.
In case of obvious breakdowns, it is recommended to completely disassemble the product and make a complete repair.
Also, when performing work, it is necessary observe safety precautions... It is worth remembering that you should wear a mask and goggles when working with paints and varnishes and grinding tools.

The restoration of a locksmith's vice is presented in the video below.


The comment was sent successfully.