Types and stages of greenhouse construction
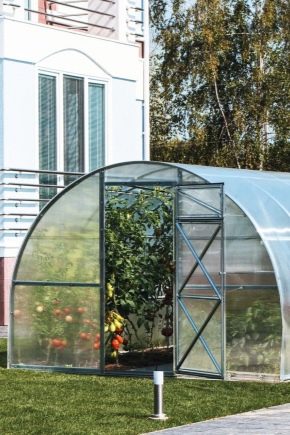
Unfortunately, not all of the territory of Russia favors the cultivation of its own vegetables and fruits for many months. In most climatic zones of the country, the summer cottage season is extremely short, while many people strive to grow as many crops as possible on their site for their subsequent harvesting. In this connection, gardeners and gardeners willingly use greenhouses, with the help of which the growing season increases, which makes it possible to harvest an early and more abundant harvest. In some cases, in the presence of a well-built greenhouse, self-grown crops can be consumed all year round.
Of course, for these purposes, it is necessary to take into account a number of features, which we will discuss in detail in this article.
Peculiarities
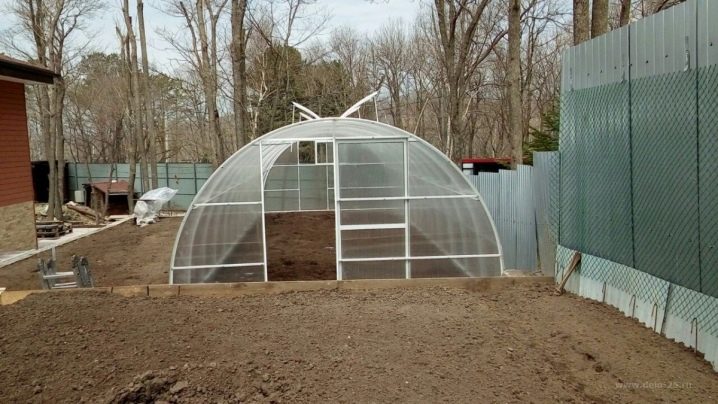
A greenhouse built by your own hands always warms the soul of a gardener. The design can be of very different sizes and shapes, and homemade greenhouses are no worse in use and functionality. The device can be easily viewed on the diagrams and drawings; materials for manufacturing may be different. Often, fiberglass reinforcement is used as a frame, there are no problems with a removable covering material either - mainly, it is a plastic film, glass or polycarbonate. Considering all these features, such a structure can be erected on the site in one weekend, and homemade buildings are in no way inferior in quality to those purchased in the store.
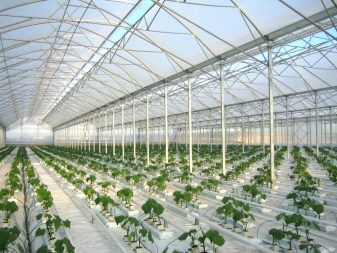
Advantages and disadvantages
Convenient homemade greenhouses are very popular among summer residents. The undoubted advantages include the fact that a self-made greenhouse in the country will be relatively cheap. A budget greenhouse can be made of different materials, the most important thing is to equip it with an opening roof and take care of the quality of lighting for plants. Speaking of the cons, of course, you should take into account that you will have to spend time studying the types and designs, as well as familiarizing yourself with the drawings and construction plans in the country.
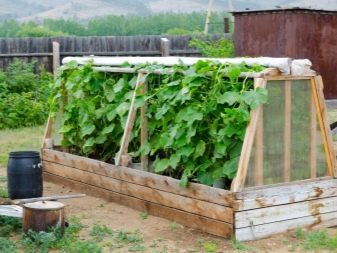
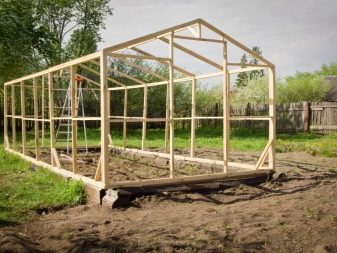
Views
Greenhouses are designed taking into account the botanical characteristics of those plant species, for the needs of which the greenhouse is built. This also includes the amount of light transmitted and the temperature inside. The greenhouse can be either year-round or used in a specific season. In general, all types of greenhouses are suitable for growing a wide variety of crops, be it Chinese cabbage or flowers.
At a first approximation, greenhouses can be divided into the following categories:
- single-slope;
- gable;
- drop-shaped;
- domed;
- polygonal;
- Dutch.
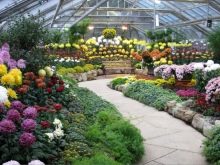
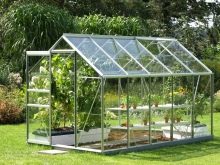
- In most cases, pitched roofs are used in the construction of greenhouses or conservatories, since this type of building has a passage. As a result, it is easy to enter the premises without regard to weather conditions. This type of greenhouse is best installed on the south side of a residential building.
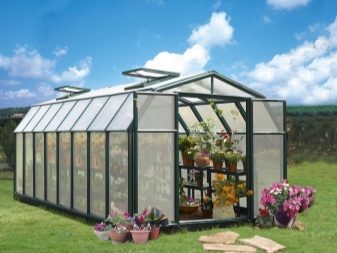
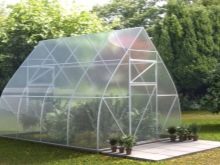
- Gable roof greenhouses are very popular in our country and are currently the most common design.
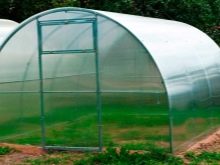
- A drop-shaped greenhouse is a very solid structure, perfectly transmits sunlight, does not hold precipitation in the form of snow on the surface, but it is quite difficult to mount it, therefore such greenhouses are rarely made independently.
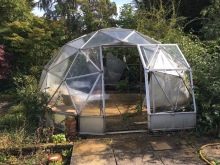
- The domed greenhouse has a spectacular appearance and does not require a large consumption of materials, but its main advantage is that, due to the design features, it can be installed in areas with seismic hazard. The main tasks during construction are good sealing and high-quality insulation.
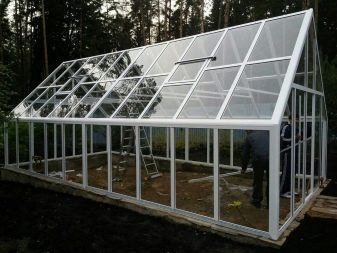
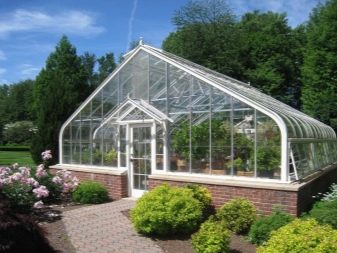
- Polygonal greenhouses are pleasing to the eye, perfectly transmitting light and are not afraid of gusty winds. The difficulty in installation lies in the fact that it is necessary to carefully organize the space in order to evenly distribute the heat inside.
- The Dutch version of greenhouses is reliable and durable. Because of the sloping walls, sunlight penetrates inward, which can significantly increase the yield. Among other things, this option is also quite budgetary.
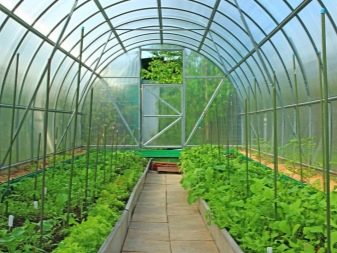
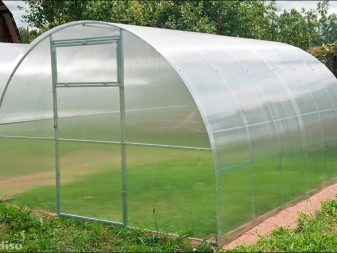
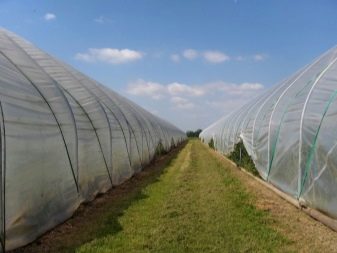
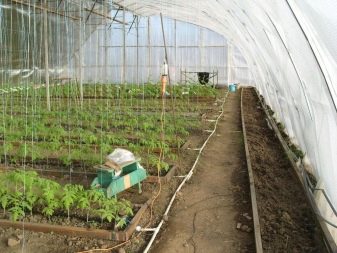
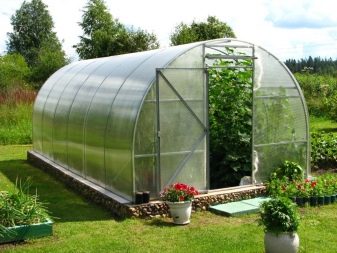
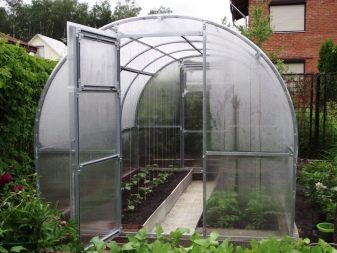
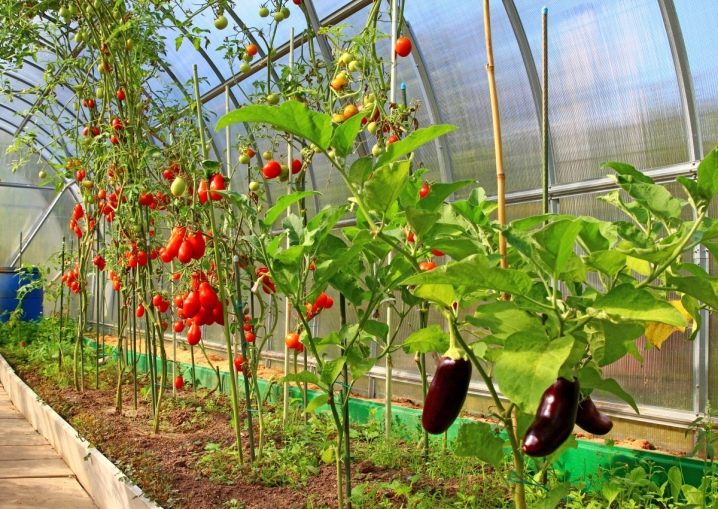
- Recently, the so-called "booths" have become widespread among summer residents - a greenhouse that looks like a tunnel. Most often it is erected for growing tomatoes and peppers. This type of greenhouse is functional, convenient, does not require large costs, it allows you to consistently get a good harvest, which allows you to call it the optimal type of independent construction on the site.
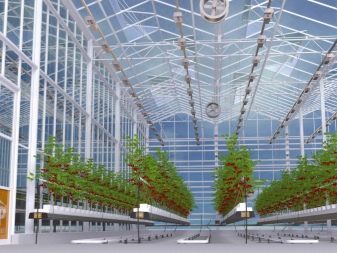
Also, greenhouses are divided according to the principle of movement:
- folding;
- stationary.
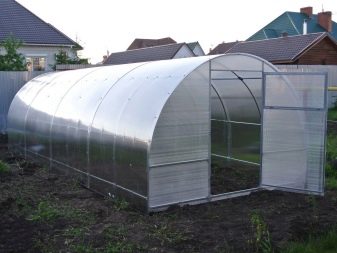
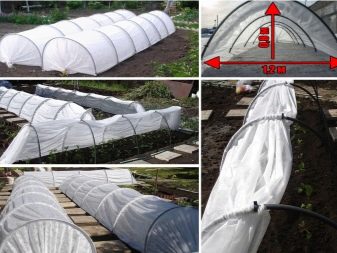
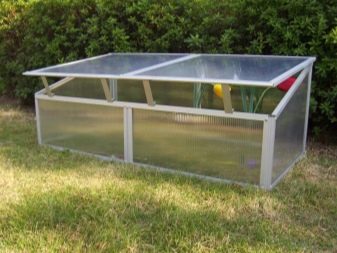
Folding greenhouses began to gain popularity relatively recently. Their advantage is that the lightweight frame is easy to fold and move to another place in the infield if necessary. At the same time, the greenhouse itself is very ergonomic and has a low cost, which deserves the attention of summer residents.
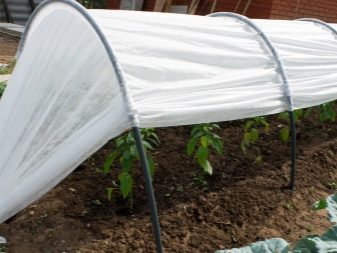
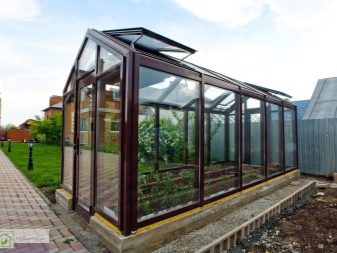
Stationary greenhouses, on the other hand, have long become classics of the genre. To install a structure of this type, an underground foundation and a metal frame will be required. Many people have long preferred this type of greenhouse, because over many years of operation in a wide variety of conditions, these structures have gained fame as strong and durable devices. There are no particular difficulties in installing such a greenhouse; it is also quite easy to maintain it.
Also, greenhouses can be divided according to the type of initial characteristics - these types of greenhouses are named after their creator:
- greenhouse according to Kurdyumov;
- greenhouse according to "Mitlider".
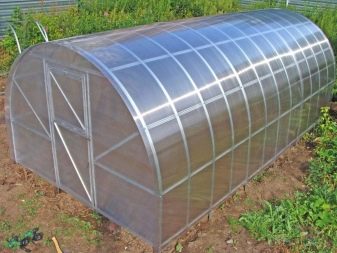
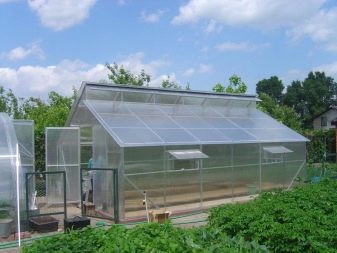
Kurdyumov's greenhouse is an autonomous unit, otherwise it is called “smart”. This design is distinguished by the ability to automatically maintain the temperature inside itself, a special plus is the presence of drip irrigation of plants, which does not require human intervention. This type of structure supports the possibility of natural soil restoration in beds or in containers with plants. Meatlider's greenhouses are considered to be a special subspecies of greenhouses. Its distinctive features are know-how in indoor air ventilation systems, a special arrangement of the frame - beams and spacers create a solid structure for the covering material. Usually such greenhouses are located from east to west, which opens up wide opportunities for plants to absorb sunlight.
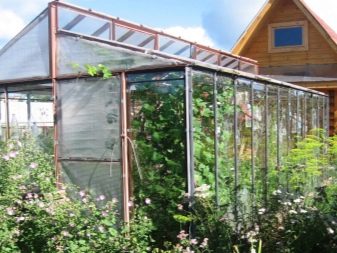
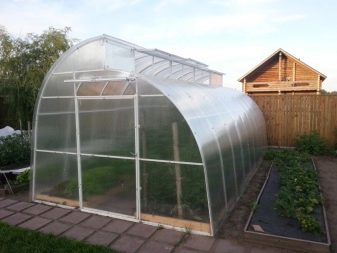
Natural boards are usually used as the main material for the Mitlider greenhouse., which makes it possible to "breathe" and prevents the formation of condensation. As a rule, such greenhouses are large in size, which gives an additional opportunity to create a special microclimate for the plants inside. Usually a greenhouse looks like a low structure with a gable roof with a difference in height. Another possible option is an arched building with a roof of two levels.
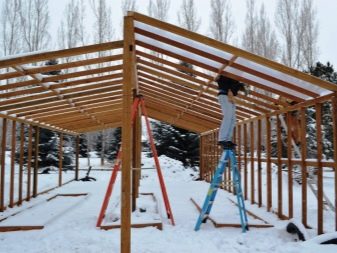
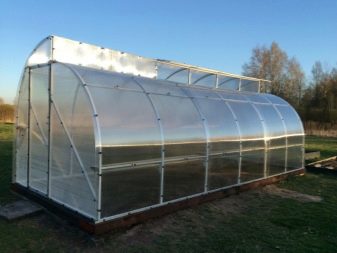
Another greenhouse option is a three-row greenhouse.As a rule, such buildings occupy a medium or large area, the beds in them are located in three levels, two aisles are located between them.
A farm greenhouse consists of a metal frame, over which a film covering is stretched. This type of greenhouse is very popular among the population, because it has a low cost, is moisture-proof and resistant to environmental influences.
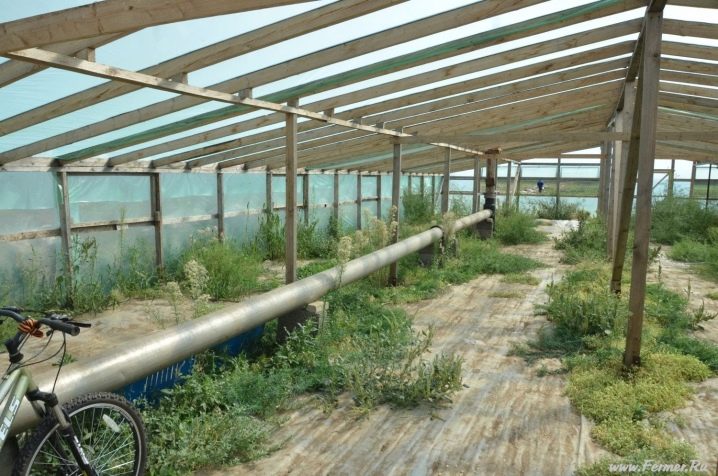
Many summer residents fell in love with the spherical greenhouse for its unusual appearance and excellent transmission of sunlight.
Specifications
When choosing consumables for future construction, be sure to pay attention to what time of the year the greenhouse will be predominantly used.
Winter greenhouses must be equipped with a heating system, it is better to install them near the heating system of the house. In another case, you can put a stove in the greenhouse as an additional equipment, but this will create additional difficulties - the stove requires additional attention, it needs to be heated and, most importantly, to ensure that it does not overheat, which is fraught with temperature fluctuations. The winter greenhouse must be installed on a solid foundation, among other things, this type of construction requires additional strengthening of the frame and roof in order to avoid possible destruction due to heavy snowfalls.
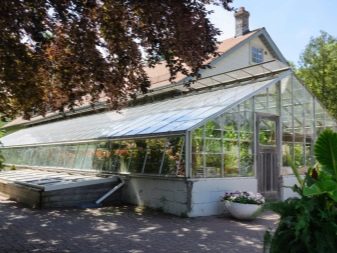
There is also an opportunity to build a so-called "thermos greenhouse" on the site - this structure can boast of a characteristic of special strength, since its foundation goes into the ground by two meters. However, the installation of such a structure has a number of additional difficulties - it is necessary to dig a pit for it, the foundation must be separately strengthened to avoid deformation, thermoblocks are usually used as the material for the walls, which will subsequently need to be insulated. All this is quite costly, therefore, such greenhouses are rarely found on personal plots.
Summer greenhouses in the overwhelming majority of cases are a frame on which a plastic film is stretched. This option for external cladding is the most budgetary, and with careful use, the film is quite capable of serving two seasons.
Creating the simplest greenhouse at your summer cottage with your own hands requires certain preparatory work.
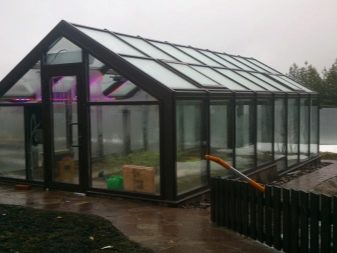
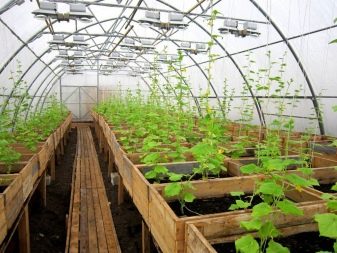
The first thing to take care of is preparing the site for construction. Try to choose an area as flat as possible, it is also highly desirable that there are no obstacles to sunlight. Further, the platform is properly compacted. If a tree is chosen as the base, then the prepared boards are treated with an antiseptic solution and knocked around the perimeter. In the corners of the boxes, reinforcement is installed as additional reinforcement. If for some reason it is not possible to allocate a separate place for the construction of a greenhouse, an alternative option would be to adjoin one wall of the greenhouse to any building - it could be a residential building or some kind of utility room.
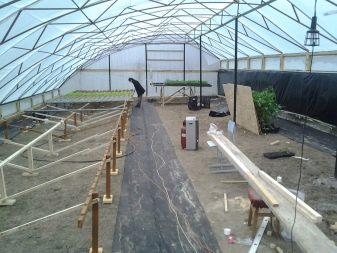
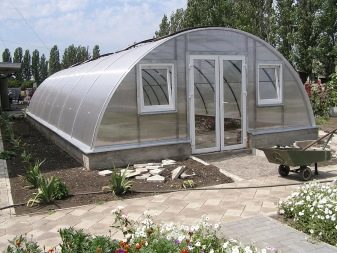
When choosing a material for the frame, it is necessary to take into account all their characteristics. We must not forget that the frame itself and the doors must have special strength so that the structure cannot be damaged by wind, temperature fluctuations and snow masses during the winter period. None of the frame elements should be massive and obstruct the penetration of light. If a demountable structure is intended, it should be made of lightweight materials and be able to be dismantled without additional effort.
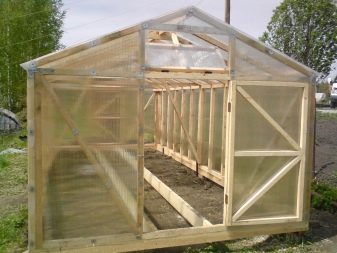
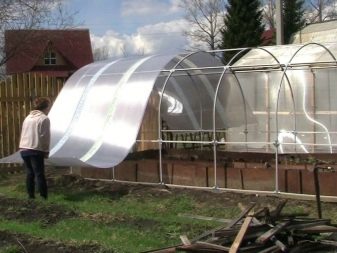
Greenhouse frames can be made from the following materials.
- Wood - the most environmentally friendly and easy-to-use material that does not require the use of any professional equipment and does not require specialized skills during the work.Since the tree tends to rot, special attention should be paid to its preliminary processing.
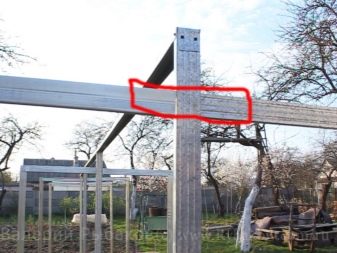
- Aluminum profiles involve the creation of a rigid, but lightweight frame, while it is durable. This material has a higher cost, its use requires the use of equipment for fastening parts together.
- Plastic (as well as metal-plastic) parts have a low specific weight, are strong enough, are not subject to external influences such as rotting or corrosive changes. Due to flexibility, it is possible to change the shape of parts, which provides ample opportunities for creating greenhouses with arches or two slopes. But it must be borne in mind that plastic elements require mandatory attachment to the foundation or soil.
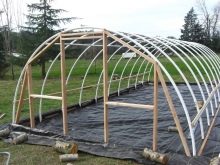
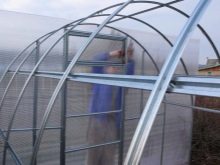
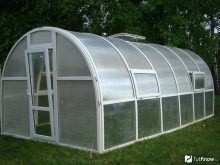
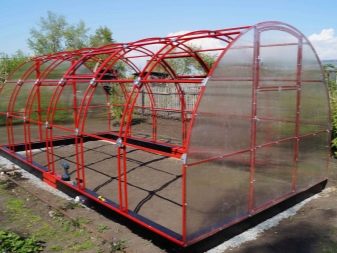
- Steel frames are also quite widespread, but they require a tape fundamental base. If the elements are galvanized, they will last longer, as they are not subject to rust and corrosion.
- Drywall is a successful combination of low material weight and ease of work. Practice shows that a frame made of this type of material is inexpensive, easy to use, serves for a long time and is easily disassembled. Gable, arched greenhouses, as well as Mitlider greenhouses, are perfectly created from it.
Sometimes window frames are used as frames - which are characterized by excellent thermal insulation and relative ease of installation. However, one should take into account their relative fragility - even with careful care, the service life will hardly exceed five years.
The next step in the process of building a greenhouse after choosing a suitable location is choosing a suitable foundation. Its type directly depends on the weight of the planned structure, since in most cases the frame of the greenhouses weighs a little, and the covering material additionally adds windage to the structure, which often causes destruction due to strong gusts of wind.
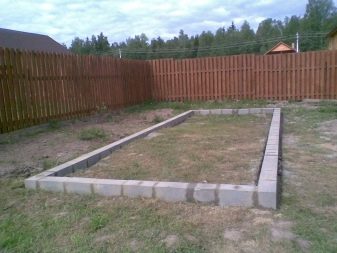
- The brick foundation is easy to install, reliable and suitable for most greenhouses. But it must be borne in mind that laying a brick foundation requires specific skills and is a rather costly business.
- Stone foundations are rightfully the most durable and strong. Heavy metal frames can be installed on it. This option cannot be called a budget option, as a rule, foundations for capital greenhouses are created from stone.
- Concrete is inexpensive and hardens rather quickly, but requires the creation of formwork and frame fasteners.
- Wood is often used as a foundation, but it should be borne in mind that a wooden base is not suitable for capital construction, since it is unlikely to last more than five years, even with the most careful care.
- In some cases, when building a greenhouse, it is quite possible to do without a foundation. We are talking about small portable greenhouses, the windage of which is reduced by fastening directly to the ground with small pegs.
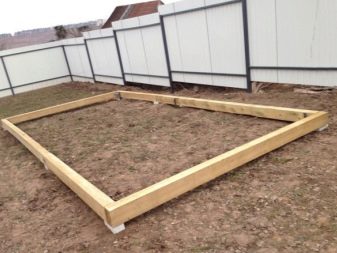
When choosing a material for coating, it is necessary to take into account all the advantages and disadvantages of different types of materials.
Basically, the following options are used:
- polyethylene film;
- glass;
- polycarbonate.
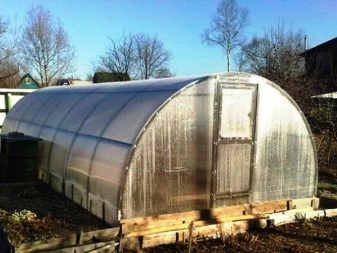
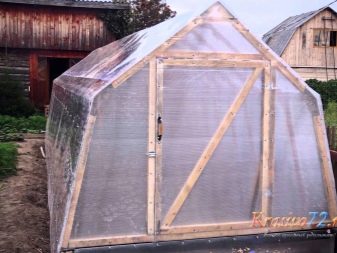
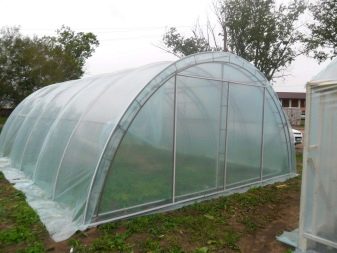
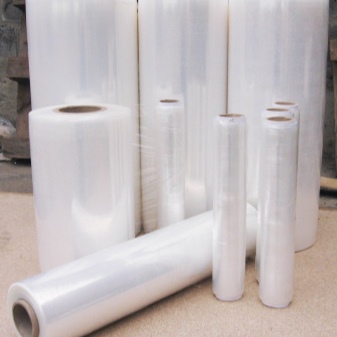
The most affordable type of covering material is a stretch film, however, it cannot boast of durability and even the highest quality coatings require replacement every three years. A greenhouse with arches or arches is usually covered with two layers of plastic, which creates excellent conditions for the plants inside the building. The material perfectly transmits sunlight, but for the same reason is subject to rapid wear and, as a result, a decrease in light transmittance. In addition, very often condensation forms on the inner surface, which can also be attributed to the disadvantages of this type of coating.There are also options for polyethylene films, additionally equipped with reinforcement. This option is stronger, more resistant to gusts of wind and will last longer.
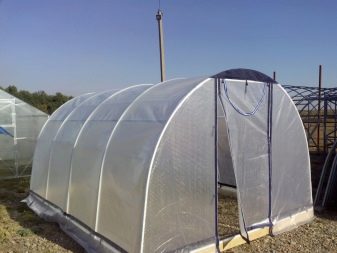
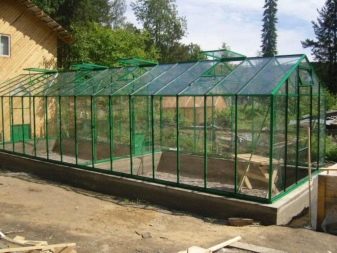
Glass can be safely attributed to the traditionally used materials in the manufacture of greenhouses with your own hands. Glass coatings are durable and have excellent thermal insulation, but remember that glass heats up very quickly and at the same time weighs quite a lot. A separate difficulty is the replacement of broken glass.
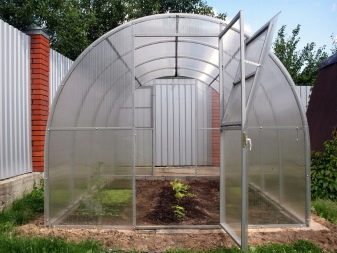
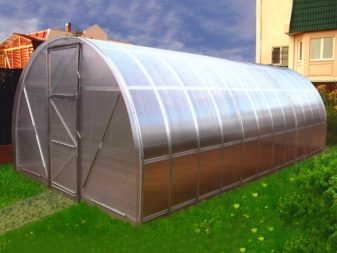
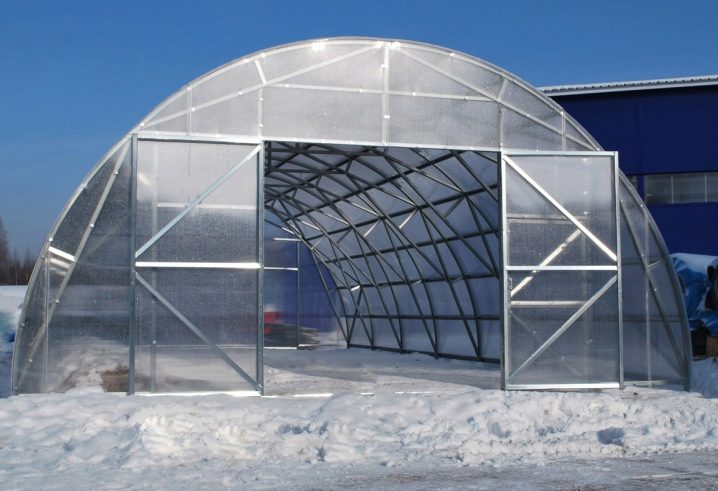
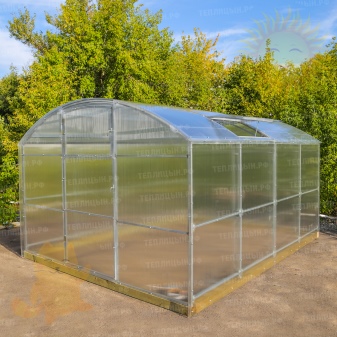
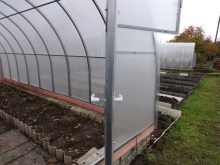
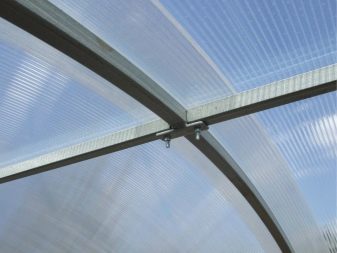
Polycarbonate is a kind of hard transparent plastic, which is a material with large cells in structure. It has sufficient shock resistance and light transmittance, is very flexible, therefore it is suitable for the construction of greenhouses with an arched vault or in the form of a tunnel. Since this type of coating consists of cells filled with air, it can be argued that it is the most insulating among all possible options.
When considering this type of cover for a potential greenhouse, also consider the following disadvantages:
- when exposed to sunlight, the material will inevitably collapse;
- when carrying out installation work, do not forget that polycarbonate tends to expand strongly when heated;
- in the absence of protective elements at the attachment points, the honeycombs of the material will quickly become filled with dust or mold, which will render the coating unusable.
Consider the following features when attaching:
- mount the material so that water can drain along the longitudinal stripes from the inside;
- there is an ultraviolet filter on one side of the material - this side should be outside the greenhouse;
- fix polycarbonate on specialized self-tapping screws with a thermal washer on them, pre-drill holes in the sheets.
Also, take note of the following rules:
- Exceptionally transparent polycarbonate is suitable as a covering material. Despite the great aesthetic appeal of the colored one, it transmits the sun's rays much worse, this is fraught with the failure of the greenhouse to fulfill its direct purpose.
- Be sure to check for a UV filter layer.
- Choose a layer thickness depending on the season in which the greenhouse will be used. In summer and autumn, the thickness of the sheets should be approximately 10-15 mm, in winter - at least 15 mm. Also, this value directly correlates with the strength of the frame - the greater the thickness, the stronger the supporting structure should be.
- When joining sheets, use special profiles; the use of nails is strictly unacceptable.
- Sheets must not be overlapped.
- Pay attention to the accessories and do not try to save on them - the use of end profiles and end bands will significantly extend the longevity of the greenhouse.
When choosing, pay attention to the manufacturer. Remember that the cheapskate pays twice, so it is best not to purchase Chinese materials, despite their attractive cost. Among those that have proven themselves in the market in recent years, one can note the domestic company "Kinplast". eTA offers a range of coatings ranging from inexpensive to premium options.
Sheets of the Russian company "Aktual" will last about 8 years.
This is an inexpensive option, has a fairly soft structure, and is well mounted.
- The Russian-Israeli production "Polygal Vostok" offers a material that is characterized by rigidity, flexibility, ease of installation, but also has a high price tag.
- "Vinpool" is made in China, very soft, fragile, inexpensive, you can count on a service life of 3 years.
- "Sanex" is also a representative of the Chinese market, it is quite tough in work, not very convenient for installation, it will last about 4 years.
- "Marlon" is brought to Russia from Great Britain, the material is quite expensive, but it will last at least 10 years if the operating rules are observed.
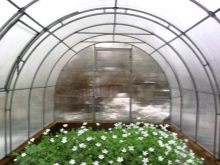
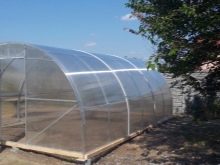
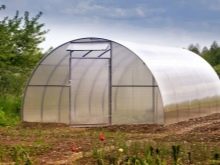
Since the market has a huge number of options at the moment, you can get confused and choose not too high quality among them.
To prevent this from happening, pay attention to the following points:
- The surface of the sheets should be uniform and smooth, not have any protrusions, irregularities and chips. Also, it should not fall apart into layers.
- The ribs should be located at an angle of 90 degrees and in no case should there be waviness.
- Try to find out from the seller under what conditions the material was stored. Improper storage conditions will quickly shorten its useful life. Sheets should lie horizontally, but if they were stored in an upright position with an emphasis on an edge or rolled, this can reduce the quality of the material.
- Some summer residents prefer a mixed type of covering materials. With this option, the side walls are usually glazed, and the ceiling is covered with a film. Some farmers prefer to cover the frame with spunbond canvases.
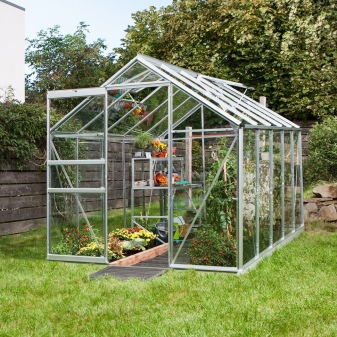
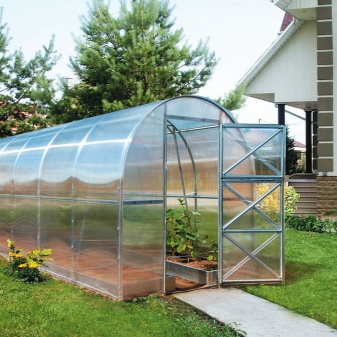
Separately, it should be noted that it is not recommended to grow different types of crops at the same time in the same greenhouse - in other words, the same room is not suitable for seedlings and fruit and berry crops at home. This aspect must be taken into account when choosing the type of greenhouse. Arched greenhouses that cover a wide area will not bring much benefit. He considers the optimal size of a simple greenhouse to be 3 by 6 meters - it does not take up much space, in such a greenhouse you can easily grow enough strawberries, cucumbers or tomatoes for a family.
Preparation of materials
Before getting down to work, carefully study the best designs and drawings from the publicly available resources - this will allow you to see the most complete picture of the opportunities provided. Of course, you can create a circuit yourself, but remember that this will require not only the investment of additional time and energy resources. In addition, an error can creep in during the calculations, which can lead to the loss of the greenhouse's quality characteristics.
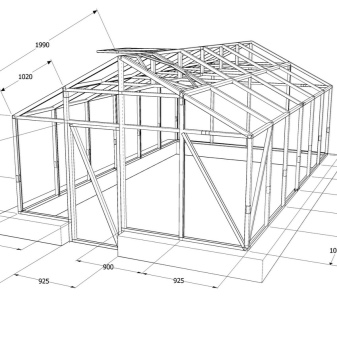
If we present a scheme of work execution point by point, a general description of the construction stages will look like this:
- determining the desired type of building;
- preparation of the circuit;
- creating a skeleton;
- preparatory work on the soil area where the greenhouse is planned to be installed;
- laying the foundation;
- mounting the supporting frame;
- attachment of a light-transmitting coating.
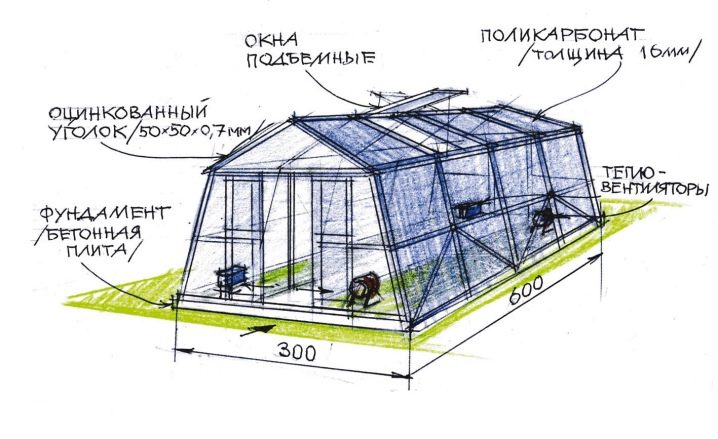
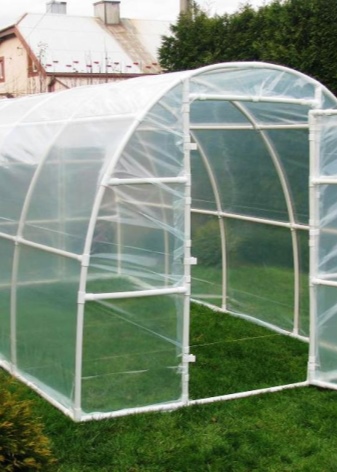
During independent design or choosing among ready-made options, start from the requirements for the finished structure, as well as from the available materials and preferences in the choice of crops. Most often, on personal plots, arched structures with a frame made of PVC pipes are located - this is an inexpensive type of greenhouse, quite simple to perform. If a flat site is chosen for construction, it is best to choose a model with two slopes. In the case when it is planned to put a greenhouse adjacent to the wall, it is more logical to make it lean. The base can be a geometric figure of various shapes - a square or rectangle, a trapezoid.
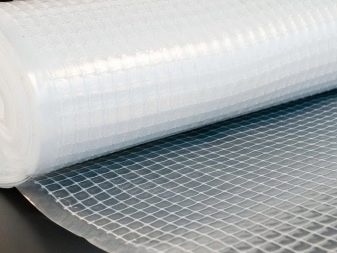
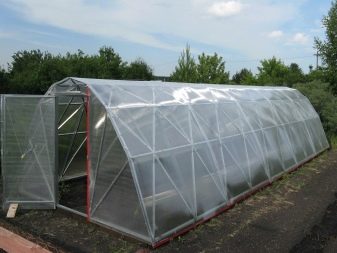
Before purchasing the materials necessary for construction, it is necessary to make a calculation. This will help prevent unnecessary costs in the future.
When the design is completed and the greenhouse manufacturing scheme is selected, it is necessary to start preparing the necessary components for future construction.
If we take the simplest option, which is quite possible to build in a couple of days, the set of materials will be as follows:
- Antiseptic impregnated, treated with linseed oil, or boards burned with a blowtorch. Please note that if you want to save money, you can not buy specialized products, but use the time-tested antiquated methods of processing wood and timber.If the funds allow, of course, you can buy factory chemicals.
- Polyvinyl chloride (PVC) pipes. Before making a frame, calculate the required amount of material for construction. After making the calculation, add 10% in reserve, especially if you have to make a pipe bender.
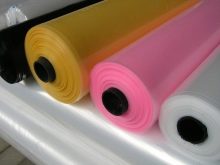
- Durable polyethylene film - the more wear-resistant the material is, the longer it will not need to be replaced with a new one. You can also use polycarbonate sheets if desired.
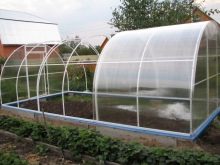
- Metal rods or pieces of reinforcement one meter long.
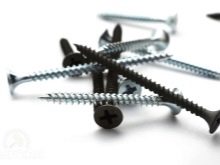
- Self-tapping screws and nails.
- Hinges for fixing vents and doors.
- Fittings - handles for doors and vents.
- Special loops for fastening pipes.
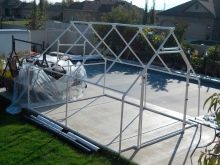
If a decision is made to use HDPE pipes to form a frame, consider their following features:
- Pipes help to create a tightness inside the building, which creates favorable conditions for the maturation of crops.
- This material is easy to use and does not require any special skills.
- With the help of fasteners, pipes can be easily mounted and dismantled if necessary. Thus, the frame can be easily assembled for warm climates and removed again when the greenhouse is not in use.
- There is no need to use additional reinforcement. The pipes themselves have good characteristics and are self-sufficient in use.
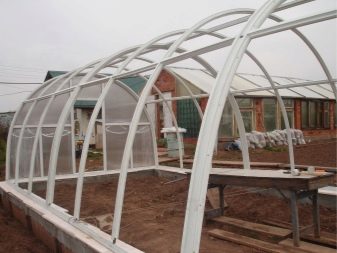
- Plastic, unlike wood or metal, is much less affected by the environment. Finished products do not have to be treated with anti-corrosion and other protective substances.
- The building may well serve for at least a decade.
- Since the material has a low specific gravity, the greenhouse can swing during strong gusts of wind. In this case, it is necessary to install additional metal elements in the ground to strengthen the structure.
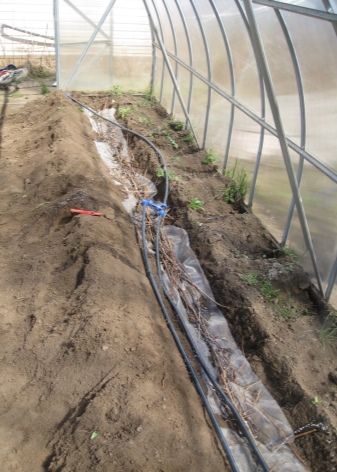
Please note that in order to strengthen the foundation, you can use metal corners, they will give the structure strength. This element is attached from the inside at the joint between the boards. If the base is made of timber, it is better to use metal brackets for fastening, which are mounted from the outside. The finished foundation should fit snugly against the soil. If gaps appear, cover them with earth.
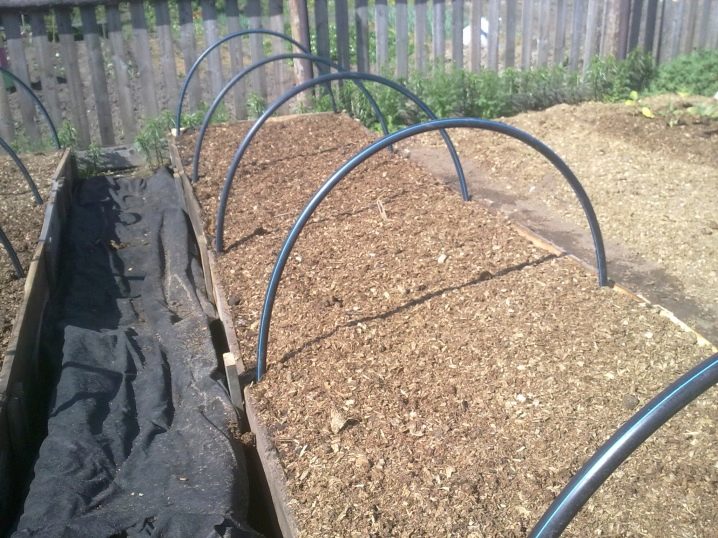
Build and install
When installing the frame, metal reinforcement is driven into the ground from the outside into the finished foundation at a distance of no more than a meter. Parts of plastic pipes, pre-cut to the required length, are pushed onto these blanks. To fasten them together, as well as to mount them on a wooden base, use screws or nails, self-tapping screws. To install the elements horizontally, as a rule, plastic couplings, angles and crosses, pre-drilled from the inside, are used, allowing the pipes to cross the connecting elements.
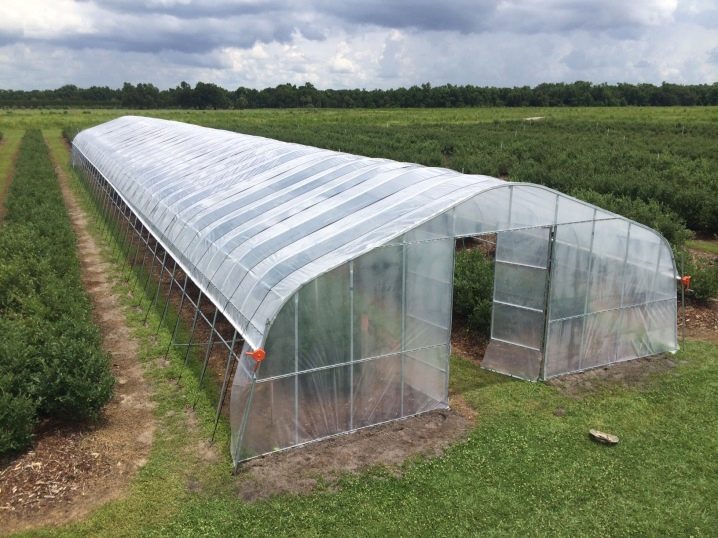
When polycarbonate sheets are used as a covering material, the actions will be as follows:
- The protective film is removed from the sheets, the top side is marked with a marker. For convenience in carrying out work, it is better to make several marks on each sheet.
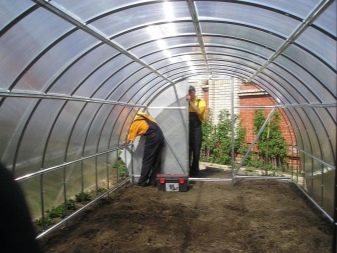
- Make blanks for the end walls - for this purpose, a standard size sheet is cut into three equal parts 2 by 2 meters. One of the parts is applied to the end in such a way that all cavities are located vertically. The left side of the sheet is aligned to the left, the outline of the required arc is outlined with a marker. A similar manipulation is done with the right edge, as a result of which the sheet takes on the contours of two semi-arches. Then they are cut out with a jigsaw, leaving a tolerance of 3-5 cm, in the same way they cut out the right end of the building.
- The cut parts are attached to self-tapping screws at a distance of 30-50 cm from each other. Try not to squeeze the material too much. The excess is cut off with a knife.
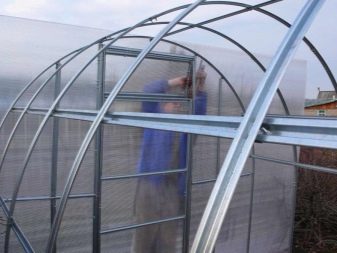
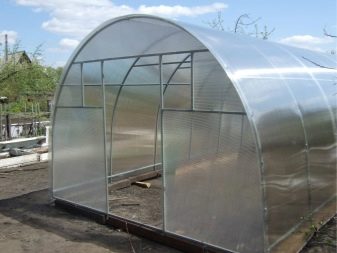
- The third part of the sheet is used for the door and vents.The sheet is vertically applied to the doorway. The contour of the door is outlined with a margin, the blanks are cut out and attached. The leftovers are used to close the space above the door. It is better to fasten the joints with special profiles.
- To cover the top of the greenhouse, the sheets are stacked on arcs, aligned to the bottom edges and trimmed. The sheets should protrude slightly above the end of the building, then they are fixed in the corners.
- The second sheet is overlapped on the first at the junction, the corners are fixed and planted on self-tapping screws from the bottom edge at a distance of 40-60 cm from each other.
In the event that it is decided to cover the greenhouse with plastic wrap, the stages of the work will be as follows:
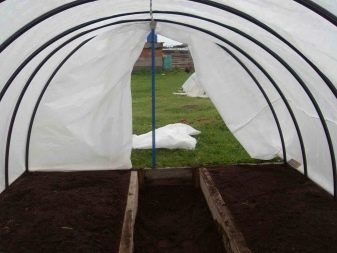
- The film is attached to the frame with staples or wooden slats. Fasten it in such a way that there are no breaks in the canvas.
- It is necessary to cover the front and back of the frame with foil. In the part where the door is planned to be made, the film is bent inward.
- Re-measure the doorway, then you need to assemble the frame from the tubes. A film is attached to the resulting frame, the excess is cut off and the door is hung with hinges, the vents are designed according to the same principle. If you are planning glass doors, carefully study the glass-to-metal fasteners.
- This greenhouse option is only suitable for summer. The next and final stage after the construction of the greenhouse is soil preparation and planting of seedlings.
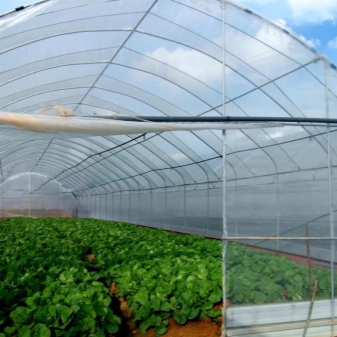
As mentioned above, for the winter version of the greenhouse, it must be equipped with a heating system. Despite the seeming complexity, this is not so difficult.
Among the types of heating, the following can be distinguished:
- solar;
- technical;
- biological.
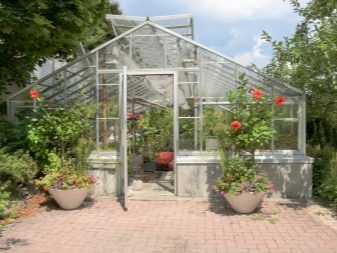
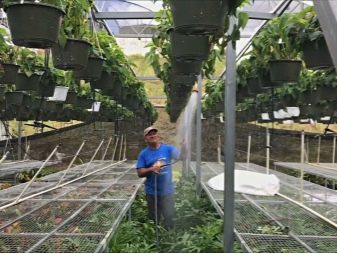
Technical, in turn, is divided into the following subspecies:
- water;
- gas;
- stove;
- electric.
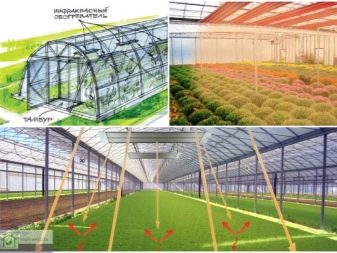
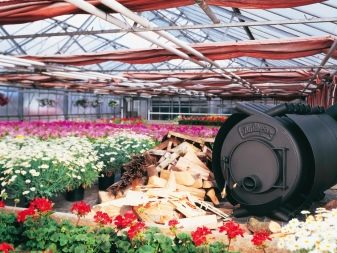
The solar type is based on the greenhouse effect that occurs when natural light enters the greenhouse space. This heating option is only used in summer when the sun is active. In the cold season, to achieve the best result, a mixed species is used - a biological and technological option.
The biological species is used both in winter and in summer to heat the soil. Soil is removed from the shelves, after which manure is placed on the bottom, horse manure is best suited, since a large amount of heat is released during its decomposition. Tanks for soil are filled with manure by a third. In addition to manure, you can also use compost - one of its components is also the waste product of horses. Fill all the earth back into the racks. When the decomposition process begins, the roots of the plants will begin to warm up. In addition, it serves as an excellent fertilizer, since manure and compost contain many minerals for plant growth.
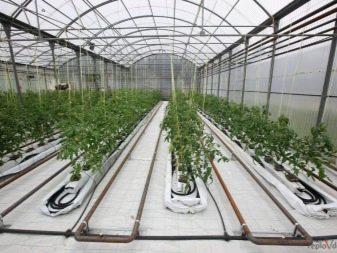
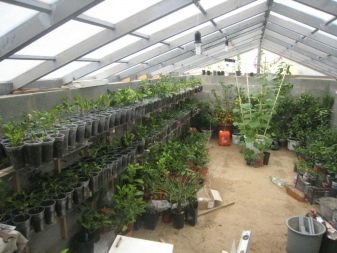
The electrical heating method is also easy to use. For these purposes, a specially laid heating cable is used. Read the instructions first. Please note that the thermal cable can be purchased with a temperature controller, so it will be quite simple to create the optimal temperature for seedlings.
Water heating is arranged as follows: the entire perimeter of the greenhouse is laid with a double row of pipes that loop into an electric boiler. To connect the boiler, it is necessary to lay an electrical cable. Please note that the boiler can stand inside the greenhouse or it can be moved outside of it. Experts insist that the boiler should be taken out and pre-insulated. These manipulations are done with the aim of a more uniform heating. You can also warm up the room using a heat generator. Directly, the boiler is purchased in a store or you can make it yourself, but keep in mind that in the second case, you cannot do without special knowledge and skills.Further, the procedure is similar - pipes are laid from the boiler under the racks, which are looped back. Any solid fuel can be used as fuel: coal, firewood, woodworking waste.
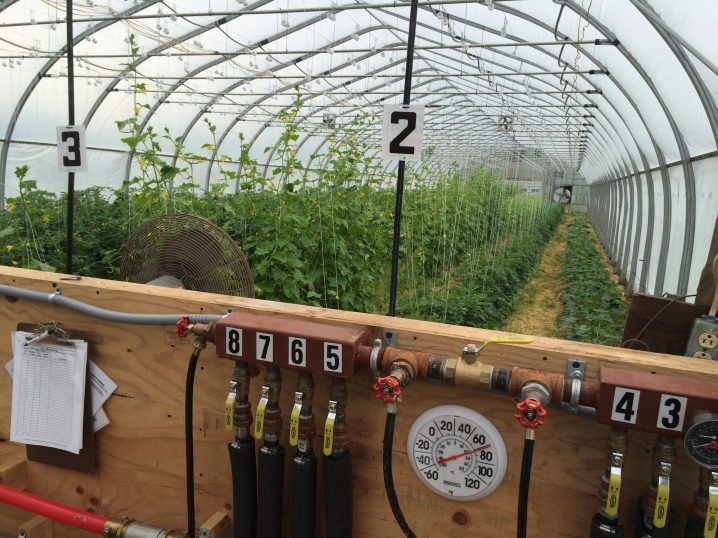
If gasification is present on your personal plot, heating can be arranged by means of gas burners or air heaters, for this purpose they must be placed around the entire perimeter of the building. With a small greenhouse area, it is quite possible to use gas cylinders. If the greenhouse occupies a large area, then it is necessary to connect to the general gas system of the house. Gas burners create carbon dioxide that plants need. To distribute the heat evenly, fans are installed in the building. Burners can also be replaced with a factory gas boiler, but be sure to look at the country of origin.
Aluminum radiators or electric convectors are used as a heat source for electric space heating., which are installed at an equal distance around the entire perimeter of the building or located on both sides of it, if the greenhouse area is rectangular. A system of this type is connected directly to the power supply or heat supply system.
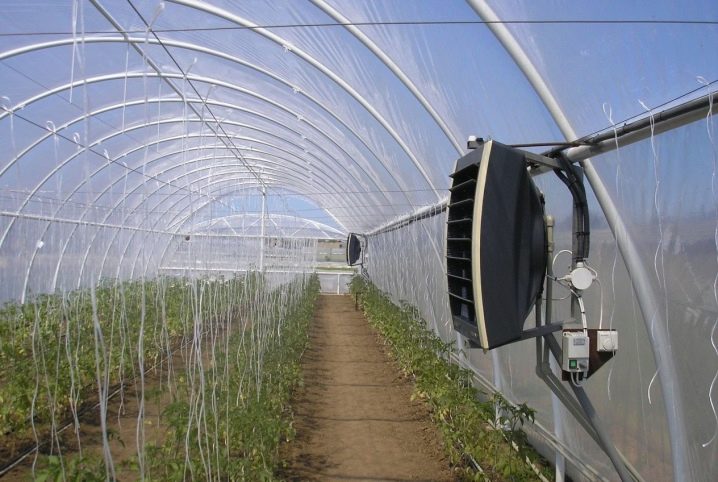
You can also make a stove in a greenhouse, which is best located at the end of the building. A horizontal chimney is laid from the stove around the entire perimeter of the greenhouse. For these purposes, metal pipes or brickwork are suitable. When connecting the chimney and the vertical riser of the stove, you need to make a small rise at the junction. The higher the riser is, the better, because the stove will have good draft. For this type of heating, do not forget to prepare fuel in advance. You can put the stove in a pre-made hole in the ground.
In addition, a water oven can be made from a conventional oven. For this purpose, a boiler for water heating is installed on it, from which the pipes will go to the water tank. Pipes and the boiler are looped using wiring around the entire perimeter of the room. There is also another option - to collect pipes along each of the racks, thereby providing routing to four different pipes.
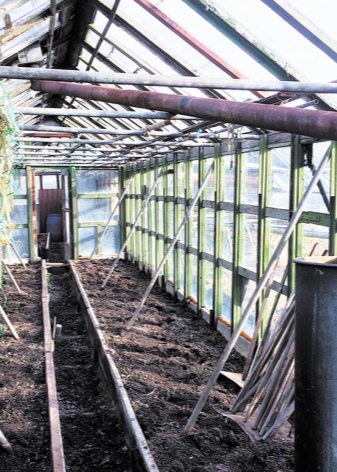
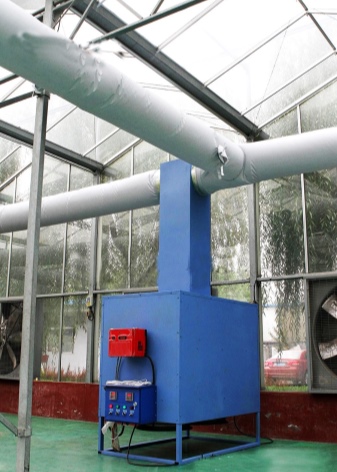
We must not forget that plants require the creation of a special microclimate for their successful development and growth; special equipment will help to improve these indicators inside the greenhouse, with which it is possible to increase the productivity and yield of the crops grown. Additional equipment assumes not only additional heating, but also the possibility of ventilation, irrigation and lighting. As you know, watering plants is a rather laborious process. The automatic system will help save the owner of the suburban area from this hard work, while saving time and water.
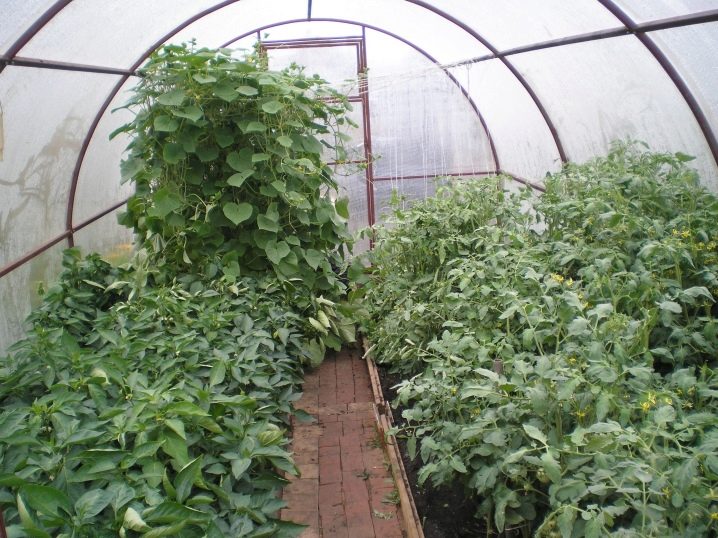
Good room ventilation is extremely important in a greenhouse, as it prevents the formation of condensation and improves the overall microclimate, which undoubtedly benefits the plants. Correctly created air exchange will protect crops from overheating. For natural air movement, it is enough to open the doors and vents, an additionally installed fan or hood will increase air circulation.
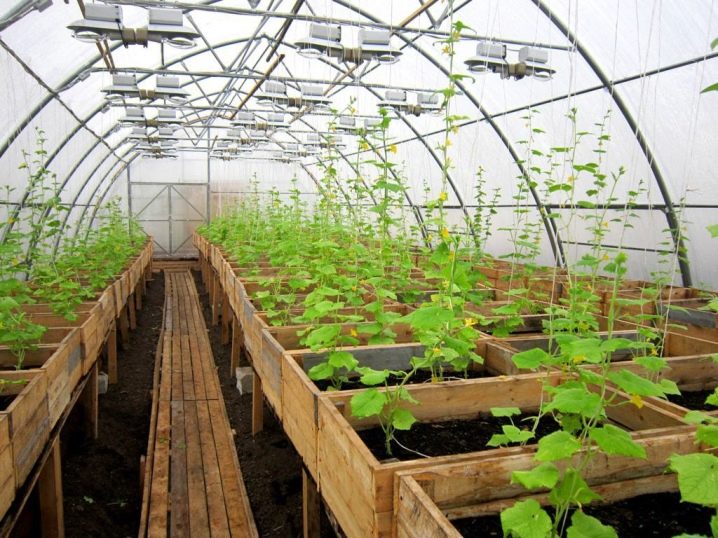
With a short daylight hours, additional lighting sources are indispensable. Special lamps will help the seedlings get enough light in early spring or late autumn.
Best projects
Be sure to check out the best and most common options, you may have your own ideas.
For cucumbers
Separately, I would like to consider making a greenhouse for cucumbers as one of the most favorite vegetables. Any summer resident knows that cucumbers need warmth and high humidity. With the correct organization of protected ground, this vegetable is less susceptible to diseases and is able to give a greater yield.
To obtain a rich harvest, the following requirements are necessary:
- daytime air temperature - no more than 30 degrees, night - no less than 16;
- soil temperature - about 23 degrees;
- calm air without drafts;
- humidity of about 80%;
- high degree of illumination;
- insect access, if the variety involves bee pollination;
- robust structures for vertical movement of seedlings.
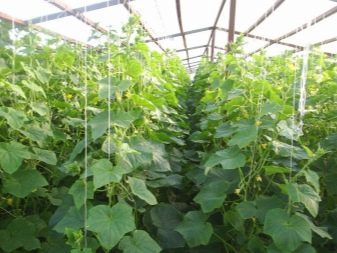
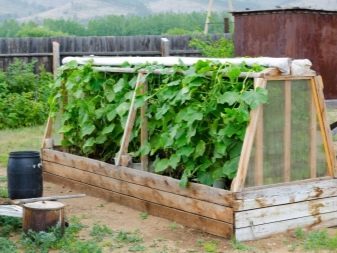
Due to the large number of details, it is difficult to create the required climate in one room. Consider the general disadvantages and advantages of each type of greenhouse for a specific purpose - growing cucumbers.
The advantages include simplicity of design, ease of creation from improvised and already available materials. The small area and internal volume will provide good warmth, it is well lit and easily accessible for insects for pollination. Among the minuses, one can note such characteristics as a low planting density - you can arrange a maximum of three pieces per square meter, inconvenience in soil cultivation and harvesting. If you water the plants with a watering can, the water reaches the leaves, which can cause burns. The greenhouse needs constant opening and closing, otherwise the crops will overheat and die.
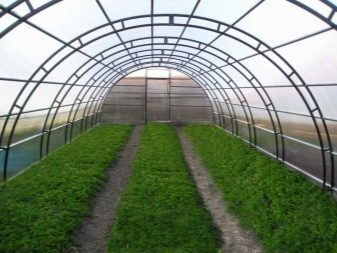
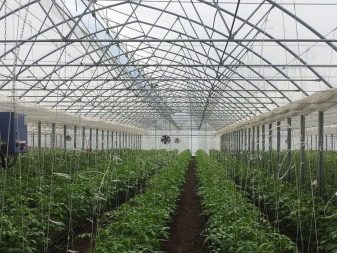
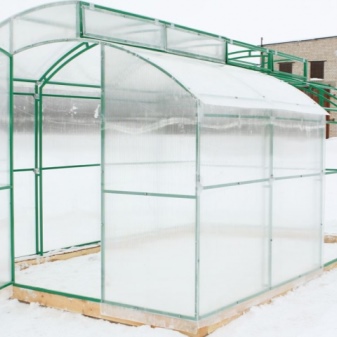
Arched type with film
The advantages of this type of greenhouse are that it is easy to build and does not require expensive materials, it has sufficient internal space for growing vertical bushes. The film coating retains moisture well, promotes rapid heating of the soil and air, and perfectly transmits light. Disadvantages: the film is a short-lived material and requires regular replacement, has poor thermal insulation performance, therefore, in the event of early frosts, the greenhouse will have to be additionally covered. When building a greenhouse of this type, the presence of vents is necessary, since drafts will inevitably arise when the doors are opened.
Polycarbonate coated
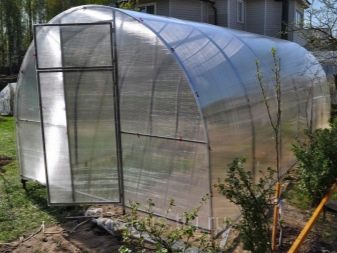
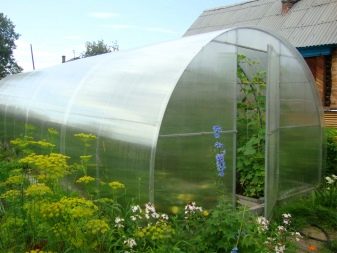
Pros: High structural strength, high ceilings and ample interior space. Polycarbonate perfectly transmits sunlight, has an excellent ability to diffuse it. Provides convenient conditions for watering plants and cultivating the soil, easy to harvest. The provided vents provide good ventilation and no drafts.
Cons: large financial costs for the purchase of materials or finished products. Polycarbonate reflects light strongly, causing energy loss. The cover and frame require constant maintenance; in winter, snow must be removed from the greenhouse. Difficult access for pollinating insects.
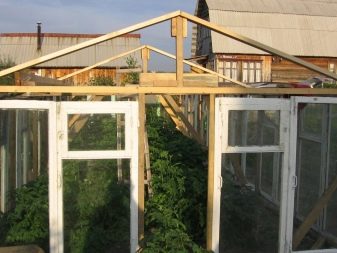
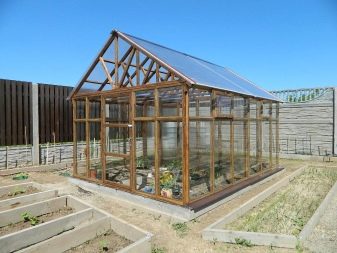
Gable with glazed wooden frames
The advantages are as follows: the noteworthy design, which has already become a classic, demonstrates high thermal insulation properties. Good heating of the entire internal space of the room. The glass has excellent light transmittance, when the vents are placed on the roof, the possibility of drafts is excluded. The ability to plant a large number of plants, the availability of convenient access to them. Among the disadvantages, it can be noted that the severity of the frame requires preliminary laying of the foundation. The tree requires mandatory preliminary and regular post-processing, otherwise the frames will quickly begin to rot. It is also worth considering that glass is a fragile and traumatic material, and also has absolutely no scattering properties, which can lead to burns of plant leaves.
With one slope
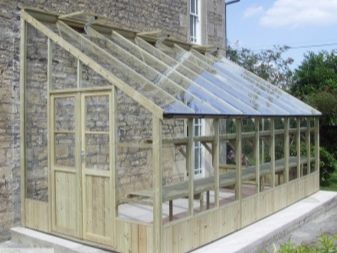
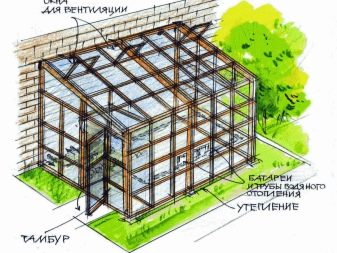
Positive characteristics: it is always attached to a house or a shed from the north side, which ensures that the slope faces south to obtain the maximum amount of sun rays. The room assumes rapid heating and long-term retention of heat, and also gives space when choosing materials for construction. Negative characteristics: if the sun is active, it will be difficult to avoid overheating, curtains and a high-quality ventilation system are needed.If the greenhouse is built next to the house, a prerequisite is good waterproofing and protection of the greenhouse from snow and ice.
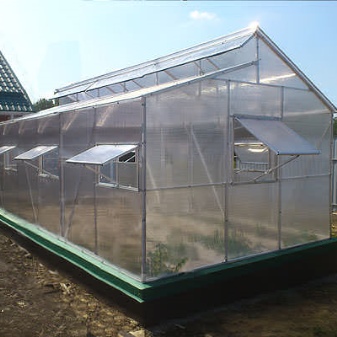
Meatlider
The undoubted advantage lies in the special arrangement of the vents - they are located in the roof and face south, which does not leave the possibility of drafts and contributes to maintaining an optimal microclimate. The greenhouse is large, has high ceilings and a lot of space inside.
The disadvantages are associated with the complexity of the design and the inability to build it yourself, without having accurate drawings and installation skills. If the doors are closed, insects will not be able to get inside; either self-pollinated varieties are suitable for such a greenhouse, or additional bait varieties will have to be planted. Among other things, a greenhouse requires close maintenance.
Pyramid shaped
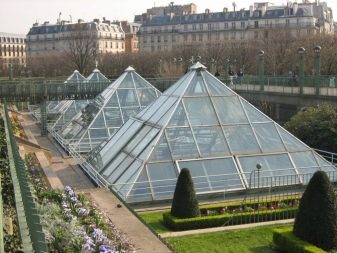
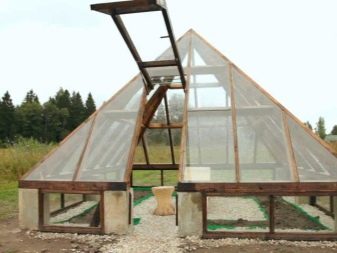
Pros: The center section is ideal for vertical cultivation of cucumbers. It is well lit, easy to install, only budget materials are needed.
Cons: small area, inconvenient to care for plants. Insect access is difficult. The structure is unstable and can easily be blown away by the wind.
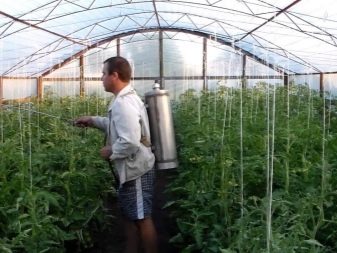
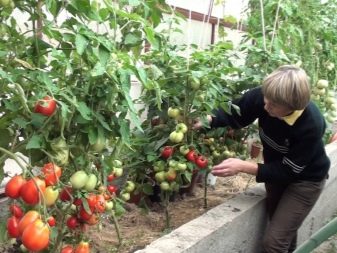
For tomatoes
Polycarbonate greenhouses create ideal conditions for harmonious fruit ripening. Tomato belongs to crops that love sunlight and warmth, the optimal temperature regime for growing them is 22-25 degrees. If the soil has a high clay content, then humus, sawdust or peat must be added to the soil at the rate of one bucket per square meter.
Planted seedlings must be watered frequently until they are fully developed. If it is cool enough at night, it is better not to water the plants after sunset, so as not to overcool the soil. Watering from a watering can makes sense during the hottest time of the season. Next, the seedlings need to be pruned and tied up, thereby ensuring uniform lighting and ventilation of the beds. With this type of cultivation, tomatoes ripen much faster and it is possible to harvest a good harvest. The plants are then attached to wire racks or pegs, giving them room to grow further.
For greenery
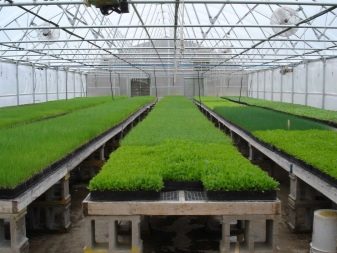
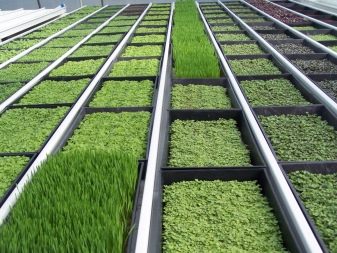
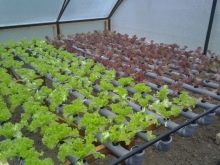
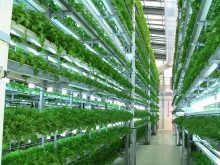
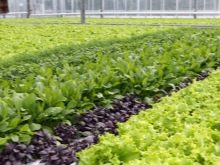
In the cold winter period, there is nothing better than a bunch of fresh herbs, especially if it is grown by hand. What is especially pleasant, greenhouse greens are not too whimsical to care for and gives several harvests a year. It is quite possible to choose the type of greenery based on your own preferences.
Most people who use winter greenhouses to grow greens prefer dill, celery and parsley.
- When growing dill, it is necessary to strictly observe the temperature regime - the thermometer should not fall below 15 degrees. In addition, dill needs constant spraying and does not tolerate the presence of drafts and cold winds, so be extremely careful when ventilating the greenhouse. The first harvest can be obtained in two months with appropriate care.
- When growing parsley, there are slightly more nuances - firstly, this type of plant can be grown in the form of root crops or seeds. In the first version, the root crop must first be kept in sand, the temperature of which does not exceed two degrees, after which it is planted in a highly moist soil. If you plan to grow parsley from seeds, the seeds, previously kept in a damp cloth, are planted in the soil. As a rule, germination takes no more than ten days. The harvest is about one and a half kilograms of greenery per square meter.
- Celery loves well-fertilized soft soil; cow or chicken manure is perfect as fertilizer. The temperature in the greenhouse should be between 15 and 20 degrees. Watering for plants is necessary infrequent, but as abundant as possible, while it is necessary to ensure that the water does not touch the leaves of the seedlings.Pay special attention to lighting, since the amount of the crop directly depends on the length of daylight hours.
- Many people are very fond of mint and enjoy using it in cooking. This type of plant tolerates frosts up to eight degrees of frost, while sprouting at the lowest temperatures above zero. Experts recommend using hydroponics or biological heating of the soil with peat as soil. Carefully monitor the moisture content of the soil, its drying out is strictly unacceptable. If you plan to grow mint, it is best to equip the greenhouse with a drip irrigation system.
- Mint, like most crops, does not tolerate temperature changes, not only because sharp jumps can destroy plants, such moments can lead to a dangerous disease - powdery mildew. Also for mint, spider mites and greenhouse whiteflies are extremely dangerous pests. You can defeat them by spraying the culture with industrial means or time-tested folk recipes.
For a better engraftment of seeds in the soil, you must first dry them in a draft. If you cannot plant the seeds directly, it is quite possible to grow seedlings at home, followed by planting them in the ground for 10-14 days.
Not all summer residents have the time and desire to understand the intricacies of the technology of building a greenhouse on a site with their own hands. At the moment, the market is filled with ready-made greenhouses of a variety of options. The first thing to do is to decide for what purpose the greenhouse is being purchased. If we are talking about growing crops for the family's use, this is one thing, but if the summer resident considers the greenhouse as a way to increase his income and wants to put up the harvest, the situation will be different. In the first case, you can get by with an inexpensive option, in the second, of course, financial investments will be much higher and the cost of maintaining a greenhouse will also increase.
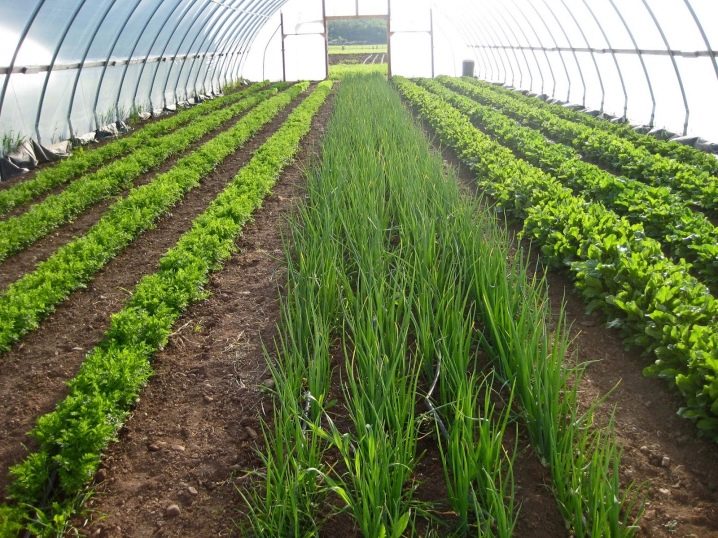
Decide on the model, taking into account whether there is a willingness to install a stationary greenhouse or is it more logical to choose a collapsible version. Consider all the pros and cons - a stationary one is installed once and no longer requires attention, a collapsible structure will have to be assembled and disassembled twice a year.
How to make a greenhouse with your own hands, see the video.






The comment was sent successfully.