Greenhouse made of polypropylene pipes: step-by-step manufacturing instructions
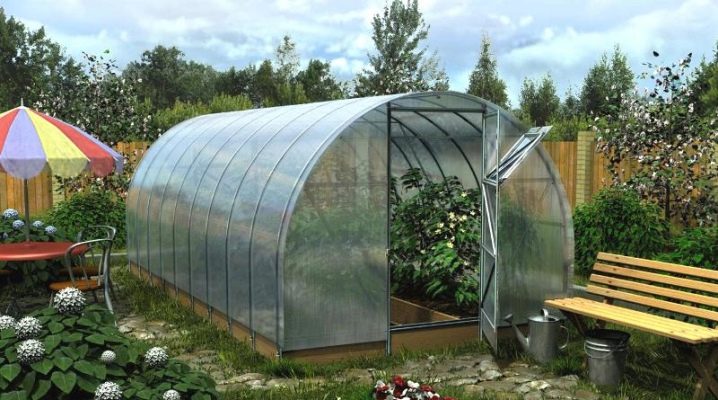
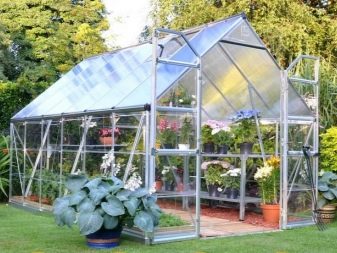
A greenhouse made of propylene pipes is the simplest greenhouse structure for independent construction. The design is presented in several versions. In order to build such a greenhouse with your own hands, you need to follow the simple step-by-step manufacturing instructions.
Peculiarities
A greenhouse made of polypropylene pipes is an interesting solution with a limited budget and love to build a variety of structures with your own hands. The purchase of materials will not require large financial costs, and the construction will not require serious preparation.
All materials can be bought at an ordinary hardware store; to fasten them to each other, you will need ordinary glue or self-tapping screws.
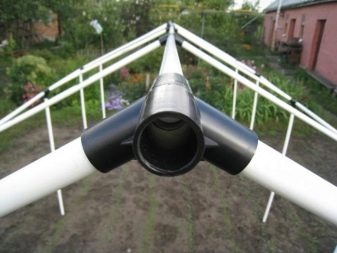
To begin with, it is worth dwelling on what propylene pipes are and how they differ from PVC. In fact, there is not much difference between these materials. Both one and the other pipes are plastic. The only difference is what polymer they are made of - polypropylene or polyvinyl chloride. This does not affect the operational properties of pipes, the only noticeable difference is in the price.
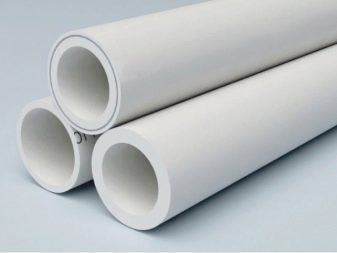
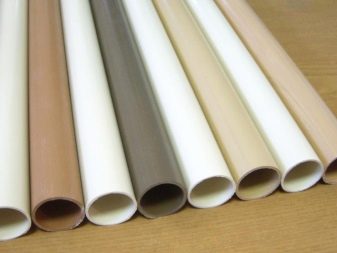
Polypropylene pipes have a number of advantages.
- Resistant to corrosive processes. Plastic pipes do not rot or rust, unlike other materials.
- Ease of use. Polypropylene pipes can be easily bent or cut. Any intricate wireframe can be created from them. In addition, it is also quite simple to fasten the profiles together and install them in the ground.
- Low weight. Polypropylene pipes are lightweight regardless of whether they are single-layer or multi-layer. This is a guarantee that the whole frame can be easily transferred, and not just disassembled.
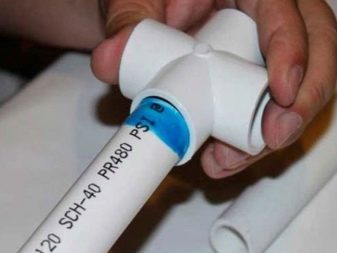
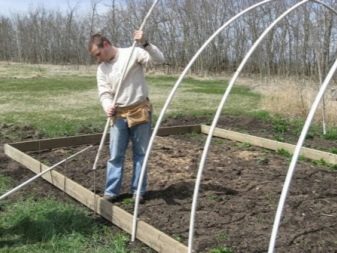
- Long service life. Initially, polypropylene pipes are designed for communications, in particular water supply, therefore they are given increased strength. Without being exposed to such loads, pipes can last 30-50 years.
- Strength. In addition to corrosion resistance, such pipes are resistant to temperature extremes. They do not burn, open fire is generally not afraid of them. In addition, the pipe frame will be able to withstand strong winds, especially if the base is reinforced. So, the material does not lend itself to deformation under the influence of various climatic factors.
- Cheapness. Plastic polypropylene pipes belong to the economy segment, therefore, very meager funds can be spent on the purchase of this material.
- Attractive appearance. There is no need to process propylene pipes additionally. They are immediately supplied with a special coating, which not only increases their strength properties, but also gives the raw materials a beautiful shine. As a result, the whole greenhouse on such a frame will look great.
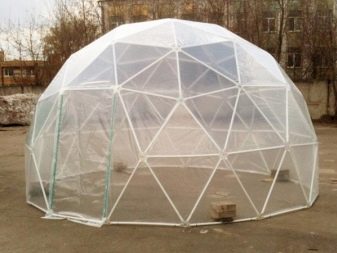
Design options
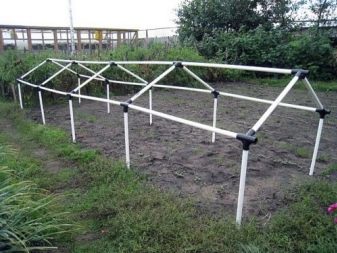
A structure of almost any complexity can be assembled from polypropylene pipes. Limitations are imposed only by the degree of skill of the one who performs the structures.
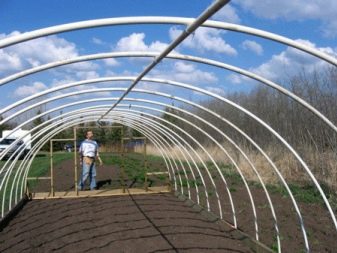
The most common forms of homemade greenhouses are:
- arch;
- pointed arch;
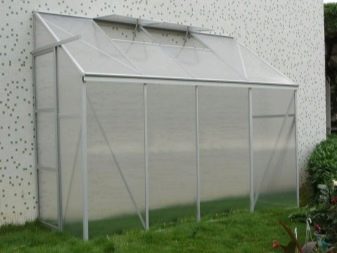
- with a pitched roof;
- with a gable roof.
Separately, it should be noted that greenhouses and greenhouses with a pitched roof are usually performed as an extension to the house.Here it is envisaged that one wall will be adjacent. This saves significant heating costs.
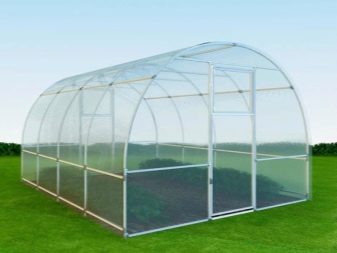
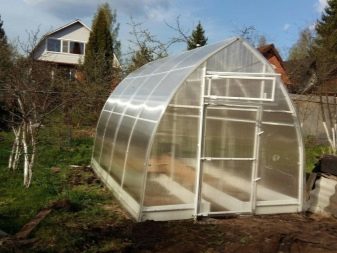
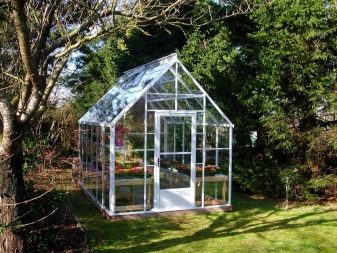
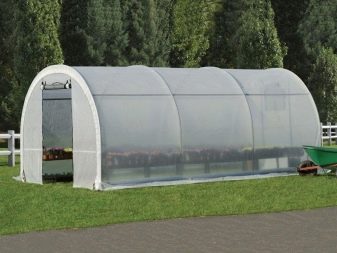
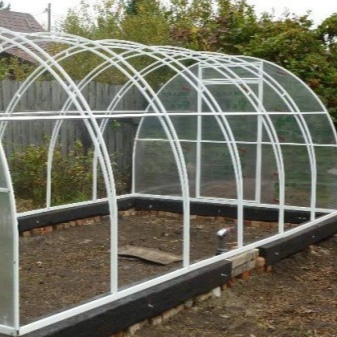
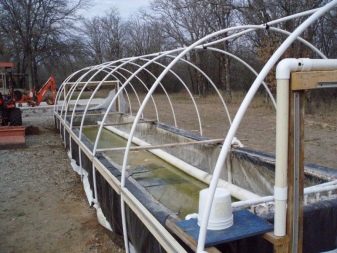
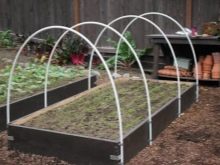
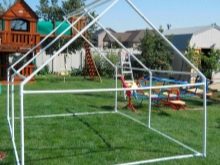
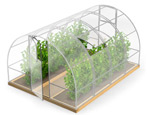
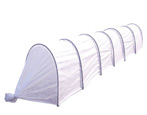
The most simple arched structure for construction. There are some designs that can be delivered in just a few hours. However, it is extremely important here what material and how the strapping will be made. After all, the rods form a strong pressure. In addition, such a structure made of polypropylene cannot be made for winter. The snow pressure on the roof will be too strong, and the frame simply will not stand it - it will fall apart.
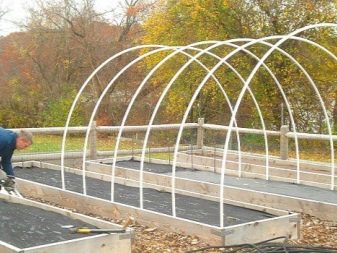
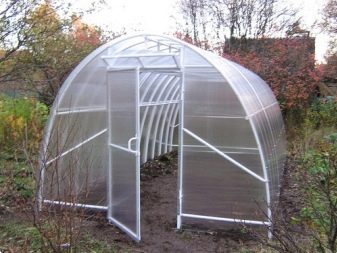
In this case, the shape of a pointed arch is used. It is a cross between the classic arched and gable designs. Of course, it requires more details and work skills, but the result is beyond praise. A strong plastic frame is able to stand not 3-4 seasons, as usual, but all ten.
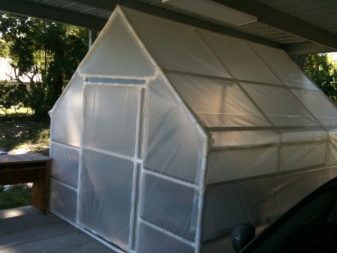
Finally, the gable plant house is a common option due to its classic shape. Such a greenhouse will fit into any landscape, suitable for almost any home. You don't need to be an engineering genius to build it.
This design is the most durable, since the frame is reinforced here.
Rules for working with the material
First you need to study the nuances of working with polypropylene pipes. Only after that you can proceed to their installation, collection of the frame, flooring of the coating material. So, first you need to take into account that it is best to work with such pipes at a temperature of + 18-20 degrees. Then the material will gain maximum strength and flexibility, will not "shrink", and it will be easier to form the necessary shapes from it.
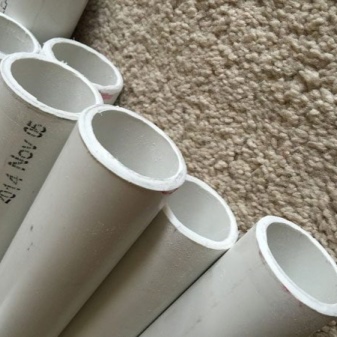
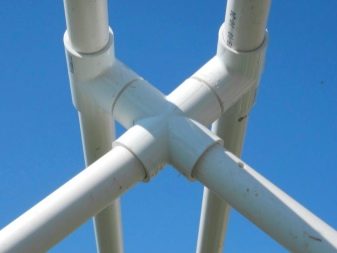
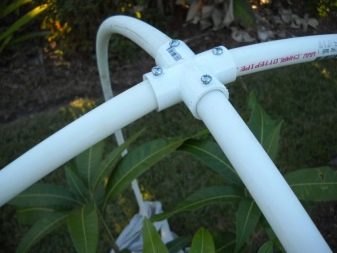
The second feature is the need to select fittings for the diameter of an existing pipe. Fittings are connecting elements. With their help, it is possible to achieve optimal rigid fastening of parts to each other. In order for the work to go as smoothly as possible, it is best to purchase pipes already complete with fittings. This eliminates the risk that the connecting elements and pipes do not fit together.
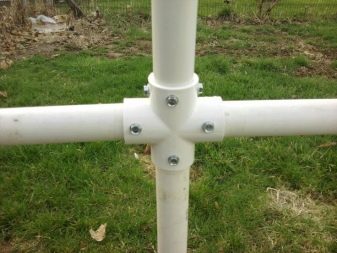
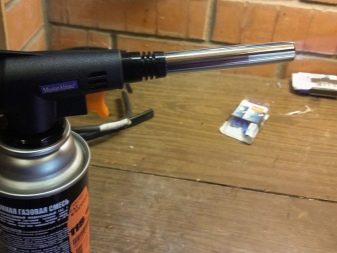
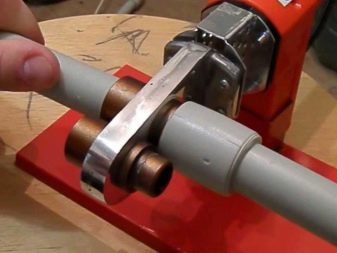
Welding may be required to work with polypropylene pipes. Many do not have a plastic welding machine on hand. Then there is an alternative - a gas burner. It can replace the iron that is usually used for welding. However, you need to act carefully so as not to melt the pipes too much. It should be borne in mind that welding is used only in cases when it is planned to build a capital structure from pipes, which is not planned to be rearranged or removed for the winter in the future. An example is an attached greenhouse with a pitched roof.
Fortunately, no specific protective measures are required when working with polypropylene, as the material is not toxic.
The only thing is that grinding may be required at the place of the saw cut, but this rule is not necessary to follow.
Coating materials
Greenhouse cover with plastic pipes is a special topic. The fact is that, although the frame is relatively strong, it cannot withstand the weight of those materials that are traditionally used for shelter. These include plexiglass, double-glazed windows and some others. Such materials guarantee high protection against drafts, good heat retention even in winter, full access to sunlight, but due to their heavy weight, they have to be abandoned.
Certain requirements are put forward for materials for covering the frame made of polypropylene pipes.
- High thermal insulation properties. This is especially important if the greenhouse is planned to be year-round, working in the winter;
- Good ability to transmit sunlight. An additional feature of the material may be that it filters out harmful infrared radiation, letting in only those rays that are beneficial to plants;
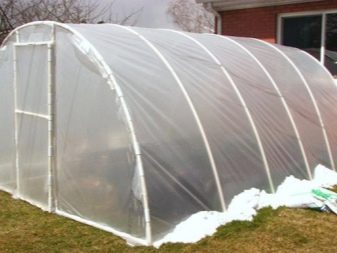
- Resistant to weather conditions.It is important that rain, snow or hail cannot damage the coating material, otherwise the tightness in the greenhouse will be broken and the heat will escape. So, both the greenhouse and the crop will be irretrievably ruined;
- If the greenhouse is year-round, then the coating material must withstand snow, not tear under the snow cap;
- Resistance to mechanical and wind loads is desirable. A gust of wind should not damage the integrity of the coating, as well as minor mechanical impacts. Some materials are able to withstand heavy loads, for example, impacts, without tearing or breaking;
- Light weight.
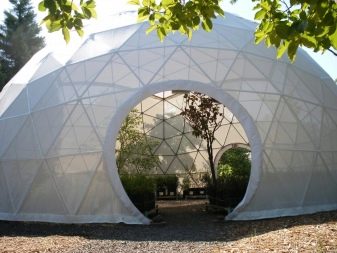

Thus, the existing list of materials for coating is sharply reduced, because very few materials combine all the listed qualities.
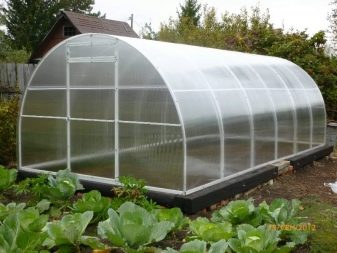
Optimal for frames made of polypropylene pipes are coatings with polyethylene film or polycarbonate plates.
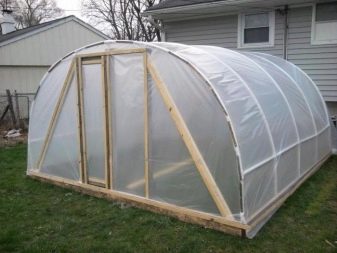
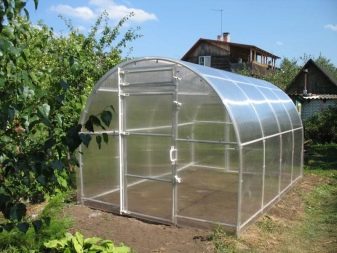
Polyethylene film
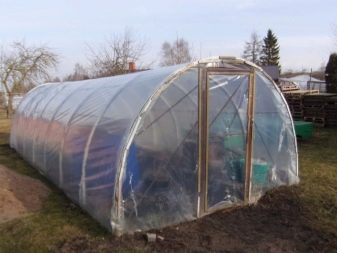
Polyethylene film is one of the most demanded materials for covering frames made of polypropylene pipes. This is due to its many advantages.
- Light weight. First of all, you should pay attention to the lightness of the film coating. With a large enough area, a sheet of film can only weigh a few grams. This ensures that a minimum load is applied to the frame.
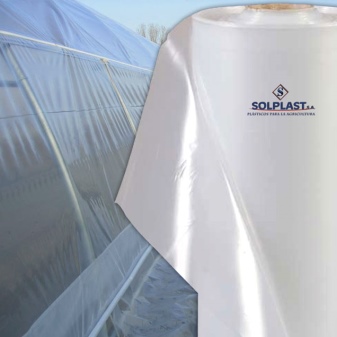
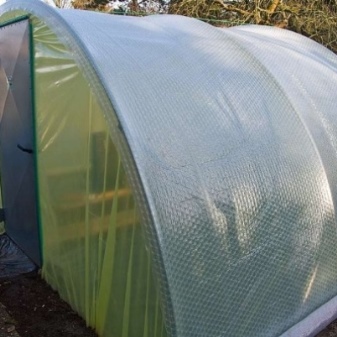
- Light transmittance. Films are produced either completely transparent or slightly dull, but this does not prevent sunlight from penetrating well through them, illuminating the entire area. You can vary the amount of light entering the greenhouse simply by choosing a film with the desired tint. This allows you to grow any crops in such greenhouses - both shade-loving and light-loving.
- Resistant to weather conditions. Films do not react to changes in ambient temperature from -50 to +60 degrees. They are not afraid of rain, hail, snow and wind. But they will not hold the snow cap.
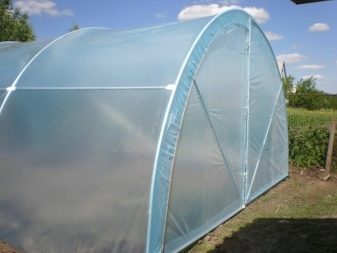
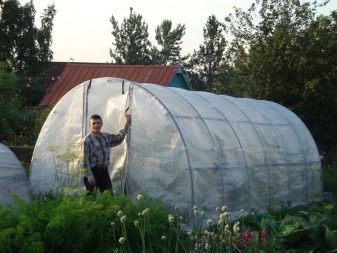
- Creation of a greenhouse effect. The air in plastic greenhouses is always humid and warm, so the ground in them does not cool down either. This allows you to create the most favorable microclimate in such greenhouses.
- Material safety. Polyethylene does not decompose and does not affect the soil, therefore it does not change its composition. It also does not release hazardous substances into the air. It turns out that the presence of polyethylene does not affect the contents of the greenhouse in any way.
- Cheapness. Film can be purchased for a low price or even free. She may even already be on the farm.
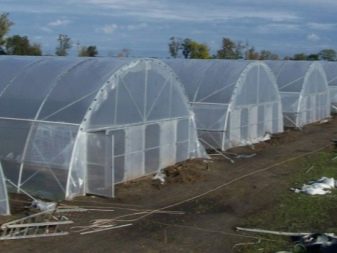
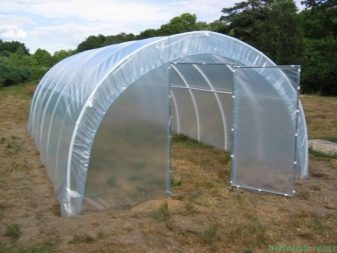
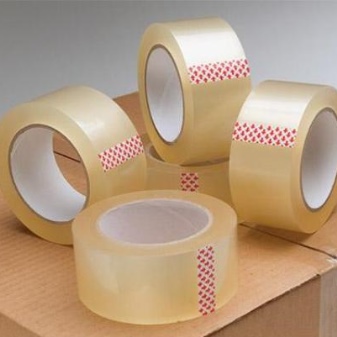
Among other things, it has material and its drawbacks. The film does not resist mechanical damage poorly. Any puncture or blow is capable of breaking it, rendering it unusable. It should be borne in mind that such gaps can be easily repaired with ordinary scotch tape. The film quickly breaks down, becomes thinner due to constant exposure to the sun. This coating will last only 2-3 seasons.
Polycarbonate
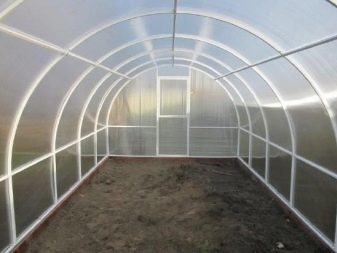
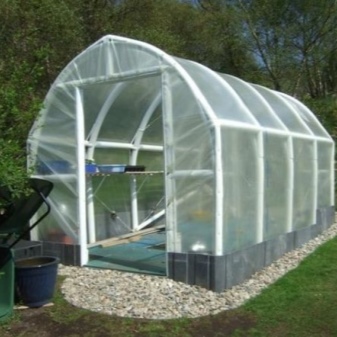
Another alternative greenhouse cover material is polycarbonate. It is somewhat heavier than the film, so it will be necessary to seal the frame using composite reinforcement and additional supports. This material has such advantages that more than justify all the inconveniences that arise.
- Good light transmittance. Cellular carbonate, which is commonly used in greenhouses, provides a more durable alternative to glass. You can choose between completely transparent materials, matte, or colored.
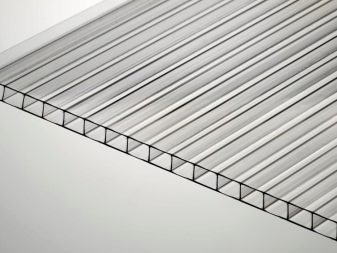
- Strength. Polycarbonate is resistant to any mechanical stress, be it heavy precipitation, impacts, punctures. It also does not buckle under the weight of the snow on the roof. Water and high humidity are not terrible for polycarbonate, since it does not corrode or deform when exposed to water.
- Plastic. Subject to all the rules, polycarbonate plates can be bent, giving them an arched shape.However, intricate structures cannot be built: the material is still not so flexible.
- Long service life. According to manufacturers, polycarbonate plates do not lose their properties during 20 years of service.
- Interesting appearance. If greenhouses made of film are trivial and almost everyone has, then polycarbonate separates the owner from the gray mass. The greenhouse looks neat and unusual.
Like the film, polycarbonate has its drawbacks. This material is afraid of high temperatures. When exposed to open fire, it begins to melt, and it is not very easy to stop this process. The price factor also plays an important role.
Polycarbonate models are more expensive than film ones, but still not so much as to immediately dismiss this option.
Construction master class
Making a greenhouse from polypropylene pipes is not as difficult as it seems at first glance. In fact, even a teenager who attended labor lessons at school can handle this.
Before you start, you need to do some preliminary work.
- A greenhouse, like any structure, will have to be carefully planned and designed. Without a plan and drawings, it will not be possible to build a truly good greenhouse that has the correct dimensions and proportions. You can draw up a scheme yourself, take a ready-made one or order, but the latter option is not very rational, since an individual sketch will cost more than the entire purchase of materials.
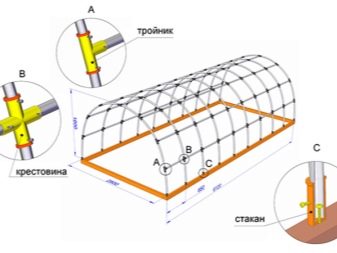
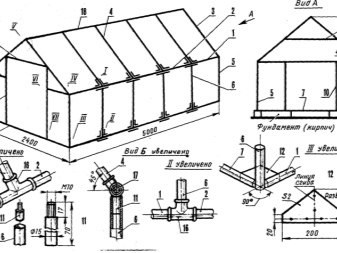
- It is necessary to immediately prepare all the necessary materials and tools. For this, a plan was drawn up: it reflects the location of all profiles and parts, all screws and self-tapping screws, as well as the fixing points of the cladding material. With this information on hand, you can buy everything you need.
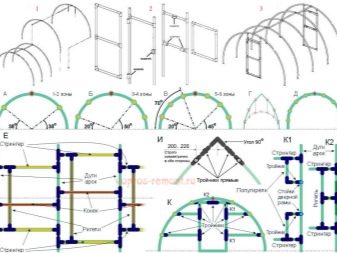
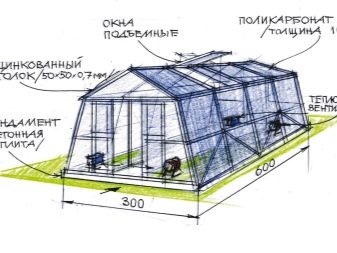
The preparation must be thorough. The quality and speed of greenhouse construction in the future depends on how conscientiously it is carried out. Careful preliminary work allows you to design a more serious structure, which has not only a door, but also vents for ventilation. Also, a scrupulous study of details is needed when the greenhouse is not made for seasonal use, but for year-round growing of vegetables and berries. Only then will it be possible to provide for all the nuances, including the correct position of the greenhouse relative to the cardinal points.
Layout
The first step is to decide what size the greenhouse will be. It depends not only on the needs, but also on the size of the site. For example, on an area of 100 sq. m, you can easily fit a large greenhouse, while for a small area, only a mini greenhouse is suitable. However, it is worth remembering that polypropylene pipes are still a material that was not originally intended for construction, so you should not make extra-large structures, for example, 8 m wide and 15 m long.For such purposes, it is better to choose a less flexible material.
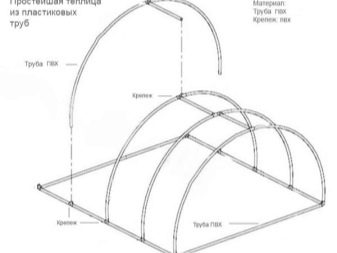
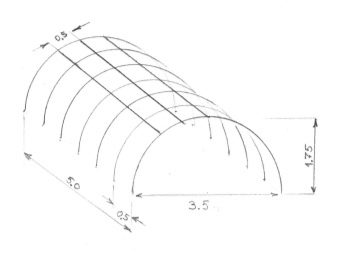
The optimal solution is a greenhouse with dimensions of 2.5x4 m and a height of 1.9 to 2 m. You should not do it below, since it will be impossible for a person to straighten out there, which will greatly complicate the work of caring for growing crops. Such dimensions will make it possible to plant several beds of various crops in the greenhouse.
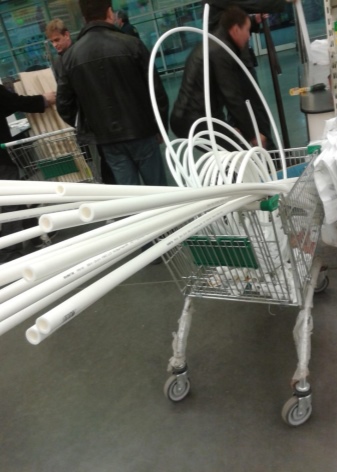
For construction, you need to choose the right cross-section of polypropylene profiles. For this, multilayer pipes with a diameter of 20–32 mm are suitable, the internal section of which is 16 mm.
The length of polypropylene pipes may vary, but for the construction of a greenhouse, options are needed in lengths from 2 to 7 m.
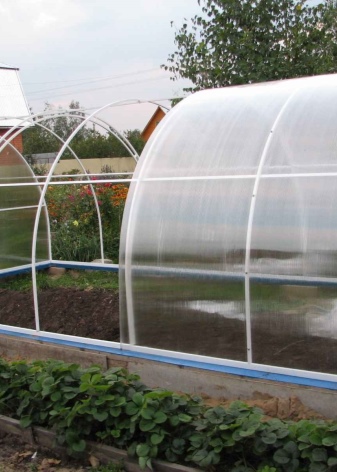
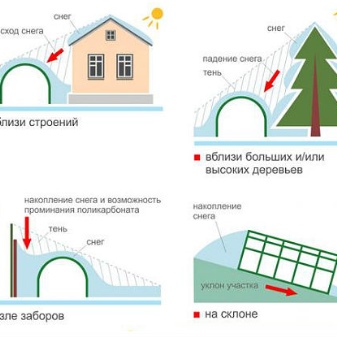
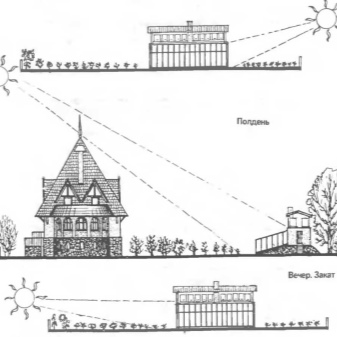
As for the choice of a site for construction, it must meet several requirements.
- Lack of shadow. You should not put the greenhouse in the shady zone, otherwise you will have to abandon the cultivation of light-loving crops: peppers, cucumbers, tomatoes.
- The ability to freely enter and exit the greenhouse. Do not position the door so that it rests against the flower garden or other beds. Leave a small space for convenience.
- The site should not be windy. Inquire about how the winds blow in your area and position the structure in that direction. This is especially true for greenhouses with pitched roofs.
Development of drawings
The drawing is needed not only in order to know exactly how the greenhouse will be located and what is needed for it. The project is also important for budgeting, because knowing the number of elements and their cost, you can quite accurately determine the price for the entire homemade greenhouse.
You can draw up a layout diagram yourself, remembering drawing lessons from the school curriculum. To simplify this process, there are many 3D modeling programs, some of which are free. Some can be used directly online.
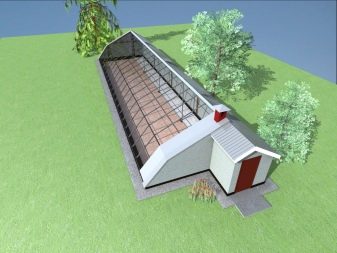
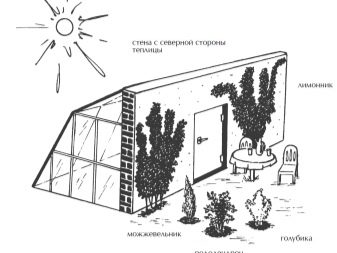
The easiest way is to take a ready-made drawing. In the same place, as a rule, the calculation of parts, connecting elements and materials for the coating is immediately provided. It seems possible to select a greenhouse of any size and height, including those whose frame requires reinforcement through reinforcement.
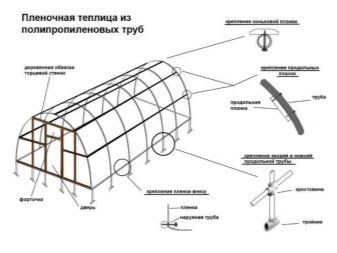
Next, a drawing of a film greenhouse with a width of 3.6 m, a height of 1.9 m and a length of 10 m will be considered.The diagram is shown in the following figure:
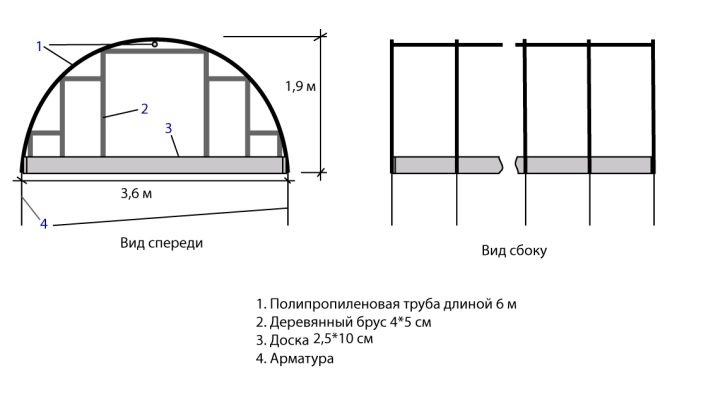
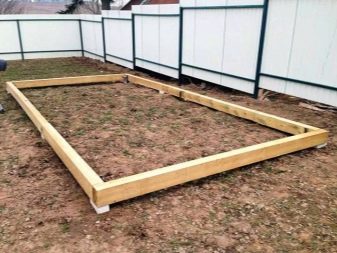
As you can see, here the greatest difficulty will be the drawing up of the lathing for the end part, since many elements are provided. The drawing shows that a foundation is not provided for such a greenhouse, but there is a wooden screed at the bottom, which makes it possible to better fix the structure on the ground.
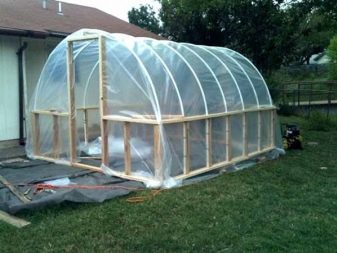
It is worth noting that the ends of greenhouses with a polypropylene frame are also often decorated with wooden beams, and this case is no exception.
Preparing everything you need
First, you should prepare the materials from which the greenhouse will be built.
These include:
- pipe with a diameter of 20 mm and a length of 10 m;
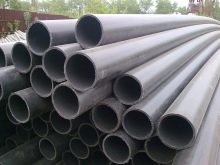
- 15 pipes with a diameter of 20 mm and a length of 6 m;
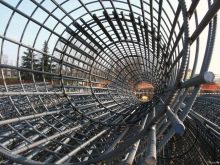
- 34 composite rebar with a diameter of 18 mm and a length of 75 cm;
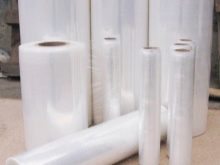
- polyethylene heat-retaining film for greenhouses 6.5x15 m (a reinforced version with a thickness of 0.5-1 mm is ideal);
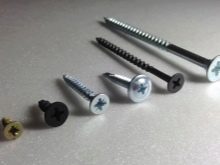
- self-tapping screws for wood 35 mm long;
- self-tapping screws for wood 50 mm long;
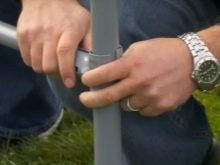
- devices for fixing pipe overlaps. You can use special plastic ties;
- 28 wooden slats 10x20 mm, 3.6 m long;
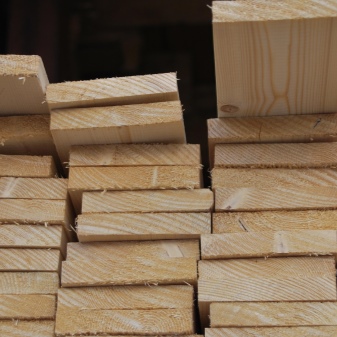
- 2 screed boards with a section of 100x20 mm and a length of 3.6 m;
- 2 boards for screed 100x20 mm, 10 m long;
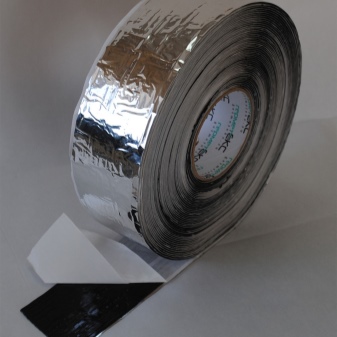
- 3 m of assembly tape.
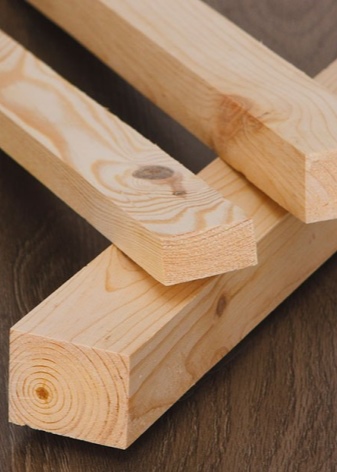
Parts for the end frame must be purchased separately. Here you will need wooden slats with a section of 30x40 cm or 40x50 cm.They will be needed in a certain amount and a certain length:
Length, cm | Quantity, pcs. |
45 | 2 |
60 | 4 |
123 | 2 |
140 | 2 |
170 | 2 |
360 | 2 |
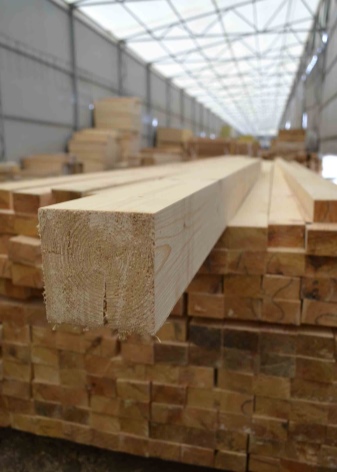
Also, self-tapping screws for wood 50 mm long will be needed here.
The work will also need the following tools:
- hacksaw for sawing polypropylene pipes;
- screwdriver to facilitate the fastening procedure;
- metal scissors for working with small parts;
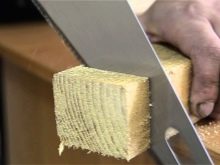

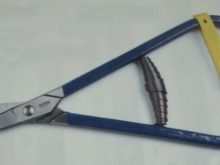
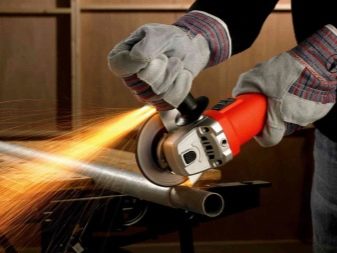
- grinder for cutting large parts;
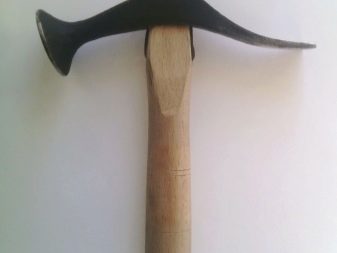
- hammer for driving reinforcement and leveling the screed;
- mounting tape and building level for measuring and aligning the frame relative to the horizon;
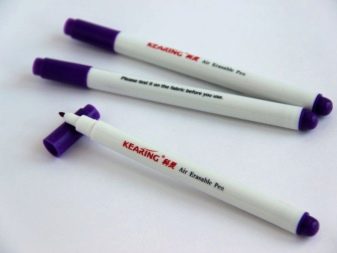
- marker for marking by details.
No hinges or fittings are required for the above frame.

Making a greenhouse
Step-by-step instructions for making a greenhouse for the given sample include several basic steps.
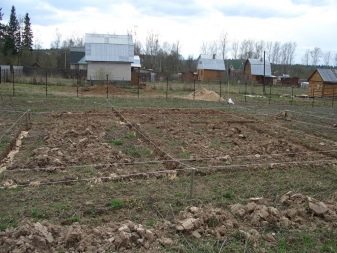
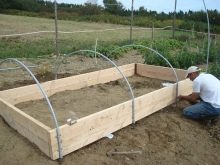
- The plot for the greenhouse is leveled, marking is done. For this, reinforcement is driven into the corners of the future structure to a depth of 40 cm. The corners are checked with a level.
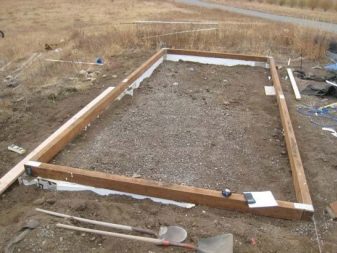
- The screed from the boards is fixed to the reinforcement. The rectangle is checked for evenness using a cord pulled diagonally. If they are equal, then everything is in order.
- On the long sides outside the screed, pieces of reinforcement are nailed in with a step of 75 cm.You should get 15 pieces on each side.
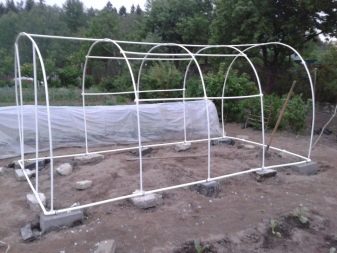
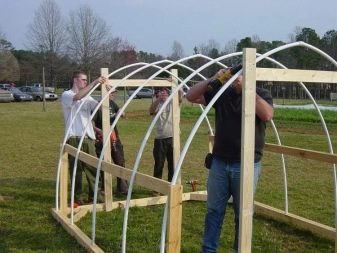
- The frame is being formed.A pipe is put on each of the fittings, bent and put on the fittings from the opposite side.
- To prevent the pipes from flying off and pushing the reinforcement out of the ground, they must be fixed. To do this, cut out 30 pieces from the mounting tape, 10 cm each. They attach the pipe to the screed, fixing the tape on both sides of the pipe with self-tapping screws.
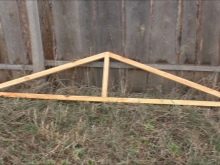
- Next, the ends are collected from wooden beams. In order to correctly draw up a drawing, you need to use a drawing. So, the upper beams will be 60 and 123 cm long for the middle, vertical - 45, 140 and 170 cm, if you start from the edge. The evenness of the corners is checked by the level.
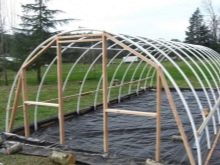
- After the ends are fixed to the screed, you need to attach a 10 m long pipe in the middle of the roof of the structure for greater rigidity of the entire frame. To do this, you need to use plastic ties.
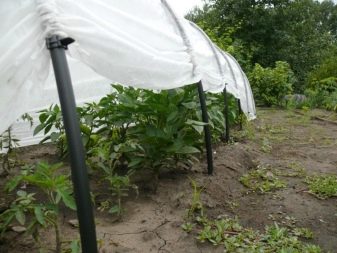
- Next, the greenhouse is covered with foil. The film is nailed to the bottom of the screed by placing wooden slats on it. After the film is fixed in a taut position, it is also pulled on the ends, and then fixed at the bottom in the same way.
- A hole for the door is cut out at the end a little less than the actual one. A rectangle of wooden blocks is fixed on hinges, already covered with film.
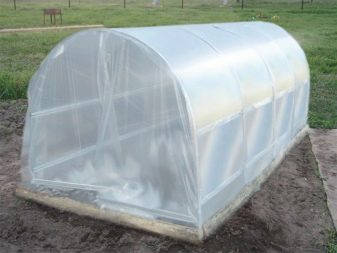
Owners' opinions
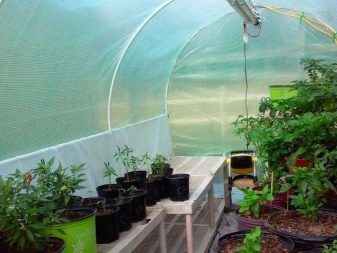
Reviews of owning a greenhouse made of polypropylene pipes are mostly positive. And you can build a greenhouse, and fasten, and solder the parts using improvised means, without resorting to buying or renting expensive equipment. Cheapness is the first positive quality that all gardeners pay attention to.
For many, an additional plus was the ability to do something for the garden and vegetable garden with their own hands.
For old people who are no longer the same strength, the polypropylene option is ideal due to its low weight: you do not have to lift weights, straining your back.
Some people said that it is possible to make such a greenhouse even without a preliminary drawing, that everything is clear anyway. Others did not agree with them, since they were building a year-round structure, making a simple foundation for it. This is especially true for those who performed the greenhouse in the form of an extension.
The only drawback that the owners complain about - this is that the frame cannot always withstand the snow load, especially if the precipitation is heavy. However, this problem can be solved very easily. You can either clean the greenhouse roof on a regular basis or remove the film for the winter. The second option is only suitable if the greenhouse is seasonal.
Examples of ready-made greenhouses
The complex design of the greenhouse, which does not provide for the presence of a door, is only suitable for seasonal cultivation, since by opening the greenhouse in this way, all the heat is released outside.
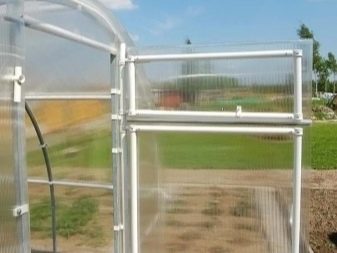
The use of fittings and hinges opens up a wide scope for the design of various greenhouse structures. The frame can be reinforced by fixing horizontal pipes, which are fastened with just connecting elements.
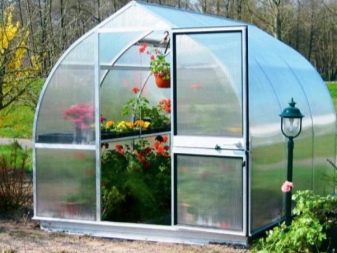
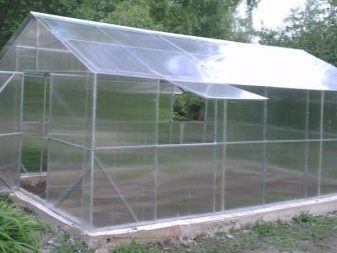
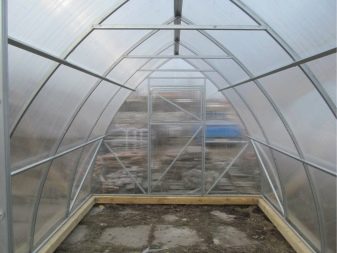
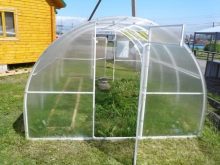
Polycarbonate is an excellent material for wrapping polypropylene frames.
It is much harder than film, but it lets in the sun's rays at the same level.
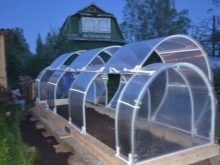
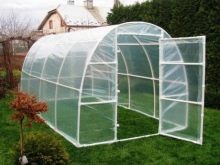
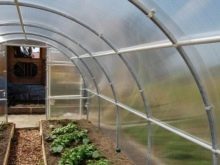
A greenhouse in the form of a house made of polypropylene pipes will perfectly fit into any surrounding landscape. Its design is somewhat more complicated than that of an arched one, however, with a clear drawing, everyone can create something similar on their site.
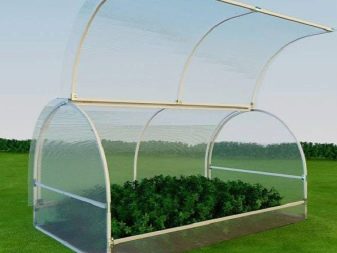
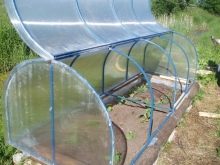
When constructing low greenhouses, you need to think not about how to enter the greenhouse, but about the possibility of cultivating the beds and harvesting. The polycarbonate "lid" is ideal for such cases.
The ends can be made not only from wood, but also from polypropylene pipes of greater rigidity. The result will be just as good.
Useful Tips
Experts involved in the construction of greenhouses at a professional level, shared several secrets of building greenhouses.
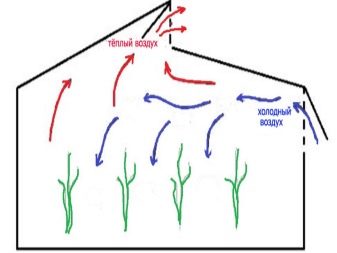
- When constructing a greenhouse structure for year-round use, it is worth taking a closer look at more complex drawings, on which vents are provided. This will ensure optimal air circulation in the greenhouse. Plants will feel more comfortable and grow better.
- When placing a greenhouse on the site, you should try to ensure that it is oriented from north to south. So it will be constantly illuminated by the sun's rays.
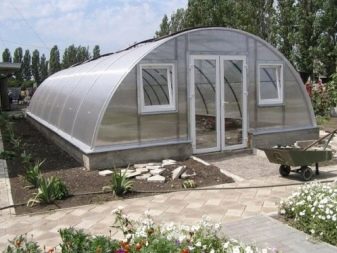
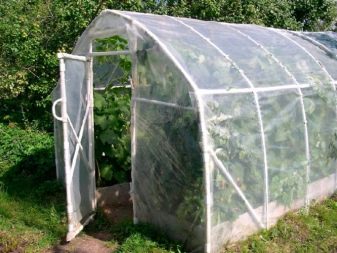
- If possible, try to build a greenhouse on a foundation. An old base from a barn or other utility room will do. This will reduce the risk of the greenhouse being blown away by a strong gust of wind. After all, it weighs quite a bit.
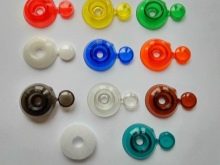
- If the film or polycarbonate is fixed with screws, it is worth picking up samples with thermal washers. They will ensure complete tightness at the attachment points.
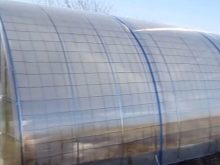
- When working with polycarbonate, do not remove the protective film from it until the entire greenhouse is assembled. This guarantees its good appearance after construction is completed. There will be no scratches or scuffs on it.
For information on how to make a smart greenhouse with your own hands, see the next video.







The comment was sent successfully.