How to watch IPTV on TV?
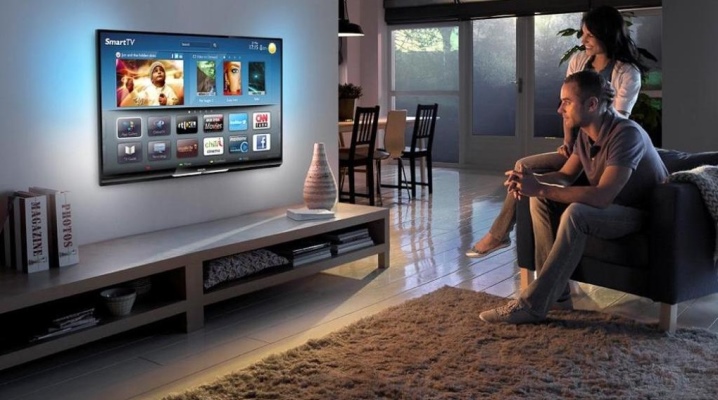
The widespread adoption of modern technology is forcing people to adapt to it. And it gives rise to quite a lot of unusual problems that have not arisen before. One of them is how to watch IPTV on TV without interruption.
What it is?
First, you need to figure out what IPTV is on a TV. This is a significantly expanded television in comparison with analogue broadcasting. The signal is transmitted using the IP protocol. The total connection speed for reliable operation should be at least 50 MB per second. At the same time, IPTV should not be confused with streaming TV channels transmitted directly to customer equipment.
In this case, use:
- buffer data processing software;
- video servers;
- information security systems;
- programs for processing received and transmitted content;
- traffic quality control systems and the state of electronic equipment.
Different administrative protocols are used. So, using UDP, RTP are transmitted in streaming mode, respectively, audio and video files. For the broadcast itself, the RTSP protocol is used. Connecting to remote interactive services follows the usual HTTP standard (which is quite predictable). But for such "exotic" as multicast streams, the IGMP standard is responsible.
IP TV allows you to access an almost unlimited number of channels. Users will be able to record and rewind broadcasts in real time. The picture will fully comply with the HD standard. The choice of the audio track has been implemented, in addition, multichannel sound is used.
But it must be borne in mind that IPTV works extremely poorly with insufficient connection speed.
Wired connection and setup
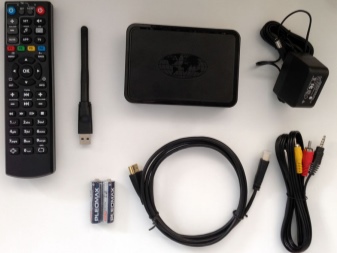
To watch TV using the IPTV standard by connecting it to an old TV, you will need to use a receiver... Of course, we are talking about those TVs that do not support Internet connections and / or signal transmission via USB connectors. Much easier for the owners of modern technology that meets the Smart TV standard.
You can connect the IPTV box to the TV only after turning it off. The first step is to connect the HDMI cable to the connectors of the set-top box and TV receiver. If an RCA cable is used for the connection, connect it to the audio output. Next, you need to stick the "tulips" into a suitable socket on the TV. An Ethernet patchcord must be plugged into one of the LAN ports on the router. Its other end is connected to the receiver unit. Only after that you need to connect the power supply.
The next step to be taken is opening the tuner interface using the Setup button... Through the section related to advanced settings, the parameters of communication and video signal playback are assigned. Then they download VLC Media Player, an m3u file, dropping such files onto a USB flash drive. Next, the USB menu is opened, and the player's installation file is launched from the drive. Once the installation is complete, open the player.
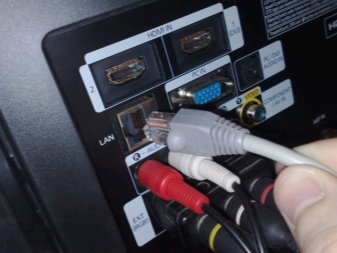
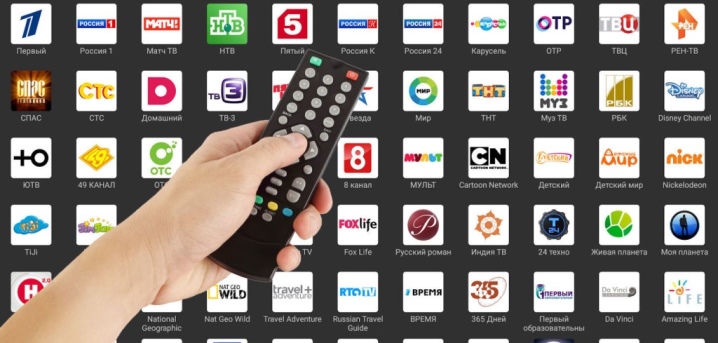
Using its capabilities, you will need to install a playlist by selecting the required file on the flash card. Further, the system shows the list of channels with a general list. You can start playback of a channel by clicking on its icon. In order for the "Video on Demand" mode to work and to use the TimeShift option, it is necessary to set the time and date correctly through the advanced settings. When using a wired connection, it is very important to correctly specify the method of connecting to the remote portal.
Then usually:
- choose "Auto" (DHCP);
- check the status of the Ethernet connection through the properties tab;
- prescribe the necessary parameters of NTP servers;
- customize the video;
- set the screen resolution;
- set a suitable resolution on the video output;
- save the settings and restart the set-top box or media player.
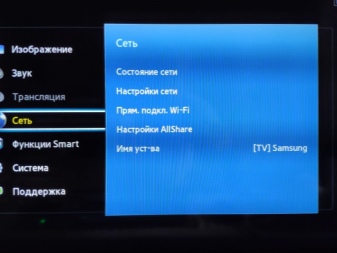
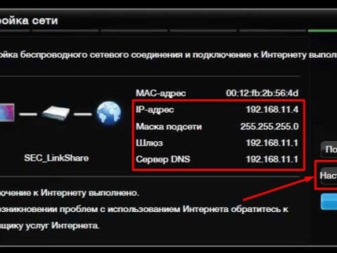
Wireless sync
But not everyone wants to use wires. The vast majority of people would prefer to simply connect via an IPTV router, and then use the broadcasts calmly. Such a mode may imply the distribution of a signal even to several TVs at the same time. True, then it will already be necessary to use modern television receivers. Only with the Wi-Fi option, they can work stably in this mode.
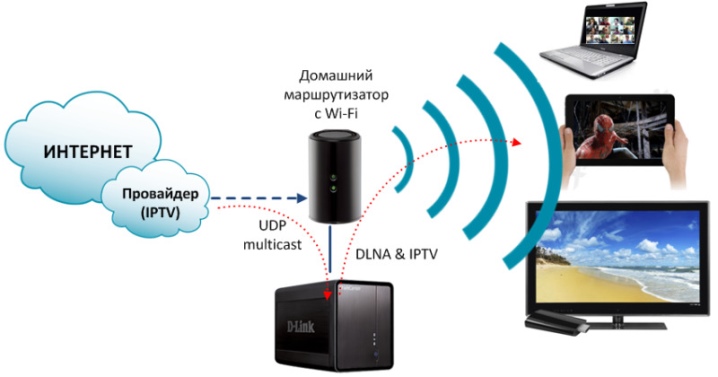
Consistently:
- are included in the section on connecting to a Wi-Fi network;
- choose the necessary one among all the lines;
- enter a password;
- confirm the desire to connect.
Additionally, you need to look at the nuances of connecting IPTV on television receivers of different brands. On LG TVs, they choose Peers TV, Vintera TV, SS IPTV. Of course, you only have to download one of these players. Then they register on the LG Content Store resource.
Having chosen a suitable player through the market, they confirm the desire to install it.
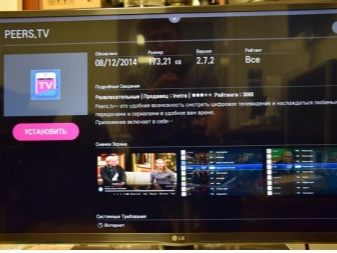
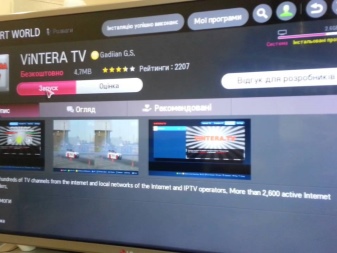
The situation is simpler when using LG Smart TV receivers. In this case, you only have to open the installed application. The channels will be displayed on the screen immediately. If they are not enough, you will have to additionally download the playlist in m3u format.
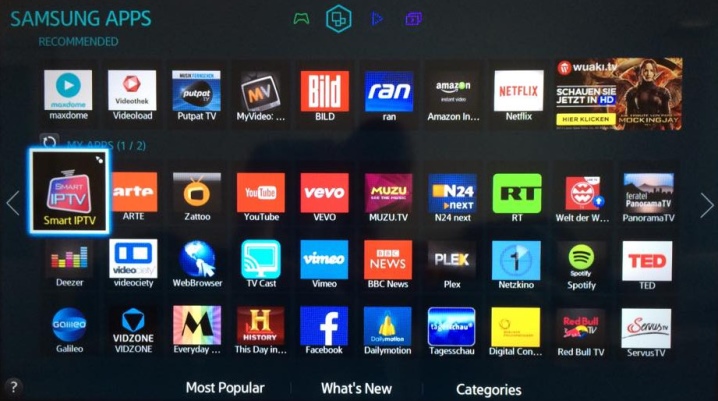
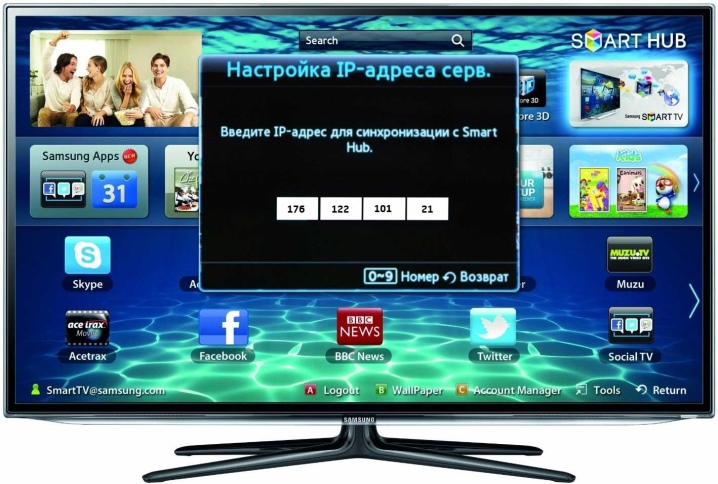
Owners of Samsung TVs need to act a little differently. The required network state is set through the settings menu. It should be in the "IP Settings" position. Then the parameter 85 17 30 89 is driven into the field with DNS settings. To use paid subscriptions, you can use special applications nStreamPlayer, Divan TV. The Samsung Apps store contains separate programs for TV channels and players with pre-installed lists.
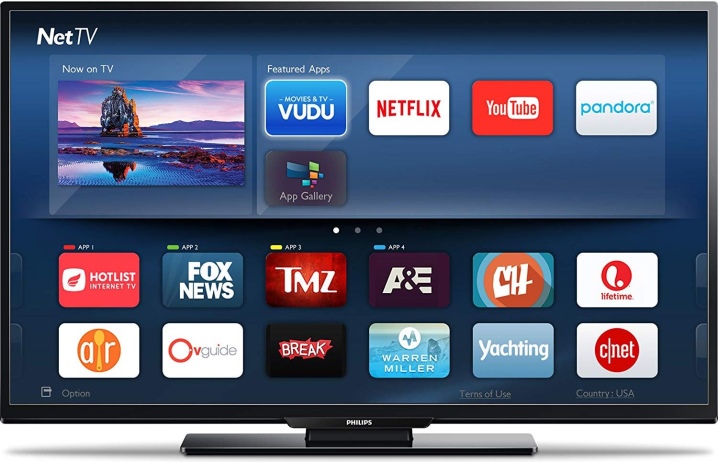
But quite a few consumers choose to buy Phillips TVs. In this case, proceed as follows:
- through the configuration menu, go to the network connection and the "wired" subsection;
- set a static address when configuring the network;
- in the DNS1 line of the IP configuration section, the value 178.209.065.067 is prescribed;
- select Net TV on the home screen, and then point to one of the two applications - Ivi or Stream;
- add it with a separate button.
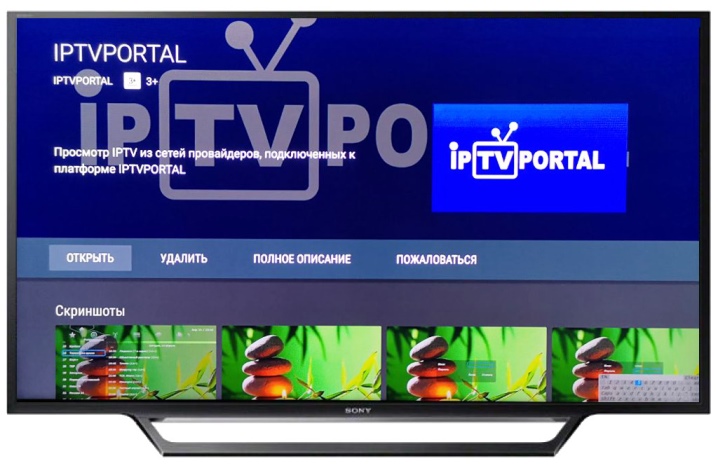
Owners of Sony Bravia TVs will have to activate the IPTV option using the built-in proprietary browser... The URL Loader is opened through the tools tab. Introduce operatv. obovse. ru \ 2.5 \ and follow this link. Then a whole page becomes available, where there are labels for TV channels, films and series.
But you can do it differently:
- download PC-Player TVIP;
- move the file to the flash card;
- launch the program on TV;
- add a playlist;
- choose channels from thematic blocks.
Possible problems
The practical advantages of IPTV in comparison with analog broadcasting are not worth mentioning again. But sometimes even this remarkable achievement of human genius slows down or experiences other failures. Many problems can be successfully resolved without costly service calls. When the image has completely disappeared, and there is not even sound, you need to first of all check whether the electrical network is working, as well as whether all the necessary components are connected correctly.
Sometimes the cause of the failure is the incorrect setting of the video input in the settings... If the adjustment does not help, or the settings are correct, it is best to try swapping the cables. When tulips are used, the colors of the plugs and connectors may be discolored. Enumeration of connection options helps to fix the matter.
It is also worth checking if the router is working, if it distributes the Internet.
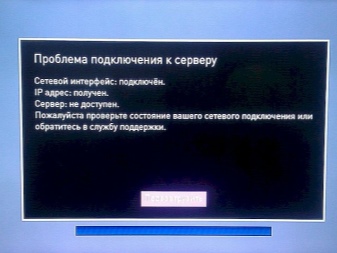
When the seeding fails, the router needs to be rebooted. After the final download, the Internet is checked again by phone or by computer. Connecting to the Internet via a wired channel means you need to check for a link. It is expressed in the blinking of a light bulb near the wire socket.If such approaches did not give the desired result, you will have to disconnect the set-top box from the remote control and remove its power cable for a few seconds.
Sometimes sound and picture are missing on separate channels. This may be due to paid streaming status. You will have to enter the channel list and see if there is a lock symbol opposite them. If not, you should check your internet connection speed. A wired connection is much better than Wi-Fi.
You will learn how to watch IPTV on TV in the next video.


I connected iptv - everything works fine.
The comment was sent successfully.