How do I connect a TV to a computer instead of a monitor?
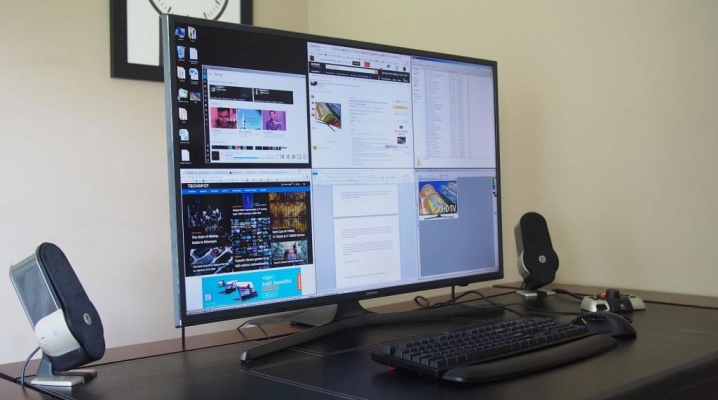
If you connect a regular TV to a computer instead of a monitor, you will be able to watch your favorite films and TV shows on a large screen, which significantly improves the quality of the picture. The connection of two devices does not cause any particular difficulties and is carried out in several ways without the involvement of a specialist.
Advantages and disadvantages
Before connecting a TV to a computer instead of a monitor, you need to understand all the advantages and disadvantages of both options. Objectively, monitors are much more comfortable than screens even with the widest possible diagonal... In TVs, it is impossible to adjust either the height or the angle of inclination, unlike computers. A special bracket corrects the situation a little, but this design requires enough free space, which may not be in the room. In addition, even the smallest TV has a lot of weight and outstanding dimensions, so it simply won't work to put it on a compact computer desk.
There must be a gap of 50 centimeters from the computer screen to the working person., but in a situation with a TV screen with a diagonal of more than 30 inches, this distance has to be increased due to the impossibility of simultaneously covering the entire area with a glance. This rule, again, is not always possible in small spaces. If the TV is used for games, then the constant movement of the gaze from one point to another greatly tires the eyes.
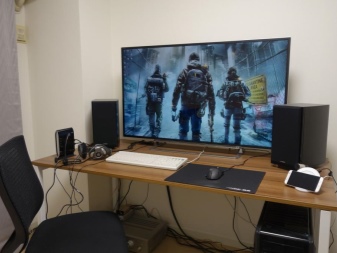
It is impossible not to mention Input Lag - a delay in signal processing that occurs when using a TV as a monitor. This is especially noticeable when connecting computer and online games, and therefore their fans need to pay attention to this parameter. Input Lag, measured in milliseconds, should not exceed 40. By the way, the pixel response time in modern models does not play a special role.
If we talk about the unambiguous advantages of the TV in relation to the computer screen, then we are talking about a better picture... TV wins in such aspects as color palette, functionality, customization and refresh rate. The TV can be simultaneously connected to both the computer and the antenna. The modes will change by simply pressing the button in a couple of seconds.
In addition, the presence of good speakers is a clear advantage.
Which TV to choose?
To choose a TV instead of a monitor, you need to make sure that it provides the proper picture quality and that the available backlight is LED. Since plasma panels are rapidly losing their popularity due to their short service life, preference should be given to LCD displays. Liquid crystal matrices will provide a high screen resolution, which, in turn, will significantly improve the picture quality. In addition, they usually provide FullHD support and have a convenient and understandable menu. A wireless monitor that can connect to a network using Wi-Fi is a good choice.
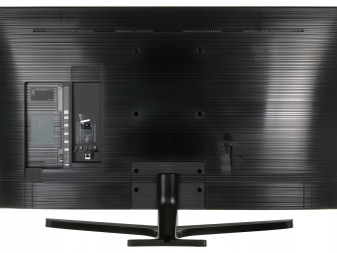
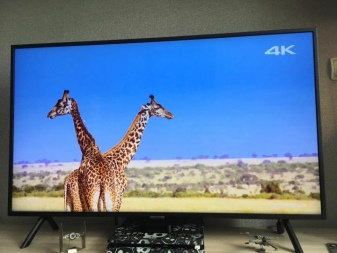
One of the most successful options for games is the model Samsung UE50NU7470U. Despite the fact that the rather large screen has a diagonal of 49.5 inches, its operation is very comfortable. The device can connect to a computer in several ways, including by connecting a Wi-Fi and a LAN cable. Dynamic Crystal Color technology and 4K resolution ensure vivid and detailed images. Such a TV weighs quite a bit - about 13 kilograms.
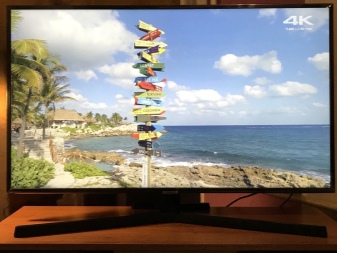
A good option for both gaming and watching is a TV. Toshiba 32L5780EC. Responsible for the image quality is a diagonal of 32 inches, as well as a screen resolution of 1366 × 768. Convenience of connection is provided by 2 connectors for an HDMI cable, as well as 2 USB ports. The viewing angle reaches 178 degrees, and LED-backlighting and LEDs on the sides are responsible for the absence of glare at the edges. Other advantages of the model include high quality sound, childproof and sleep timer.
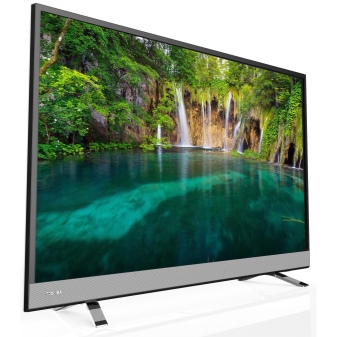
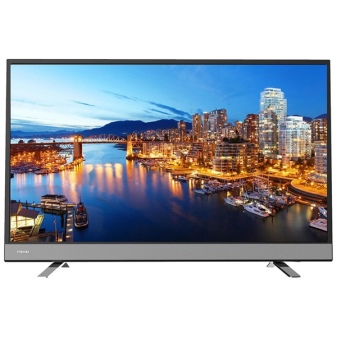
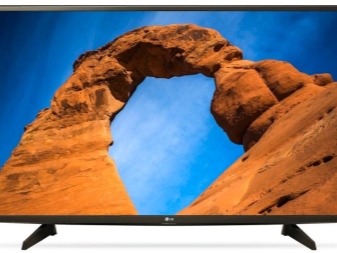
Television LG 43LK5100PLB has a diagonal of 43 inches and a resolution of 1920 by 1080. Full HD function creates an immersive effect on what is happening on the screen. The TV can be easily connected both to the PC system unit and to a specialized game console. High-quality sound is provided by the Virtual Surround system. Moreover, in the presence of a special screen coating that protects against glare.
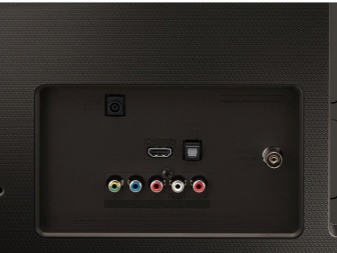
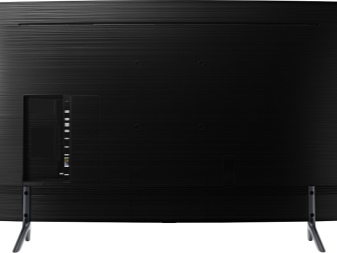
Another suitable TV is considered Samsung UE40NU7170UXRU, whose diagonal is 49 inches. The screen can be connected to the system unit in several ways, moreover, the device has a built-in Plug & Play function.
It will be possible to control this TV not only with a regular remote control, but even with a smartphone.
Step-by-step instructions for connecting
In order to turn your TV into a computer screen, you should start by purchasing the optimal model. For frequent and varied use it is better to use a model with a diagonal from 26 to 27 inches, as well as a resolution in the range from 1920x1080 to 2560x1440. There are several ways to make "transformation", both wired and wireless. If you have a cable, the TV is combined with the system unit via VGA, DVI or HDMI. The wireless method is to create a local area network or direct Wi-Fi connection. It is also possible to use special adapters.
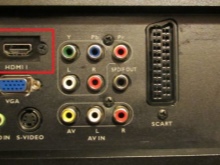
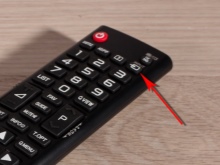
An HDMI cable connection is often chosen to produce high quality video and clear sound. For its implementation, it is necessary that the corresponding connector is present both on the TV and on the PC video card. When the first plug of the cable is inserted into the computer connector, and the second into the TV port, press the Input button on the remote control, and then activate HDMI as the main source. If everything is done correctly, the screen will blink a little, and then the desktop of the connected computer will appear on it. In case of any display errors, you will need to adjust the desktop accordingly.
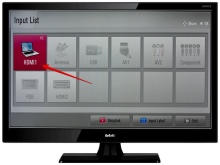
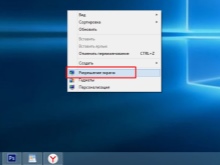
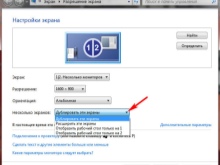
To do this, just right-click on any empty fragment of the desktop, wait for the menu to appear and follow the "Properties - Parameters" chain. Pressing the "Advanced" button will allow you to select the required resolution - as a rule, the maximum is set. The "Screen Settings" tab allows you to make the TV screen the main one, and the computer screen additional. If the TV does not transmit sounds, then you need to right-click on the speaker image in the notification bar... Going to the "Playback device" menu, then you will have to select your TV in the list of connected devices, then right-click on it and confirm "Use as default".
Connection via VGA and DVI "Tulips" is carried out according to a similar scheme. To create a VGA connection, you need an appropriate cable. Typically, the first end of the cord is inserted into the corresponding connector on the graphics card, and the second into the port on the TV. You can also use a DVI-VGA cable if there is a need to simultaneously connect a regular monitor and a TV to the system unit. It is more convenient to connect a large computer using a DVI cable, which can provide high quality transmission.
It should be added that in addition to the VGA or DVI cable, you will need to purchase a special audio cable equipped with a standard 3.5 plug.
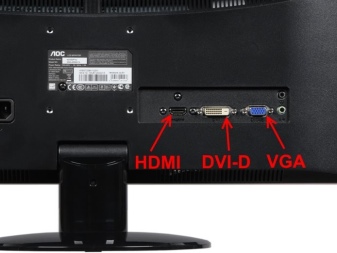
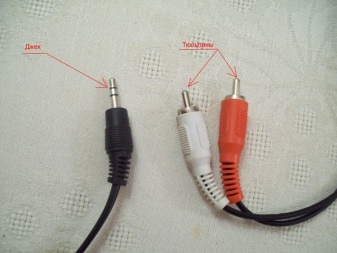
After plugging the ends of the cable into the appropriate jacks on your TV and computer, and plugging the audio cable into the output marked “Audio-In”, you need to turn on the computer and the TV. In the TV menu, VGA or DVI is selected as the main signal source. This can be done by pressing the Input button on the remote control.
The TV, originally equipped with a Wi-Fi module, can even be connected to a smartphone. Therefore, the easiest way is to connect both a personal computer and the TV itself to the home network using a router. If the TV does not have a built-in module, then an additional purchase of an adapter is required. However, you can sync both devices without it, thanks to Intel WiDi and Miracast technologies. For a successful WiDi connection, the PC must have an OS older than Windows 7 and the Intel Wireless Display program downloaded. Modern models, however, are most often sold with built-in Miracast support.
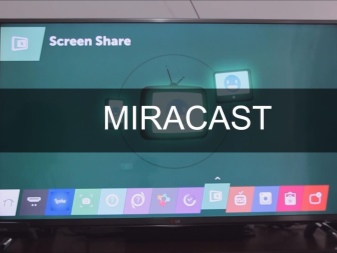
First of all, the required technology is activated on the TV - either WiDi or Miracast. Usually this function is initially enabled, but if not, then you will need to use the "Screen Mirroring" function. Further, in the case of WiDi, the Intel Wirelles Display utility is installed on the computer. Having opened it, you should run the "Wireless Monitor" command, which allows you to create a connection.
During the connection, the program will also require you to dial the security code, which will appear on the TV monitor. If we are talking about Miracast, then the Charms bar will need to be displayed on the desktop. Going to the "Devices" section, you need to click on "Projector", and then start the "Add wireless display" function.
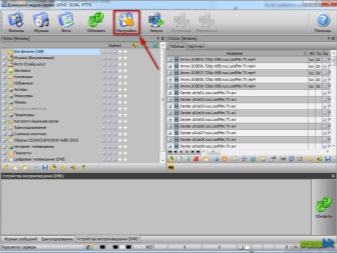
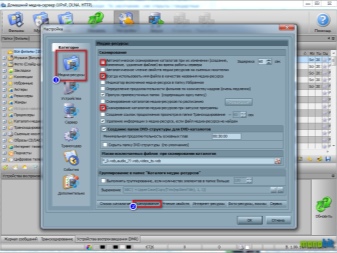
Connecting your computer and TV over a local area network will require special software. First of all, the user will need to download and configure the DLNA server, which can be done using a licensed program called "Home Media Server". After installing the software, you need to change some of the settings, and connect the TV itself to the system unit using a LAN cable.
It is better to turn off the TV before starting the setup.


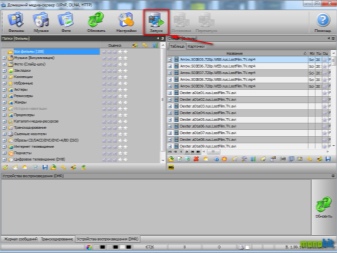
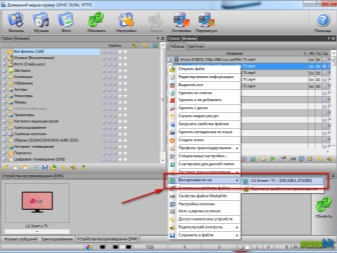
Then the software starts up on the computer. Having opened the "Settings" section, you need to go to the "Devices" tab, and then start the search by clicking on the button. After completing the scan, the program will show all available devices, from the list of which you need to find your TV. Clicking on its model name will confirm the connection to the media server. Next, the user will need to reopen the "Settings" item and go to the "Media resources" section.
Clicking on the "Add" button and selecting the required folders on the hard drive will create access to them from the TV side. The easiest way to do this is to select all local drives in the My Computer folder. When all the required files are available for viewing on the TV screen, you can start scanning by clicking on the "OK" button.
The configuration process ends by opening the media server, for which it will be enough to click on the "Start" button located in the main menu of this program.
It is important to add that it is better to disconnect both devices before making a security connection.... Only after the cables are inserted can you start the TV and select the connection mode using the Source or Input button. The connector selected on the remote control must match the connector to which the wire is connected. The cable type is determined by which connectors and ports are located on the back of the computer. Having determined further the type of connectors in the TV, it will be possible to understand what kind of cable is required. Marking the input signal on the TV will allow you to correctly configure this unit.
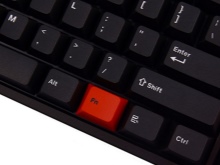
To adjust the image on the TV screen, you can try pressing the Display key. This key is quite often activated by additional pressing of the Fn key.In addition, sometimes the word Display itself is missing, and a corresponding image is present instead. In Windows 7, pressing the Windows + P combination opens the Project menu. This section allows you to select the required display mode for the contents of the desktop. In addition, in any version, you can right-click on an empty area of the desktop and bring up the "Screen Resolution" or "Properties" menu.
The Multiple Displays section allows you to choose how the images will look on the TV screen.
For information on how to connect a TV to a computer instead of a monitor, see the following video.


The comment was sent successfully.