How do I connect my TV to my computer via Wi-Fi?
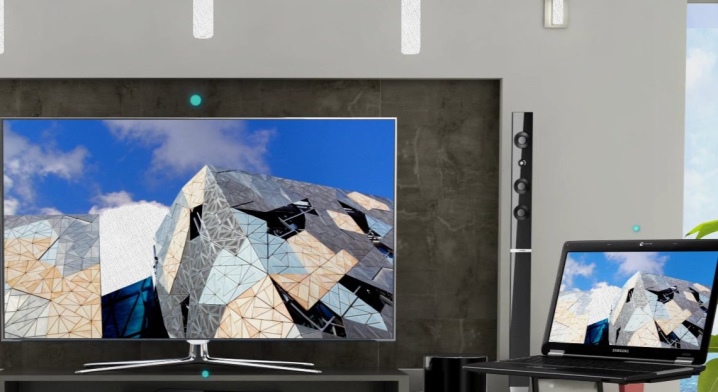
Modern technologies allow you to easily connect your TV to your computer. So you can watch your favorite TV show on the big screen or study photos and documents in more detail. The wired connection is increasingly losing its relevance. Wi-Fi technology is gaining more and more popularity, which made it possible to get rid of unnecessary wires.
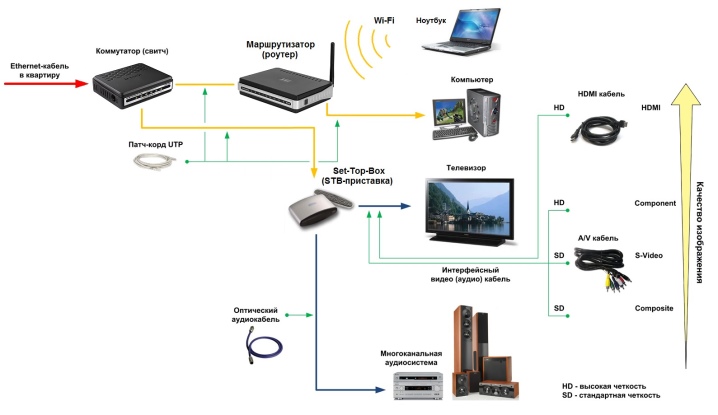
The necessary conditions
Before connecting the TV to your computer_, you need to make sure that both devices support the specified function. First you need to look at the parameters that the TV has. He must have a Smart TV mark in his passport. In expensive models, a built-in Wi-Fi receiver is also provided for viewing pictures from a computer on a TV.
With this technique, the connection takes place almost automatically. There is no question of any additional equipment. Older models may not have such a receiver. Because the technology was not used as often back then. But a USB connector has already been built into the design of TVs, which is used for various purposes. In this case, the signal receiving module can be connected through it.
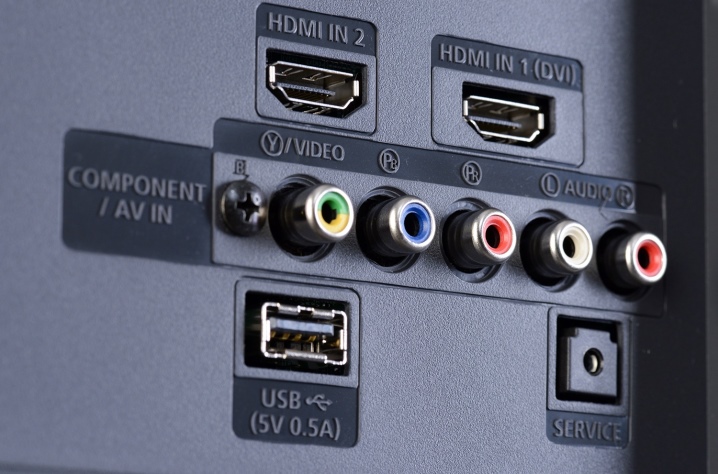
The model of such a receiver must correspond to the parameters that the TV manufacturer has endowed.
Local connection is carried out without the presence of Smart TV in the TV functions. If this is the case, then you can simply connect the two devices directly.
There is another option when using a Smart set-top box. Its main purpose is to provide the old TV model with the necessary functionality. Older computers also do not have a built-in Wi-Fi receiver. In this case, you will need to purchase a router to transmit a signal between devices.
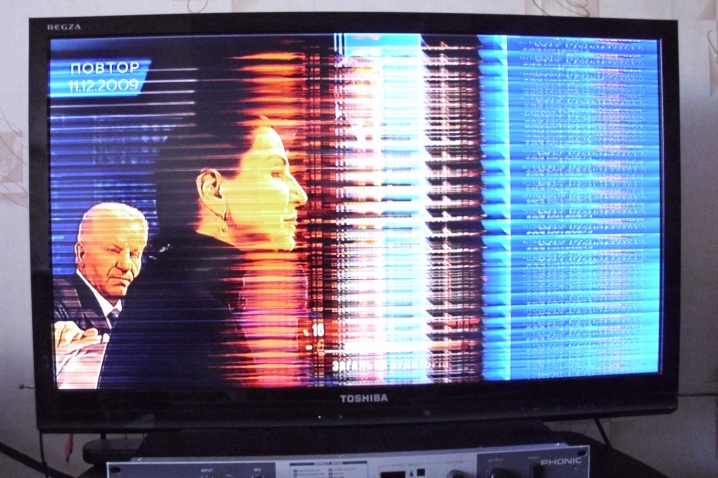
When buying an adapter, special attention should be paid to the bandwidth that it possesses. For the device to work correctly, an indicator of 100-150 megabits per second is required. When this condition is not met, a picture appears on the TV screen, which not only slows down, but also twitches. Watching a video, even a short one, is impossible in such conditions.
For most computers, you will need to install an additional program that allows you to connect the equipment to the TV. The version of the system (Windows 10 or Windows 7) does not matter. To understand whether the user has the Smart TV function at his disposal, it is necessary to study in detail what characteristics the manufacturer has endowed his TV with. This information should be on the box, so there is no need to dive into the instructions for the user.
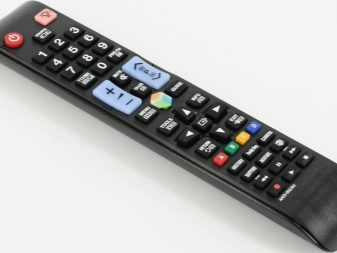
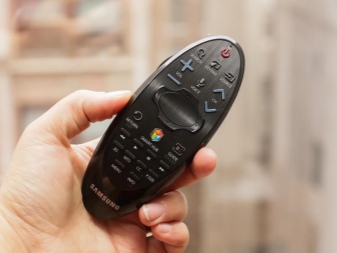
There is another way - to examine the control panel. It has a special "Smart" button or a house icon. In this case, you can safely use a wireless connection. The most difficult way is to drive in information about the TV model on the Internet and see if the equipment has the ability to use Smart TV.
Connection instructions
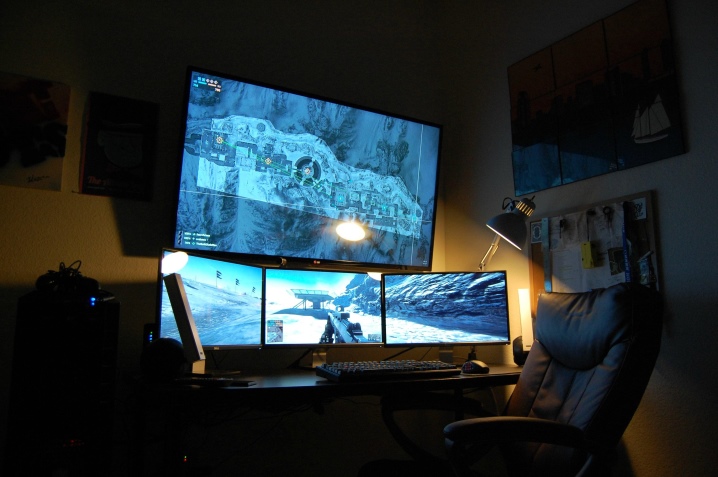
Today, the user has only two options for how one could connect a TV to a PC. In the first case, a router is used. The second is the cable. In a professional language, it is a wireless and wired connection. In some cases, you can use a TV screen instead of a monitor. It is so convenient not only to communicate on social networks, but also to play.
With customization
It will take some time to connect the computer with the setup. You need a computer that has a built-in router for signal reception and a DLNA TV. In this case, if the signal quality is poor, the picture arrives on the TV screen with a delay. Sometimes this difference can be up to a minute. The TV screen will show only what is played on the computer, it will not be possible to use it in this way as a screen mirroring.
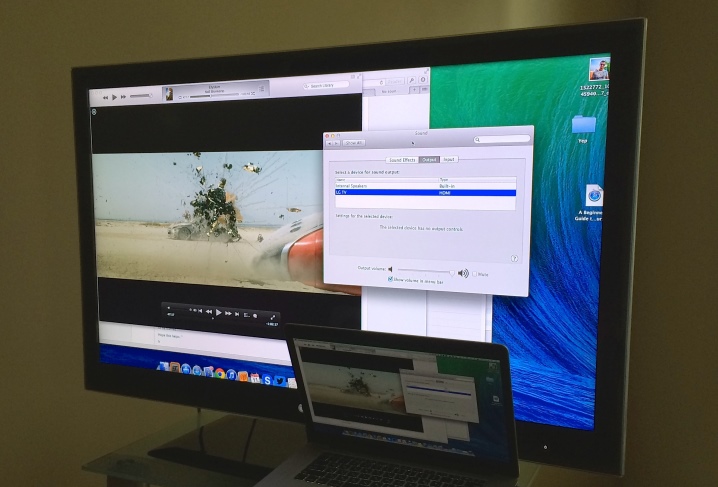
Experts remind that in order for the encoding process to become possible, a high-power processor is needed. Only he can qualitatively compress the signal for further transmission.
The weaker that element, the poorer the image will be. To optimize such latency_ it is advised to use Linux OS. This processor is characterized as powerful, multi-core. Used by users as a graphics adapter, especially popular in games. One of the advantages is a fast local connection to the network. Before connecting the TV to a computer in order to reproduce the picture, a number of settings will need to be made on it.
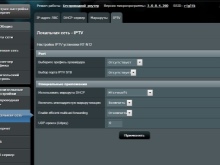
- Activate the router and set DHCP in the settings available to it. This mode is responsible for the automatic distribution of network parameters. Thanks to this, the TV itself will receive the necessary settings after it makes a connection. This is the easiest and fastest way.
- Optionally, you can set your own password to the local network, which will be requested every time you connect.
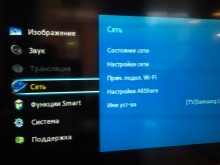
- On the control panel, enter the settings tab.
- The required section is called "Network". There is a sub-item "Network connection", and it interests the user.
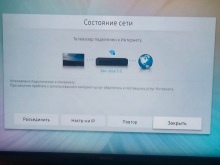
- The TV will display information about possible types of connection. Now you need to click on the "Configure connection" item.
- From the list provided, you will need to select a user-installed network.
- At the next stage, the password set earlier is entered.
- If the connection to the network was successful, information about this will appear on the screen. It remains only to click on the "Finish" button.
After the work done, we can say with confidence that the TV is tuned to receive and you can duplicate the picture. The next step is to install the media server on your computer. It is through it that data is exchanged between connected devices. Developers offer many programs that help create such media servers and synchronize devices with each other. One of them is Plex Media Server.
It's easy to download the installation file from the developer's site. Then the program is activated on the device. The necessary parameters are configured in the web interface.
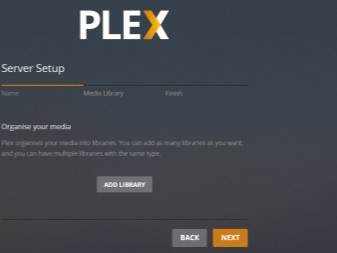

The user will need to go to the section titled DLNA. There is an item Enable the DLNA server, opposite it and you will need to check the box, which will allow you to use the application in the future.
Now content needs customization. This is a prerequisite when using software. The type of files being played should be noted by putting a plus in front of the video or photo. You can even create and run your own collection of movies for later playback. To do this, you first need to select the appropriate section, then type the name of the collection.
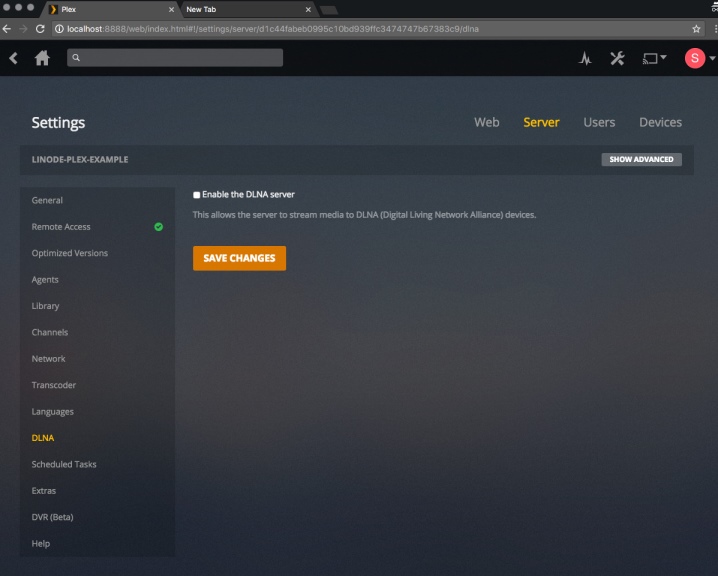
Now you need to go to the "Folders" and there click on the "Add" button. To create a collection, you need to drive in the path to the films that are located on the computer. This completes the software settings, now it's time to access the server that was just created by the user.
We return to the TV menu again. We are interested in the section "Media" or "External sources". Its name depends on which model is used. The server that we connected earlier will need to be selected as a source. If this is a collection of files, then open it and there we look for the desired movie according to the list. Once the download is complete, you can transfer the image to the big screen.
No customization
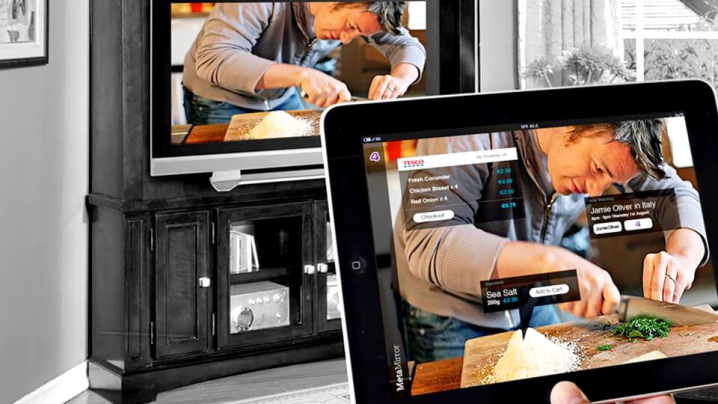
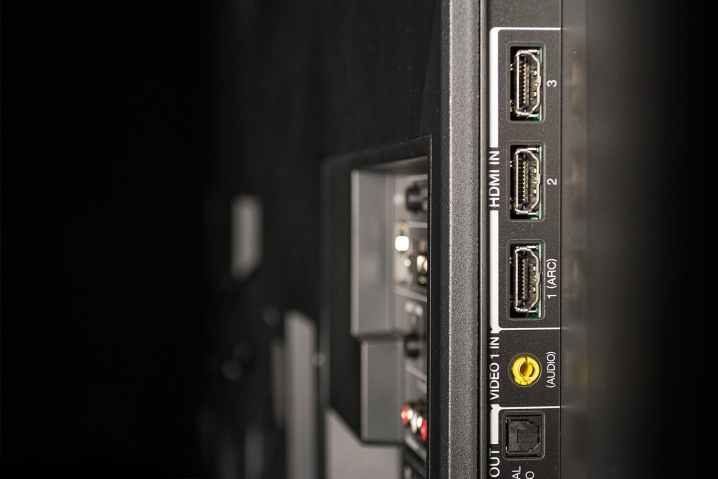
If the first option for connecting a TV to a computer may seem very complicated, then the second is quite simple. The only requirement is the presence of an HDMI port on the device. If it is not available, an adapter can be used. Such a receiver is not only compatible with any operating system, but also makes it possible to use a smartphone or tablet as a second connected device.
Another significant advantage is that there is no need to buy additional devices and improve the computer system. The connection is made immediately after connection.
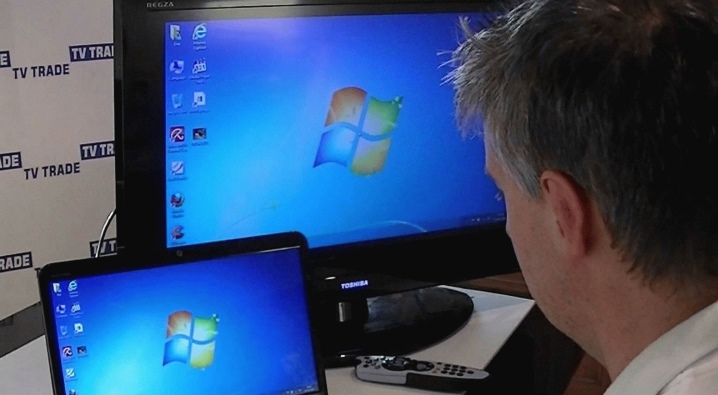
The only thing you need is Wi-Fi. Such a device operates on the Linux platform, which in turn is specifically aimed at displaying broadcasts of images in HD / FullHD format. In this case, there will be no problems with sound, and the picture is served in real time.
Another advantage, which is difficult to refuse, is that there is practically no delay in the arrival of an image from a computer to a TV. At least the person does not notice this. The device is programmed to support a variety of protocols through which wireless transmission is performed. This also includes:
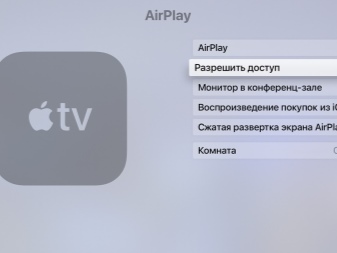
- AirPlay;
- Miracast (WiDi);
- EZCast;
- DLNA.
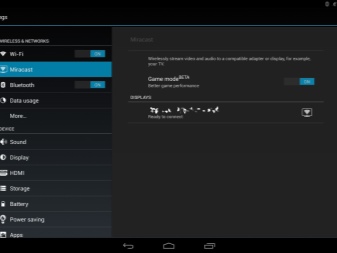
You can display videos and photos, as well as music files on the big screen. Everything works stably on Wi-Fi 802.11n. The receiver is equipped with an antenna for better signal reception. The Internet remains stable as the connection does not interfere with the use of the Internet in any way.
Setting up a secure connection is possible with the subsequent setting of a security code. If necessary, you can retransmit the image from the TV screen via the Web. Thus, when other users gain access, they will also be able to see the picture.
It is possible to configure playback through the installed device of any Internet channel. Each user decides for himself which connection option is the easiest for him. If you do not want additional costs, then you should choose this connection path.
How to connect without Smart TV function?
It will not be a secret for anyone that not everyone can afford to buy a modern TV equipped with additional functionality. In this case, the pairing between the two devices will have to be done in a different way. Now we are talking about the so-called WiDi / Miracast technology.
But this solution also has a number of disadvantages. One of them is the power of the computer. To enable data transfer, the technique must have certain parameters. Another drawback is that not all TVs also support the described technology. If it is not available, then you will need to purchase an adapter, only then it will be possible to manage the data transfer.
An additional device is connected to the equipment via the HDMI port. Moreover, such a connection without a cable implies a significant delay in the transmission of the signal to the TV screen.
Send instantly, even with a powerful computer, the video will not work. There is always a slight time shift.
But there are also significant advantages of the method used. For example, you can display an image from a site that is viewed in a browser. To set up your computer, you first need to download a special application called Intel Wireless Display. Its setting is as follows:
- at the first stage, the installation file is downloaded and the software is subsequently installed;
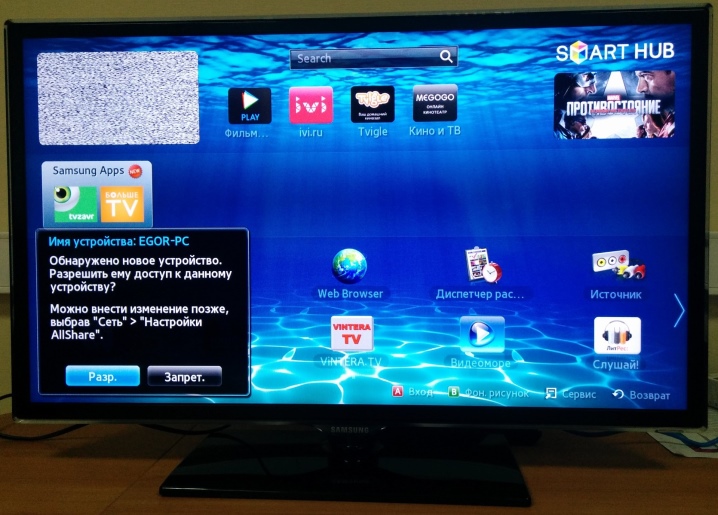
- the user must go to the TV menu and see if there is a Miracast / Intel WiDi function there, you can find it in the network settings;
- the TV automatically connects to the computer after the settings are made;
- once the connection is established, the content can be played.
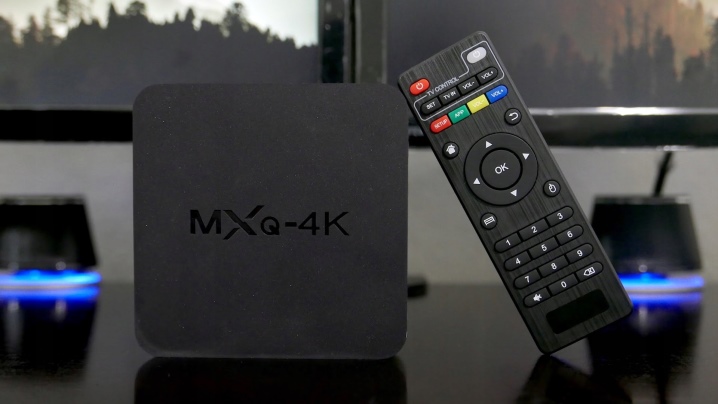
There is another possibility - to use smart consoles. The connection instructions are the same.
Possible problems
It also happens that the computer does not see the TV.In this case, it is advised to go to the network settings and make sure that the equipment is connected to the home network. After the steps taken, you will need to reboot the router. The TV must also be turned off and then turned on. If this does not help, then it is worth going through the instructions above again, perhaps one of the points was skipped.
How to connect a TV to a computer via Wi-Fi, see below.


The comment was sent successfully.