Do-it-yourself chair upholstery
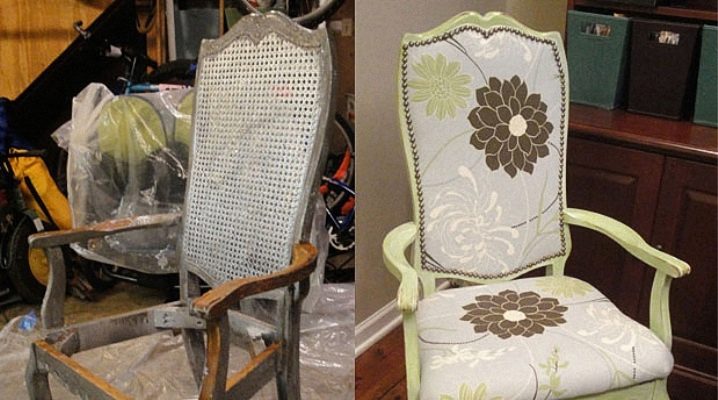
Old furniture in the house is usually depressing and depressing. Holes and scuffs in the upholstery, peeling paint and unfashionable design make you want to escort the annoying interior items to the nearest landfill. And let the new chair be flimsy and unreliable, but how many positive emotions from the renovation of the interior. But you can get much more pleasure by giving a second life to an old thing. Creativity is in each of us, and some tips will help you realize it.
Methods for restoring old furniture
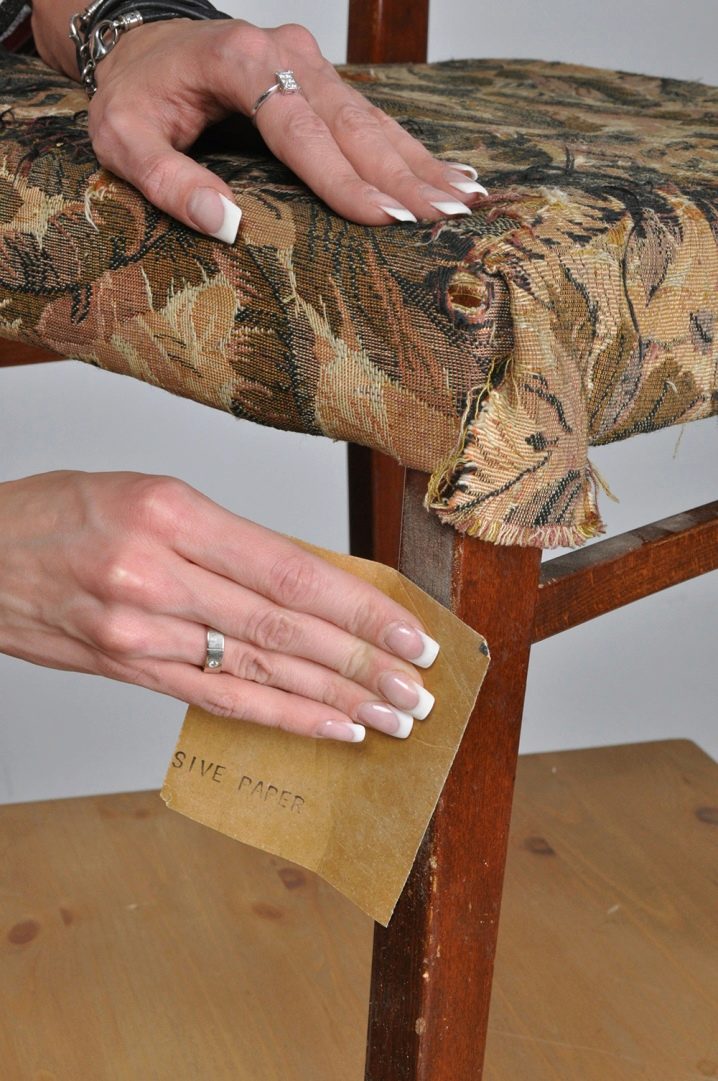
Restoration of old furniture is a laborious process, but undoubtedly creative. The use of various techniques, the richness of the choice of materials and their combinations allows you to get a thing that is unique in its kind. The methods used in the repair depend on the type of furniture and the degree of its damage, but they are all united by the preparatory stage: removal of the old coating from the surface of a wooden product in any available way, for example, with sandpaper, starting from coarse and ending with fine-grained.
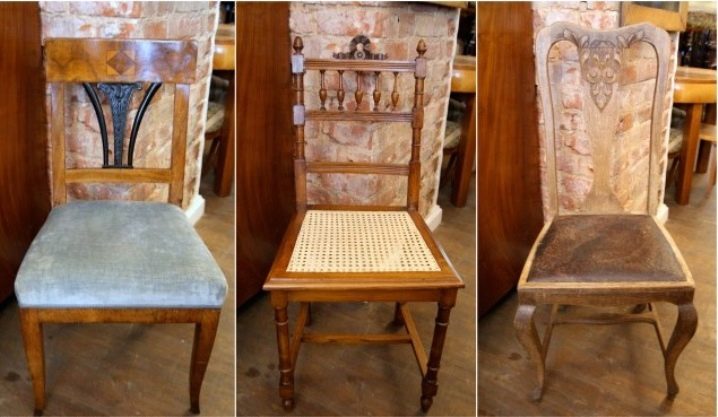
- Traditional methods of furniture renovation are considered varnishing and staining... In this way, you can renew the coverage partially or completely.
- Another popular and inexpensive method is lamination, that is, covering the surface with a film. It is more suitable for flat surfaces. When gluing, it is important to start the movement from the center, gradually moving towards the edges. This will avoid unsightly bubbles.
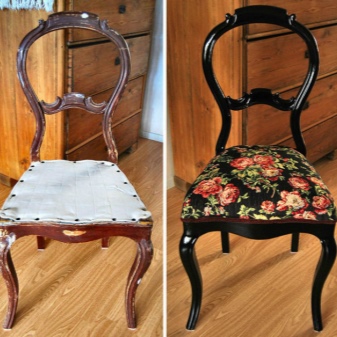
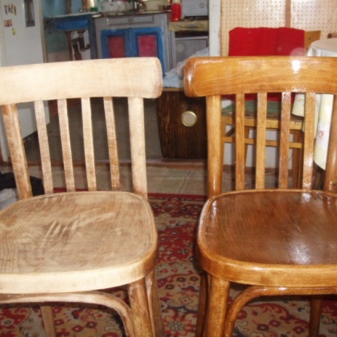
- Veneer Is a more professional type of restoration. Materials will require special glue, an iron and the actual veneer sheets. The technology is not very complicated - 2 layers of glue are applied to the surface, veneer is applied and ironed from the center to the edges. The method is somewhat similar to the previous one, but the result looks much more noble.
- Of the fashion trends in furniture renovation, more preference is given to technicians. decoupage, craquelure, painting with paints.
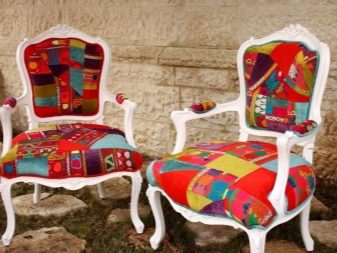
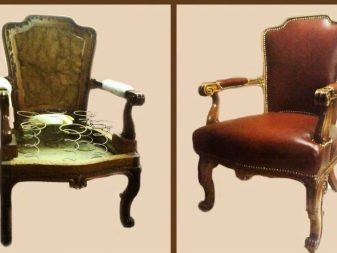
If the object of restoration is upholstered furniture, for example, a chair, then in addition to basic measures, it will probably be necessary to change the upholstery. When renovating soft surfaces, it is sometimes enough to simply alter the decorative fabric. But more often than not, internal breakdowns are hidden under the cover, which require major repairs.
What features of chairs should be taken into account when restoring?
Before proceeding with the repair, it is important to determine the type of chair, its purpose and design features. It is necessary to assess the visible damage and try to predict the likely internal ones. This data will help us understand what tools and materials will be useful to us. Several classifications will be discussed below.
By appointment, the following groups are distinguished:
- For home. This group includes chairs for the kitchen, living room, study and other rooms. Most often they are universal and are used in any room of the apartment;
- For the street most often models are made of plastic and polymers. There are examples of wooden outdoor chairs, but they must be treated with moisture resistant impregnations;
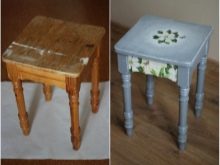

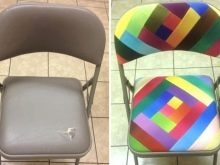
- Office chairs are mobile, have a backrest and sometimes armrests, are equipped with height adjustment;
- Bar chairs are up to 80 cm high, with or without a back. The bar stool seat is most often round, the availability of upholstery depends on the model.
According to the method of making the frame, there are such chairs:
- Carpentry chairs - the easiest to make, which were made in labor lessons at school;
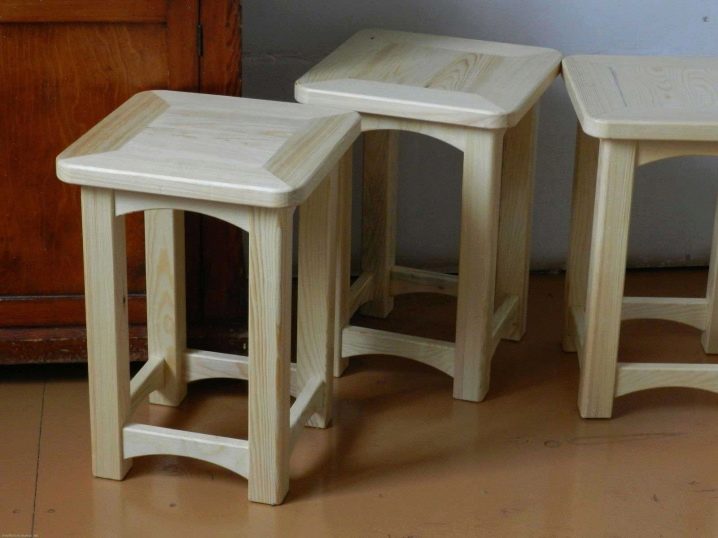
- Chiseled - so named because all elements of circular cross-section are made on a machine;
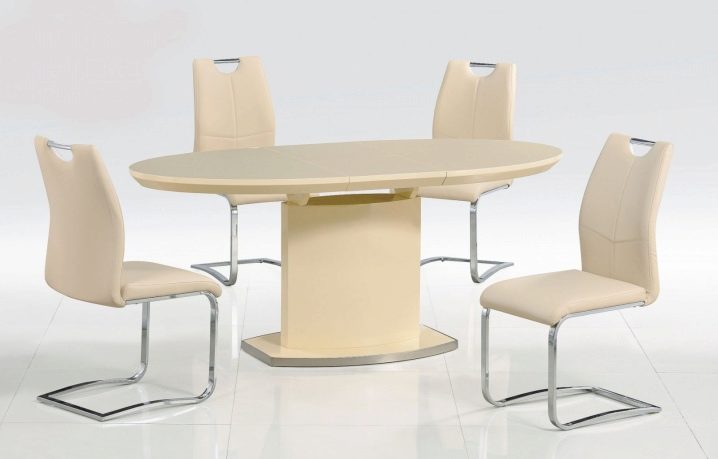
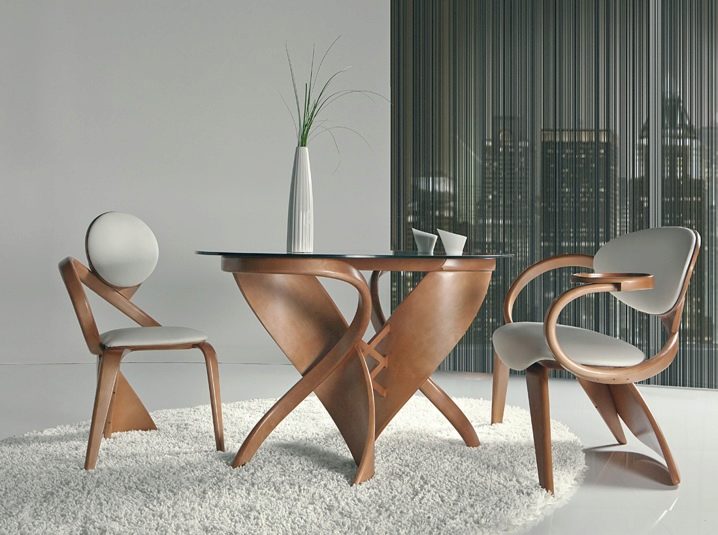
- Bent chairs are made on special equipment. The wood is treated with steam, given the desired shape and dried;
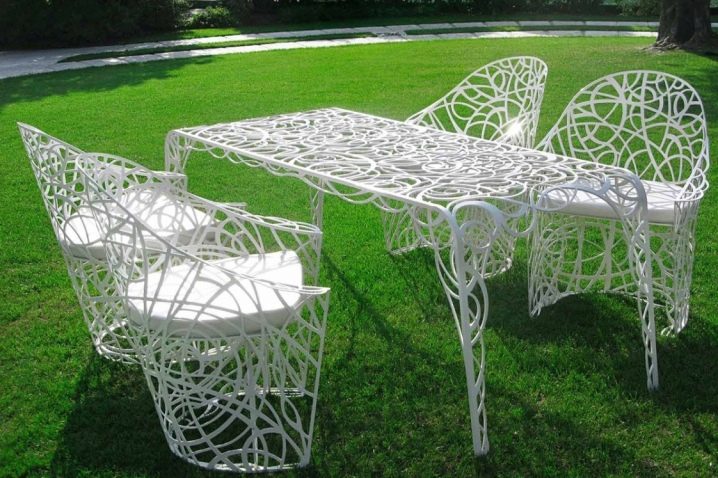
- Cast or stamped models are made of metal or plastic.
By type of seat, chairs are divided into the following options:
- Tough. These are models without flooring;
- Semi-soft. These include chairs without a spring block with a 2-4 cm foam pad;
- Soft chairs. For elasticity, they are equipped with springs and a layer of foam rubber, the average thickness of which is 3-5 cm.
By the presence of armrests:
- Chairs with armrests can be hard or soft with leather or textile upholstery.
Removing old upholstery and inspecting the frame
The initial stage of chair constriction is its disassembly. When dismantling every detail, remember and note what was where, this will facilitate the assembly of the finished product. The first step is to remove the seat, for this you need to remove all fasteners (bolts, nails, staples, metal plates). The backrest is disassembled in the same way, if any.
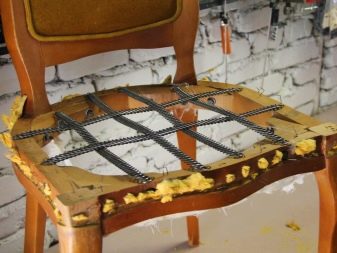
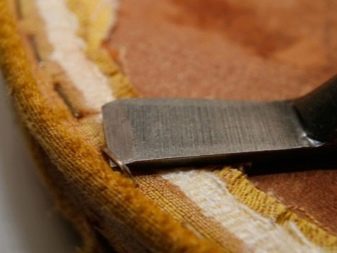
After that, you should inspect the chair frame for hidden damage, cracks, loose connections, check the condition of the springs, which have become unusable are easily replaced with jute tape. Next - the parsing of the seat and back: removing the staples and carefully removing the finishing fabric and filler. Throwing them away immediately is not worth it, since it is easy to make a pattern from them and measure the approximate consumption of fabric. The plywood base must be cleaned of the remains of foam rubber and glue, if it is cracked, then cut out a new one. The next stage is the preparation of materials and tools.
How to choose materials?
Having estimated the scope of work, you can proceed to compiling a list of materials. Changing upholstery usually requires the use of the following materials.
Upholstery fabric
The choice of upholstery is entirely a matter of the master's taste and interior features. But there are some nuances: not every fabric is suitable for chair constriction at home.
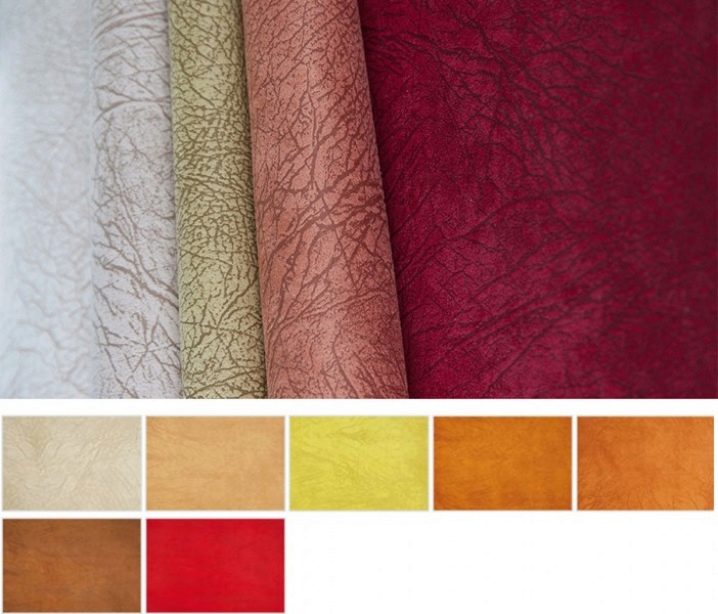
Therefore, you need to follow a few guidelines:
- The aesthetic look of the future cover should be combined with practicality; variants with a pungent smell and fading should be avoided. Probably, a poor-quality, toxic dye was used in the production.
- A thick, naped fabric will help a beginner to hide blemishes in the upholstery. At the same time, when cutting out parts, it is important to take into account the direction of the pile. If you forget about this feature, the color of the parts in the final product may differ.
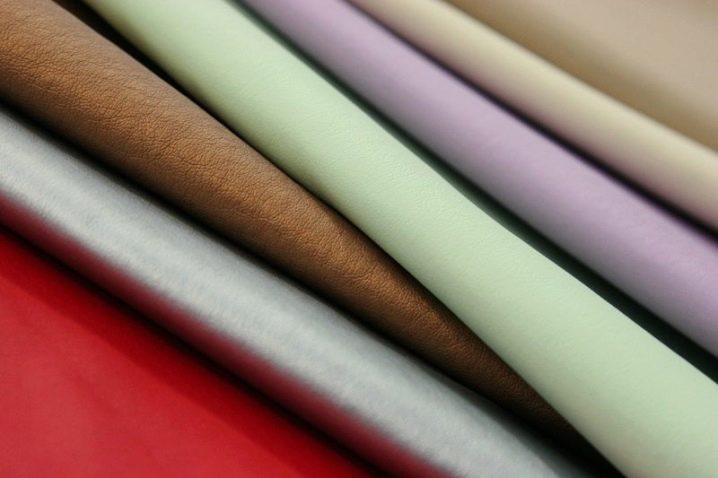
- To save on fabric consumption, you should opt for a smooth fabric with a small abstract pattern. This texture and texture allows you to place patterns economically, in any direction.
- If the highlight of your design should be a drawing or a large ornament, then get ready to buy more fabric. In this case, when cutting, the direction of the lines is important. The mismatch of the pattern on the seats and back stands out sharply and looks sloppy. For example, if the red stripe sharply turns into blue, or the details of the ornament are displaced relative to each other.
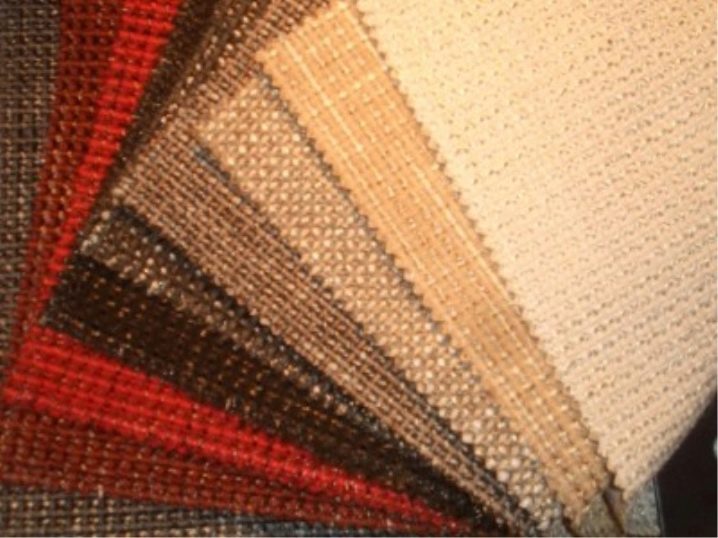
- When choosing decorative upholstery, consider the purpose of the chair. For example, for kitchen chairs, choose a material that is durable and easy to clean.
- Upholstery with leatherette will add solidity to the furniture, but it will not be much more durable than other types of fabric.
These tips do not imply a limited choice.
The types of upholstery fabrics can be varied:
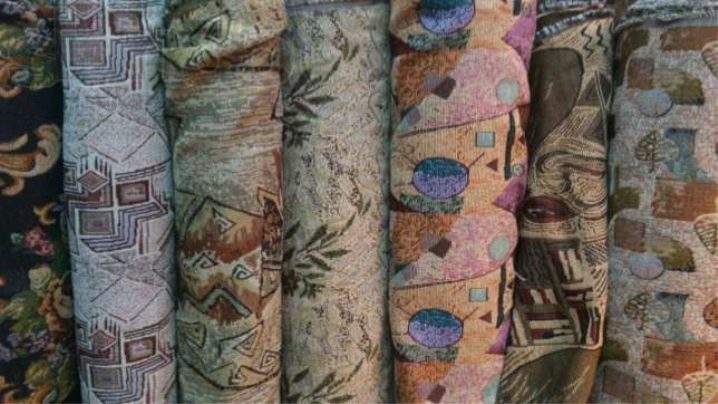
- The most common fabric in the production of upholstered furniture is tapestry... This fabric is two-layer, it has a rich texture and texture. But she conquered furniture makers not only with beauty, but also with strength, durability and practicality. It is washable and does not fade in the sun. Tapestry has antistatic properties, due to this, dust does not collect on its surface.
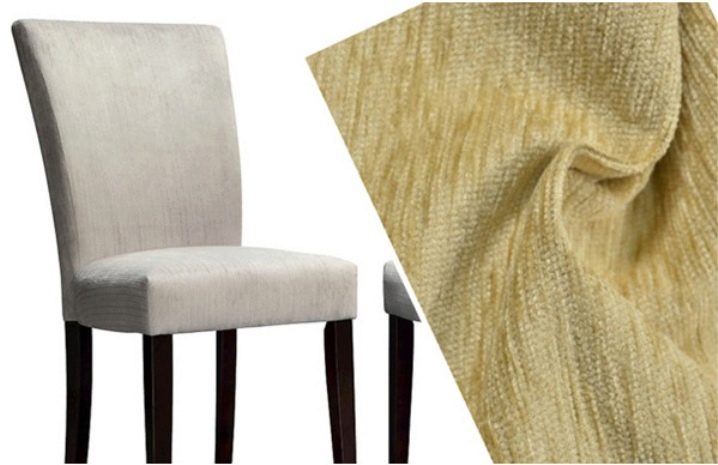
- Another popular option is chenille... This is a beautiful, affordable fabric made from fluffy chenille yarns. The fabric, woven from such a thread, turns out to be voluminous, and to the touch it is soft and velvety. The use of chenille threads in various types of weaving (tapestry, jacquard, satin) makes it possible to obtain interesting textures, and the combination of various colors (their number sometimes reaches eighteen) creates unique patterns. The best option for hauling chairs at home are samples with a mixed composition. The presence of artificial fibers increases the wear resistance of the fabric. The main drawback of chenille is hygroscopicity: stains remain on it from water and its deformation is likely, therefore it is not suitable for kitchen chairs.
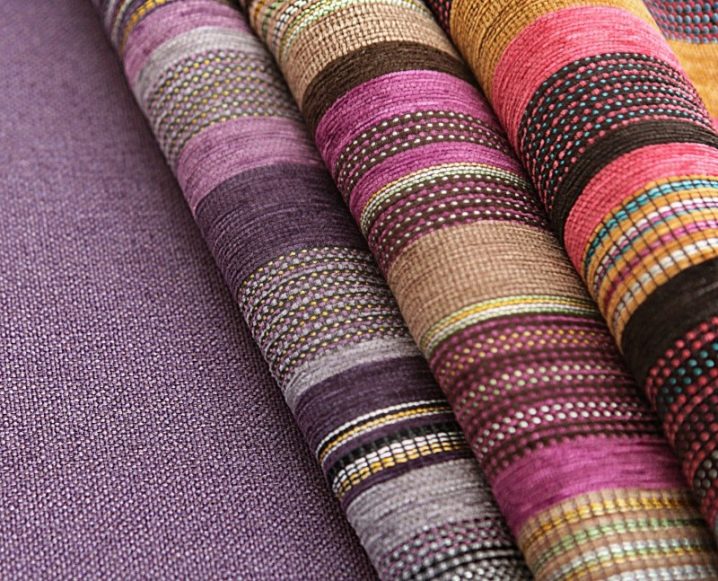
- Flock Is an artificial analogue of velvet. It meets all the requirements for upholstery fabric: pleasant appearance, durability, ease of care (easy to clean with water), is not afraid of animal claws.
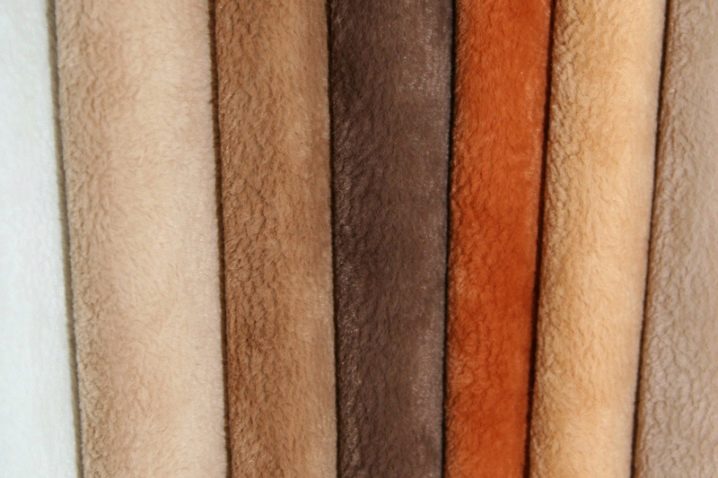
- Velours - one of the most expensive and impractical upholstery fabrics, velvety to the touch, spectacular, but wears out quickly. Suitable for furniture that is rarely used.
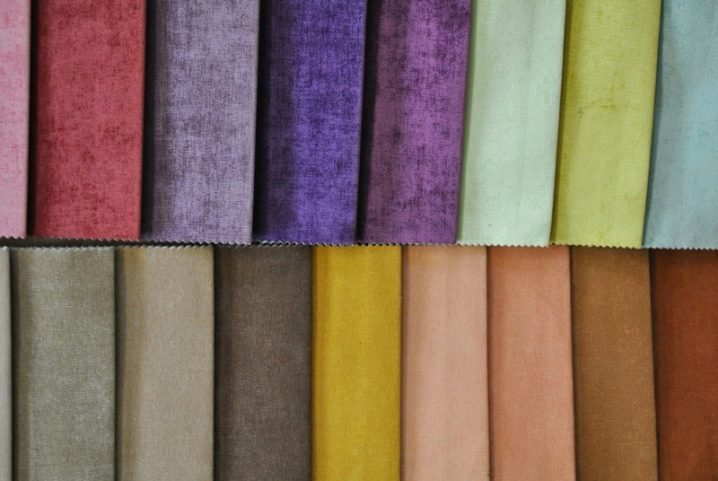
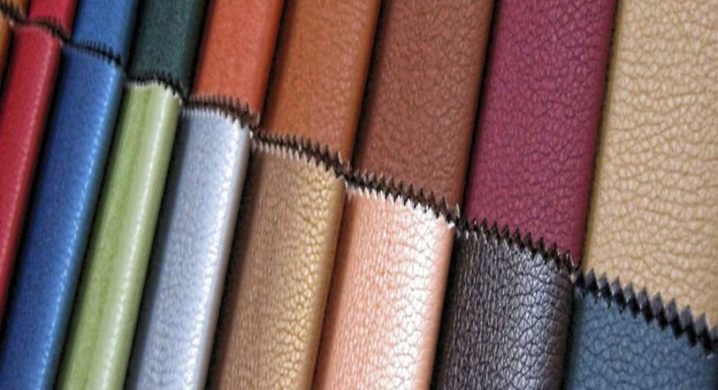
- Pulling the chair genuine leather, you will get a practical thing for many years. But this material is quite expensive, so the consumer is offered leatherette: eco-leather and dermantin. Leatherette has adopted the external characteristics of real leather, but is inferior in quality. Upholstery with leatherette will withstand from 2 to 5 years, depending on the intensity of use. Perhaps, the constriction of eco-leather will slightly increase the service life.
Filler
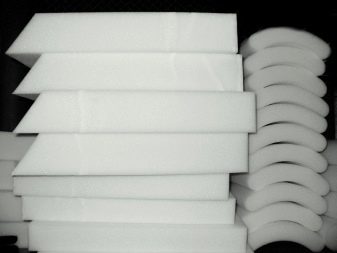
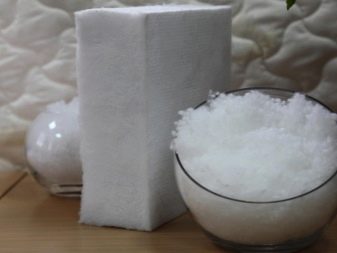
For the constriction of upholstered chairs at home, the choice of filler is not so great: synthetic winterizer or foam rubber. Having settled on a padding polyester, pay attention to its color and smell. A shade different from white, as well as the presence of a pungent odor, signal the use of second-rate or toxic raw materials in the production. Check the material structure and strength. A canvas of uneven thickness and density, which is easy to tear with your hands, will definitely not work. Suitable foam rubber is easy to distinguish by its structure: the smaller the bubbles, the higher the density and quality. In order not to be deceived by the seller, make sure that when pressed, the sample does not emit a cracking sound (these are artificially sealed cells bursting).
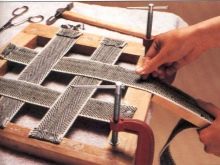
- If the chair is spring-loaded, you may need jute tape. It can replace worn-out springs.
- Elements for decoration: ribbons, lace, cords, buttons and others.
- Cardboard or thick paper for patterns.
- Primer, paint, varnish or stain for the frame.
- Plywood sheet.
- PVA glue.
Instrument preparation
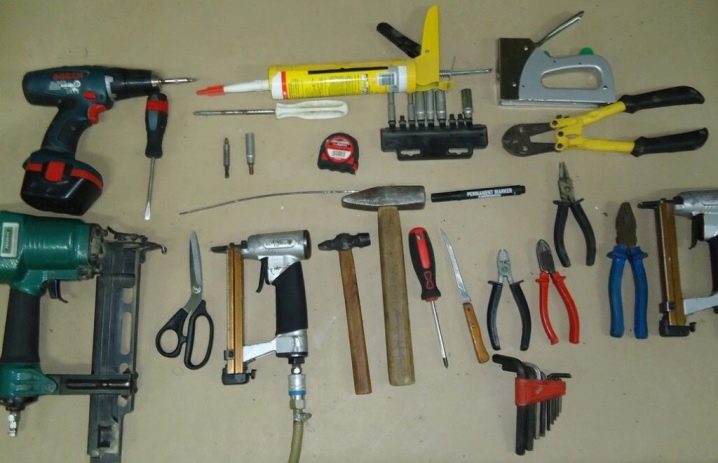
The following tools come in handy:
- Furniture stapler with staples or a hammer with furniture nails;
- Screwdriver, pliers, wire cutters, side cutters;
- Measuring tape, scissors, ruler;
- Strong sewing thread (Titan recommended)
- Sewing machine.
Replacement process step by step
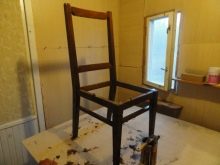
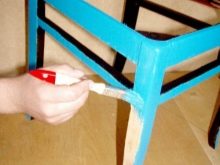
- Frame repair. The old coating is removed, all cracks detected during inspection are carefully glued, chips are putty. Loose joints are sealed, for example, by an inserted wedge, and additionally secured with glue. Failed springs are removed, and strips of jute are fixed in their place in a checkerboard pattern. If the bottom is plywood, then, depending on the condition, it can be changed to a new one or cleaned from the remnants of glue and filler. The frame is covered with paint, varnish or stain, or one of the modern decorating techniques is used. In order for the new coating to last longer, the surface should be primed before painting. White primer is suitable if you are going to use paint, colorless allows you to preserve the wood pattern, therefore it is suitable for varnishing. After the primer has dried, the surface is sanded and painted in at least 2 layers.
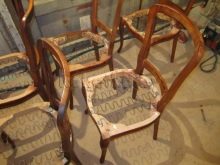
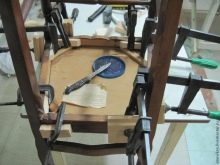
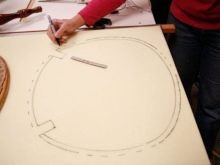
- While the frame dries, seat re-upholstery... The first step is to cut out parts from fabric and foam rubber.If the old upholstery cannot be used as a template, then a cardboard pattern is made. To do this, circle the plywood base and add 2-4 cm for allowances. The filler is cut out with a utility knife. Then a fabric pattern is made according to the same pattern. Remember that misalignments and inconsistencies in the pattern are not allowed. When cutting fabrics, leave 10 cm seam allowances.
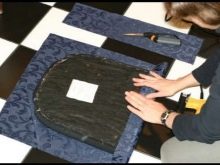
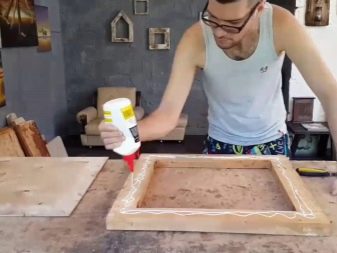
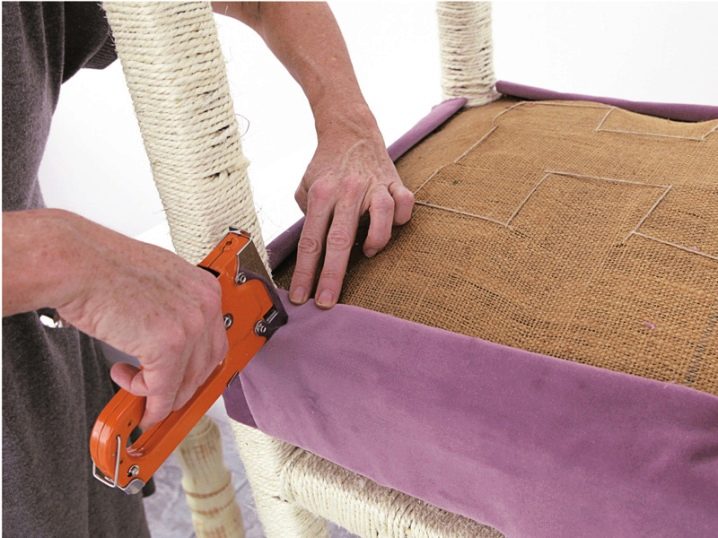
- Next step - seat cover... If the seat is a separate piece, then the filler is glued to the upper side of the base. When the glue is dry, spread the upholstery fabric inside out and cover with the foam-side seat. Make sure the base is positioned correctly in relation to the pattern or design. Sequentially nail the edges of the fabric to the base using a furniture gun (1-2 cm increments), trying to avoid large folds. This step is difficult to complete on your own, because the fabric must be tightly and evenly pulled on all sides. It is important to observe the "golden mean" here: if the stretching is too tight, the foam rubber deforms and wears out faster. Trim any excess fabric. If the seat is inseparable from the frame, then all manipulations are carried out immediately on the chair, while if there are springs, it is advisable to close them with a dense cloth, for example, burlap, and put the filler on top of it.
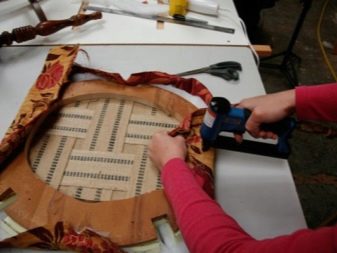
- Next is the back. The steps are almost identical to the previous step. Before sheathing the fixed back, drag it with jute linen, then cover with burlap and attach the filler. If you want to decorate the back with a carriage tie, then cut holes in the foam rubber and fabric where the furniture buttons will be inserted.
All of the above steps are also applicable when the chair to be restored did not originally have a soft seat.
Assembly and finishing
All parts are ready, so you can start assembling. If, when dismantling the chair, it was recorded and noted what and how should be fastened, then there will be no problems. Just glue all the parts and screw in the reverse order. Now it remains to finish and decorate the finished product. The ugly back part of the back must be covered with a cloth, carefully sewing along the edge. The bottom must also be hidden. Seams can be decorated with braid or decorative furniture nails, lace, or even beads. It all depends on your imagination.
Examples and variants
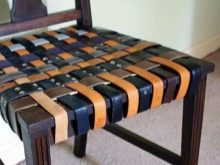
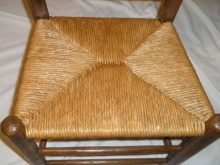
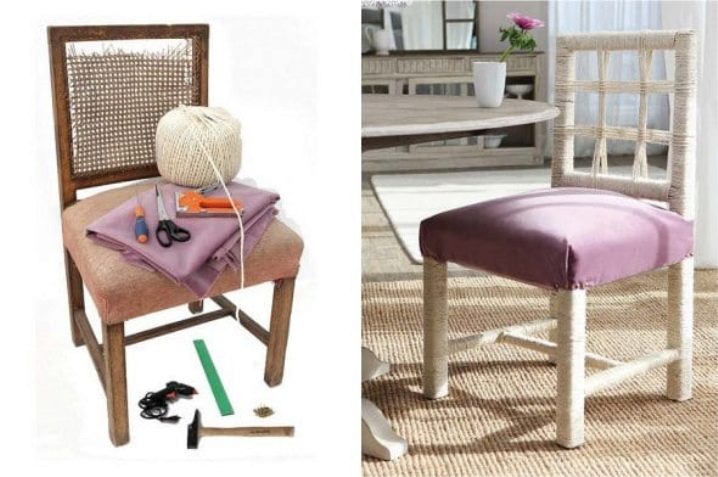
The traditional methods of restoration were described in detail above, but no one canceled the creativity. If you have a few unnecessary leather belts, use them for upholstery. They need to be intertwined in the form of a basket and secured from below with self-tapping screws. Interesting results can be obtained using the patchwork technique. The main thing is that the fabric characteristics of the flaps meet the requirements for the upholstery fabric. For a more strict interior, you can use patches of pastel colors. The frame can be braided with twine instead of staining. Some craftsmen even weave seats from thick and strong rope.
Output
Summing up, we can say that pulling an old chair with your own hands is a completely doable task.
The main thing is to follow a few rules:
- When disassembling, it is important to note the order and features of fastening parts;
- The choice of material depends on the purpose of the chair. In any case, it is better to give preference to universal fabrics;
- It is advisable to evaluate the quality of the filler before purchase, and not after a week, when the chair will sag again;
- Vanity and haste in such work are superfluous. Each stage must be thought out and carefully performed.
You will find a master class on hauling a chair in the next video.


Fine!
The comment was sent successfully.