How to cut the rafters at the right angle?
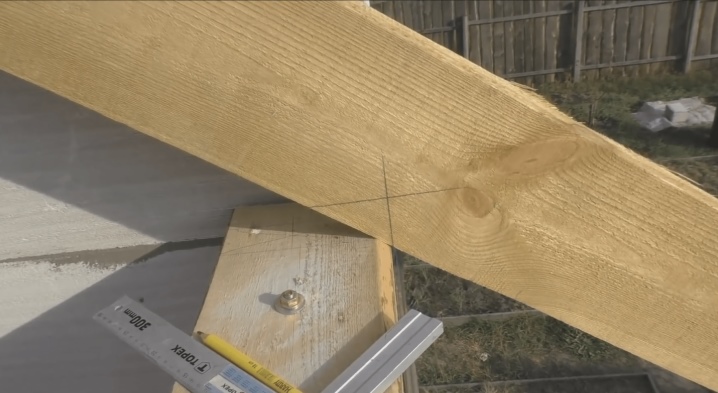
To cut the rafters at the right angle is to position them in such a way that they will be held securely for more than a decade in the future. The angle of filing the rafters is no less important parameter, as is the method of attaching them, the methods of assembling the attic and roof.
Fundamental rules
The strength and reliability of the roof is a factor that depends not only on the correctness of the rafters. There are some rules to consider.
-
Timber and steel fasteners must be of high quality. Even when the cut is made at the right angle and according to the standard distances between the edges, bevels and marks from which the master is repelled, the bar itself can crack and / or bend under normal load. Saving at the level of quality is unacceptable - the rafters are, along with the Mauerlat and props, the load-bearing elements on which the lathing, waterproofing and roofing will lie. The weight of fasteners and dynamic influences are also taken into account (masters who maintain the roof and their tools, wind, rain, snow, hail, and much more). Ideally, the rafters are designed for maximum load - it includes a half-meter layer of packed snow that covers the roofing sheets.
-
Butt points and areas at the point of joining the rafters to the Mauerlat should not have cracks, chips, grinding wood fibers, knots.
-
When starting roof work, call other people for help (for example, contact a company that specializes in roof work). Replacing rafters and battens is a serious business: even with devices that make it easier, for example, to lift new boards and beams, the owner alone is unlikely to cope quickly and efficiently with the work entrusted to himself. This is true for both single-pitched and multi-pitched roofs of a private house.
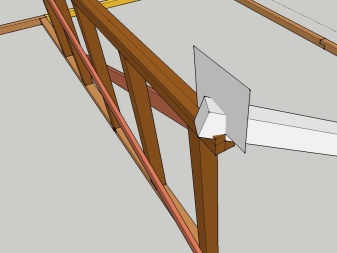
Taking these recommendations into account, the owner will begin roofing work - in this case, sawing the rafters at the desired angle.
How to file correctly?
Even when the roof is different - instead of tiles and slate, steel corrugated board, metal tile or cellular polycarbonate are used, the main work, that is, the arrangement of the Mauerlat, intermediate bearing supports and rafters, is unchanged in staging, technology and method of execution. To file the rafters at the desired angle, the calculation sequence is determined by the original dimensions of the structure.
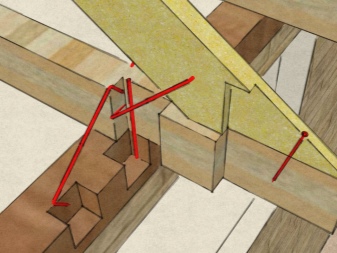
As an example, the following parameters: let the length of the house be 480 cm, width - 240 cm (external dimensions).
-
The length of the rafters is calculated according to the Pythagorean theorem: legs are an attic-ceiling flooring to the middle, above which the ridge of the future roof is located, and the height of the ridge supports. Hypotenuse - the length of the rafter without taking into account the hanging of the lower end beyond the outer perimeter of the walls.
-
For a gable roof, the length of the structure is divided in two - in this case, half of it is 240 cm... With the help of a protractor, the desired angle of inclination is measured in the drawing. For four-pitched roofs, separate drawings are used, taking into account the angle of the side slopes: it is also measured using the same protractor, and the width of the structure is also divided in two - in this case, it is 120 cm.
-
In this case, 2163 cm is measured from the opposite line - after measuring the desired angle. On the other side of the intended slope, the opposite roof slope line is drawn.
-
2400 cm is measured in the center - and an additional side is drawn... A triangle is formed representing the roof slopes.
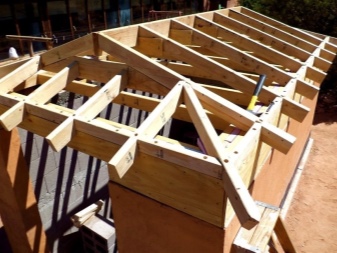
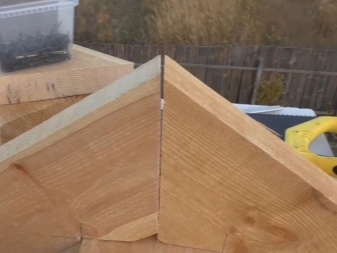
After calculating the length of the rafters, the timber or board is sawn according to the drawing. They are folded upside down before sawing. The pieces of boards go up. After their preliminary installation, they are fixed along the edges with the help of strips. The rafter corner is cut in a certain way.
-
Make a triangle with the angle at which the rafters are cut. It can be pre-made from an aluminum or steel thin-walled profile.
-
Install this triangle on the side of the rafters - and draw a corner contour with a construction marker or pencil, under which the rafters are sawn.
-
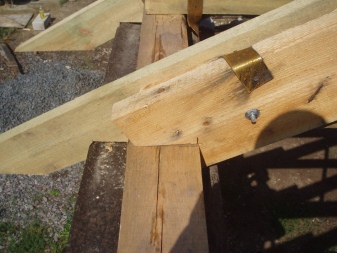
Saw the corner on the Mauerlat according to the outlined outline.
Repeat the last step for all the places where the rafters are installed, align them so that they fit into the cuts along the contour. Assemble and secure the rafter system.
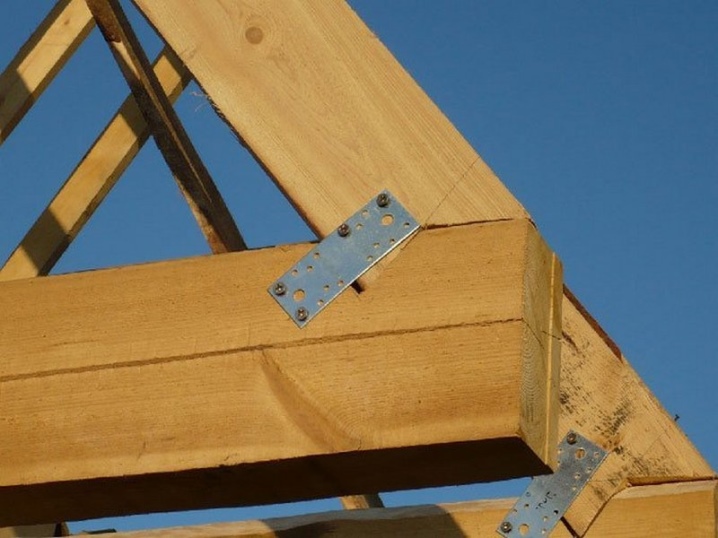
Cutting the seat
Having made the calculation, it is not enough to be guided only by general advice. The second stage after counting is cutting the footprint. Below, on the construction site in front of the building itself, it is difficult to quickly make a perfect, high-quality rafter cut at a certain angle. The reasons - from the inconvenient location of the Mauerlat to the lack of accuracy when cutting down. In practice, the angle of inclination of the rafters can change markedly. The rafters must be on the same lines. The same cut is performed only according to the template. However, when the Mauerlat is slightly tilted to the side, each rafter is recalculated individually. The cutting depth should not be too great - the strength of the rafter system will suffer.
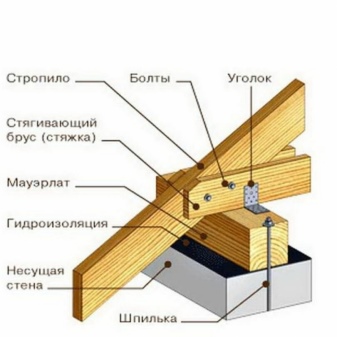
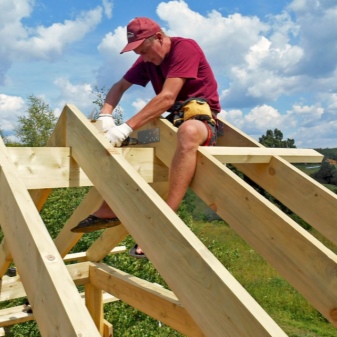
When joining the rafters, mark the points at which the first adjoin the Mauerlat, and draw straight lines perpendicular to the existing line. Determine the angles of the vertical and horizontal notch guides.
And here is how the template for the rafters is made.
-
Attach the workpiece to one of the sides of the Mauerlat, without changing the angle of inclination of the future roof. In this case, opposite the corner should be the place of intersection of the lines just drawn.
-
Mark how the lines of the resulting triangle are located, and cut the template from it.
After making the template, check how accurate it is compared to the expected lines of the rafters being sawn. Make sure the Mauerlat is flush with the top of the walls along its entire length. If the connection is broken, then reinforce it where possible: deviations of an average of 2.5 mm are allowed.
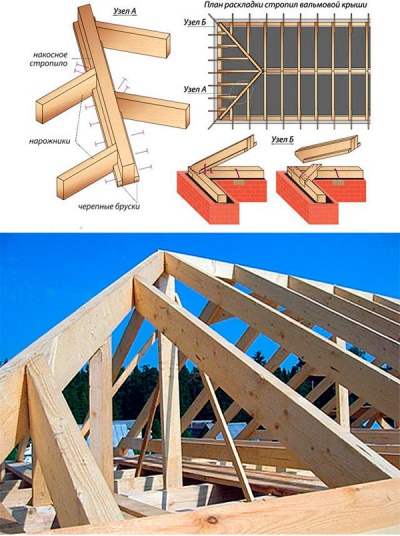
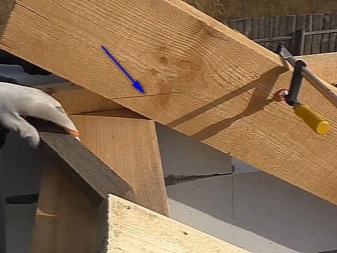
Attach the template to the rafters and mark the lines and points to be marked. The filing of the rafters is carried out at the same distance from the ridge bar. The first cut is made across the wood layers of the board or timber. The attentiveness of the master is the key to observing the outlined boundaries. In the absence of experience at this stage, it is better to use additional tools that reduce rejects and eliminate the cost of re-assembly.
The second cut can be made with an electric saw, or a notch with an ax. Before notching, check to see if the ax is sharpened enough - a serrated point can lead to a more ragged cut and chipping along the edges of the notched channel. The master at this stage has tangible physical strength and a certain skill.
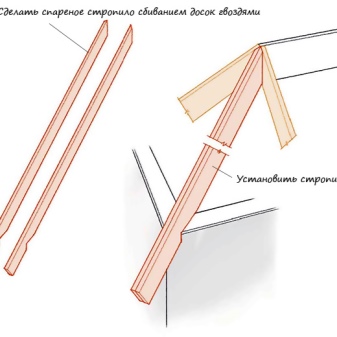
Check that the notches match the pattern - if there are discrepancies, correct them. The rafter is ready to be installed in its regular place. After installation, the rafters are filed and the next one is placed, and so on.
Undercutting for direct joint with Mauerlat
Butt joint is a noticeably easier way than cutting a seat. To ensure such a connection, the master chooses the cutting point and the angle of inclination of the saw. In theory, these actions would be reduced to knowledge from the geometry course, allowing you to calculate the required angle. Here we do the following:
-
we divide the distance from the ridge to the edge of the wall by the length of the rafters, the resulting value is the cosine of the angle of inclination;
-
calculate the inverse cosine of this value.
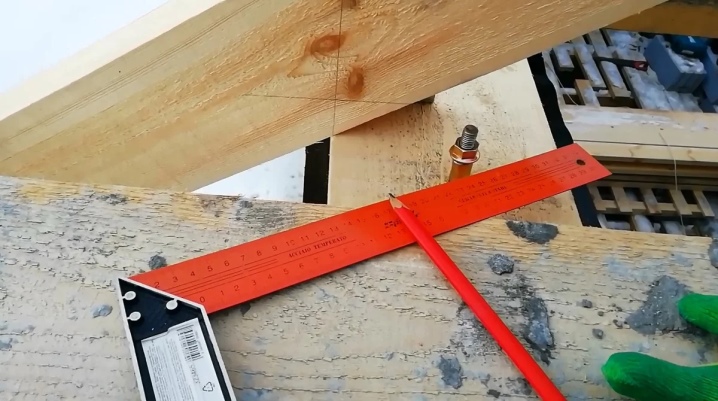
To transfer the obtained angle to the rafter, we use a miter saw or a square. In the absence of a square, we use a template. Its production boils down to the following:
-
on a sheet of plywood or chipboard, mark a point at a distance of 50 cm along the bottom edge of the sheet;
-
calculate the tangent of the angle, and calculate the product of the two.
It is desirable to convert all values in centimeters into meters. The second side of the right-angled triangle has been found. Mark lines and points on the workpiece, get the desired angle - and cut out the template. Using the template, file and fit the rafters.
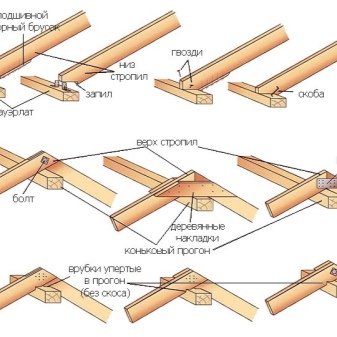
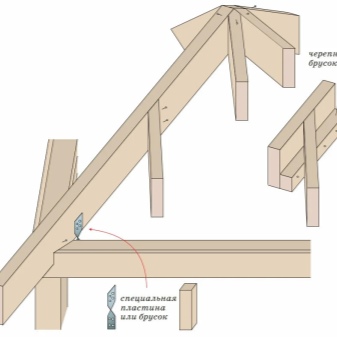
The practical method does not require an abundance of preliminary calculations. The rafter measurements are marked when it is attached in its raw form to the place of its fastening. To do this, follow a series of steps.
-
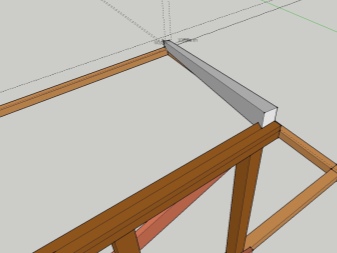
Expose the timber so that its lower end is aligned with the Mauerlat in a certain way.
-
Draw a horizontal line from the corner to the bottom of the rafter. Make sure this part is strictly parallel to the top edge of the wall. If the rafter or board is placed on the end (vertically), then the drawn line will become diagonal.
-
Make a cut along the line, install the rafter. Repeat these steps for other rafters. After installing the rafters, a frontal board is installed on both sides of the house.
Apply the rest of the timber as a template - its place of the saw cut should be even.
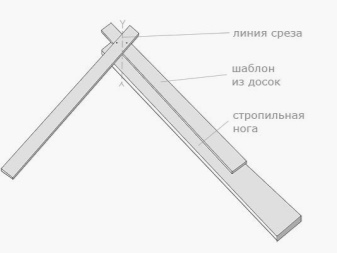
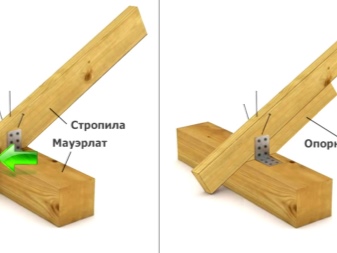
Can I mount without cuts?
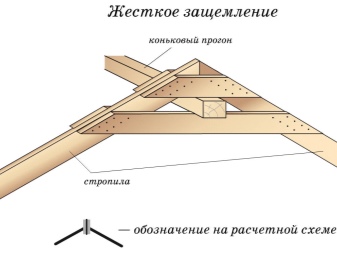
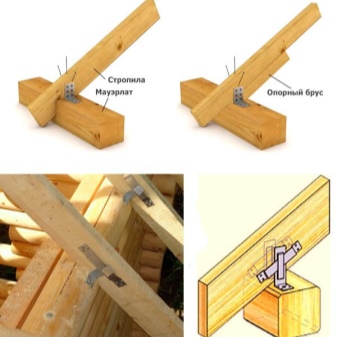
Fixation of rafters without preliminary sawing is performed using a rigid or sliding method... The sliding method gives one of the ends of the rafter system a certain degree of freedom. Rigid - provides for the complete anchoring of the rafters without any possibility of temperature shifts.
The sliding fastening of the rafters to the rest of the roof base is also done in open and closed ways. The closed method involves the use of a corner with an eyelet in the form of a slot. The corner is fixed on the Mauerlat, and a steel component with holes is inserted into the slot. With the help of these holes, the corner is fixed to the rafter. It can move, relieving the wall from deformation.
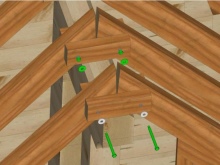
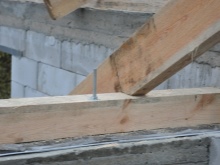
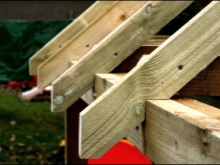
Open method - when the part does not fit into the eyelet. The corner is fixed to the Mauerlat, and its upper part bends downward - under the connection.
The rigid attachment of the rafters has several ways... On a single or multi-pitched roof, the rafters are fixed with corners or LK-parts. LK parts are suitable for any size of rafters, they are made of 3 mm steel, which allows you to firmly grip the roof elements. For gash-free connections, corners are used that differ from those used in the gash - flanges are designed for more powerful self-tapping screws, a larger number of them.
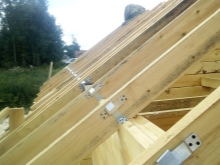
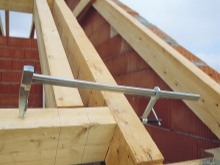
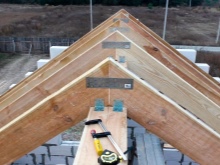
A sealed node is also used in the complete absence of a Mauerlat. - floor beams are used instead. The number of paired rafters of a gable roof is equal to the number of these beams. This method is good for completely wooden buildings erected from logs or beams.
For information on how to cut the rafters at the desired angle, see the next video.


The comment was sent successfully.