What are profile connectors and how do I use them?
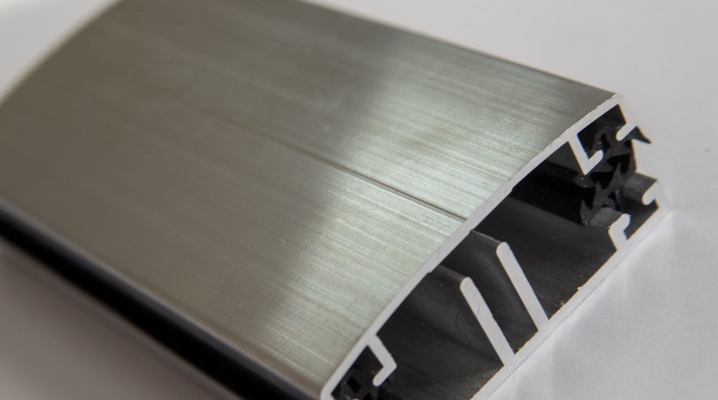
The profile connector facilitates and speeds up the process of joining two sections of profile iron. The material of the profile does not matter - both steel and aluminum structures are quite reliable for specific tasks.
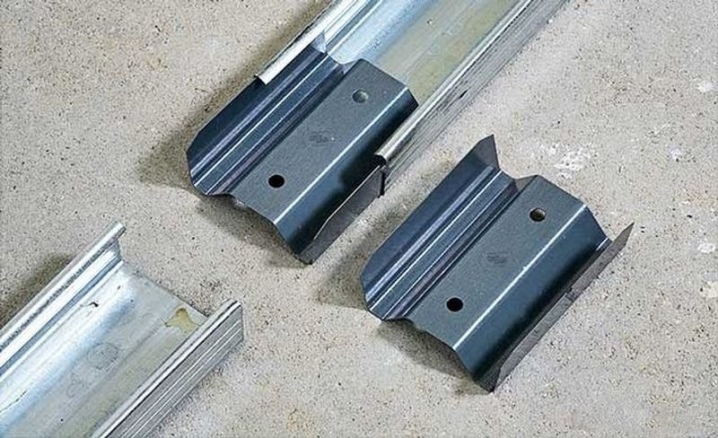
What it is?
In order not to file and join the profiles manually, the construction industry produces additional elements - connectors made of thin sheet (up to 1 mm in thickness) iron cut according to a certain pattern. Technological lobes and gaps of this part are bent in such a way that, as a result, the profile sections are connected quite reliably. In this case, further loosening of the connection is excluded - the part is firmly fixed by means of self-tapping screws.
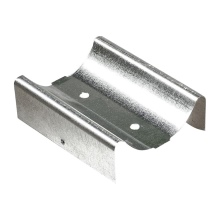
Species overview
Connectors differ and can be of several types: straight hangers, brackets, connecting plates in different projections. Many craftsmen make the simplest connectors on their own - from scraps of thin sheet steel, remnants of plastic siding, fence corrugated board, sections of thick-walled metal profiles and much more.
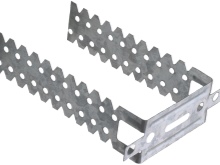
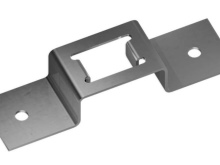
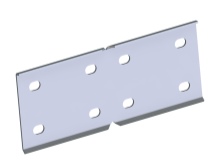
In terms of dimensions, such holders (connectors or connectors) fit into the intended perimeter of the profile section.
It is important to know only the width of the main and side walls of the U-shaped profile.
In the price list of the seller there are certain sizes, for example, 60x27, 20x20, 40x20, 50x50, 27x28 and so on. These are the dimensions of the profile. The actual size of the holder is only 1.5-2 mm larger in length and width - such a margin is taken so that the profile fits into the gap of the holder undamaged. PP connection ("profile to profile") is a term used by craftsmen of finishing works.
Sibling
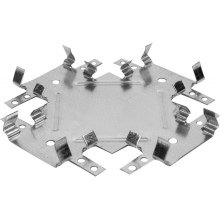
Single-level connectors allow you to create a reliable perpendicular connection of two segments, as if going through each other (right through). A single-level connector is called a "crab" for its 4-sided structure, which when unfolded is a regular cut square. Technological holes are drilled in the central part and at the ends of the "crab", suitable for specific self-tapping screws.
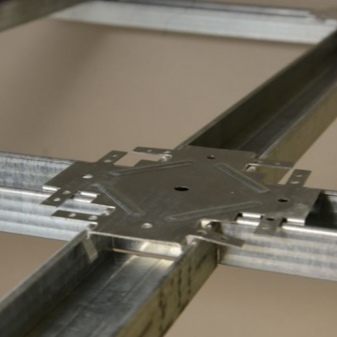
The master will need to drill the profile on his own only at the points clearly set aside for the self-tapping screws, which coincide with the location of the factory holes in the "crab" itself.
Coupling is carried out using a module from all four sides. Four-sided fixing facilitates the installation of the cross-bars. The operating procedure is quite easy, and the assembled frame can withstand a significant load. "Crab" is made of hardened steel covered with a thin (tens of micrometers thick) layer of zinc.
Two-tier
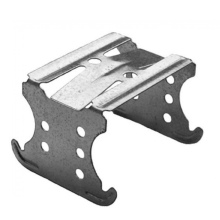
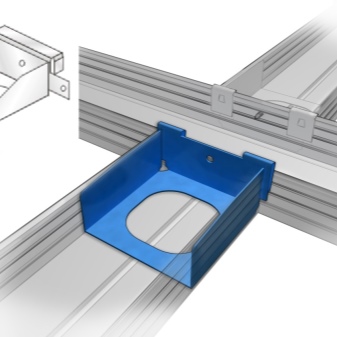
A 2-level connector is used when the room in which the existing ceilings are covered with plasterboard has excess space. For walls - in order to save space - additional absorption of free space due to the second profile installed perpendicularly is very critical. The suspended ceiling provides for an additional distance between the tiled structure and the interfloor ceiling - this is where the additional gap comes in handy.
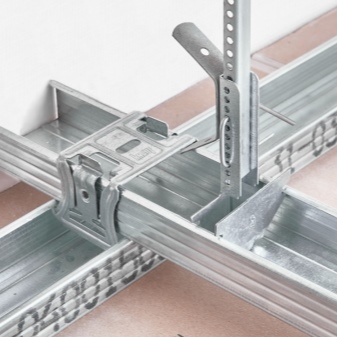
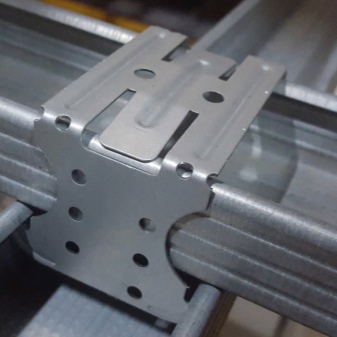
The two-level design will work well for the construction of partitions, especially between warm (heated) and cold (no heating) rooms.
It will allow you to lay a double layer of insulation between the gypsum plasterboards, which will effectively affect heat and sound insulation. The essence of the connector is to bend it in two places, spaced from each other by the width of the profile itself, by 90 degrees. The method is good for craftsmen whose construction work is on a wide scale.
How to use?
To work with profiles, you will need various tools, including electrical ones.
-
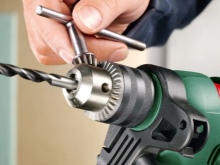
Drill or hammer drill, drill bits for metal and concrete.
-
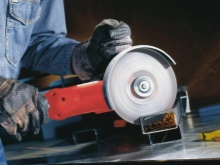
Grinder with cutting discs for metal. The discs required for work have an "emery" texture, the disc itself is made of corundum and fiberglass. Their abrasive surfaces will easily grind, trim and cut metal parts.
-
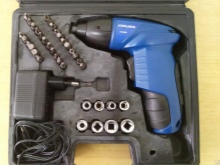
Screwdriver and cross bits.
In addition to the profile and connectors, you need:
-
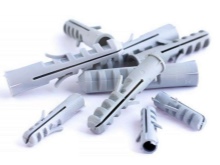
plastic dowels, designed for the diameter of the selected drill;
-
self-tapping screws (made of hardened steel), their size corresponds to the landing (internal) dimensions of the dowels.
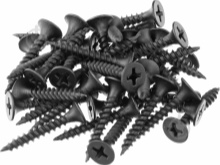
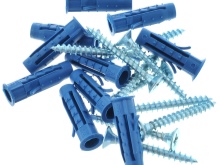
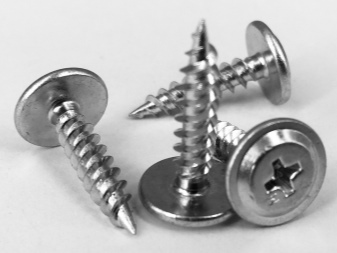
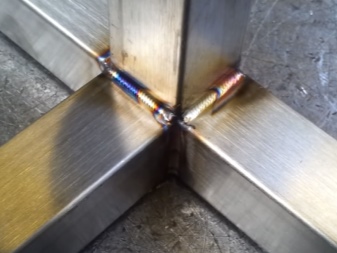
Small press washers may be required. A metal profile - even a steel one - can be joined by welding. The fact is that it is far from always possible to find thin electrodes for spot welding, the best option is screw fasteners. But a thick-walled steel profile - with a wall thickness of 3 mm - is still desirable to be connected by welding: electrodes with a steel (inner) rod diameter of 2.5-4 mm are available on the market everywhere.
Let's analyze the order of work for the installation of a single-level frame connector.
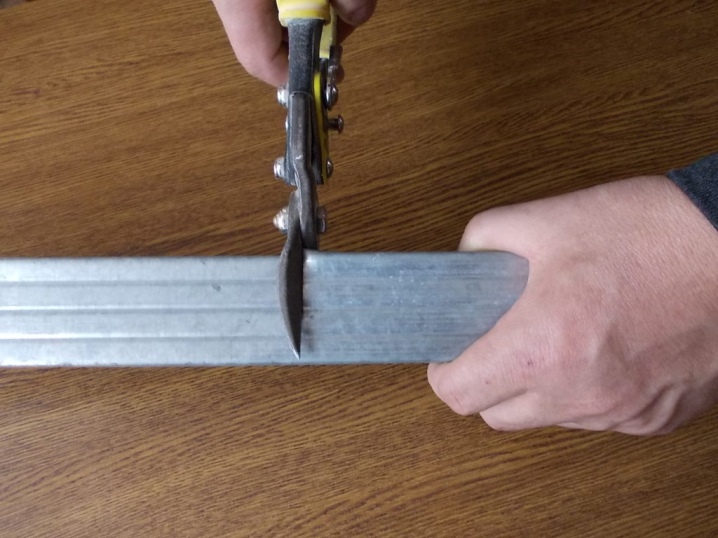
- Mark and cut the profile frame into sections. If necessary, increase the missing length of the elements, using sibling connectors, in fact, which are half of the "crab" - they serve only as guiding clamps, and do not keep the right angle of intersecting profile segments. When sawing and / or lengthening the profile, please note that the length of the segment should be shorter than the distance between the opposite walls of the room (or between the floor and ceiling) by a centimeter. This makes it easier to quickly and accurately measure and level the segment.
- To install the "crab", place the connector in the desired place, marked with a construction marker, petals inward, in profile. Press on it so that the four "antennae" located along the side faces enter the profile and lock into it (you will hear a click). Similarly, fix the pieces of the same profile on the same "antennae". Bend the remaining petals around the sidewalls of the profile on all 4 sides, then screw them in with self-tapping screws.
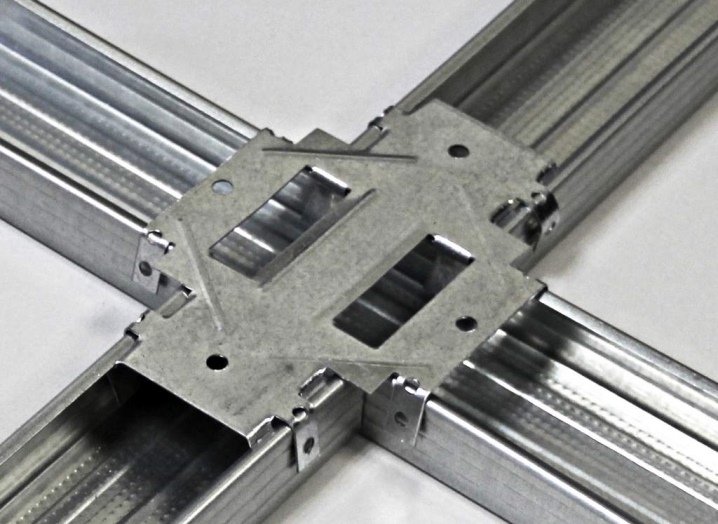
You can either drill holes for ordinary self-tapping screws of the "bug" type, or purchase self-drilling screws of the same length, but with a tip made in the form of the working part of the drill.
The resulting connection will securely and rigidly hold both the ceiling itself (gypsum plasterboard or a prefabricated armstrong type structure) and, standing vertically, hold the same gypsum board in a vertical position on the main wall.
The Crab does not work well as a corner connector - it is mainly a cross-type holder, since the part would be cut accordingly for a T- and L-shaped docking.
To install the holder on a two-level profile, you need to perform a number of steps.
- Place this connector at the intersection (fastening) the sections of the profiles to each other, after bending it in the right places.
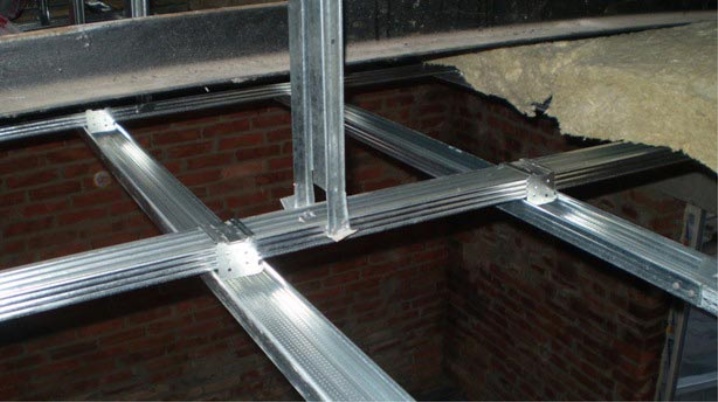
- Press the tabs of the holder into the second (lying below, under the first) profile so that it snuggles against the upper one and goes into the lower one with a click.
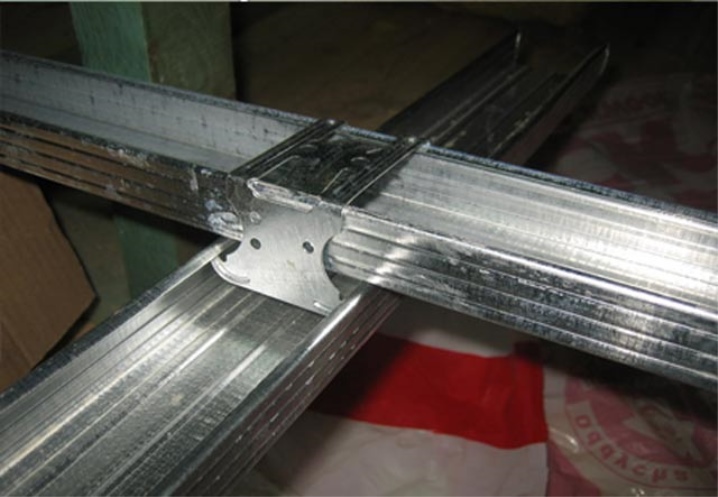
- Make sure the bottom profile hangs securely at the ends of the holder, and tighten its sidewalls using self-tapping "bugs". The sides of the holder should be tightly fastened to the sides of the upper profile - in fact, they are joined to the upper one, but they hold the lower profile segment.
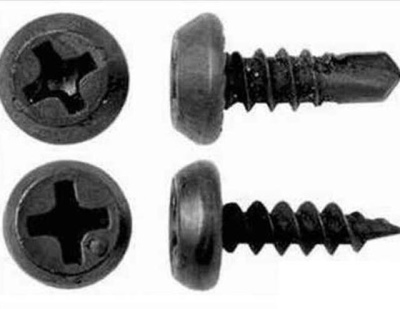
Check that the profiles are tightened securely. Both methods are used inside (interior decoration with drywall sheets) and outside (siding installation) with equal success.
If there were no holders nearby, but to continue - and complete on time - the finishing is still necessary, homemade holders are cut out of scraps of aluminum, steel and plastic.
It is difficult to cut a "crab" or a two-level holder, but it is possible to use strips of metal and plastic, bent and cut to the size of the metal profile. The main requirement is homemade joining, including cutting and trimming, adjusting the profile sections, should neither protrude nor lead to subsidence of the profile base under the weight of gypsum board or suspended ceiling, wall panels or siding.
For profiles and connectors, see the video.


The comment was sent successfully.