Profilometers
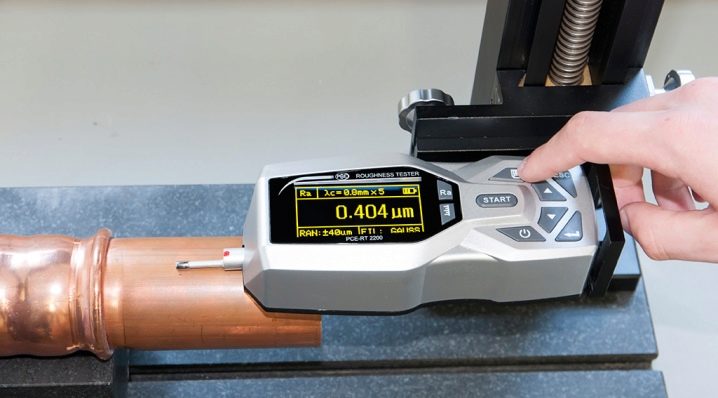
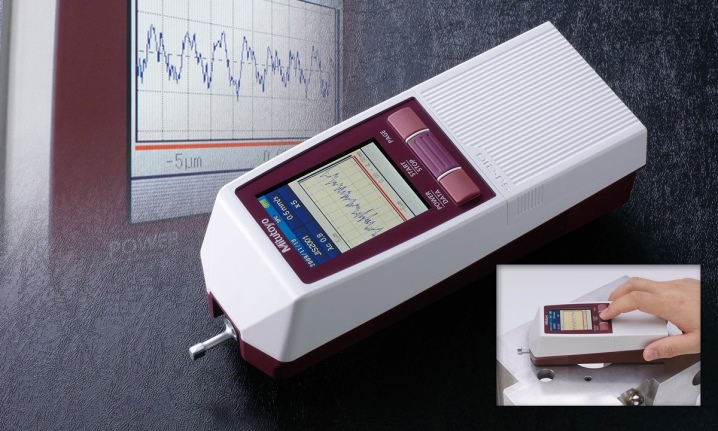
Profilometer Is a special device for measuring the surface roughness of individual parts, mechanisms and elements made of materials of different density. It helps to determine the quality of the product and the need for additional processing. The use, and especially the selection of the apparatus, are important steps in almost any production process. Therefore, before purchasing and starting to operate the meter, you should study in detail what types of profilometers are, their functionality and technological features.
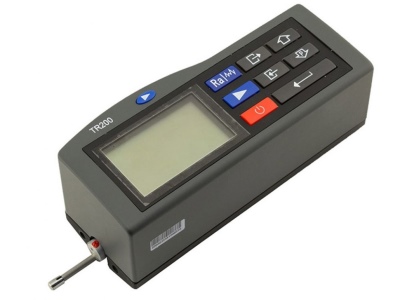
What it is?
Surface roughness index - this is one of the main technical characteristics of the quality of a product designed to work in harsh conditions, which involve severe wear of the material of manufacture. The level of roughness will determine both the overall quality of the product's work - its operational parameters, and the duration of use. The roughness index is very important, for example, for internal combustion engines and other similar components and mechanisms with a large number of moving parts and elements.
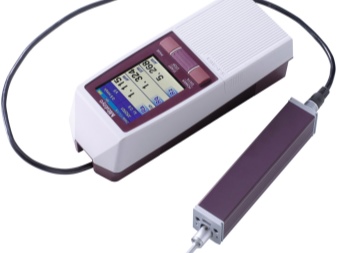
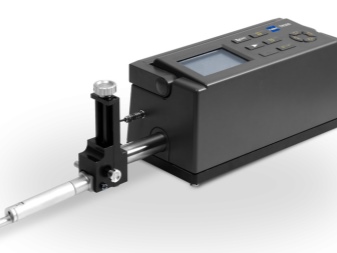
During operation, continuous processes occur on the working surfaces of such mechanisms that have a negative impact on the structure and integrity of the material:
-
the formation of chips, cracks and burrs of various sizes;
-
mechanical wear of the material;
-
erosion of metal, its partial crushing.
To increase the technical and operational characteristics of the product, to improve the quality of its work, as well as to extend the shelf life, additional technological processing significantly helps - grinding... The level of surface roughness will depend on it, which is measured by the profilometer.
Such arising defects can have an even greater effect on the quality of the mechanism than severe overheating or impacts, and, accordingly, cause its deformation faster. And the overheating of the metal itself most often occurs due to excessive friction, the cause of which is the excessive roughness of the surface of an individual element.
Therefore, it is the roughness that largely affects such technical indicators of materials as:
-
resistance to corrosion formation;
-
general durability;
-
permissible coefficient of friction.
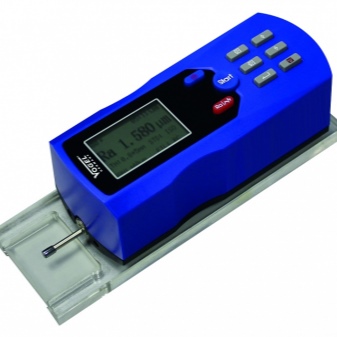
This device allows you to determine the exact state of the surface of the material, and most importantly, the need for its further processing (cleaning or grinding).
Views
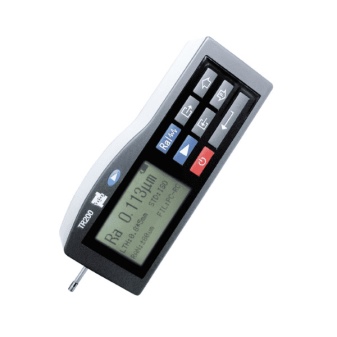
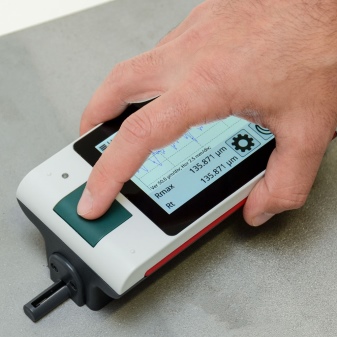
According to the principle of operation, the profilometers are divided into contact and contactless devices. The contact devices are equipped with a special steel stylus with a hard tip. It determines the level of roughness, moving along the surface of the product, and gives the readings to a screen installed in the body of the device.
Non-contact or optical profilometers determine the level of roughness of the part using an optical sensor and a laser, which also, examining the surface, displays the obtained data on a special miniature monitor. Let us consider in more detail both types of profilometers, the features of their operation and the main technical characteristics.
Contact profilometers
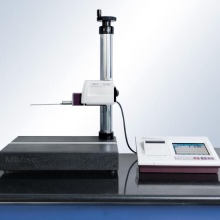
For an illustrative example, consider one of the most common contact profilometers - a device with a digital reading of model 296. It is a typical representative of devices in this class of measuring technology, the operation of which is based on inductive signal conversion.This meter is designed to measure the roughness level of flat surfaces only. Structurally, a contact profilometer consists of the following elements:
-
steel stylus with a hard, usually diamond tip;
-
device for moving the probe;
-
roughness level transducer;
-
digital converter and power signal amplifier;
-
display or miniature monitor;
-
reverse sensors to control the probe, the direction of its movement;
-
measurement mode switch;
-
time interval setting relay.
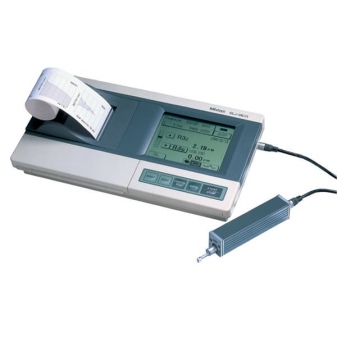
The profiler model 296, as well as devices of a similar modification, for example, the profiler 130 model, are considered stationary measuring equipment. These devices are mainly used to determine the roughness of surfaces only in laboratory, workshop conditions.
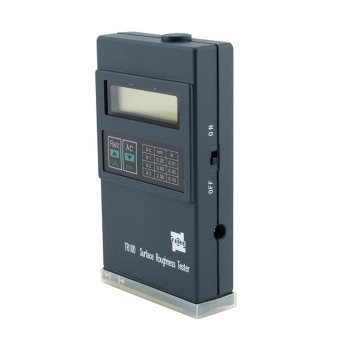
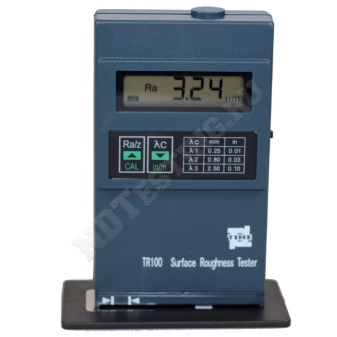
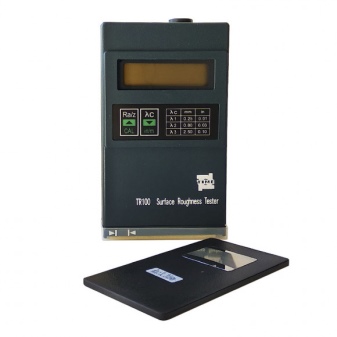
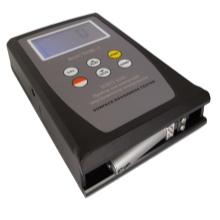
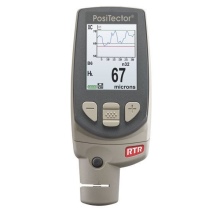
But, besides them, there are also mobile or portable contact profilers, which have small dimensions. For example, a Russian-made measuring device model TR-100 with a piezoelectric transducer.
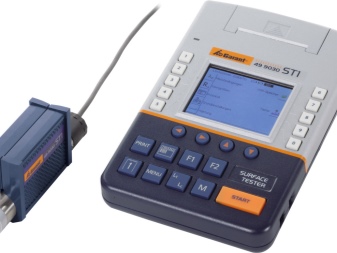
Despite the fact that this profilometer works on the same principle as the previous models, its functionality allows you to determine the level of roughness not only on flat, but also on convex and concave surfaces.
Adjustment of the readout of the output quantity or indication in model TR-100 carried out at the expense of a special unit, additionally built into the main operating circuit of the device. In addition, the TR-100 profilometer has a wider measurement range - from 0.05 to 50 micrometers (μm). Its significant disadvantage in comparison with laboratory or workshop devices is the lower determination accuracy (the difference between the models is about 10-12%).
Non-contact profilometers
Unlike contact models, non-contact profilometers have more capabilities. Therefore, today they are much more widespread, are more often used in production. Their main advantages are the possibility of remote scanning, as well as the function of online data transfer and automatic output of information to a computer monitor or printer for subsequent printing. The permissible distance or distance from the investigated surface will depend on the specific model of the meter. As in the case of contact models, contactless devices also come in two main types - stationary and portable.
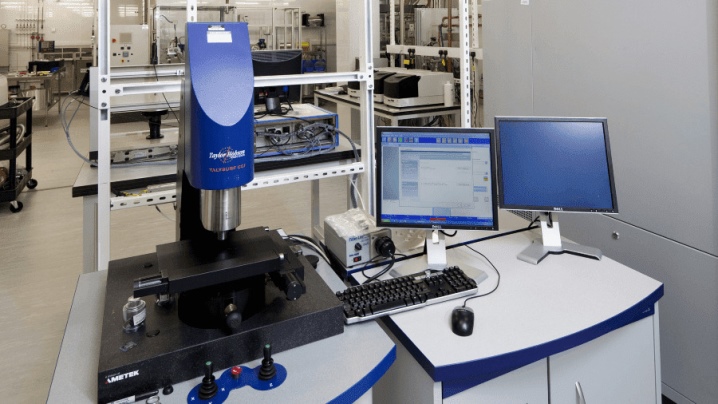
A non-contact stationary profilometer with the function of recording the obtained result includes the following elements:
-
landing plate with special grooves in which the test material or product is fixed;
-
special laser head for surface scanning;
-
an optical device with primary measuring transducers - a special sensor or sensor;
-
guiding channel for wave transmission - waveguide;
-
a computerized node with an appropriate user interface for controlling the device and connecting additional recording devices to it.
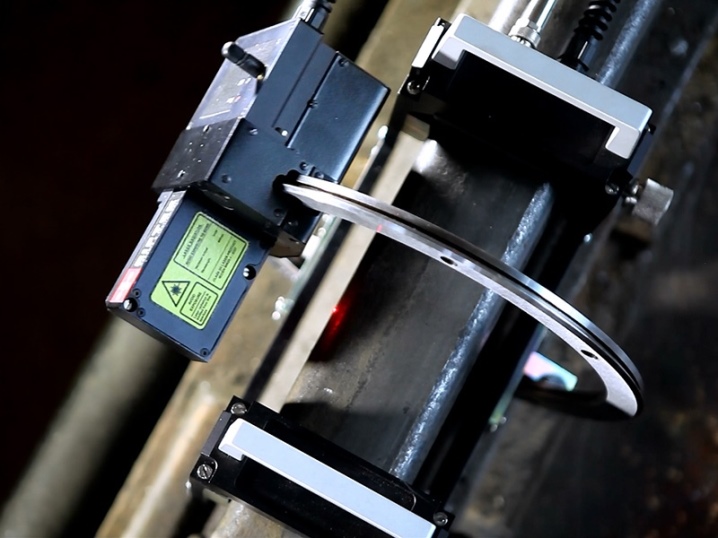
The well-thought-out functionality of a non-contact optical profilometer allows you to determine and display on the monitor a very large, and in most cases, an exhaustive amount of necessary information. Detailed data helps to establish as accurately as possible the level of surface roughness and the need for further processing. The resulting information includes such important indicators as:
-
scanning area profile - longitudinal and transverse;
-
maximum permissible measurement accuracy for a specific surface;
-
discreteness (discontinuity) of the measuring step of the device;
-
reading error at the time of scanning, as well as the possible total total error.
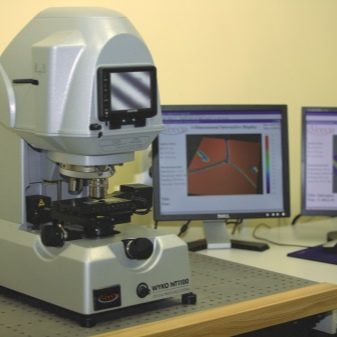
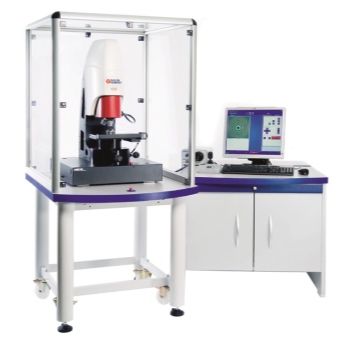
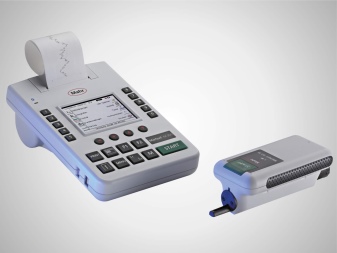
In addition to the main functionality, such profilometers provide the ability record the results obtained on a special thermal printing roll paper. The recording itself is performed in the form of a profilogram, so that the device can also be used as a full-fledged profilograph. The control and monitoring of scanning is carried out in a separate dialog mode, this allows re-measurement of the roughness level not on the entire product, but only in the required areas.
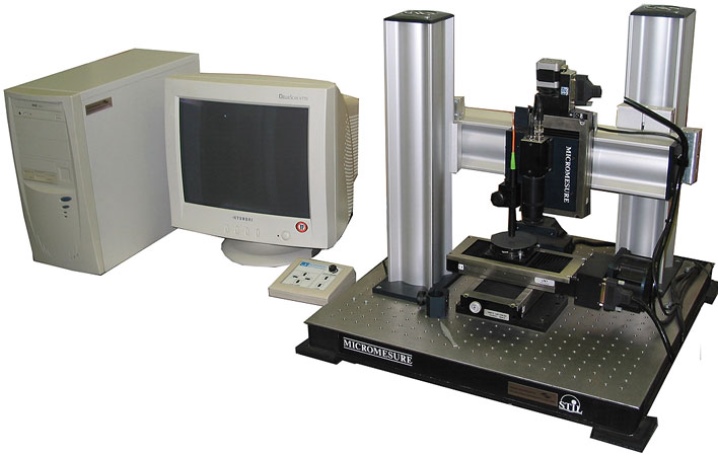
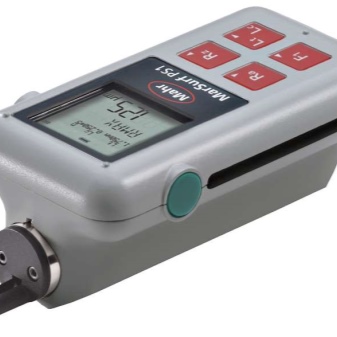
As an example of a portable or mobile non-contact profilometer, consider one of the most popular models of this type of device - meter of German production Mahr MarSurf PS1. In this compact device, the control signal is transmitted to the corresponding circuit using a special optical sensor. Random involuntary fluctuations (periodic partial changes) of the distance between the investigated surface and the reading receiver of the apparatus are compensated for by an automatic system for calibrating the measurement step.
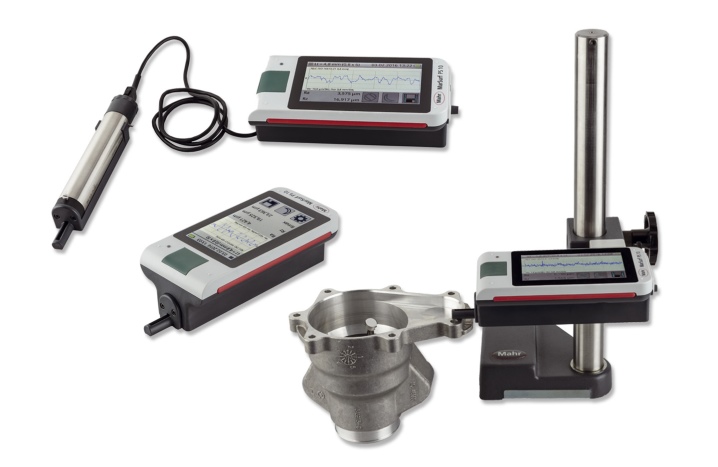
The profilometer is equipped with a convenient digital display and a special retractable non-contact stylus. Roughness level measurement range in portable model Mahr MarSurf PS1 ranges from 5 to 15 micrometers.
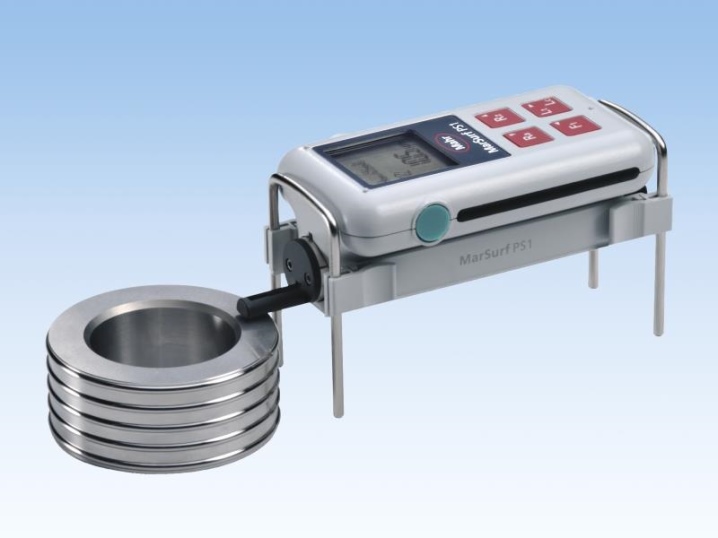
Like all modern mobile profilometers, the device operates not only from the electrical network, but also from built-in batteries. There are also models with removable batteries.
How to choose?
The choice of the meter will directly depend on the type of surface being examined and the purpose, the complexity of the item being tested. Stationary contact and non-contact profilometers provide a more accurate and detailed assessment of the material roughness level. The roughness of hard surfaces, such as high-carbon steel parts, is best measured with a diamond stylus. It is more convenient to carry out an operational or partial assessment of the quality of material processing with a portable portable device.
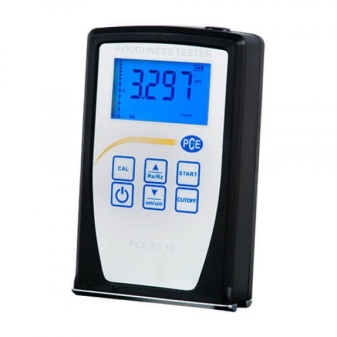
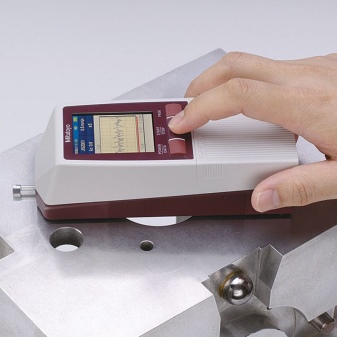
Optical non-contact meters are designed only for scanning cleaned materials - dust and dirt can significantly distort the result.
In specific production conditions, it is recommended to use hard diamond tipped contact profilometers to check such surfaces, otherwise the roughness value will be incorrect.


The comment was sent successfully.