All About Siding J-Profiles
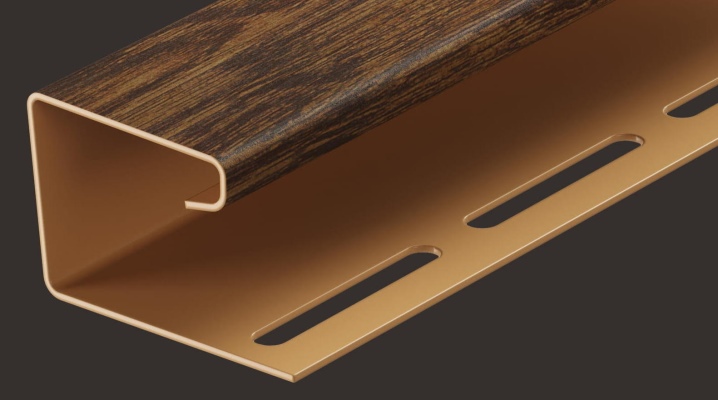
J-profiles for siding are one of the most widespread types of profile products. Users need to clearly understand what they are for in metal siding, what is the main use of J-planks, what the dimensions of these products can be. A separate important topic is how to connect them together.
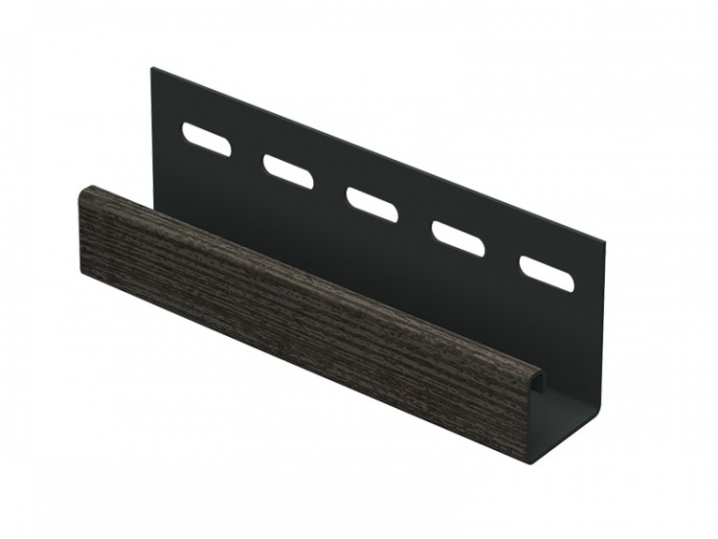
What is it and why are they needed?
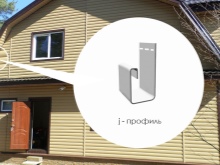
J-profile for siding is a special type of plank (also referred to as a multifunctional extension), without which the very high-quality cladding cannot be obtained. The name of the product, as you might guess, is associated with the similarity to one of the letters of the Latin alphabet. In some cases, such a design can be called a G-profile, but this term is less and less common. One way or another, the J-profile can be installed both under steel or aluminum siding, and under its vinyl counterpart. The connecting and decorating functions are practically inseparable for them, and in conjunction with other components of the complement, such an element as a whole:
- increases the resistance of the siding assembly to the adverse effects of the natural environment;
- makes the structure stiffer;
- guarantees the sealing of the internal space, say, from the appearance of precipitation;
- enhances the aesthetic characteristics of siding.
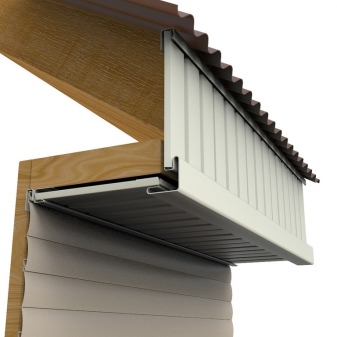
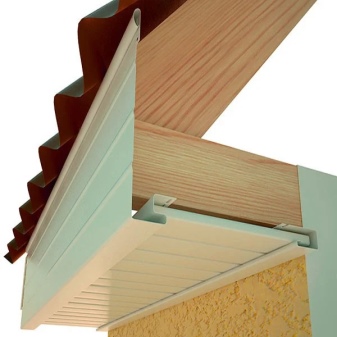
But it must be emphasized that at one time such strips were made exclusively for one function - to replace the plugs on the panel ends.
Over time, however, engineers realized that the possibilities of such devices are much wider. With their help, we started:
- revet openings;
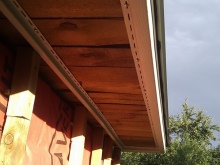
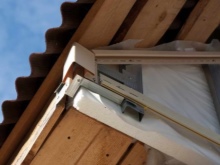
- to decorate eaves of roofs;
- fix spotlights;
- replace traditional finishing and corner units, almost all other types of siding profiles;
- to achieve a generally pleasant and complete look.
But there is still one limitation to keep in mind. The J-profile is unable to replace the start profiles. The reason is simple: after all, such a component was created for decoration, not for fastening. No, it fits perfectly in size. But only the reliability of the installation in such cases is out of the question. When the roof gables are completed with the J-profile, it is additionally ensured that sediment is removed from the building wall.
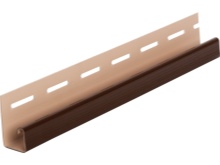
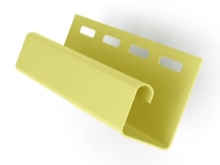
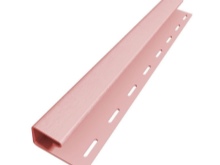
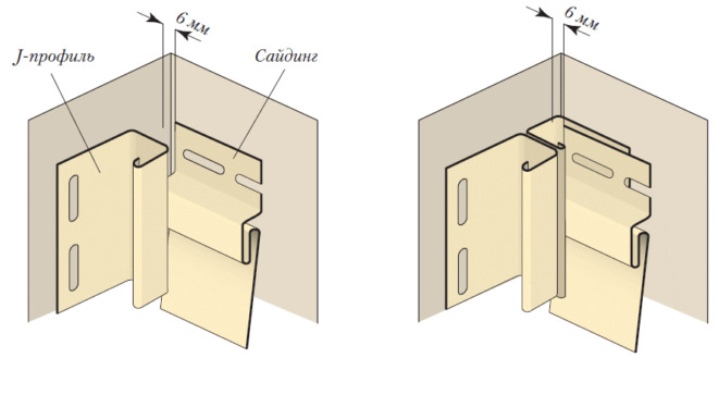
At the corners, such parts are placed as an inexpensive replacement for full-fledged corner components. There are no or almost no differences in mechanical properties. Just a couple of slats are fastened together, and one large detail appears.
Experts advise in such cases to additionally mount roofing material. This will prevent water from getting inside.
Moreover, the J-profile can be applied as:
- means for improving the appearance of the cornices on the horizontals;
- a substitute for the finishing strip;
- plug for end sections of corner pieces;
- docking device (when tying the siding panel and other surfaces).
Species overview
Of course, the solution of such a variety of tasks with one product is impossible, and therefore the J-profile has an internal gradation. Specific types are distinguished by the purpose of the profiles and by the type of panels served. The 3 main categories of slats are:
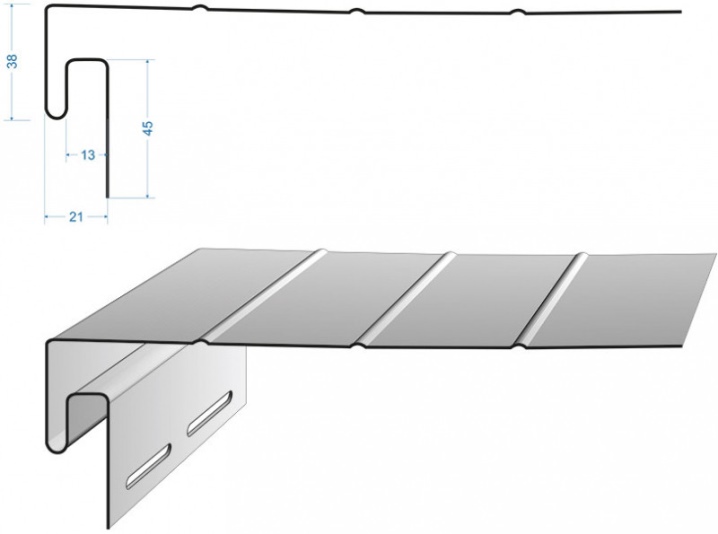
- standard (length from 305 to 366 cm, height 4.6 cm, width 2.3 cm);
- arched format (dimensions are identical to the dimensions of a standard product, but auxiliary notches have been added);
- wide group (with a length of 305-366 cm and a width of 2.3 cm, the height can vary from 8.5 to 9.1 cm).
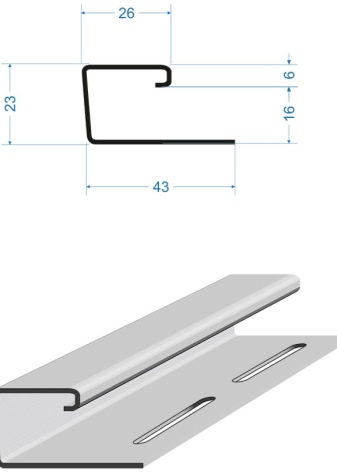
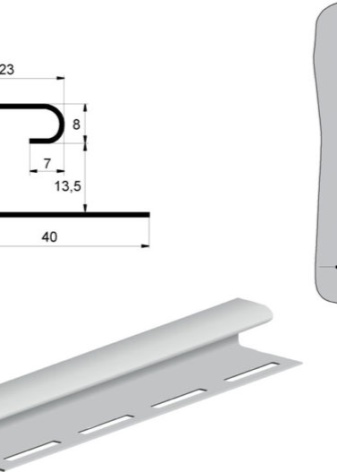
Important: since the complement of each manufacturer may have several specific dimensions, it is advisable to purchase it from the same company as the siding itself.
The J-profile itself is used to decorate openings. He also goes to the design of the joint between the roof and the pediment. The width of such a device will be 2.3 cm, the height is 4.6 cm, and the length is traditionally 305-366 cm.
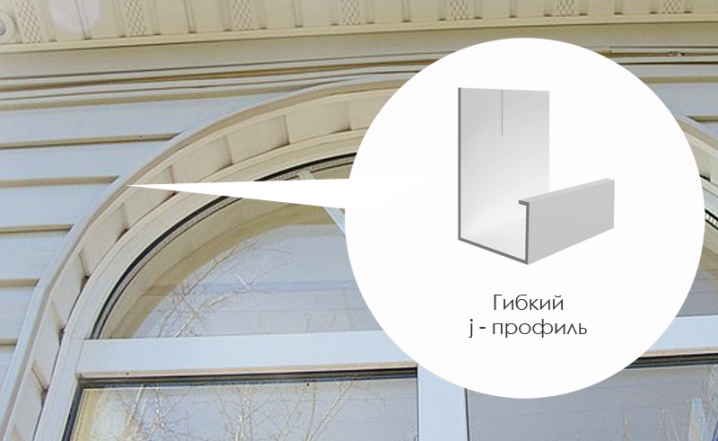
Flexible J-rails help to form arched vaults over the opening. They are also taken to improve the appearance of the curly parts of the cladding.
Narrow slats are used to form soffits and sidewalls. The usual height is 4.5 cm, width is 1.3 cm, and length is 381 cm.
The chamfer, or wind bar, has to be dealt with mainly when decorating the roof edge. In some cases, it is used as a design for the perimeter of a recessed opening. The typical height of such products is 20 cm, the width is 2.5 cm, and the length, again, is 305-366 cm.
Popular brands
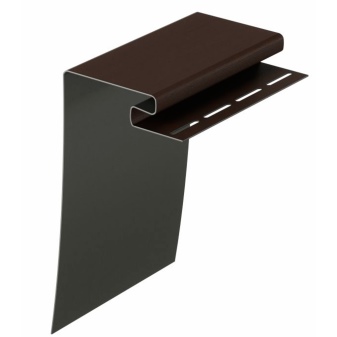
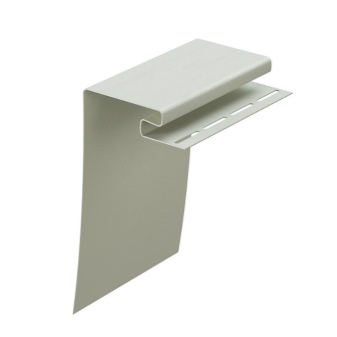
A range of products are available for vinyl siding under the brand name Grand Line... In its standard group of profiles, the length reaches 300 cm, and the height is 4 cm with a width of 2.25 cm.The wide product is 5 cm longer, it is 9.1 cm in height, and 2.2 cm in width.Both options can be painted in brown or white tone. There is also a chamfer with slightly different dimensions.
The Docke manufacturer under the "standard" profile means the product:
- length 300;
- height 4.3;
- width 2.3 cm.
It is curious that this company prefers to use "vegetable" colors. So, for standard profile structures, tones can be used:
- pomegranate;
- iris;
- caramel;
- plum;
- citric;
- cappuccino.
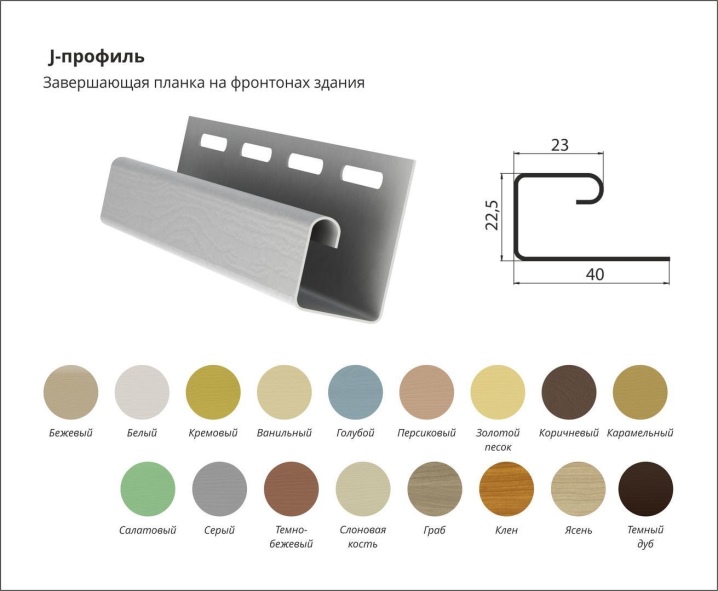
For a wide profile of the same manufacturer, the following colors are typical:
- creamy;
- cream;
- Creme brulee;
- lemon.
In the case of the J-bevel, Docke products are 300 cm long, 20.3 cm high and 3.8 cm wide. Suggested colors:
- filling;
- chestnut;
- pomegranate;
- chocolate color.
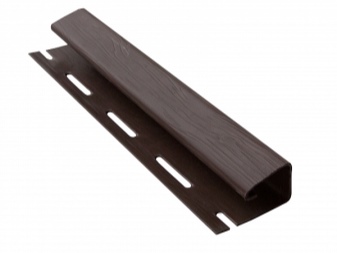
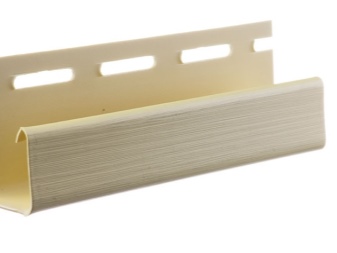
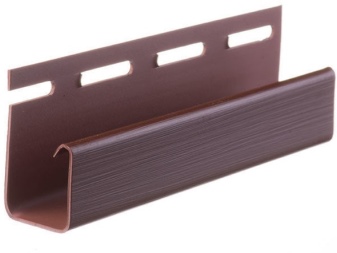
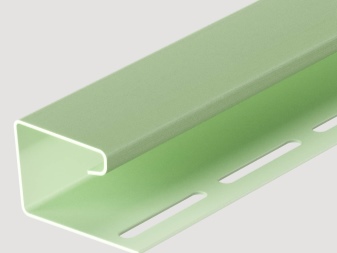
Firm Grand Line may offer another "standard" profile for vinyl siding. With a length of 300 cm and a height of 4.3 cm, its width is 2 cm.
But the company "Damir" under the standard profile means products:
- length 250 cm;
- 3.8 cm high;
- 2.1 cm wide.
Features of choice
It is desirable, of course, to determine the dimensions, especially the length, of the profile structures in proportion to the dimensions of the surfaces, so that less material goes to waste. When making out the openings of doors and windows, it is required to carefully calculate the perimeters of all such openings. Then they are added up and it is determined how much you need to buy in the end. The decisive calculation is simple: the resulting figure is divided by the length of one profile. This procedure is suitable for both a wide profile and a basement product.
When installing the soffit, you cannot limit yourself to calculating the sum of the perimeters. Additionally, you will need to add the sum of the lengths of the soffit sidewalls.
If the ends of the house and roof gables are decorated, both sides of the gable and the height of the wall section from it to the border of the roof are additionally measured. This is done at every corner. Attention: exactly 2 profiles must be used for one pediment.
All manufacturers indicate that a different type of profile is needed for metal siding than for vinyl products. This can be traced even in catalogs - products for metal siding have been brought to separate positions. It is also necessary to take into account the actual configuration of houses and buildings. If the dimensions do not match, the planks will need to be cut off. As already mentioned, it is best to order a complete set from one manufacturer (supplier) in order to guarantee perfect compatibility of all elements and everything is correctly calculated.
Installation options
Along the perimeter of the window
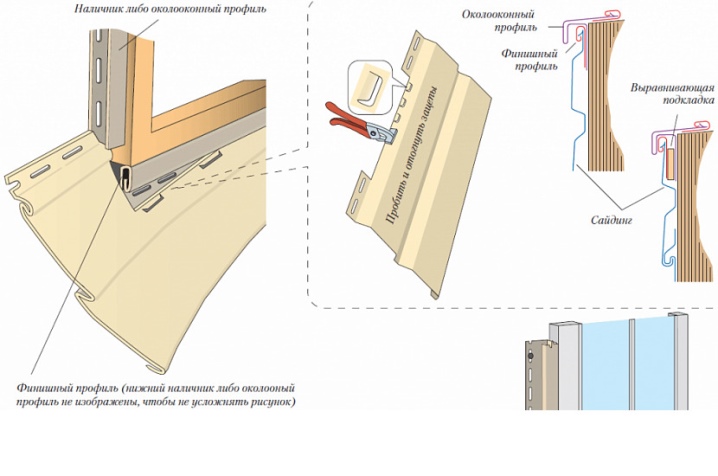
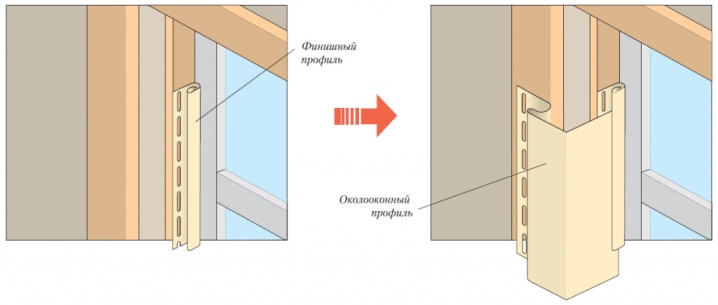
To sheathe the outer border of a door or window, the purchased profile is first cut into the required lengths. This can only be avoided in those rare cases when the size allows the products to be fastened without cutting. It is necessary to remember about the allowances for corner trimming.They require an increase in each part by 15 cm, otherwise it will not work to connect and correctly join the profiles. Then it is necessary:
- arrange corner joints on all segments at an angle of 45 degrees;
- prepare original "tongues" to prevent the harmful effects of the natural environment on the inner parts of the cladding;
- insert the profile from bottom to top;
- mount the side and top parts;
- insert the "tongues" into place.
On the gables
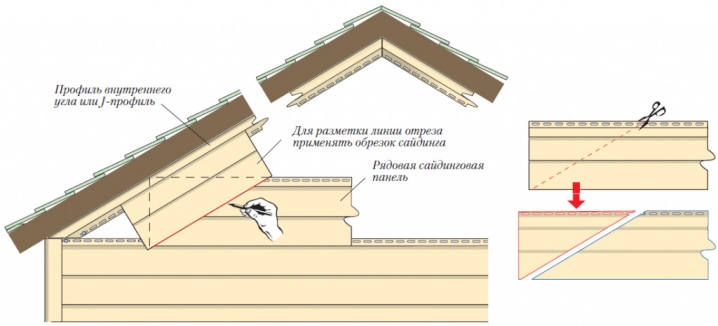
Joining two previously unnecessary profile sections allows for a complete joint template. One piece is applied in the area of the ridge, the second is placed under the canopy of the roof. The part on the ridge is trimmed to accommodate the slope of the roof. The necessary mark is made with a regular marker. The prepared template allows you to accurately measure the section of the profile.
- First, they work with the product that will be on the left side of the roof. The template is placed "face up" on the length of the extension, achieving a right angle between them. This will allow you to make an accurate mark and make the cut as competently as possible.
- The next step is to turn the template face down. Now you can mark the second section of the profile, located on the right of the roof. Be sure to leave a nail bar.
- Having prepared both segments, they are joined and fixed using self-tapping screws. Start by screwing a self-tapping screw into the upper mounting hole. Other hardware is driven into the middle of the nail nest; the step will be approximately 25 cm.
For spotlights
This job is even easier. The soffit is combined with the cornice by overlapping, that is, the soffit is on top. A support (wood beam) is stuffed under this cornice. Next, the second profile is attached opposite the first element. The distance between the elements is measured.
Then you need:
- subtract 1.2 cm from the obtained value;
- cut parts of the required width;
- insert them in their proper place;
- fix the soffit in the perforated holes.


The comment was sent successfully.