Ceiling profile for LED strip
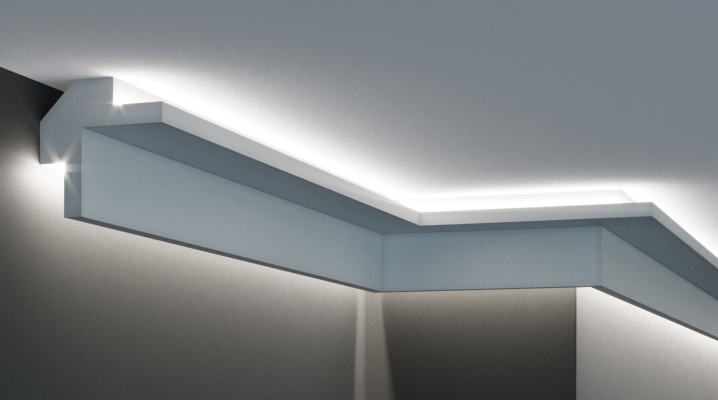
Modern design, the interior of living rooms, country houses, dachas, apartments and offices suggests more and more sophisticated delights for decoration, for example, overhead lighting. One of the fashionable solutions is panels and inserts for LED strips.
Peculiarities
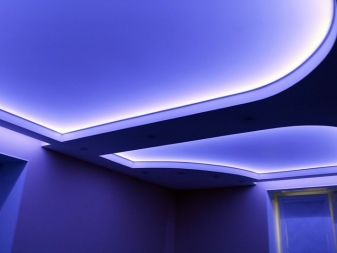
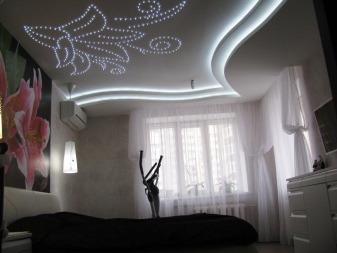
A chandelier is a classic ceiling light in a residential or commercial space. Even in-ceiling lamps, inserted, for example, into the space above the suspended ceiling, gave way to LED panels of any configuration. Individual production of such lighting devices has gone far beyond tens and even hundreds of standard solutions.
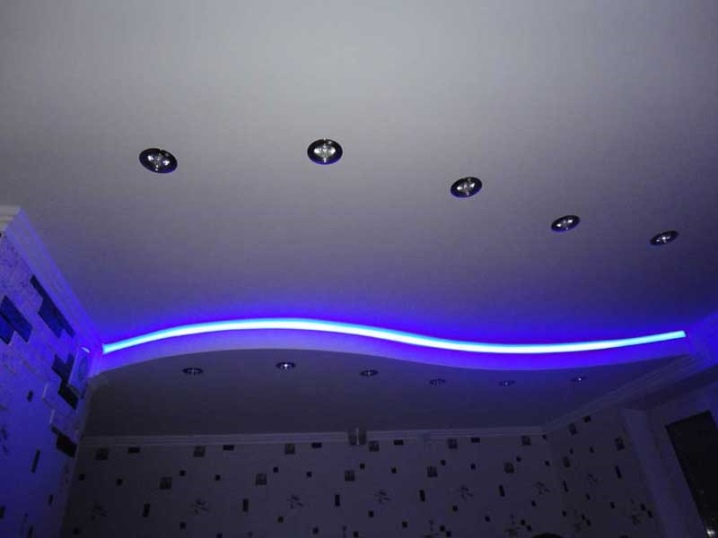
In recent years, LED circuits, lines, waves, zigzags have become more and more in demand, the brightness of which has completely caught up with traditional chandeliers and square recessed lamps, spotlights and flexible luminous tubes. A glowing square, rectangle, triangle, polyline, or curve now gives the same amount of light as a solid area bounded by a closed path (triangle, rectangle, parallelogram, polygon, circle, arbitrary and closed curves).
The consumer only has to choose the materials with which he will be able to implement this solution.
Views
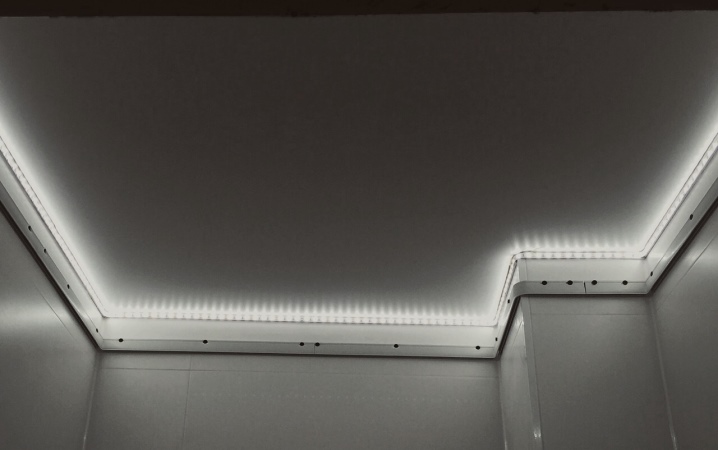
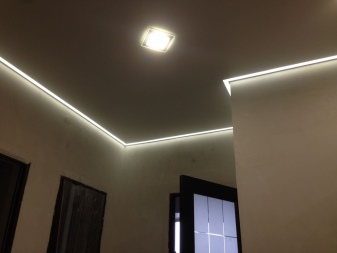
Contour light lines should be made narrow - for example, their width (two-dimensional thickness visible on the ceiling) most often does not go beyond 5 cm. The length of the contour can be arbitrary - at the request of the customer. In reality, it looks like an aluminum ceiling profile with a transparent diffuser that illuminates the entire room.
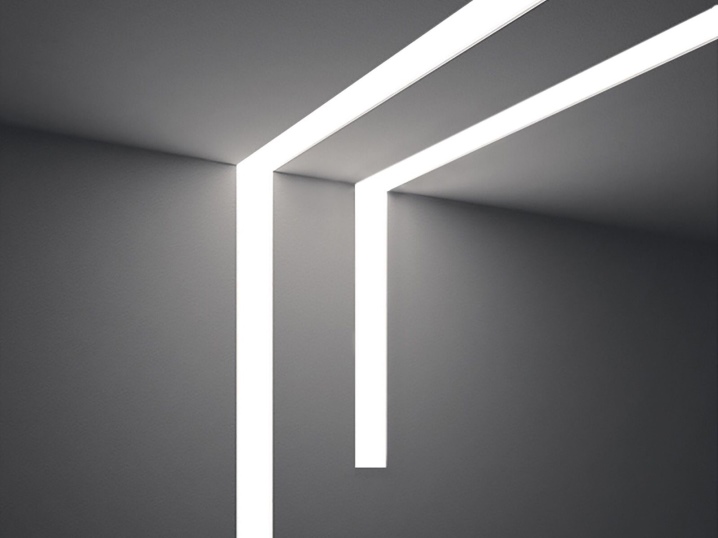
The easiest solution is to position the illuminating profile with a strip that is transparent for transmitted light around the perimeter. This is exactly what the first LED strips were about 10 years ago, when similar lamps just entered the market. If the ceiling is two-level, forming a beautiful even step, for example, in the middle of a room, then the edge of this ceiling drop can also have an open contour that lets light through a narrow dihedral diffuser. The width of the glowing contour can be either increased (two sides 5 cm each) or remain the same (the total 5 cm is divided into two sides of 2.5 cm).
The thinner and brighter the glowing contour looks, the more stylish and elegant the entire ceiling looks.
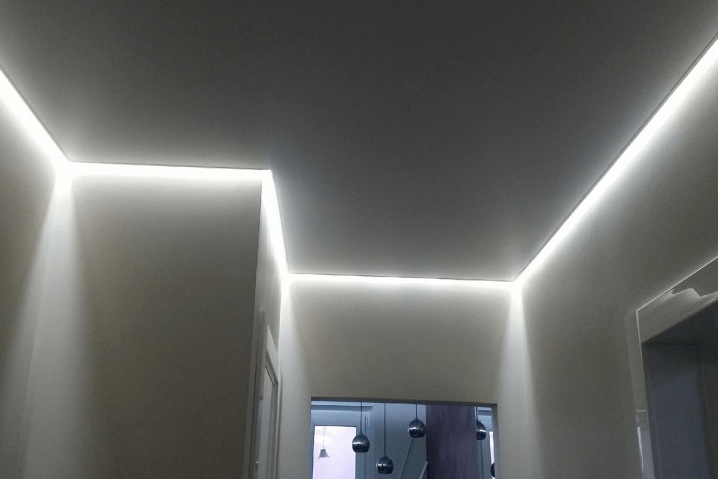
LEDs that glow at maximum brightness tend to heat up to 60 degrees. Although they are not fluorescent or incandescent lamps, which means they should not get warm, Chinese production, aimed at a huge and constant volume of sales, does everything to ensure that sales of LEDs never stop (operating in a market economy). If you turn them on at a reduced current - as it should, based on the volt-ampere characteristics of white LEDs - then the circuit will heat up no higher than +35, but then it will shine several times less.
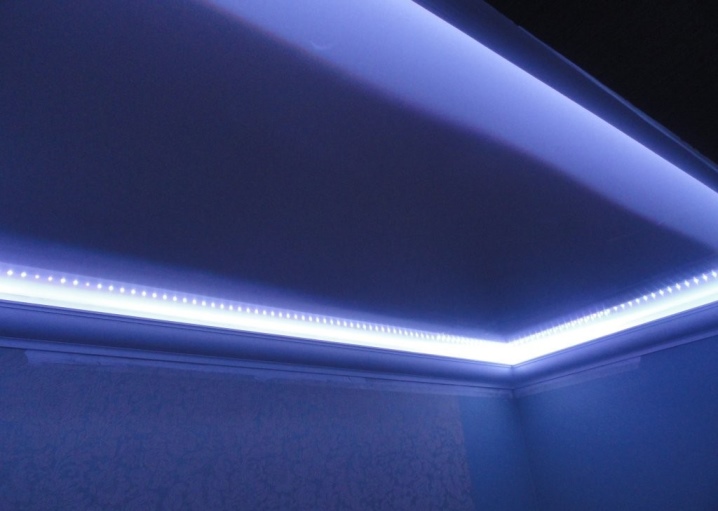
That's why excess heat from near-peak LEDs must be dissipated through the metal... For this purpose, bearing guides, taking on excess heat and serving as a kind of primitive heat radiator, are made in the form of P-, C-, S-, L-shaped aluminum profiles. In addition to LEDs, their internal cavity contains wires or a printed circuit board with conductive paths on which LEDs are soldered.
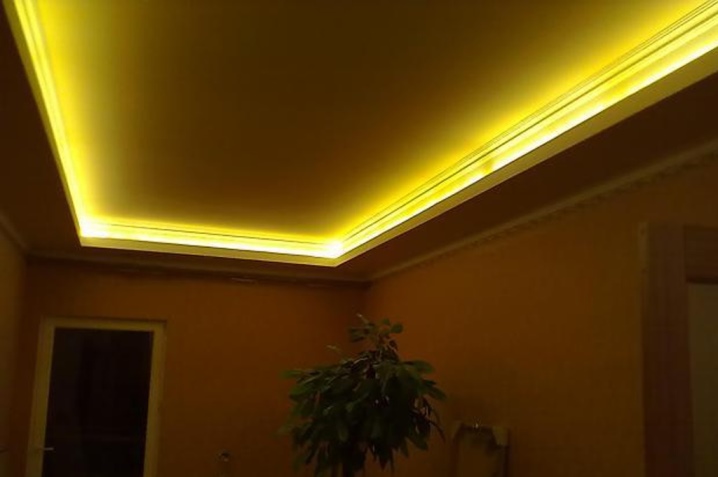
The hidden tape can also be made of a plastic profile, the color of which completely merges with the color of the ceiling. The diffuser is made not transparent, but white, like the casing of a simple "cartridge" LED light bulb. Luminous contours for a gypsum ceiling are mounted on the surface - and the profile with a cavity for LED rows with wiring, and the diffuser are a regular box, often made in the form of a one-piece structure.
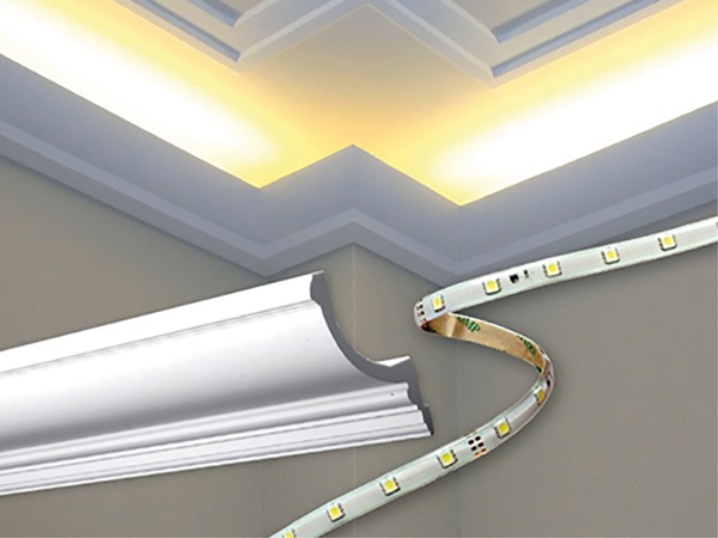
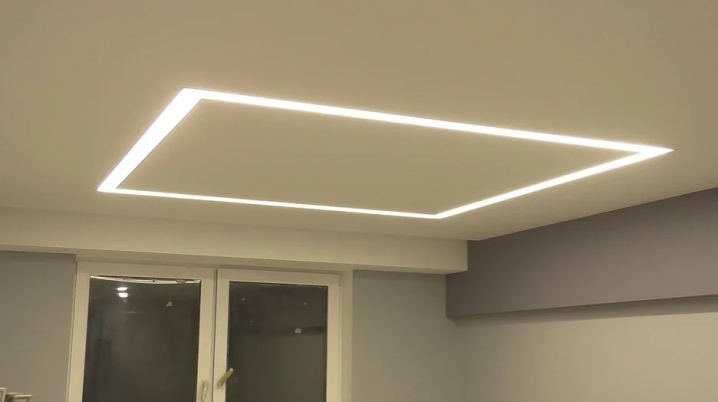
Craftsmen and especially discerning customers can punch a gutter in the ceiling (and concrete floor) for this lighting box. Then a suspended or suspended ceiling is not needed at all - a built-in structure of this form factor directly cuts into a regular ceiling.
Installation rules
A recessed structure for a simple (non-false) ceiling is mounted as follows.
- The ceiling is marked for the future lighting box using a simple pencil, construction markers and other means that help to clearly and efficiently draw the plan.
- With the help of a groove cutter, a groove (channel, gutter) is cut under the structure.
- At the bottom of this groove, holes are drilled for plastic dowels, the dowels themselves are inserted. If the ceiling is concrete-gypsum, you will need a special drill that breaks through hard minerals such as concrete or stone.
- The profile of the LED panels is applied. It is inserted into the channel and secured with self-tapping screws screwed into the dowels.
- An LED strip or fragments of elongated LED assemblies are mounted in the profile. The LED lighting (along with the wires if they replace the "printed" assembly) is securely fixed inside. The operation of the lighting circuit is checked.
- The reflector itself is applied and screwed on (glued or the panel projections are inserted into the corresponding profile latches).
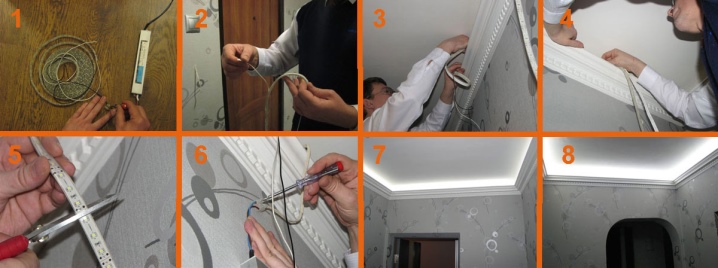
The assembled structure is wiped from traces of dust. LED contour lighting is ready for use.
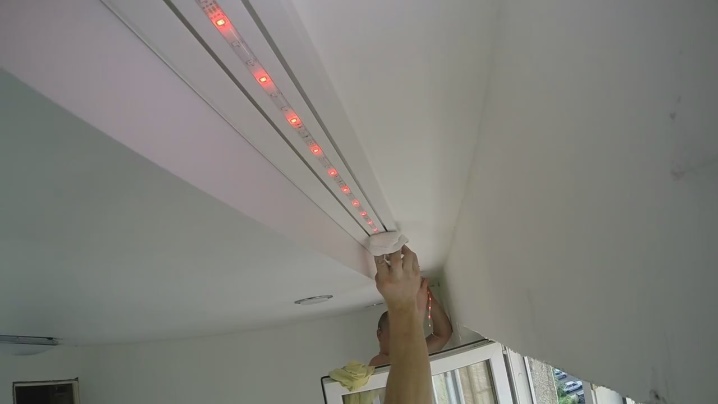
In a suspended or suspended ceiling, basic guides must be provided, within which the LED circuit assembly is installed. This ceiling, in accordance with the customer's requirements, is manufactured in the workshop of the supplier on an individual order, delivered to the site and assembled by craftsmen. Then LED strips, fasteners, contour assemblies are purchased for the resulting structure and installed in such a ceiling.
The whole structure is completely ready to work.
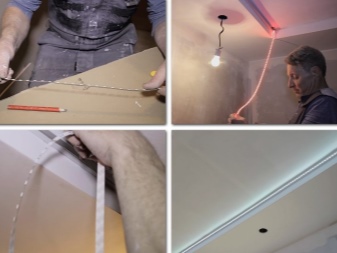
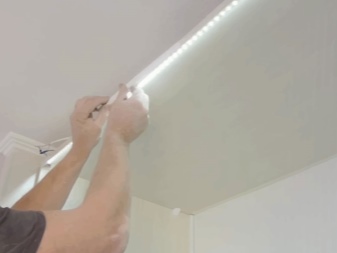
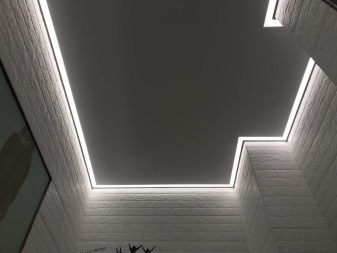
LED circuits are installed not only in ceilings, but also in wall panels, plasterboard partitions, door and window arches, and even in tiled bathroom cladding. Modern design is cunning for inventions - it is not a problem to implement almost any solution.


The comment was sent successfully.