Clamp scaffolding overview and installation
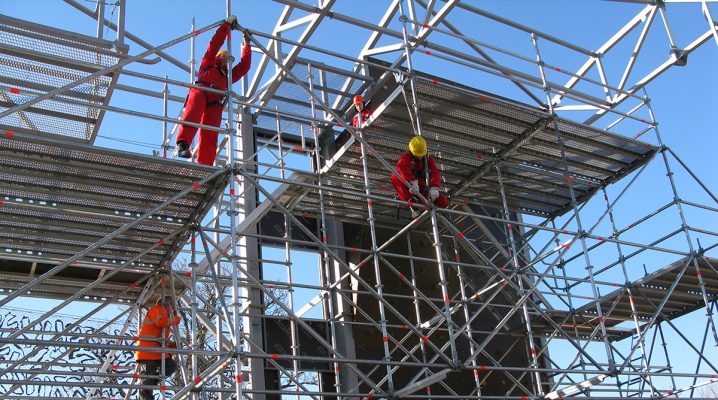
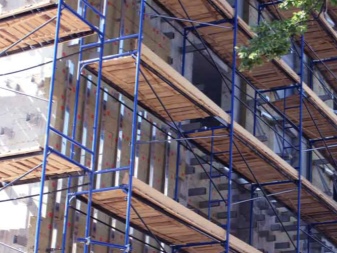
Due to their design, the clamp scaffold is suitable for working with difficult objects on uneven ground. The flexibility of their adjustment provides a swivel clamp or other fastening. This article discusses scaffolding of the LSPKh-40, LSPKh-60 and other models.
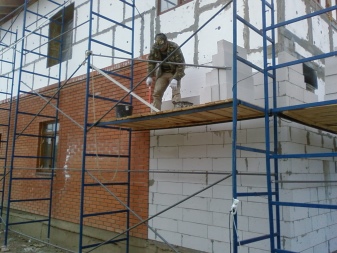
Design features
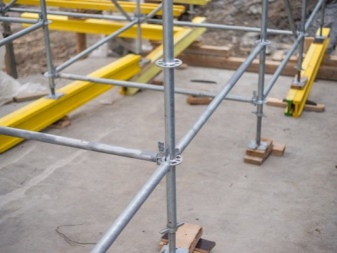
The main feature of the clamp scaffolding - their component parts are fastened together with clamping clamps. Thanks to this solution, the parts can be fixed in any position, not only in fixed attachment points. Ultimately, this improves usability and expands the scope of use:
- for the construction and decoration of buildings up to 80 m high;
- for masonry work at a level of up to 20 m (scaffolding with a reinforced crossbar);
- for the construction of stands, stages, racks and other non-standard products.
There are 2 types of such forests in total: pipe-clamp (fixed with screw clamps) and wedge-clamp (fixed with wedge locks). To assemble the screw, you need a wrench, and for the wedge you need a hammer. The rest of the characteristics are the same.
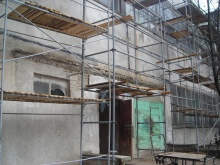
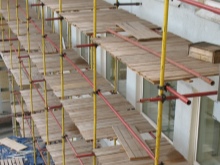
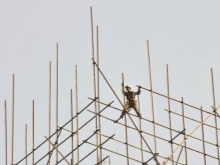
Compared to other types of scaffolding, clamp scaffolds have a number of advantages.
- Assembly variability. Scaffolding takes any shape - you can work on facades with a complex configuration and perimeter. In addition, the working height is infinitely variable.
- Tubular scaffolding can be installed on inclined and stepped surfaces without the risk of tipping over.
- Security. When overloaded, the platform with people will "slide" down, and the frame will not break.
- Ease of adjustment. You can change the position of parts in several directions at once.
- Versatility. They can be used together with other types of attached rack-mount scaffolding outside and inside the premises.
But at the same time, they are not without drawbacks.
- The main disadvantage is the price. Hose clamps are significantly more expensive than other types of scaffolding.
- A large number of components (mainly clamps and plugs). This requires careful storage and transportation.
- If you change the assembly scheme, you will need additional fasteners.
- Time-consuming assembly.
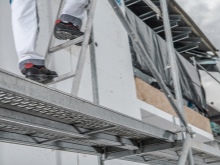

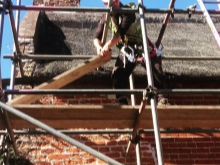
Therefore, it is necessary to carefully mount the scaffolding, especially since there are many constituent elements in the structure.
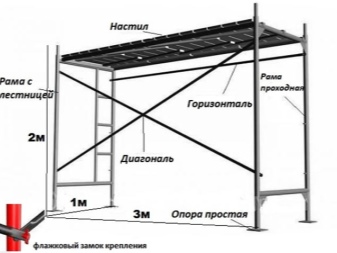
- Racks - the main parts of the forests. They are placed vertically, the rest of the elements are attached to them. Racks are standard (4 m long) and additional (2 m long). When assembled, they are inserted into each other.
- Shoes (thrust bearings) - supporting parts of the racks of the lower tier. They are installed on wooden supports and secured with nails. Their height is not adjustable.
- Rigeli... Cross supports that connect the racks to each other. They also fix the scaffolding to the wall. The flooring is laid on them.
- Anchors... They are mounted on the wall of the building, with beams attached to them.
- Flooring... A platform on which workers walk and move loads. Made of coniferous planks 35-50 mm thick (to avoid bending). For it, wood of at least 2 grade is used. The dimensions of serial flooring are 0.5x2 m and 0.75x1.2 m.
- Diagonal ties. They add rigidity to the structure. The standard length of such an element is 3.7 m or 5.3 m, and its weight is 20-30 kg.
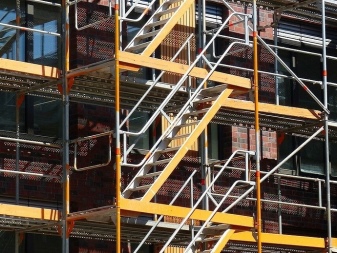
- Stairs... Workers climb along them. The standard length is 2 or 2.38 m. They have hooks at one end, with which they are hung on the transom. The other end of the ladder rests on the ground or flooring of the previous tier.
- Clamps... Connect all parts of the forest together
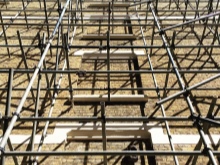
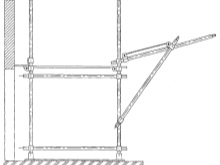
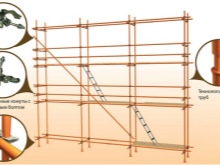
These are typical scaffolding parts, they are the same in different models (only the diameter of the pipes may differ). Therefore, all serial products have similar characteristics:
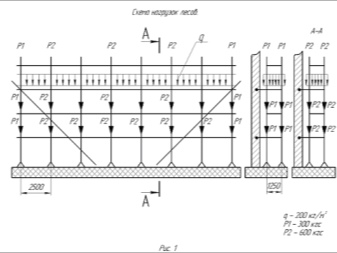
- maximum load - 200-250 kg / m2;
- the distance between the bearing racks is 150, 200 or 300 cm;
- tier height - 200 cm (there should be a crossbar every 2 m);
- the height of the handrail installation - 100-150 cm;
- the outer diameter of the rack - 42 or 48 mm;
- rack wall thickness - 1.5 or 2 mm.
The exact characteristics can be found in the passport of your model. And if it does not exist, do not use these forests. Climbing to a height of 40 meters through unknown forests is too big a risk.
During operation, the greatest load falls on the fasteners, so it is worth dwelling on the description of the fasteners in more detail.
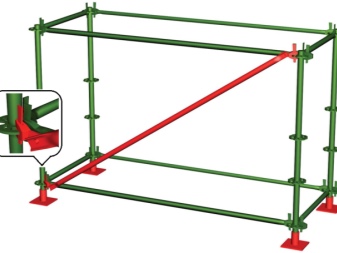
Variety of fasteners
Fasteners are the most important part of the design. It must be as strong and reliable as possible, therefore the clamps are made of steel grade not lower than Art. 3 and Art. 4 in accordance with GOST 380. To prevent corrosion, a protective layer (usually zinc) is applied to them.
Clamps connect the rack elements in different planes and directions and are divided into 2 groups.
- Deaf... Connect the elements only at right angles (for example, a rack and a crossbar).
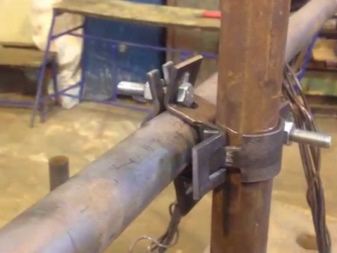
- Swivel... They are needed for fastening inclined parts (mainly diagonal ties). They are used in pairs and are often arranged symmetrically. Sometimes they have a wedge design, in which the headrest of the bolt is made in the form of a truncated cone. Then, when tightening, the force increases smoothly, the clamp does not deform.
Important! Swivel clamps are less durable than blind clamps. When assembling, they must be placed evenly throughout the structure, and their total number is no more than 20% of all fasteners.
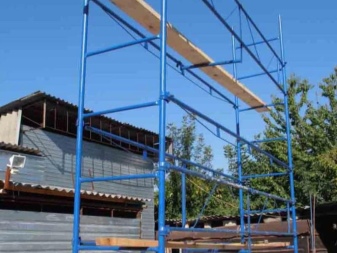
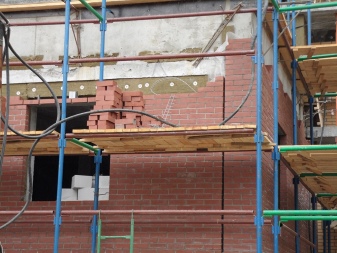
The halves of the clamp are a U-shaped plate with a radius of 42, 48 or 57 mm. They are connected to each other by bolts and washers. The bolts must have a rounding at the transition from the head to the rod (groove is not allowed - a weak point).
The higher the working height of the scaffolding, the higher the strength of the components must be. Clamps are made by cold stamping, while the metal is somewhat hardened. This increases the ultimate strength of the material to 400 MPa.
The fastening bolts and nuts must have a strength class of at least 5.6.
Forests are assembled from unified parts. Their different heights are provided by the number of elements, while the number of components depends on the brand of scaffolding.
Dimensions and markings
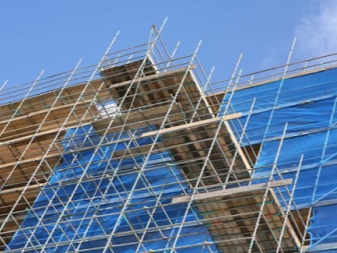
The marking consists of alphabetic and numeric parts. Clamp scaffolds are designated LSPH (Mobile Clamp Scaffolding). The number indicates the highest height (in meters) up to which this model can be assembled. For example, LSPH-60 has a maximum working height of 60 m.
Sometimes there are letters "US" after the numbers. This means that reinforced girders are used for decking. An example of designation is LSPH-40US. Other models are deciphered similarly. Detailed information is not indicated in the labeling... This is because the scaffolding structures are similar (only the equipment, the diameter of the racks, etc. differ).
Therefore, all models are collected in the same way and in the same sequence.
All about assembly
Check the quality of the woods before harvesting them.
- There must be an instruction or a passport.
- Scaffolding should be regularly tested for strength. The results of the checks are recorded in a passport or a special journal. Check that the inventory number of the scaffolds matches the one indicated in the test log.
- Check the date of the passed tests and the date of the next ones. Make sure the design passes the tests.
- Visually inspect every detail. There should be no damage on it. Pay particular attention to the clamps and bolt threads.
- If at least one point is not fulfilled, you have the right to refuse to work.
Always study the regulations, even if you are short on time. Still, you trust the forests with your life, and it is not worth the saved minutes.
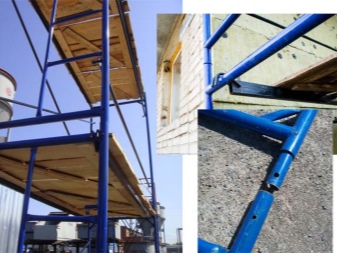
If everything is in order, then you can start work. It takes wrenches, a building level and a lot of work time.
Start with preparatory work. Determine the desired assembly configuration, draw up the PPR (Work Plan) and installation drawings, calculate the number of components. When everything is ready, proceed with the installation.
- The assembly starts from the corner of the building.
- Prepare the installation site. Unevenness and elevation differences are allowed, but the ground must be dense.
- Place wooden pads on the ground in the area where the racks are to be installed. Their thickness is at least 40 mm.
- Place the shoes on the pads and fix them with nails.
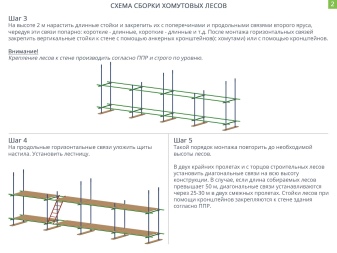
- Insert the racks of the first tier into the shoes. They must be typical (4 m long). Important! The racks should go strictly vertically, check their position on the level.
- At a height of 2 m, fasten the crossbars to the posts. Check the level that the ledgers are installed strictly horizontally.
- Install the plugs on the ends. They will protect the inner surfaces of the pipes.
- Anchor the brackets to the wall.
- Lay the flooring on the crossbars. Secure the ladder.
- Grow the scaffolding to the required height. To do this, repeat steps 4-8. When building up, standard (4 m long) and additional (2 m long) racks should alternate.
- In 2 extreme spans and at the ends of the scaffolding, install diagonal ties to the entire height of the structure. To do this, you need swivel clamps (recall, the number is not more than 20% of all fasteners). If the scaffolding is higher than 50 m, ties are placed every 25–30 m in 2 adjacent spans.
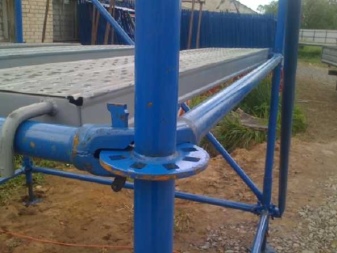
Observe safety precautions. Tighten the fastening bolts well when assembling. Use only complete spare parts, do not take extraneous fasteners. And don't forget the rules for working at height.
An overview of the clamp scaffolding and their installation, see the video below.


The comment was sent successfully.