How to replace the sunroof cuff of a Samsung washing machine?
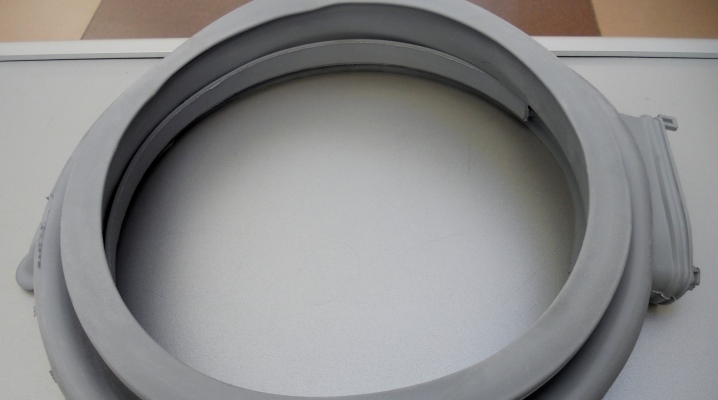
The automatic washing machine is an indispensable assistant for every housewife, it not only facilitates the washing process, but also allows you to simultaneously perform several household chores. Despite the simplicity of the design, this household appliance needs timely repair and regular technical inspections, which will help identify both major breakdowns and minor malfunctions. Deformation of the hatch cuff - a common problem that you can solve on your own with minimal experience in repairing household appliances and a classic set of tools.
Why do you need a replacement?
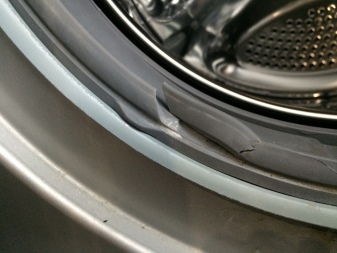
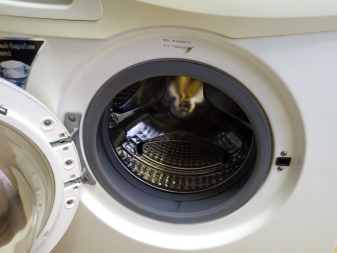
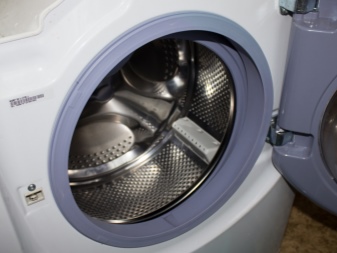
An automatic washing machine is a modern mechanism, a malfunction of which can provoke even minor breakdowns and malfunctions. One of the causes of the malfunction may be the deformation of the rubber seal. Samsung washing machine sunroof cuff - rubber gasket, which ensures the maximum level of tightness of the device and prevents the leakage of liquid during washing. This element is made of special elastic silicone, which has a long service life, a high level of flexibility and resistance to temperature fluctuations.
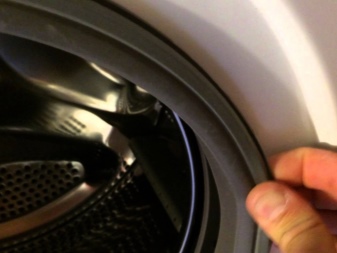
Prolonged and intensive use of the device often leads to deformation of the cuff, to a decrease in the level of its elasticity and contamination. Experts recommend replacing this element in the following cases:
- deterioration of the draining process;
- the appearance of streaks near the hatch during washing;
- accumulation of a large amount of pollution;
- the appearance of a specific and unpleasant odor.
Depending on the device model, cuffs may differ in shape, size, and design, which indicate that the device has additional features.
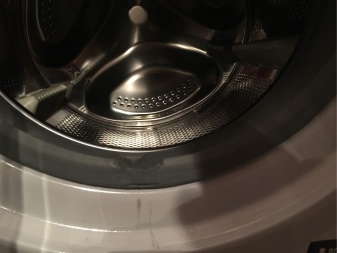
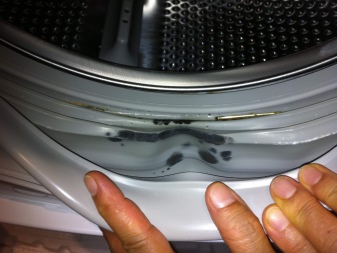
Breakdown reasons
The rubber seal (O-ring) is a consumable part that needs careful handling and timely replacement. Experts identify the following factors that can provoke the failure of an element:
- long and intensive operation;
- sharp temperature fluctuations;
- spinning at maximum speed;
- the use of low quality detergents;
- high humidity in the room;
- regular closing of the hatch immediately after washing;
- fungal infections;
- incorrect loading of laundry;
- use of aggressive detergents.
Despite the large number of possible causes of deformation of the cuff, the most common way for the rubber of the tank to break is its contact with sharp foreign objects that can remain in the pockets of clothing.
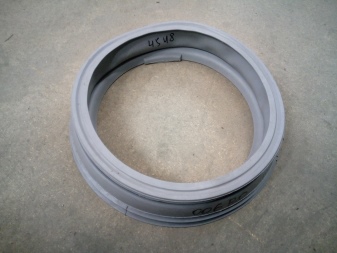
How to choose a cuff?
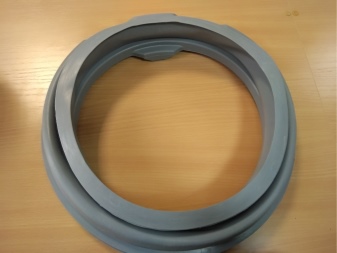
To correctly replace a deformed cuff, it is necessary to pay attention not only to the features of dismantling and installation, but also to the rules for selecting a new part... To ensure the maximum level of tightness, it is allowed to install only original products or the most similar analogs, such as Diamond. You can purchase products exclusively from the official representatives of the company or in large retail chains, the products sold in which meet international standards and have quality certificates.
If the repair of the washing machine will be carried out by a service center, then it is his masters who should take care of the acquisition of the necessary component parts for repair. And also the specialists of these organizations will help you choose a high-quality analogue, which will become a full-fledged replacement for the original part.
Many novice craftsmen buy a cuff to replace other brands, relying only on external similarity. The presence of even minimal differences will provoke the complexity of installation and lack of tightness.
By giving preference to a high-quality analogue, you can significantly reduce financial costs and time spent on delivery. Genuine components not only come with a high price, but also have a long delivery period.
Repair manual
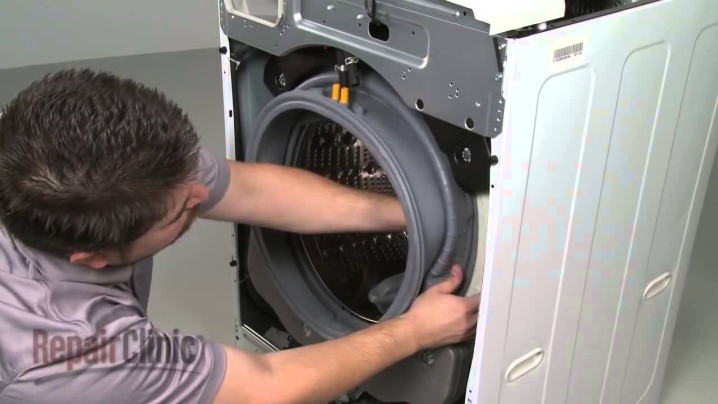
You can change, install and put on the seal on the drum with your own hands. Before proceeding with the independent replacement of the rubber seal, it is necessary to prepare a screwdriver and a set of screwdrivers, as well as carefully study the technology of work and consult with specialists. For high-quality performance of work, professionals recommend observing the following sequence of actions:
- removal of the clamp;
- dismantling the rubber band and external clamp;
- removing the outer panel;
- installation of a new element.
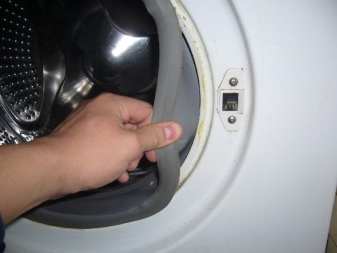
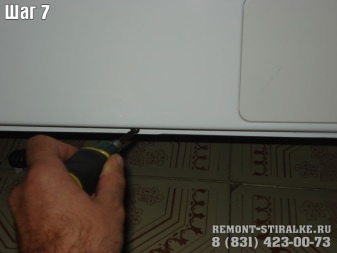
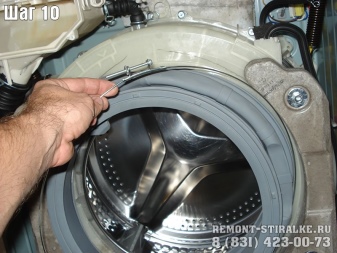
In order to remove the clamp, you must first dismantle the external spring-type product, which must be pry off with a screwdriver and pulled towards you, being careful not to damage the adjacent elements. After removing the external device, proceed to remove the loading door seal by screwing it towards the drum.
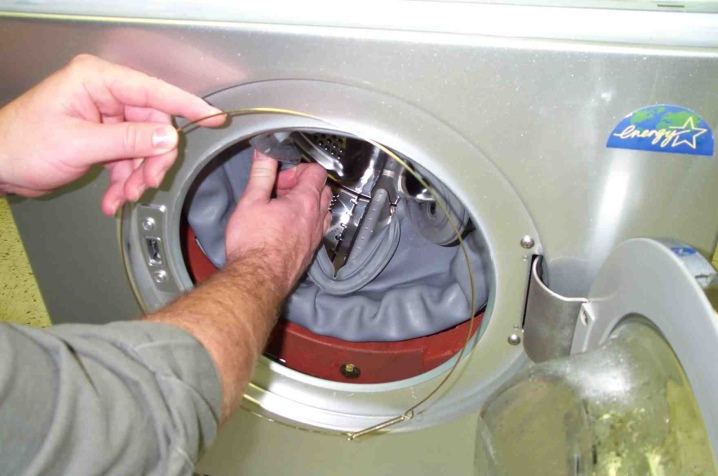
To release the elastic from the clamp that fixes it inside, you must perform the following manipulations:
- removing the top panel of the machine;
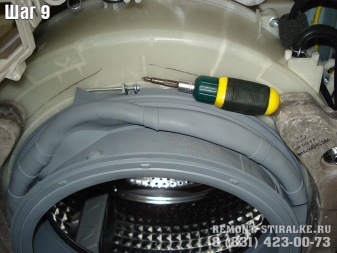
- loosening the steel ring with a tension bolt;
- removing the sealing rubber of the drum together with the ring;
- dismantling the facade.
If the rubber seal was dismantled for preventive purposes, then it is necessary to thoroughly wash not only it, but also all adjacent elements.
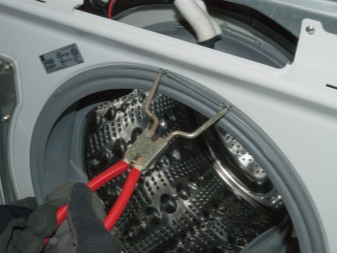
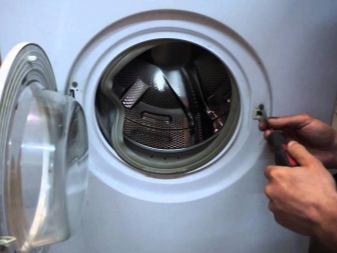
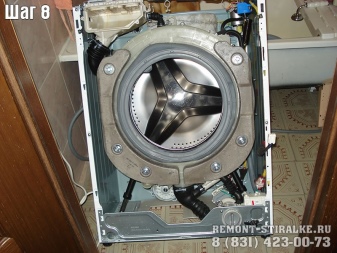
For a complete cuff replacement it is necessary to dismantle the entire front part of the device, the absence of which will provide free access to the inside of the device. The process of dismantling the panel consists in removing the fixing bolts, two of which are located at the bottom, three under the control panel and one bolt under the dispensing container. After all the manipulations, the front panel can be easily detached and completely reveals the view of the inside of the drum.
Experienced craftsmen replace the rubber seal without removing the front panel. This trick can significantly reduce the time spent, but requires a certain theoretical and practical experience.

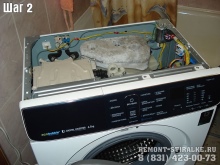
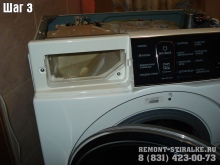
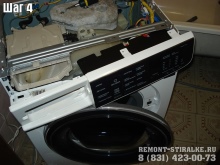
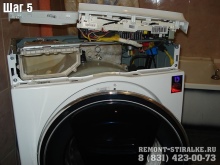
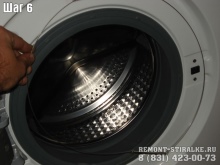
Particular attention must be paid to the process of installing a new cuff, which consists of the following steps:
- simultaneous installation of the cuff and the inner clamp on the drum protrusion;
- filling the gasket with a clamp in a circle;
- checking the correct filling of the inner fastening ring;
- tightening the tension screws;
- installation of the outer part of the rubber band from the front side;
- installation of an external clamp;
- front panel and door assembly.
Violation of the process of installing the seal and improper installation of the door can provoke a violation of the seal and leakage of liquid.
Prevention measures
To reduce the number of repairs experts recommend that you carefully study the manufacturer's instructions and follow the following recommendations:
- the use of high-quality detergents with a low level of aggressiveness;
- removing all foreign objects from pockets;
- monthly cleaning of the cuff from accumulated dirt and detergents;
- compliance with the volume of washed laundry;
- conducting timely and regular preventive measures throughout the apparatus.
Experienced housewives do not recommend putting bulky outerwear and hard shoes into the drum, contact with which can provoke unnecessary friction of rubber and products.
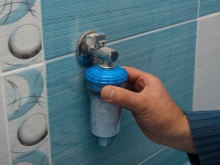
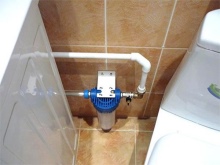
To reduce the frequency of repairs, a special flask with salt, which is installed in the path of water entering the machine, will help. This trick helps soften the water and reduce the amount of salt and scale. The use of special industrial compounds that are used together with detergents will help soften tap water.
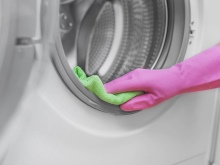
Several times a year it is necessary to wipe the inner surface with a solution of vinegar or soda. This manipulation will help prevent the development of pathogenic microorganisms and mold, the appearance of an unpleasant odor.
After every wash it is necessary to thoroughly wipe the rubber seal and close the door only after the inside has dried.
Washing machine is a device that can be seen in every living space... Like any household appliances, the machine needs regular technical inspection and replacement of deformed elements. When solving the problem on your own, it is necessary to carefully study the technology of the work, as well as purchase high-quality components. In the absence of repair experience, experts recommend contacting a special service center, where specialists will quickly and efficiently solve any problem.
Replacing the cuff of the washing machine hatch is presented in the video below.


The comment was sent successfully.