How to replace a bearing in a Bosch washing machine?
No washing machine can last forever. No matter how carefully you treat it, breakdowns cannot be avoided. Every user of an automatic machine sooner or later faces bearing failure. Despite the severity of the breakdown, you can fix it yourself. Yes, it will take effort, time and nerves, but you can save a lot of money this way.
Signs and causes of breakdown
With intensive use, replacement of bearings in Bosch washing machines is required on average after 6-7 years old. After the installation of new parts, the efficiency of the equipment is extended for several more years. Bearings in any automatic washing machine are a complex technical unit. It consists of bearings, seals and bushings. In some models, supports are installed, there are also separate bearings located in two rows.
In any case, the bearings are subjected to a high working load at all stages of the wash. This leads to wear, wear and loosening.
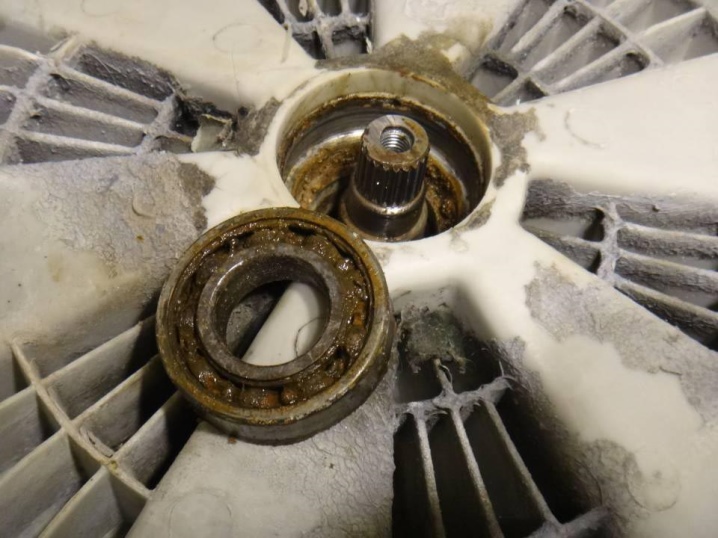
Defective bearings will be hard to miss. Even your neighbors will know about the problem with your "helper". The manifestation of the problem begins with an uncharacteristic hum and noise, which will only increase over time. These signs are especially clearly audible during spinning. To finally make sure that the bearings are faulty, you need to shake the drum in the axial direction.
Strong rocking and large play will confirm a malfunction. It is impossible to delay the repair, since in such working conditions the drum and tank suffer greatly. It can become unusable in a short time, and then you will have to change not only the bearings, but also the tank with the drum. And this is a completely different amount.
How to choose a bearing?
Finding the right bearing is not difficult, despite the presence of a large number of models of "washing machines" and the differences between them. Every Bosch washing machine has a serial number. You can find it under the hatch door or on the back wall. Using this number, you can easily select the required bearing. If in doubt, it is better to take the defective part with you for the sample and thus select the right part. You can also use the tables, which indicate the models of machines and bearings for them.


Required tools
Without tools, changing the bearing in any "washer" will not work, Bosch is no exception. Therefore, do not rush to start work. First, you need to prepare a set of tools so that in the future nothing distracts from the main process. The following tools should be on hand:
it is better to take a rubberized hammer, but in extreme cases, any available one is suitable;
two screwdrivers: Phillips and slotted;
metal drift;
ratchet;
pliers;
screwdrivers in the Torx set;
a lubricant with good penetrating properties, it is better to use WD-40, but any high-quality analogue will do;
thread lock (blue);
a sealant used in plumbing maintenance that can withstand high temperatures.


The repair kit will consist of bearings, oil seals and grease.
How to replace?
If everything you need is at hand, then you can start replacing the drum bearing. This work is difficult and time-consuming. You will have to complete many stages and almost completely disassemble the "washing machine".Despite all these difficulties, self-replacement of the bearings of the electric motor in the washing machine will be within the power of everyone who knows how to hold tools in their hands.

It will be more convenient to work if there is enough space around. Therefore, the machine must be pushed to the middle of the room, or at least moved away from the wall and free up space around it.
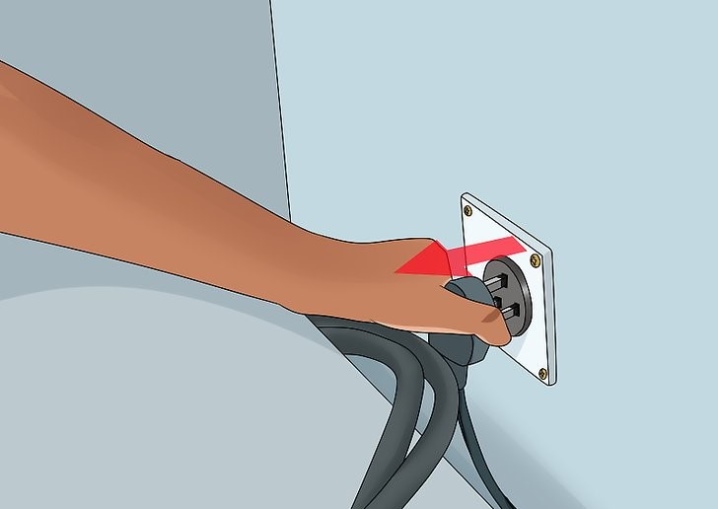
The machine must be disconnected from the mains - this applies to all repair work.
Work begins on replacing bearings with disassembling the machine and dismantling the faulty element.
Dismantle the top cover by first unscrewing the screws that hold it in place. We put it aside so as not to interfere.
We open the drain pump filter hatch, unscrew the screw and dismantle the lower plastic cover.
We remove the blockage from the hatch. To do this, you need to dismantle the clamp by carefully picking it up with a screwdriver. The sealing gum is tucked inward.
Carefully, so as not to damage the plastic, we squeeze the locking latches inward. Now you can put your hand inside the machine and take the lock to the side.
We remove the cell for loading the powder, unscrew the screws and remove the control panel, which is held only by the latches. We take out the connectors that the panel hid behind itself.
The front wall together with the hatch will also have to be dismantled. To do this, you will need to unscrew all the fasteners that hold it in place.
Remove the upper counterweight by unscrewing the nuts.
We remove the metal frame to which the power module is attached. We unscrew the screws and set aside the frame together with the module. She will not become an obstacle in further work, therefore she can be left in this position.
Using pliers, remove the metal clamps, which will allow you to remove the inside of the powder cuvette.
We dismantle the rear wall of the machine, which is fastened with screws, and remove the drive belt.
Now you need to remove the drive motor, for which you need to unscrew the screws, pull out the power connector and slide the unit towards you.
Disconnect the power supply from the heating element.
We loosen the clamping clamp from the rubber drain pipe and remove the pipe from the tank.
We unscrew three shock absorbers from the tank. They can not be completely dismantled, therefore you do not need to unscrew them from the case.
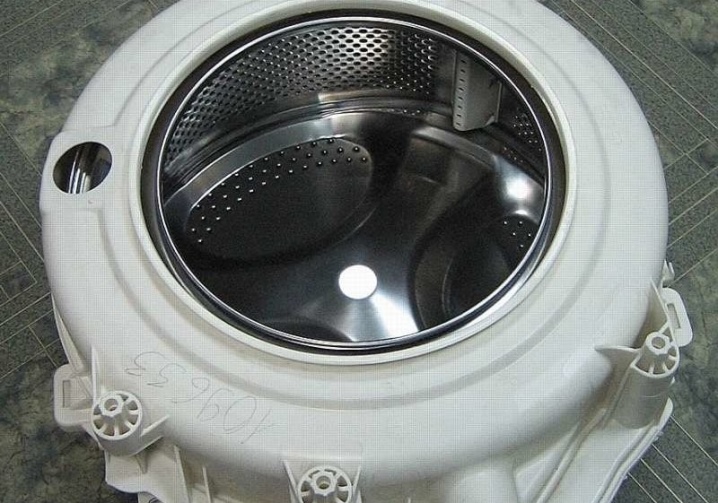
Now you can remove the tank from the machine body. It is held in place by a pair of springs. Also, two hoses are connected to it (an outlet and a pressure switch), which must be removed. Holding the tank, carefully remove it from the case. It has an impressive weight, so you may need help.

The washing machine has been disassembled, now you need to dismantle the faulty bearings. This process consists of the following steps.
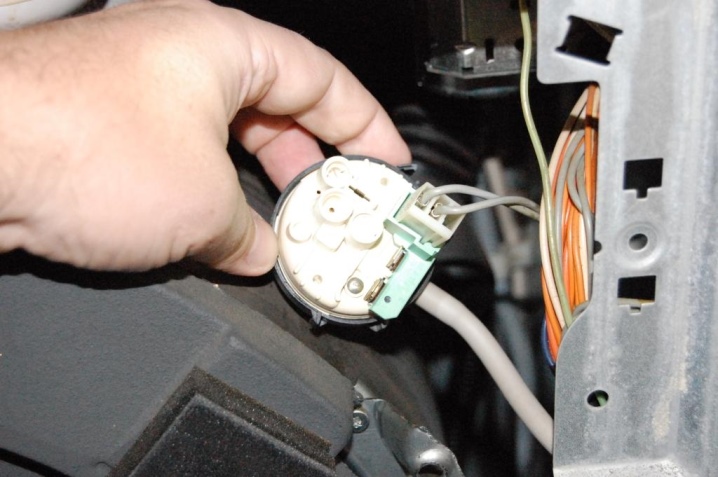
- Remove the float from the tank, which is one of the elements of the water level control system. It will be enough just to loosen the clamp.
- The tank consists of two parts, which are connected with screws, they need to be promoted. We open the tank.

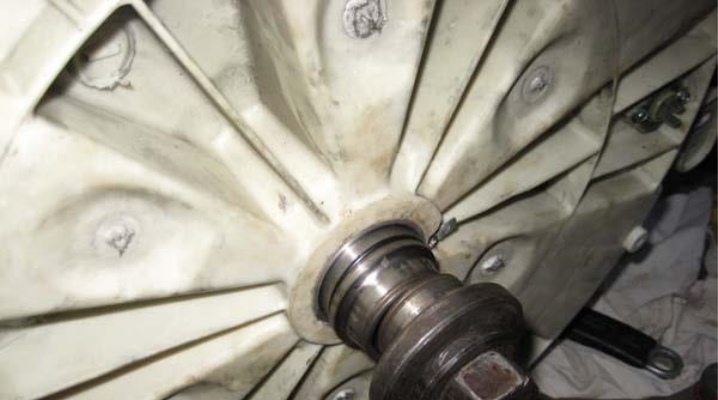
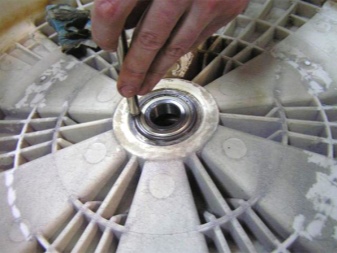
- Unscrew the pulley nut and remove it... Using a copper blank, knock the drum out of the forecastle. The blows should be strong and clear; you need to hit the end of the drum shaft.

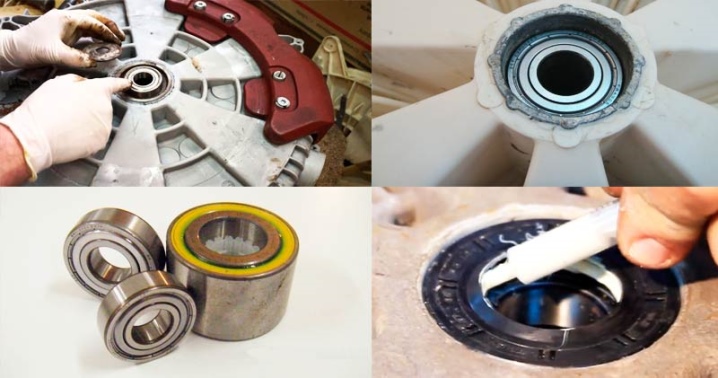
- We knock out the bearings together with the oil seal with a metal die and a hammer, if there is no special puller at hand.

Installation of new bearings is carried out as follows.
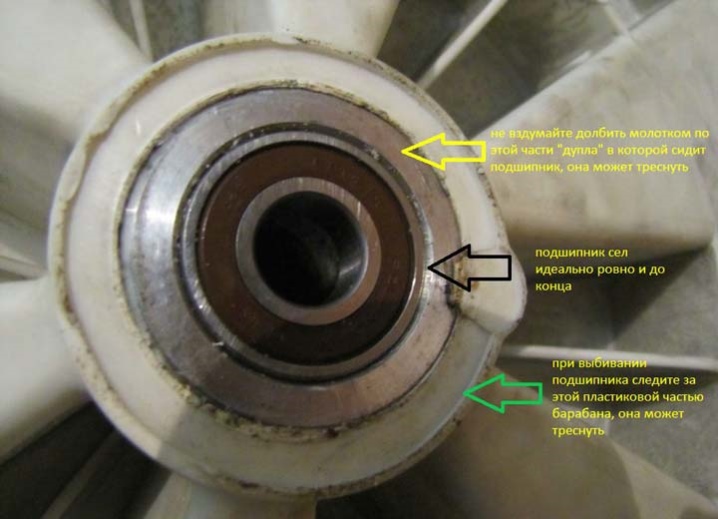
New parts are located in the seats, pressed in and hammered. You need to beat carefully, as you can easily damage the clip. The oil seal is lubricated from the inside.
A sealant must be applied to the component parts of the tank, which will prevent the formation of leaks. Only then can they be connected with screws.
Assembling the washing machine is performed in strictly reverse order.
At the end of the work, we check the performance of the machine on the spin - there should be no extraneous sounds.
How to replace a bearing in a Bosch washing machine, see below.


The comment was sent successfully.