How to replace bearings in LG washing machine?
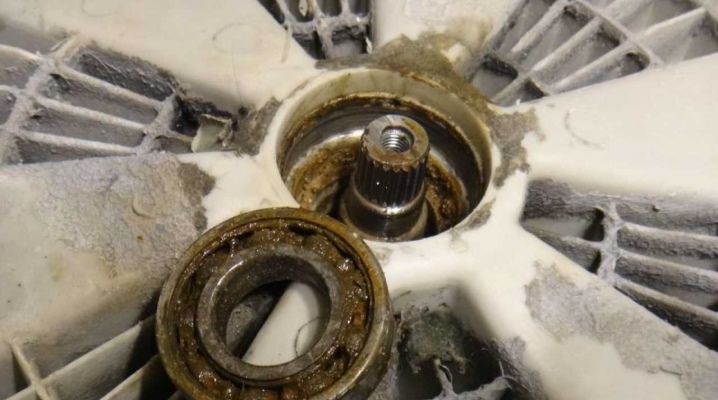
The washing machine has long become an integral part of every home. The range of such household appliances is huge and is constantly updated with new models. Units from the well-known LG brand, which differ in many characteristics, are very popular today. Despite the fact that the products manufactured by these manufacturers are of excellent quality, they are still not insured against all sorts of breakdowns or malfunctions. In certain situations, LG machines require a bearing replacement. In this article, we will learn how you can do it yourself.
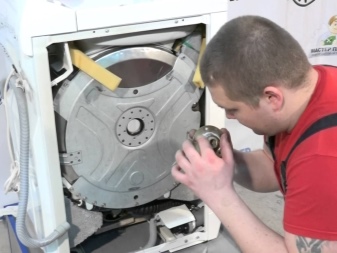
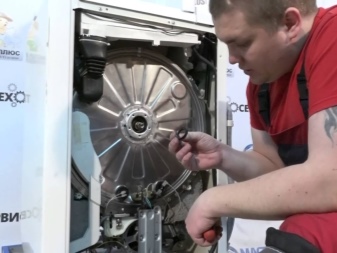
When and why should you change?
LG washing machines have long conquered the market. This applies to a wide variety of models. Devices with a capacity of 5 to 8 kg are especially popular today. They are chosen by many consumers who want to buy high-quality, reliable and durable household appliances. However, even the owners of such devices may encounter certain malfunctions and shortcomings in their work. There can be many reasons for this - it all depends on the specific problem that has arisen.
It is important to consider that a washing machine is a technically complex device that consists of many important parts, which include the bearing.
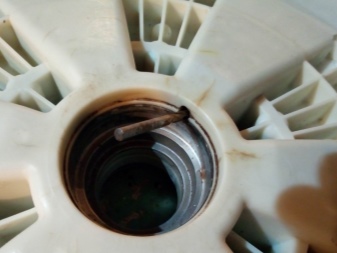
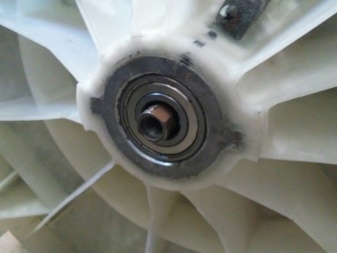
Due to it, unhindered rotation is carried out. If you use this household appliance too often or do it without observing all the necessary rules, the specified part may wear out a lot. The first signs of a problem can be noticed immediately. When a drum spins in vehicles with a faulty bearing, it makes noise, creaks or hums.
Replace the damaged part as soon as possible. It is risky to drag out for time, because after a while the drum will stop spinning altogether, which in the future will provoke a breakdown of such an important part as an electric motor. For this reason, it is very important to always keep under control the operation of such household appliances.
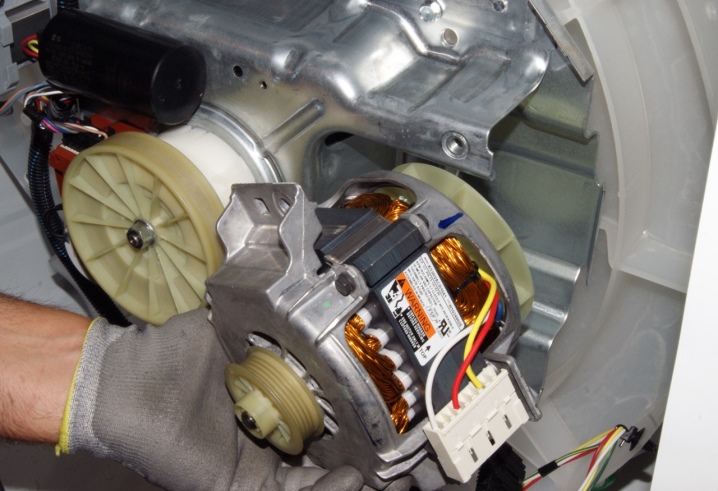
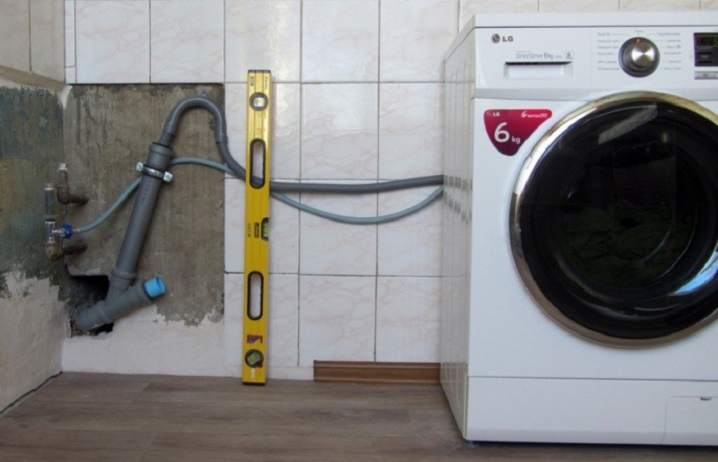
In order for the bearing in the design of the LG washing machine to last as long as possible, it is recommended to select models with a direct drive and place them on a perfectly flat surface. It is advisable to adjust the equipment according to the level.
What bearings are on the LG washing machine?
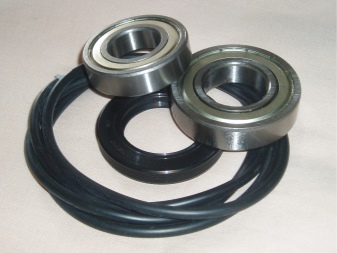
Bearings for the LG washing machine should be selected with particular care. This is due to the fact that in such a technique there are not universal parts. They must be selected in accordance with the specific model of the machine. If the serial number of the required spare part is known, it will be possible to check it against the catalog by ordering the item via the Internet.
Of course, you can buy a bearing in a regular store... When buying it, you need to carefully examine it for damage and backlash. It is worth paying attention to the size of the selected element. The bearing must be ideally suited to the machine, so you must choose it very carefully. It is advisable to enlist the help of a sales assistant who can find for you the very spare part that is made specifically for your LG washing machine.
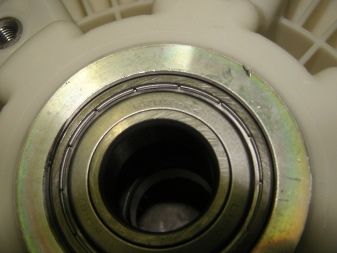
Stages of work
With the purchase of a suitable bearing and oil seal, work can begin to replace the defective part. In this matter, it is important to be consistent and accurate.
You should strictly adhere to the instructions, do not neglect any of the listed steps.
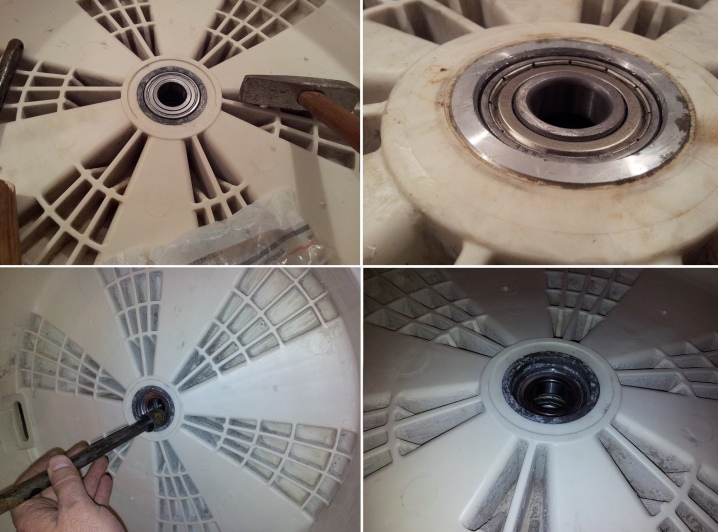
Preparation
You should start repairing your LG washing machine only after thorough preparation. The DIYer will definitely need an appropriate repair kit, which includes a new bearing and oil seal. Also, a certain tool will be needed here, namely:
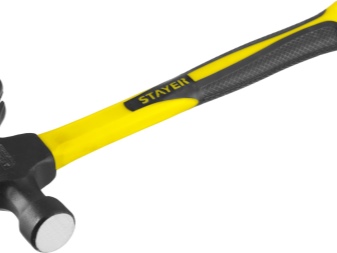
- a hammer (it is advisable to find a device, the striking half of which is covered with bronze);
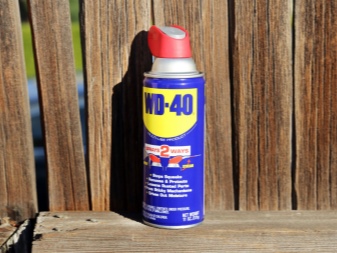
- lubricating fluid (WD-40 is suitable);
- pliers;
- flat and Phillips screwdrivers;
- medium adjustable wrench;
- set of heads and open-end wrenches;
- high quality automotive sealant;
- nippers and pliers;
- drift.
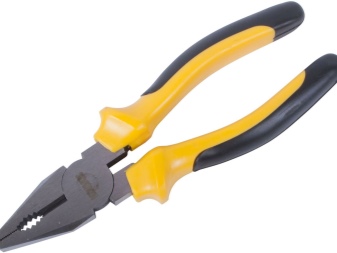
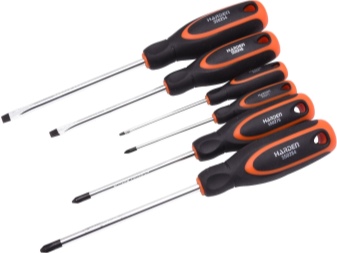
It is necessary to prepare the workspace for the planned manipulations. It is best to do such work in the garage or an equipped workshop. If there are no such possibilities, then the replacement can be made in ordinary apartment conditions.
The main thing is to free up as much space as possible for this so that it is more convenient to work.
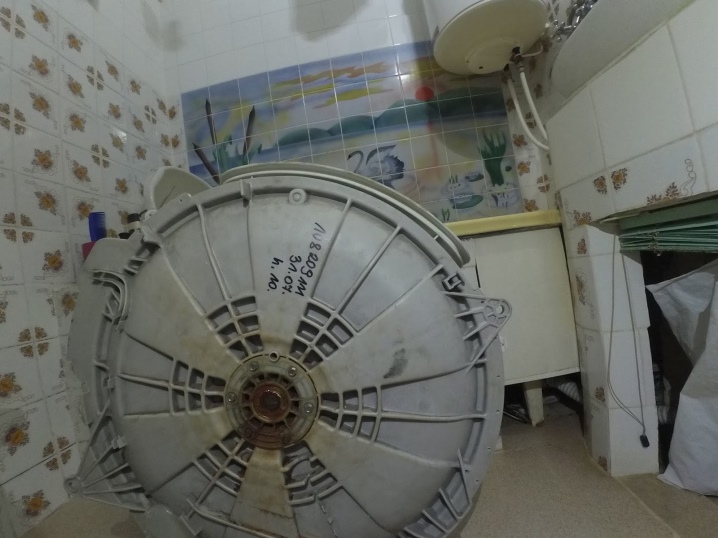
Dismantling the machine
LG washing machines have a good and comfortable design, due to which repairs are carried out quickly and hassle-free. Let's consider step by step, how you can independently disassemble such household appliances at home for the subsequent replacement of the bearing.
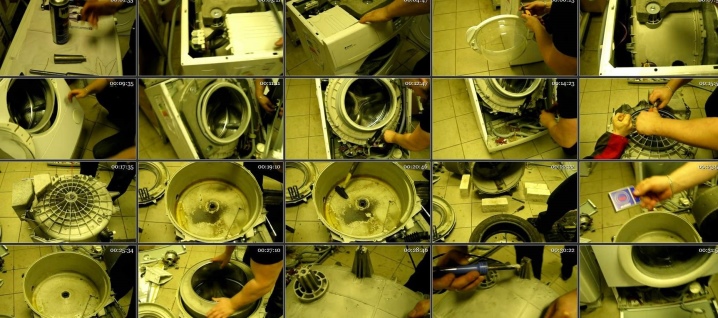
- The first step is to remove the cover at the top, before unscrewing a couple of screws at the back. It is allowed to gently hit the front half with your palm so that the latches can be released.
- Next, you need to remove the powder tray. Having pulled it out, you need to press the tab with the mark as carefully as possible, and then you can pull out the part. The specified element will need to be cleaned with effective detergents.
- Remove the 2 screws that secure the top control panel. You will also need to unscrew 1 screw from the end on the right (this part is not available on all models of LG washing machines).
- Remove the self-tapping screws that are fastened to the panel through the body from the inside. Such a device is not typical for all models of typewriters.
- Prying with a screwdriver, the panel must be pulled out. Often this part is fastened with plastic clips, so you need to be careful not to accidentally break them.
- Unfasten all the chips from the body base, and with them the 1 connector on the wire. It is recommended to photograph all landing sites - this will make it easier for yourself. Move the removed parts to the side so that they do not interfere with you.
- Remove the tube and contacts from the pressure switch. Remove the locking screw and set it aside.
- Take a socket wrench and unscrew the bolts holding the upper counterweight with it. Get it out.
- Disconnect the intake valve tubes, pull off the chips. After that, you will need to unscrew the screws at the back and remove the element.
- Likewise, pull out the steam wash unit. It is located in the immediate vicinity.
- Install the line filter.
- Open the hatch, remove the clamp that presses the cuff to the body of the washing machine. Unfasten the rubber carefully.
- Unscrew the self-tapping screws that secure the machine door lock.
- Open the cover that covers the drain pump filter. Take out the screw.
- Remove the 2 screws at the top. They are responsible for pressing the front panel against the body of the device. Get it out.
- The clamp is now accessible on the branch pipe at the bottom of the bladder tank. Pull it off and pull out the dispenser.
- Often there is such a model of a machine in which there is another pump for recirculating liquid during the washing process. In this case, a hose will be pulled from the pump to the cuff. It will need to be unfastened from the rubber and the second filler.
- Dismantle the metal cross bar.
- Loosen the clamp a little, and then pull the lower drain pipe from the tank itself.
- Detach the front counterweights using a socket wrench.
- You can now remove the back cover.
- Carefully detach all existing contacts from the tubular heating piece.
- Remove the screw holding the metal shroud that hides the motor.
- Remove the chips from the engine and tachogenerator sensor.
- Remove the straps attached to the tank loop.
- Remove the bushings to remove the shock absorbers. Pull the plastic plugs from the springs, take out the tank.
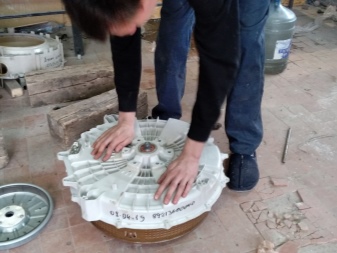
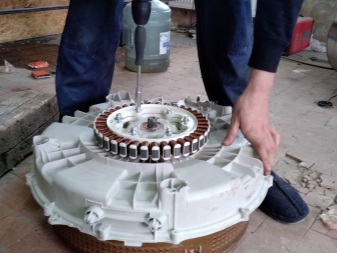
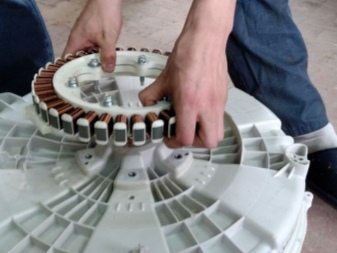
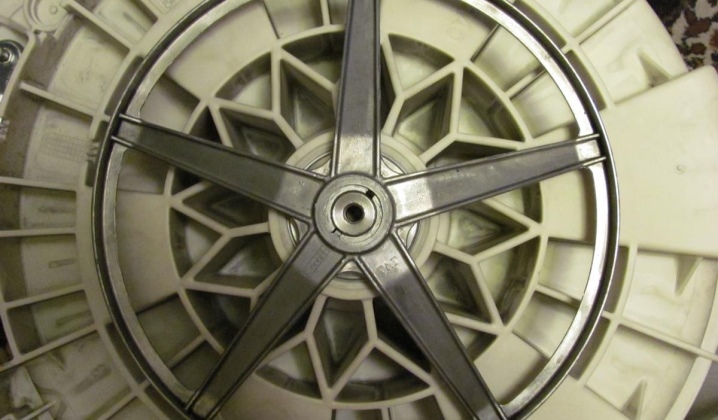
- At this stage, the tank must be divided. Unscrew all screws around the joint. Take a ratchet extension for a socket wrench. Disconnect the half and pull out the drum.
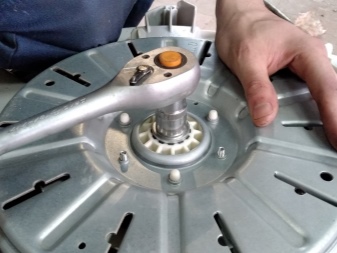
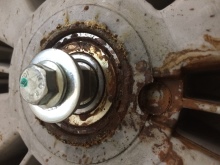
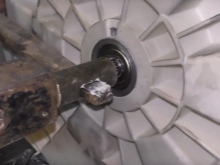
- In the case when the equipment has been making noise for a long time, the shaft could well stick to the bearings due to corrosion. Then you need a hammer. You must first use the lubricant. Do not hit the shaft. It is better to screw the screw back in and hit it with a hammer through the wooden bar.
- Remove dirt and scale from the joint, tank and drum.
Replacing parts
Let's see how to change the bearing.
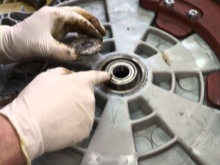
- Pry the oil seal with a screwdriver and pull it off. You can use a lubricant if the part does not give in.
- Knock out the outer bearing. Place the tank on a stand and hit with a hammer, moving the drift in a circle.
- Internal parts can be removed the same way. Use WD-40 if necessary.
- Clean and dry the seat and start installing a new repair kit. The work must be carried out in the reverse order. The last need to be put on the oil seal.
- Before installing the oil seal, lubricate the skirt with grease and fit the spring. To make it more convenient, you can use the old bearings, cleaned of oil traces and dirt.
- After cleaning the tank, look at the shaft and the place where the oil seal is fixed. If there is any damage, you can use a sandpaper, but if the defects are strong, then you can not do without boring.
Assembly
When attaching the tank of the machine to its original place, it is better to put a special high-temperature silicone for plumbing on the joint area.

With this tool, it will be possible to prevent possible leaks due to a deformed rubber gasket.
Absolutely all steps for assembling a LG machine should be carried out in reverse order. Usually, the masters do not have any difficulties here, especially if at the disassembly stage the process is recorded in a photo.
What to look for when repairing?
When doing self-repair of LG washing machines, you need to be very careful and careful. It is recommended to pay attention to the following nuances.
- Be sure to pay attention to the seats where new parts will be installed. If there is dirt or rust in it, it is imperative to get rid of them.
- Before starting repair work, it is imperative to disconnect the equipment from the network and disconnect all hoses.
- Take a closer look at the front of the LG washing machine, since at this moment many inexperienced craftsmen tear off the wires of the door lock sensor.
- Trying to get to the cuff can tear the part, as people often forget to remove the clamps - be careful.
- You should be more careful with the stuck screws in the device of a branded washing machine. If you act on them with excessive zeal, without using lubricant (all the same WD-40) or heating, then this may result in the failure of parts.
- Care must be taken with the thermal sensor as well. Novice craftsmen often tear his wires out of carelessness and inattention.
- Carefully remove the filler pipe - in many cases, inexperienced DIYers tear off this part along with the hose.
- The utmost care must be taken when working with the drum of the washing machine. If you accidentally damage this important component, then later you will only have to change it to a new one, which will take more time and money.
- Care must also be taken with regard to small details, so as not to damage or lose them.
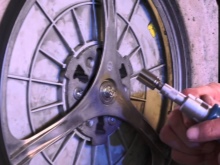
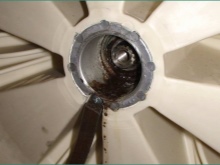
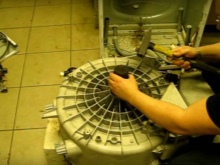
How to replace bearings in LG washing machine, see below.


The comment was sent successfully.