How to assemble a rack?

Rack assembly is a responsible occupation that requires compliance with safety precautions. It is necessary to assemble such constructions very carefully and carefully so that later you do not have to carry out unnecessary "work on mistakes". In this article, we will learn how to properly assemble racks.
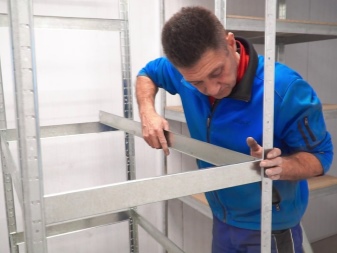

Safety engineering
In order for the assembly of the rack to be not only productive and fast, but also non-traumatic, people must follow safety precautions.
This is one of the most important requirements that must be adhered to when doing such constructive work.

Let us consider in detail what rules must be followed when assembling a rack.
- People who are engaged in the assembly of such structures must necessarily have appropriate personal protective equipment. It is necessary to wear special hard shoes, a protective helmet, gloves.
- In order for the assembly of metal racks to go smoothly, it is necessary to allocate a spacious room for this, in which nothing will interfere with people. This is especially true for those structures that have very large dimensions.
- You cannot assemble a structure without adequate high-quality lighting. If there is not enough light in the room, the craftsmen can make certain design mistakes or accidentally get injured.
- All tools used to assemble the rack must be of high quality and serviceable. If some devices do not work correctly, then the installation process can be very delayed and lead to many problems.
- For the assembly and installation of any rack, it is very important to find a perfectly flat place in a spacious room. There should be no potholes or drops under the structure - this is extremely unsafe.
- Installation of the rack structure is required to be carried out strictly in layers. Each next level of the structure must be collected after completing work with the previous one. This is the only way to assemble a truly reliable and high-quality rack that meets all safety requirements.
- One of the most important requirements for rack assemblers is slowness of action. Excessive haste and haste in carrying out installation work can entail a lot of troubles, which will later have to be promptly resolved.
- It is strictly forbidden to assemble metal racks by drunken craftsmen. In this case, it will not be possible to assemble structures with high quality and safety.
- Children should not be involved in assembling the rack. Moreover, it is strongly not recommended for them to be near the place of installation work - it is dangerous.
- If the assembled structure is not as stable as planned and is wobbly, then it cannot be exploited under any circumstances. The likelihood of a fall and breakdown of such a structure is very high. In order not to face such serious problems, immediately after assembly, the rack must be attached to the wall, or put a support under the base.
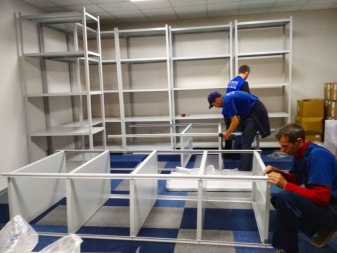


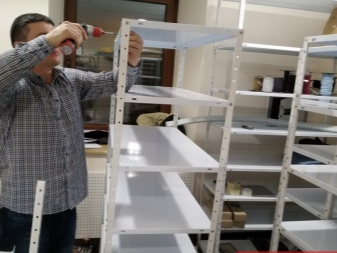
Compliance with all safety measures when assembling metal racks is mandatory. If you neglect these rules, you can face very unpleasant consequences.


What do you need?
In order to correctly and efficiently assemble the structure of the rack, the master must necessarily stock up on all the necessary components and accessories. It is better to do this in advance, so as not to look for the right item at the last moment.
For installation, you need a certain set of tools. It should include the following items:
- grinder or scissors for cutting metal;
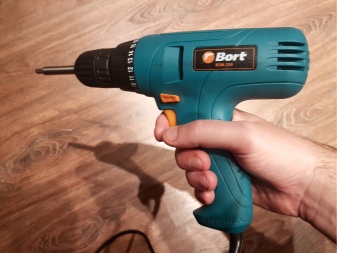
- electric drill;
- a welding machine (will be needed for the assembly of structures that are of the prefabricated type, but not designed for further disassembly);
- pliers;
- hammer;
- level (it is recommended to use a laser or bubble level - they are the most convenient and accurate);
- roulette;
- screwdriver;
- set of wrenches.



Not only metal, but also wooden shelving structures are widespread. To assemble such a structure, craftsmen need a different toolkit:
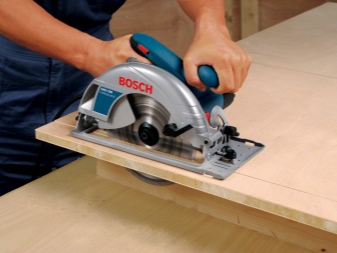
- Circular Saw;
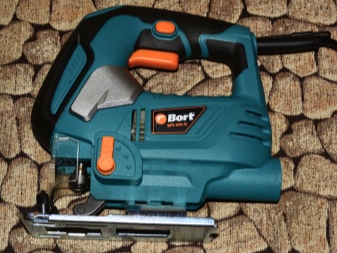
- electric jigsaw;
- Sander;
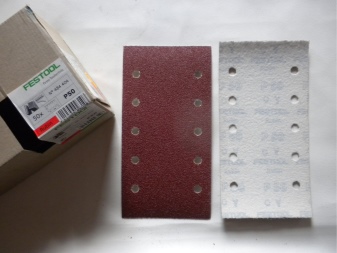
- sandpaper;
- hammer;
- pliers;
- level;
- roulette;
- wrenches or screwdriver (depending on the type of fasteners of the structure).

The following components will be needed from additional material:
- fasteners - screws, bolts, nails;
- electrodes;
- corner;
- all the necessary accessories;
- elements for the final finishing of the structure - primer mixture, paint, protective impregnation, paint brushes.


It is recommended to arrange all the necessary elements in one place so that during the assembly of the rack everything is at hand to the master.
Then you do not have to waste time looking for a specific tool or material, spending extra time on it.
Step-by-step instruction
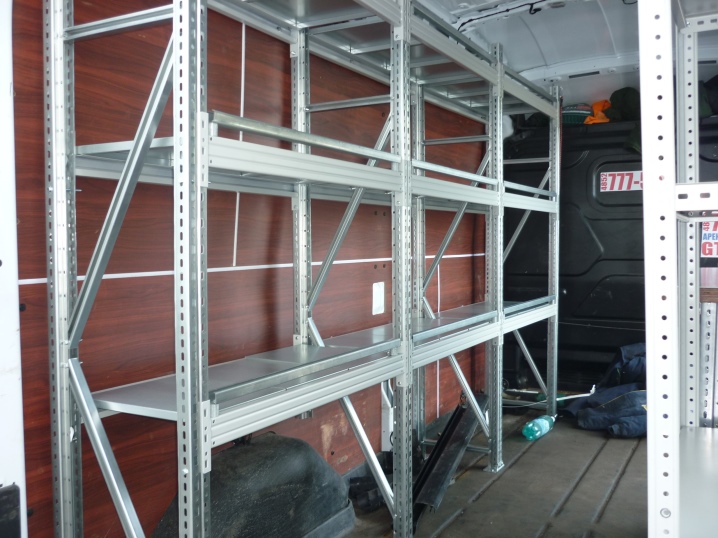
Both iron and wooden shelving structures are assembled according to a specific pattern. Assemblers must necessarily rely on this scheme in order to avoid serious mistakes and get the expected results in the end. If the decision is made to install the structure with your own hands, and there is no proper experience, you will not be able to do without detailed step-by-step instructions. Let's consider in detail how to assemble racks of different types in stages.
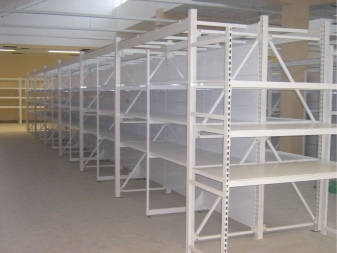
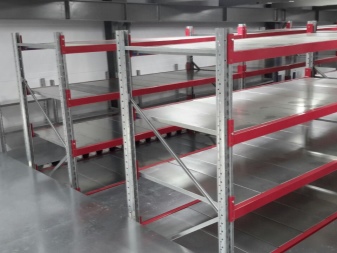
On the hooks
Models on hooks are considered one of the most convenient and practical. Most often they are made of metal, and their structures do not need auxiliary fittings. Vertical and horizontal posts can be easily connected without these components. They are fastened by snapping onto special hooks. On the shelves in these products, small hooks are provided, and on the racks there are holes with a gradual decrease in size closer to the bottom. It is very easy to assemble the racks on the hooks.

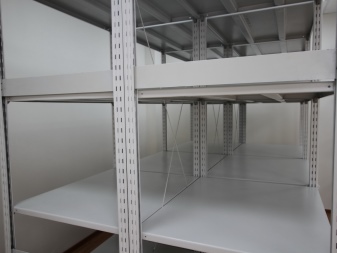
To assemble the rack model under consideration, it is enough to insert the hook into a suitable hole, and then press down with force.
This must be done so that the part goes down to the very end. Let's consider in more detail how to mount racks with hooks.
- Before starting the assembly, it is necessary to check the position of the struts of the structure. Lay these parts on the floor on the right sides so that after all the work is completed, you do not have to resort to alterations. Please note - all hooks must be directed downward, otherwise the shelves will not be able to attach.
- The footrests can be immediately attached to the edges from the bottom. Further work should be carried out in the company with an assistant. First, attach the bottom shelf so that the racks do not need additional support. To do this, one part of the shelf is put into the hooks, and then the opposite edge is applied. Hooks must be inserted all the way.
- Working with metal, specialists often use special models of rubber hammers. By tapping such tools on the cross member, the part can be easily “driven” to the right place and to the desired depth. If such a hammer is not available in the toolkit, you can use a regular block of wood. You can also tap the shrinking parts with this simple object.

For warehouses or large stores, structures with hooks are also often purchased, but they have more impressive dimensions. The metal walls in these structures are thicker and denser. In order to assemble the indicated structures, well-coordinated work of several masters is required at once. You can't do without high-quality scaffolding and auxiliary lifting equipment.

Trade
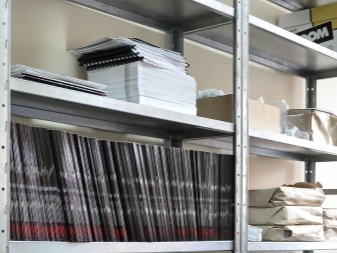
Commercial racks are also very often made from unpretentious and durable metal. Correctly assembled models are designed for a long service life. They are highly reliable and durable.
To independently assemble a trading metal rack, you do not need special knowledge and skills. A professional tool for such work is also not needed.
It is possible to assemble a structure entirely from all the components with which it is equipped. There is no need for additional elements.

The whole process of installing retail shelving consists of several stages. Changing their sequence is strongly discouraged. Otherwise, the design will not work out high-quality and reliable. We will find out exactly how it is required to correctly assemble trade metal racks.
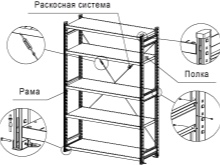
- First you need to prepare the racks. The parts of these elements are perforated double-sided metal profiles, as well as adjusting screws and a base. First you need to assemble the rack from the listed parts. You need to define the top and bottom half of the profile. To do this, the rack must be carefully examined, to find in the perforation the absence of characteristic serifs - this will be the bottom of the part. Serifs are removed at the production stage so that the profile is better fastened to the base.
- To connect the profile and the base, use the latches in the lower parts of the racks. Next, the adjusting screws are screwed on the base.
- If the retail rack assumes mounting to the wall of the room (wall-mounted version), then only one base is used. If the structure is free-standing, then 2 bases are provided on both sides.
- Next, the rear panels of the structure are mounted. This is a kind of base for a metal shopping rack. For their installation, the racks are pulled together. They can be either perforated or solid.
- Special traverses are used in the screed. These details strengthen the structure and increase its load-carrying capacity.
- Next, you need to continue assembling a metal trading rack. For this, panels are put on two already assembled racks along the entire parameter of their height. It is important to make sure that the teeth on the panels are sure to snap into the holes in the posts. Otherwise, they can easily fall out.
- Then the shelves of the structure are placed. Usually, the delivery set includes the shelves themselves and the brackets for them. The latter can be exposed in two positions: either at a right angle or at an acute angle. It all depends on how it will be more convenient to place this or that product on the surface of the shelf.
- The brackets must be inserted into the holes on the rack. This must be done strictly symmetrically on both sides and at the same height.
- When installing shelves, it is very important not to confuse their front and back sides. The difference lies in the presence of a special protrusion. It looks like a stiffener. Most often, it is on this surface that a price tag with a cost is glued.
- If the panels from which the commercial metal rack is assembled have perforations, then the shelves are not always required. In such bases, the product can be fixed on special hooks, rods or hinged-type slats - the options are different.
- Thus, the first section of the commercial building will be assembled. All other compartments will need to be assembled in the same way.


Useful Tips
If you decide to assemble a rack made of metal or wood with your own hands, you should take on board a few useful tips.
- Wood structures will need periodic treatments with antiseptic solutions. Thanks to this, the tree will last much longer, will not dry out, and lose its visual appeal. Metal structures should be treated with anti-corrosion compounds so that they are not damaged by rust.
- When installing a rack of any type, it is very important to monitor its stability and evenness. If any parts are bent or have been installed out of level, this error must be corrected immediately. A crookedly assembled structure will not be reliable and of high quality.
- It is not recommended to use only a simple screwdriver to assemble the racks. You cannot do without a screwdriver in such matters. If you use only one screwdriver, then it will take several days to assemble the structure, not hours.
- If the rack is assembled not for a warehouse or store, but for a garage or home workshop, then it is advisable to supplement it with wheels. With these components, the design will be more practical and mobile. The mobile shelving unit can be freely rearranged from place to place whenever the need arises.
- Before you start assembling any type of rack, it is very important to make an accurate markup of the main structural units beforehand. Due to this, the optimal sizes of self-made structures are easily determined.
- The assembled rack must be checked for strength by completing all installation work. Pay attention to the level of stability and reliability of the structure. The rack should not wobble, creak, or wobble. An unreliable structure must definitely be corrected and strengthened in the right places.
- If you need a rack that can be quickly disassembled at any time and then reassembled, then it is advisable to take a closer look at the bolted products. True, the installation of these modifications can be complicated by too frequent drilling in the thick metal of holes for fasteners, which takes extra time and effort.
- The best type of fastening for parts in metal racks is welding. However, with this type of connection, the master may have many problems if it is necessary to dismantle the structure.
- If you are assembling the rack yourself and for the first time, then deviating from the diagrams and drawings is strongly discouraged. All plans and sketches should be kept close at hand so that you can look into them at any time. Thanks to this, even a novice master will be able to assemble a rack without unnecessary problems and mistakes.
- If you are assembling a homemade shelving unit with metal racks and supports, then you can supplement it with shelves made of wood. They will cost less and will be easier to install and dismantle. Due to this, the design as a whole will be more practical and easier to install.


How to assemble the rack, see below.


The comment was sent successfully.