How to make a pipe rack with your own hands?
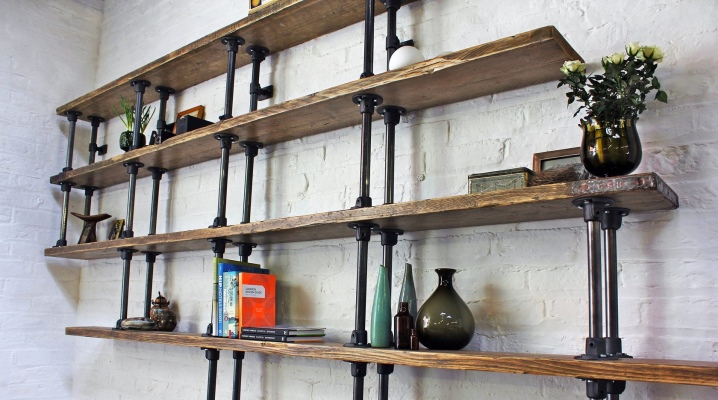
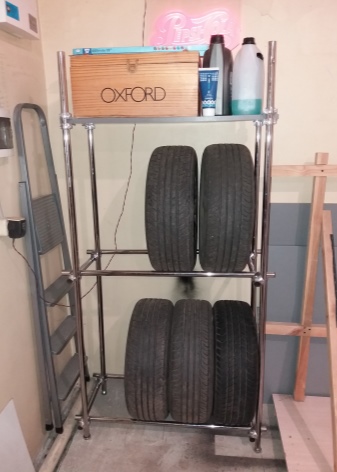
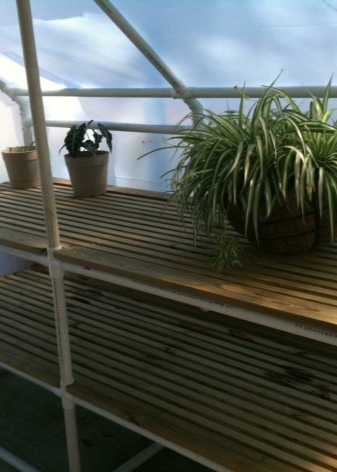
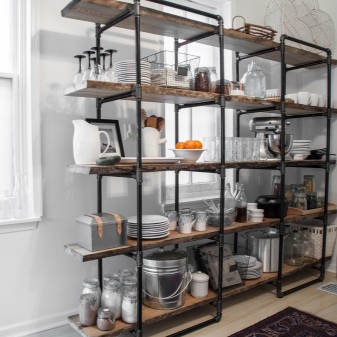
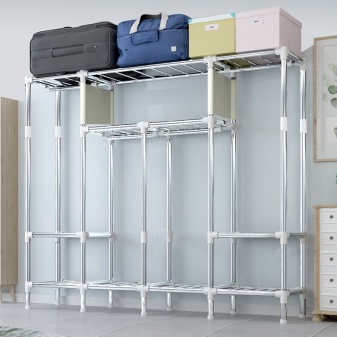
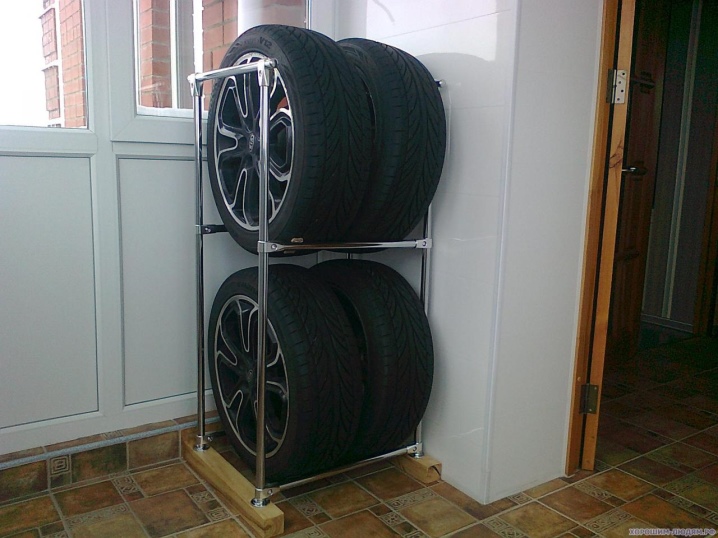
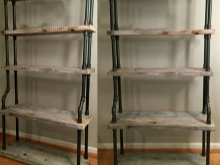
Pipe racks are practical and versatile - they are suitable for growing seedlings in a greenhouse, and for storing car tires in a garage. It is easy to make such a bookcase yourself from metal, polypropylene or PVC pipes.
Peculiarities
A distinctive feature of the rack is the complete accessibility of the contents. Finding the item you want is easy, so whatnots are ideal for storing tools, books, documentation and anything else you might need at any time.
At the same time, they are good for long-term storage of things - due to their strength and stability, the shelves can withstand a large mass. The shelf can take up the entire height of the room and the space is fully utilized.
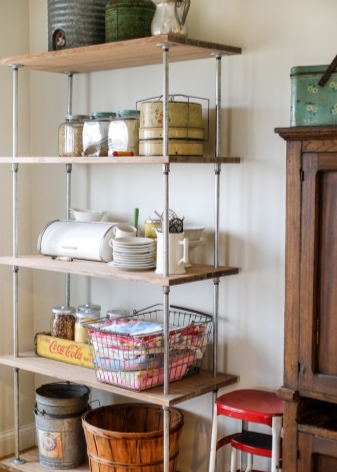
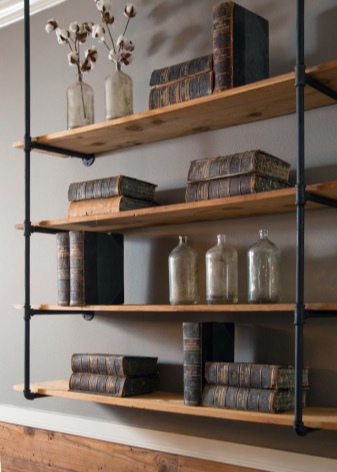
Hence, the main disadvantage of purchased models follows - their standard sizes. It is not always possible to find a rack with the required dimensions, so it either does not fit into a niche, or the useful volume of the room is lost. But such a purchase has other disadvantages:
- unpredictable quality - even without exceeding the load, the material can crack, especially at the attachment points;
- if the product is certified, the price will increase;
- you need to wait until the rack is brought;
- and then still assemble it yourself (or pay again for the assembly).
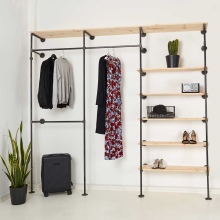
Therefore, it makes sense to make the bookcase yourself. This is how reliability is guaranteed and the dimensions are accurate. And it will cost less - rolled metal and PVC pipes are very affordable.
The work is easy - even a beginner can handle it. And the result is obvious - complete order in the warehouse. Therefore, making a rack yourself is also a pleasure.
Tools and materials
We prepare everything you need. The basis of the future product is a frame made of rolled pipes. And since the load on the shelves is different, then the material they have is different.
Pipes can be:
- metal (steel, cast iron);
- polypropylene;
- made of PVC plastic.
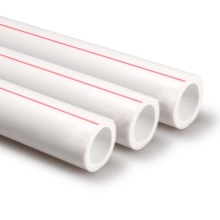
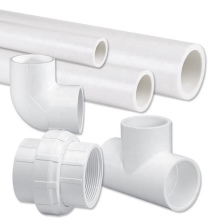
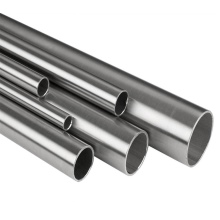
The material differs in strength, as well as in the initial and subsequent purpose:
- heavy-duty racks require thick-walled steel sewer pipes;
- for storing light things, you can do with plastic plumbing;
- If the rack is to be aesthetically pleasing, chrome steel pipes work well, but keep in mind that working with them requires skill, otherwise the coating may be damaged.
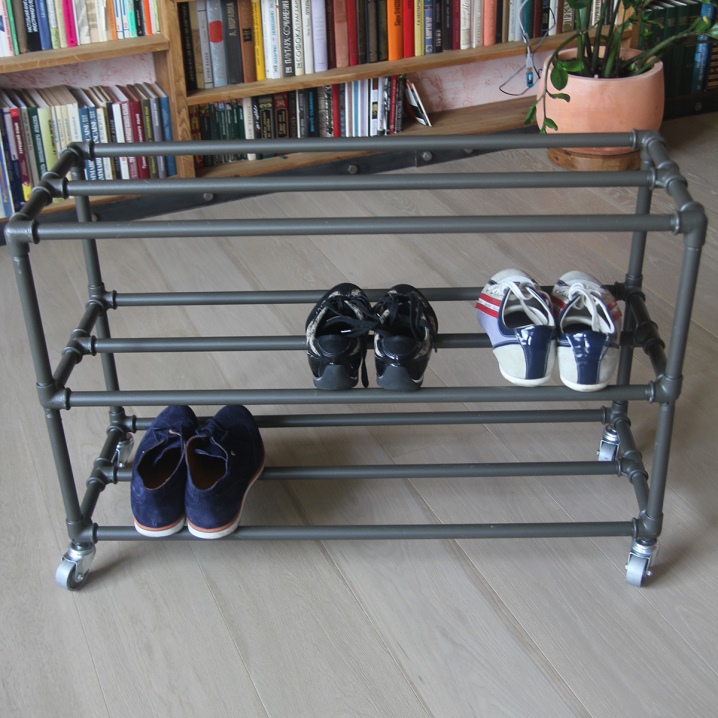
The pipes themselves can be round or square - this will only affect the type of connection. It depends on the type of pipes, the tool used, the desire and capabilities of the master.
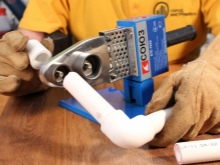
- Standard fittings (angles, tees). It is durable, reliable and aesthetically pleasing. But there are also disadvantages - fasteners must be bought and installed. For installation, you need either a special soldering iron (for plastic) or a welding machine (for metal). If these tools are not available, they can be rented or a different type of anchorage can be used.
- Adhesive bonding of fittings. Glue allows you to do without tools, but strength is slightly lost. But the assembly speed drops significantly - you need to wait a long time until the glue dries and the product is ready.
- An alternative is a screw connection. In this case, the fittings are connected with self-tapping screws. Reliability does not fall much - all the load goes to the pipes, and not to the screws. They only fix the connection.
- Fastening with corners. Suitable for square pipes. The corners can be purchased and homemade, and they are bolted through and through. The construction is reliable, but the holes weaken the pipes. Such a through connection is stronger than a screw connection.
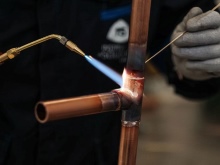
- Securing by welding. It is the most reliable, it allows you to do without fittings altogether. Disadvantages - only suitable for metal pipes and requires equipment.
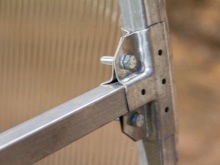
It is worth saying that when bolted, the position of the shelves can be adjusted. To do this, a number of holes must be drilled in the racks at the desired height. But keep in mind that this reduces strength.
Additionally, you will need plugs - both as legs and to close the ends. Fasteners - bolts, nuts, washers (preferably grooving). For greater stability, the top of the stack can be anchored to the wall with anchor bolts. The dowels may not be able to withstand the load.
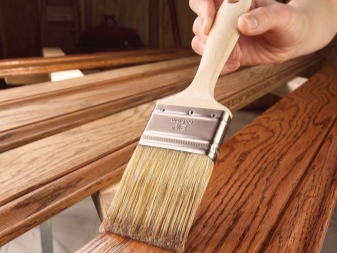
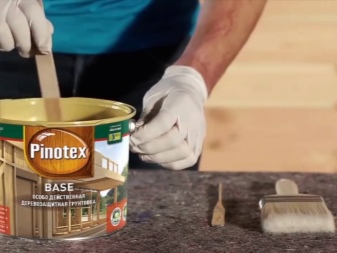
To finish the frame, you will need a primer, paint and varnish. The tree must be treated with a stain or antiseptic.
Important! Always paint the product. Dust, humidity, temperature changes and other factors will lead to corrosion of the frame and fasteners, and the wood will begin to rot.
This is where the list of materials can be completed - in some designs there are no shelves.
And if they are required, then they can be made of wood or metal.
- Thick boards and steel sheets are suitable for sturdy shelving that can withstand heavy loads. For greater strength, the boards are trimmed along the contour with metal sheets.
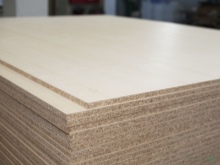
- Chipboard sheets can be used for moderate strength shelves - for example, when storing tools.
- For lightweight items, you can use plywood.

The rest of the tools depend on the type of fastener:
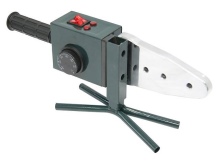
- soldering iron for plastic pipes;
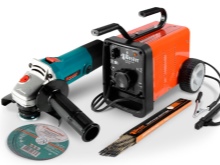
- welding machine and electrodes to it;
- grinder with cutting wheel or hand saw;
- screwdriver or screwdriver;
- spanners;
- paint brush or spray bottle.
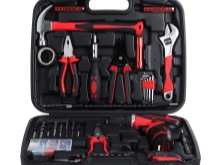
On the frame, the shelves are fixed with screws, brackets or go through. It already depends on the desire.
But the future design determines the set of tools. Some of them are required.
- Rangefinder or tape measure. With their help, you need to measure the place where the rack will stand. Its dimensions depend on these dimensions.
- Pencil, paper. In order for the bookcase to be stable, it must be correctly designed, and for this you cannot do without a drawing.
- Ruler, caliper, marker. Necessary for marking material.
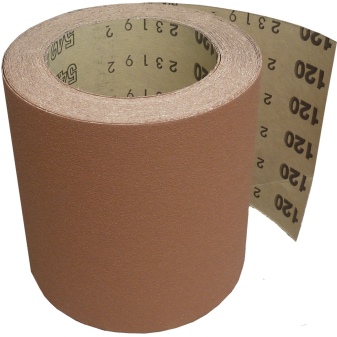
- Sandpaper. Fitting of parts is carried out to it.
- Building level. With its help, the assembly is checked so that the racks are strictly vertical, and the beams are horizontal.
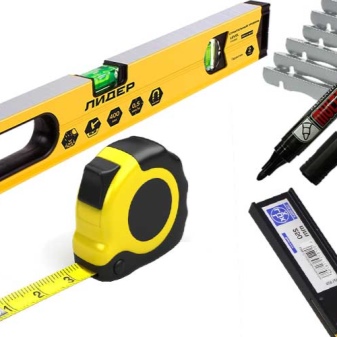
This is a very important point. A curved shelf will not be solid, and it is almost impossible to correct the initial mistake. Be careful and take your time.
When everything is ready, let's get to work.
Assembly stages
To begin with, we determine the size of our future rack. Here are some recommendations:
- for warehouses, the height of the shelf should be to the ceiling, the depth - to the length of an outstretched arm (so that it is convenient to get the item);
- if the approach to the rack is possible from both sides, then its depth can be increased;
- for storing tools: height - 2 m, depth - 50 cm, number of shelves - 4, distance between them - 45 cm;
- for storing canned food, the step between the shelves can be reduced (up to 30 cm), and their number can be increased.
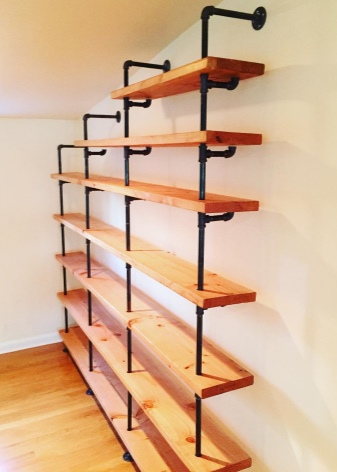
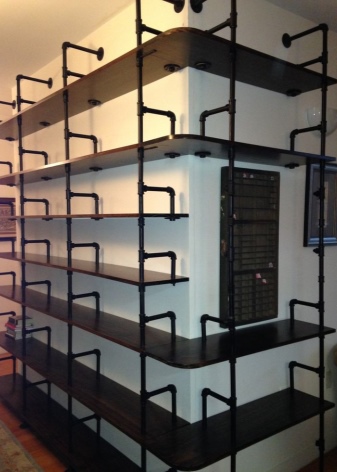
Usually the dimensions of the bookcase are as follows:
- 180x50 cm - with 4 shelves;
- 200x60 cm - with 3 shelves;
- 180x50 cm - with a high bottom shelf, the rest - with a step of 35 cm.
Of course, these dimensions are not absolute; they can be changed when making with your own hands.
When this stage is passed, prepare a drawing. As a last resort, the scheme. But be sure to put down the dimensions that you need to withstand during assembly.
Important! Always follow safety precautions, especially when working with sharp objects and power tools. Do not neglect the protective cover on the grinder. Use a respirator and goggles to protect against plastic and metal dust.


When this documentation is ready, you can start manufacturing.
- Cut the profile into equal lengths. If this does not work, bring the desired length by grinding the end of the workpiece.
- Deburr and chamfer.
- If the pipes will be connected with fittings, the protective varnish must be removed from the ends of the blanks. To do this, use sandpaper again. In addition, a rough surface adheres better than a perfectly smooth surface.
- Start with the uprights. Then connect them with cross beams. Fasten the parts together in the desired sequence. The fastening method depends on the material of the workpieces and the type of joints.
- Be sure to use a level - the product must be level. The more frequent the checks, the fewer errors.
- Assemble the entire frame using this technique.
- Install the shelves. If the fastening is through, then the frame is assembled to the height of the lower shelf, which is then placed on the pipes. After that, grow the frame to the desired height.
- If the shelf turns out to be high, anchor the upper crossbar to the wall with anchors.
- When the rack is assembled, paint it. Preferably in several layers.
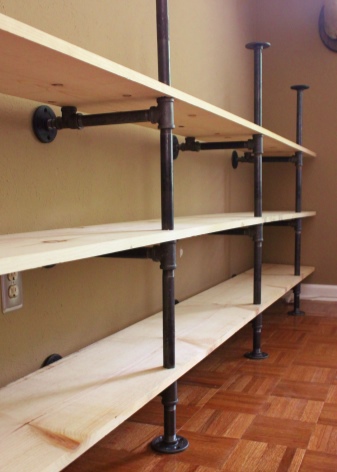
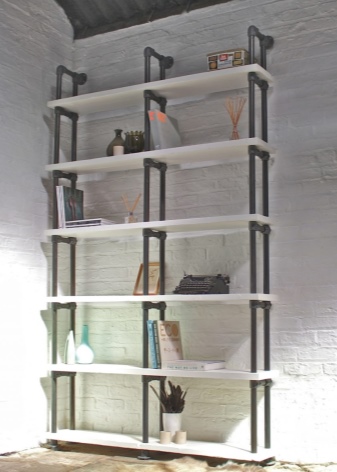
The construction is ready. This system is used to assemble both plastic and metal shelves. A homemade shelving unit does not have to be rectangular; it can be made angular as well. At the same time, the general assembly technology does not change.
And finally, an important piece of advice. Load both factory and homemade bookcases competently. Place heavy items on the lower shelves, light items on the upper ones. Periodically inspect the attachment points, because it is with them that destruction begins.
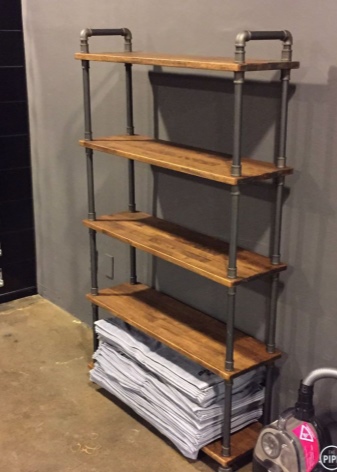
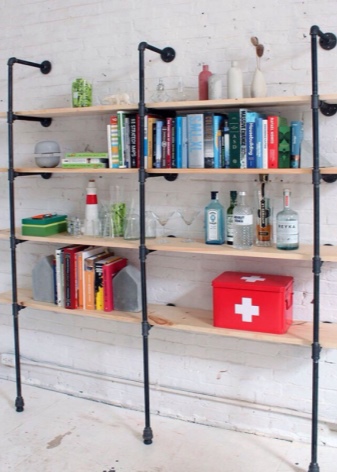
To learn how to make a do-it-yourself loft-style pipe rack, see the next video.


The comment was sent successfully.