Do-it-yourself sawing machine
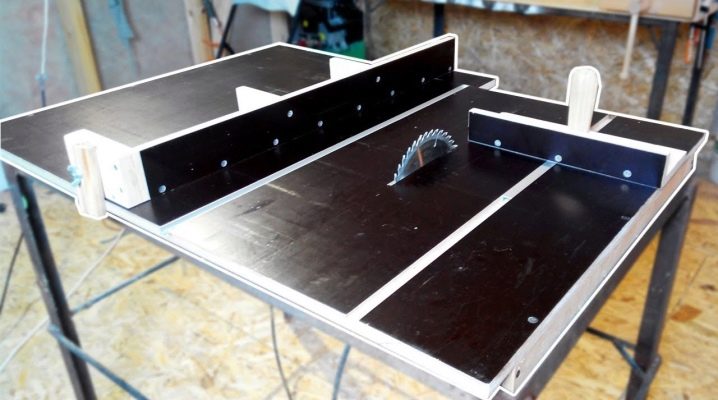
The sawing machine greatly facilitates the work of a jigsaw - it is able to replace it. At the same time, the sawing seams turn out to be extremely smooth, as if the workpieces were sawn at the factory. The sawing machine is a mini-version of the sawmill: it is not inferior to it in even cuts, the only difference is in the length of the workpieces: on the sawmill it reaches tens of meters.
Requirements for homemade machines
Before proceeding with the manufacture of the machine, prepare a sketch. If you get down to business seriously, the master will transfer all this to the drawing. But there are dozens, if not hundreds, of options for drawings of such a machine for specific conditions (workshop or garage footage) in the public domain.
The machine includes:
- frame (bed);
- a tabletop with a circular saw installed on it;
- Remote Control.
All electrics are connected with power cables. The tabletop machine should not be too large - you are unlikely to start sawing boards and sheets of wood more than a few meters long on it: the length of the room will not allow it.
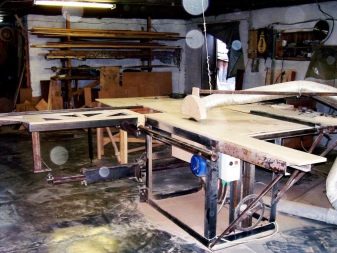
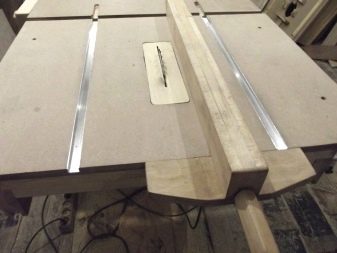
Steel frame and brackets support the driven shaft... The slotted tabletop is rigidly fixed to the table frame, it does not move, unlike the workpiece, which, in turn, moves along the guides. The complete set of the electrician of the machine includes, in addition to the drive and the control panel with buttons, a transformer that lowers the engine speed. The changeover of engine speed corresponds to the voltage that is produced by switching the taps providing this step changeover.
The overall power of the transformer is at least several hundred watts, but an engine with a power consumption of no more than a kilowatt is suitable for household tasks. The main requirement for machines that perform sawing wood and sawn timber on its basis is a margin of safety, reliability and stability not lower than three times the load values, this will help to avoid an accident on such a machine and possible injury to workers. It is allowed to use a supporting base of a table made of steel and wood, but such a table must withstand at least several hundred kilograms of load.
The ideal option is a steel workbench with a slot in the tabletop for saw blades.
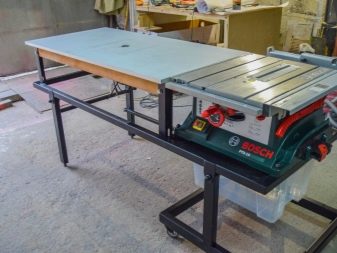
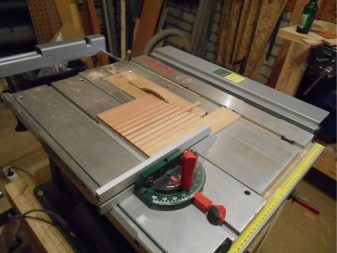
The simplest version of the sawing unit is based on a hand saw. A self-made machine in this design will cope with work on solid wood and chipboard, sawn MDF and other composite materials, one of the main components of which is sawdust or wood dust.
Before preparing the drawing of the machine, the cutting depth is taken into account (how many centimeters the saw blade enters into the wooden blank). This means that it will not be possible to saw through a board or timber through and through, in thickness exceeding the path of the disc in layers of wood or composite wood material, it will not be possible - the cut will come out deaf, in the form of a thin and narrow groove. The largest disc, with a diameter of up to 26 cm, is unlikely to allow sawing a board or timber, a log thicker than 8 cm: here the thickness of the tabletop is taken into account, which should not bend under the weight of the workpiece being moved. Planks and thick plywood can be sawed without much difficulty.
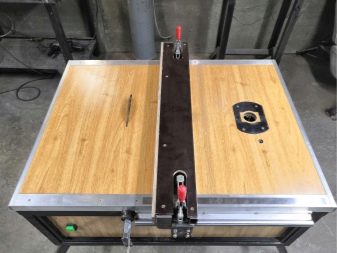
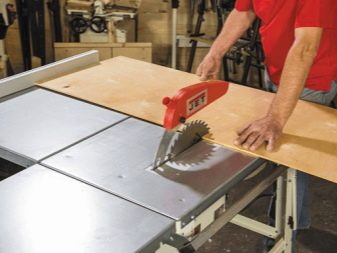
For a greater thickness of the workpieces being processed, a lift is provided in the machine diagram, which allows the drive axis to be brought closer to the workpiece as much as possible without the disc getting stuck directly during operation. A noticeable braking of the disk at a significant, close to the maximum load of the engine will lead to a decrease in its revolutions several times, which is why the latter will overheat and burn out. In this case, it is not required to give a significant load - or it is worth reducing the supply voltage using the same transformer switching on the console.
For rough cuts, the rpm may be low, but for finishing, high rpm (from 5,000 rpm) is indispensable. If the engine speed is in the range of 3000 ... 4500 rpm, then the frame is assembled from massive pieces of wood, which reduce the vibration intensity during operation.
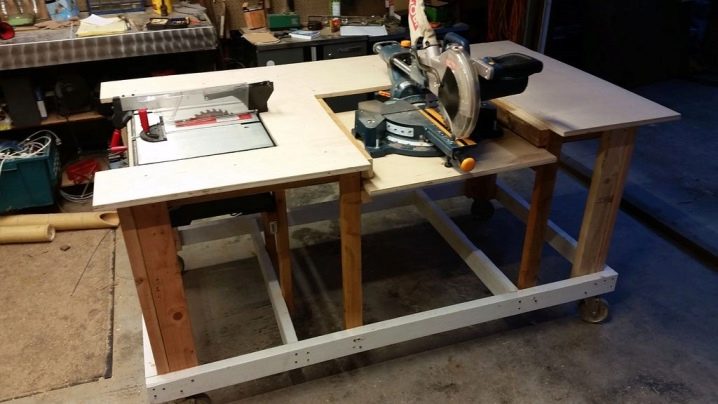
The sketch and drawing of the machine also take into account the ergonomics (ease of use and safety during operation) of the unit. The control buttons of the remote control should be located in a certain sequence, excluding an accidental, sudden start of an unprepared machine. Access to the saw blade must be limited to prevent injury to the worker.
Protection of electricians, on which there is a high voltage of 220 or 380 volts, is also included in the list of mandatory requirements.
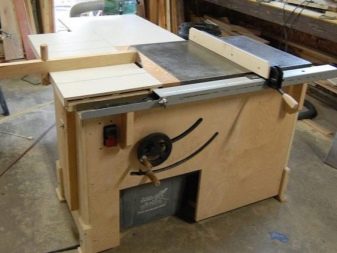
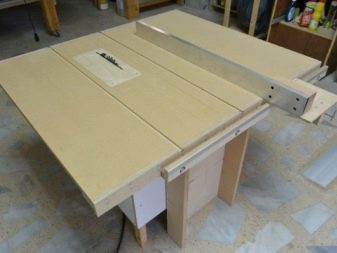
How to make a circular saw?
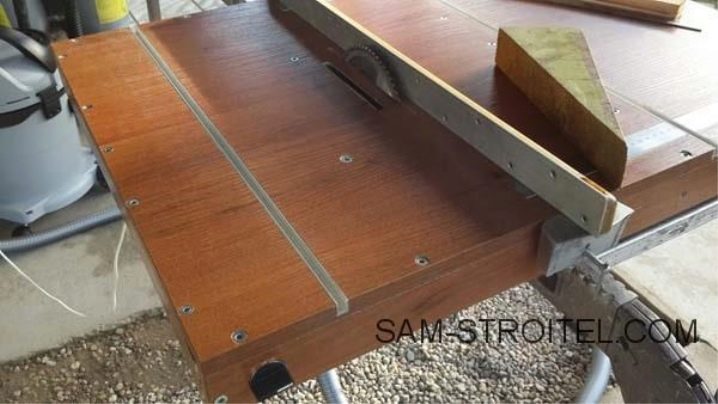
First, the table is assembled - the basis of the sawing unit, for example, with a leg height of up to 90 cm and a tabletop suspension height of about 95 cm. For this purpose, a steel frame is welded - for the legs it is a square pipe 50 * 50 mm with a wall thickness of at least 3 mm. For the drawer side (reinforcing spacer), a rectangular profile is taken, for example, 40 * 20 and a wall thickness of at least 2 mm.
The so-called underframe - a base with horizontal beams - is also cooked along the perimeter from segments of the same 50 * 50 mm pipe. For additional reinforcement, diagonal (angular) spacers are used, sawn and welded at an angle of 45 degrees. They are sections of a professional pipe 40 * 20 mm. Their presence is necessary - only with their help it is possible to build a truly reinforced table that will not sway with strong jolts, often accompanying the passage of the workpieces being sawn within the guides.
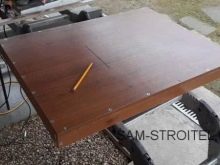
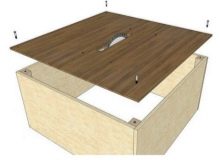
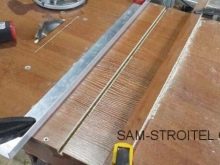
For the countertop, sheet steel with a thickness of 2 ... 3 mm is used. Needless to say, such a workbench will be heavy compared to its wooden counterpart, but at least it will serve a home craftsman for many years - all his life. The dimensions of the workbench worktop rarely exceed 2 m2 (1 * 2 m), taking into account the allowance for indents.
For greater convenience, the tabletop from above - along the perimeter - is scalded with a steel corner, for example, 20 * 20 mm (wall thickness is about 2 mm). To remove the 2-mm drop formed by the corners, put on top - adjusted for the dimensions - another sheet of steel with a thickness equal to the thickness of the walls of the edging corners. The resulting table has high strength and two to three times the allowable weight and load.
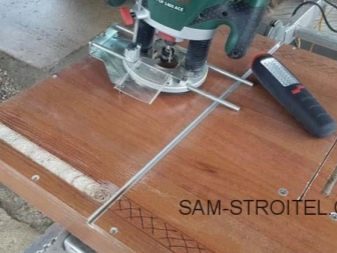
After the table is ready, the mounting rails for the drive are installed from below. They are all made from the same steel pipes of square or rectangular cross-section. For a complete and correct installation, it is possible that the newly made table will have to be tilted in order to get to its lower side and mark the table top to fix the workpieces.
It is preferable to use bolted connections with countersunk heads - these, in turn, do not rise from the outside (top) above the surface of the tabletop. If necessary, the installation of the guides is additionally secured with a welding tack or short seams applied along the placement of these elements.
All this will prevent the circular from slipping off during the working load on it from the workpieces being sawn.
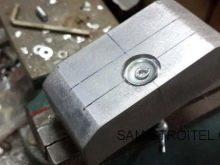
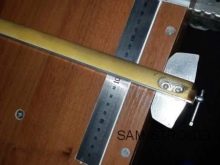
Then the circular itself is mounted, the network cable is connected, the switch is installed (on top of the tabletop or on the sides / gables of the table frame). Before installing the circular, a technological gap is cut out in the tabletop - for the largest discs, its length can be at least 30 cm.
After installing the circular, mount the guides. They should be customizable. For them, technological slots are drilled perpendicular to the path of the saw blade - closer to the ends of the tabletop. For pressing and fixing the guides in the desired position, wing nuts with bolts and lock washers are used.
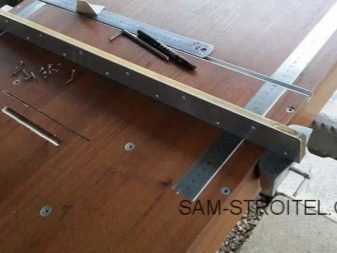
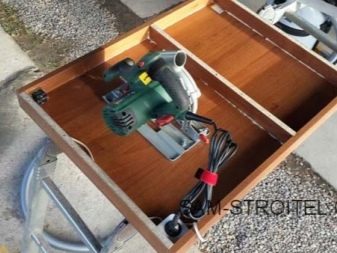
The movement (spreading) of the guides should fit into most standard sizes of wood blanks. So, for a board and a bar, the total stroke width of the machine guides is about 30 cm.
If you have to cut plywood sheets, then the guides can be removed at any time (they are detachable), and the plywood sheet can be set and fixed along the edges of the tabletop using, for example, clamps. But such a machine must have a moving (at least manually) drive moving along the cutting line of the workpiece, while the technological gap occupies more than half the length of the tabletop. To move the drive, a system of rollers is used on industrial bearings closed on both sides, moved by a handbrake bar.
Making from a hacksaw
A manual mini-machine based on a hacksaw for metal is an analogue of an electric jigsaw. This desktop version is not as small as it seems at first - you need free space on a decent-sized table.
For the machine frame you need to prepare:
- section of the channel;
- round pipe;
- pieces of steel plate;
- as a drive - any motor with a power not exceeding 850 W.
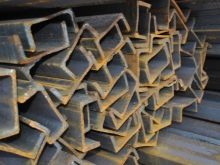

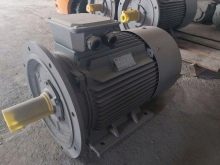
Instructions for making the machine are as follows.
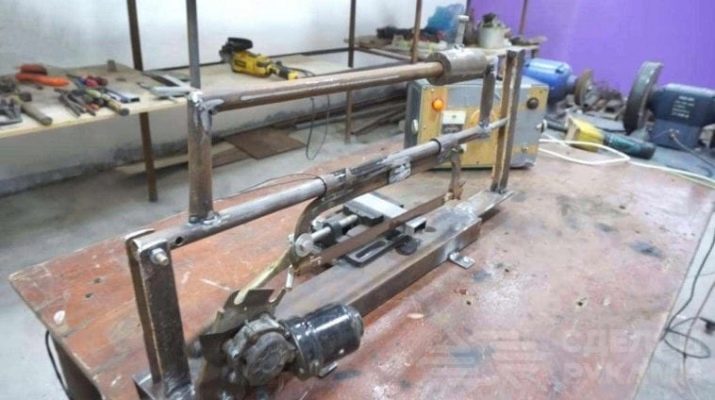
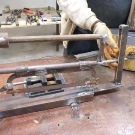
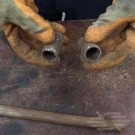
- Cut a piece of pipe half a meter long... You will also need shorter pipe sections with a larger diameter than this section. These pieces serve as bushings.
- Slide these sleeves onto a piece of pipe with a smaller diameter... Weld a steel frame to hold the blade away from the saw. Weld two rectangular plates to the main pipe. Place these plates in the center of the pipe. They restrict the movement of the saw base - they do not allow it to move in the transverse direction.
- Weld two vertical supports on the channel.
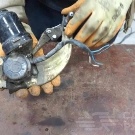
- Make a mount for the electric motor - it may require, for example, an angle profile.
- Weld the U-frame with a blank welded to it to the main pipe section, on which the hacksaw base is fixed. The frame, in turn, is assembled from two short and one long piece of pipe.
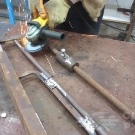
Clean and flatten all welds, assemble the resulting machine parts together.

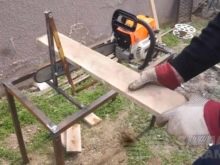
Chainsaw model creation
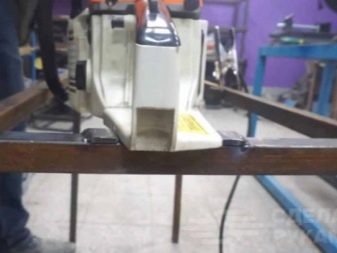
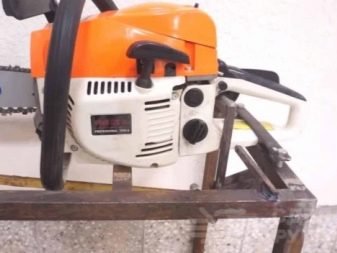
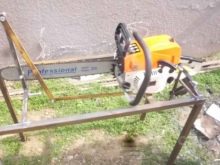
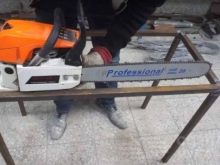
Assemble the steel table using one of the instructions above. Instead of a circular saw, attach a chainsaw to it. It has more power - up to several kilowatts in terms of electrical performance equivalent.
The thickness and dimensions of the professional pipe can be changed, the design flaw is its immobility - only a few people can move a sawing machine based on a chainsaw, take it to another room at the same time... The advantage of the unit - it is not inferior to the mini-sawmill in performance. The movement of the chainsaw in the transverse direction (left or right) is blocked thanks to the same guides.
The chainsaw can be automated - the button that turns on the drive can be located on the side of the workpiece. As soon as the workpiece rests against it, the engine starts, and the chainsaw can be easily guided along the sawing process.
How to make a vertical machine?
The vertical machine is not particularly difficult to manufacture.It is enough just to put the table with the circular saw fixed on it vertically, if necessary, placing the linings under it, and the workpieces can be sawed vertically.
To make such a machine, you just need to purchase a vertical-running circular saw. The fully assembled machine is a vertically set table with a circular, on which, with the help of clamps, a board, bar or sheet of solid wood, or a log (preferably calibrated and rounded) is held, and the circular is moved up and down manually.
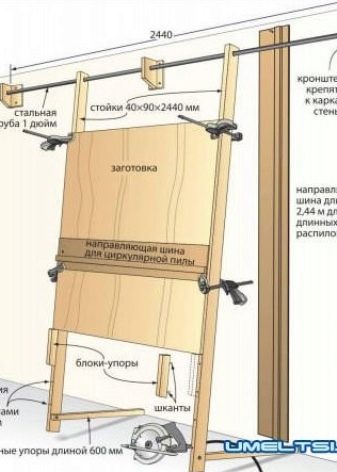
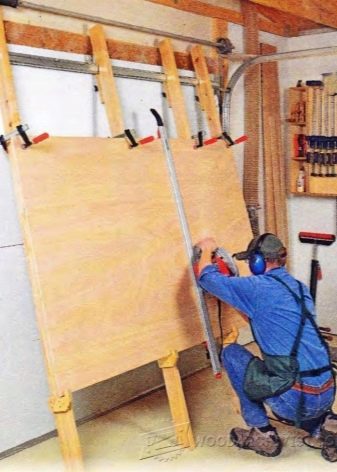
Instead of a circular, novice craftsmen use a conventional jigsaw, the accuracy of which is controlled using guides. At the same time, a board, a log, a bar or a sheet is shifted horizontally, being in a standing position. Before starting sawing, the accuracy of the installation is checked. The verticality of a board, bar or sheet can be checked using a bubble or laser hydro level gauge - in order to avoid a serious error leading to curvature and unevenness of the cut strips, plates, slats from the workpiece.
For information on how to make a sawing machine with your own hands, see the next video.


The comment was sent successfully.