How to properly transplant spathiphyllum?
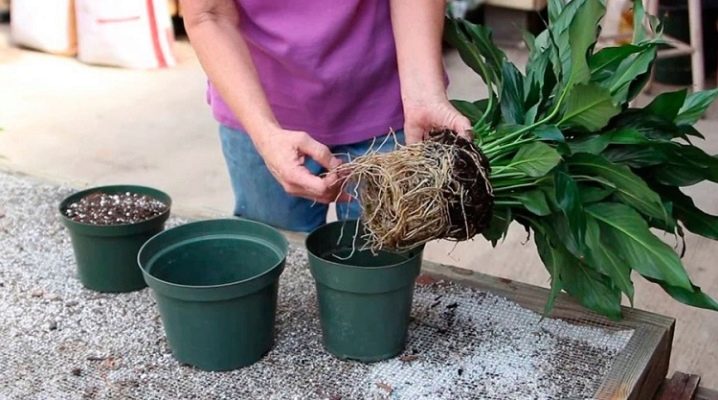
The transplant is included in the list of measures that allow you to provide proper care for the spathiphyllum. Despite the simplicity of such work, it is worth doing it correctly, then the flower will experience less stress.
Why and how often do you need a transplant?
After the purchase, most novice growers are in a hurry to transplant the plant, in fact, this is not the best idea, because during this period it experiences stress due to changes in conditions. The flower needs to acclimatize before putting a new load on it.
If we talk about the frequency of changing the container, then the first transplant after the purchase should be carried out only after a few months, and some professionals advise even no earlier than a year later. Young bushes then have to move to new containers every year, since their root system is in a phase of active continuous growth. If there is not enough space, then the flower will begin to feel bad, the roots will begin to appear outside the soil, penetrate into the drainage holes.
Adult Spathiphyllum can be transplanted every 3 years or even 5.
But this is not the only reason why a pot change may be required, since the soil is also replaced with it. For a year and even for 3 years, the earth is saturated with salts, it becomes bad, so it needs to be changed. Changing the container is the perfect solution. The new soil is laid well-drained, disinfected and filled with minerals necessary for the growth and development of the flower.
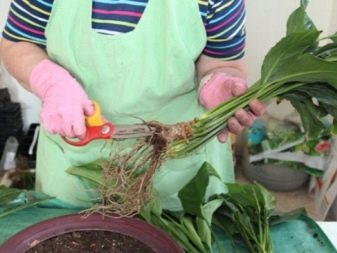
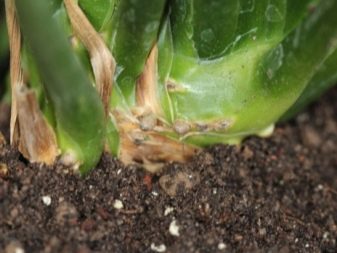
It also happens that suddenly a plant is attacked by a nematode or root rot. This is a reason to urgently replace not only the soil and container, but also cut the roots to enable the spathiphyllum to survive. The container will need to be disinfected if you plan to use it again in the future. In this case, the roots must be washed, removing all the old soil, treated with an insecticide or fungicide, depending on the problem.

The right time
The most inappropriate time for transplanting is when flowering is in progress, because at this moment the bush is not ready to take on an additional load. The result of such a shock is always the loss of all flowers and buds, since their spathiphyllum drops instantly. It is best to do the procedure after flowering, when the plant enters a dormant state. You can change the container in winter in December or in autumn.
It is allowed to carry out a transplant several months before flowering, in this case the flower has time to acclimatize, so stress will not affect the formation of peduncles in any way.
Pot and soil selection
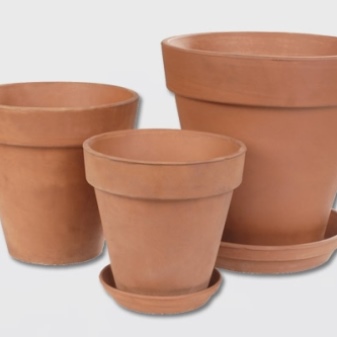
For spathiphyllum, the material from which the container is made, where it will grow and develop, does not matter. It is worth paying attention only to the fact that in clay soil salinization occurs faster, but it also dries out after watering at a high speed. When choosing a container, you can rely on your own budget. The containers made of clay are the most beautiful, but they are also fragile. If such a pot falls, it will surely break. In comparison with them, plastic ones last longer, cost less, and are presented on the market in a wide variety.
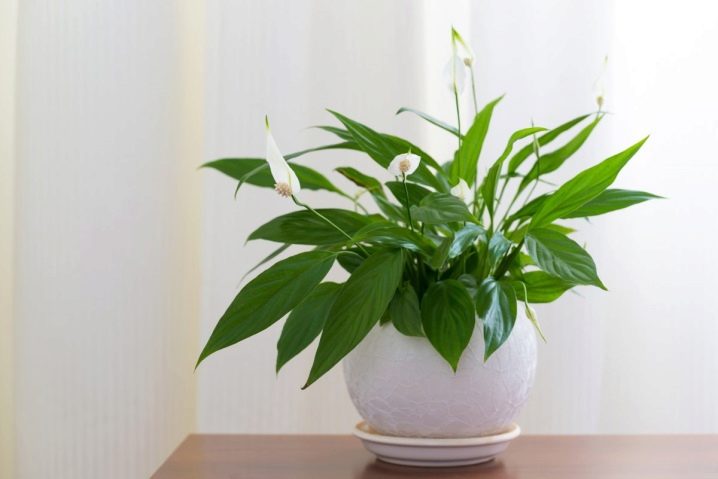
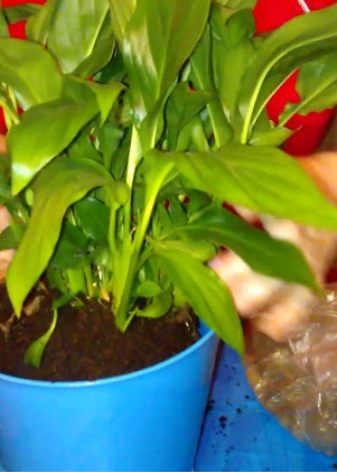
As for the volume of the new container, it should be only a few centimeters wider in diameter. The described flower has a peculiarity - the closer to the roots, the better it blooms, respectively, too much space in the soil will lead to the fact that you can not wait for flowers. Soil that drains well while remaining moist is best for spathiphyllum. The required amount of moisture in it helps to keep the leaves glossy green. This flower will not live in damp earth.
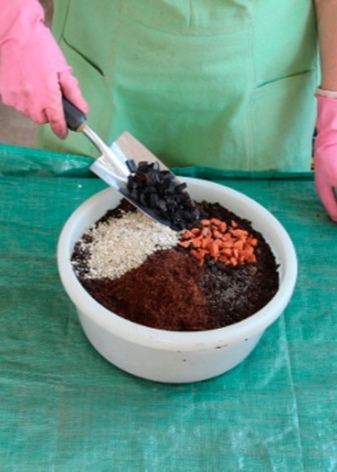
Water fills in the gaps in the soil that normally contain air, which allows the roots to breathe. When there is too much moisture, the leaves turn brown and wither. To make high-quality soil, it is recommended to mix one part of loam with the same amount of peat moss and sand. With all this, river sand is not suitable for a houseplant, it contains many substances harmful to it, so it is better to purchase purified one. The composition of another compost mixture suggests mixing peat with perlite and bark chips.
Store-bought supplies are usually sterilized. If you decide to use soil from your home compost heap instead of a piece of peat moss, it will also need to be sterilized. This is done very simply, you need to put the earth in the oven for an hour and heat it to a maximum temperature of 80 C. If you overheat, then all the benefits of such soil will go away, since minerals and vitamins are destroyed.
Also remember to rinse the plant container with hot soapy water before planting.
Like any tropical plant, spathiphyllum is used to getting a lot of nutrients from the soil. That is why you will need to apply fertilizing regularly, but it is worth starting a month after transplanting. Water-soluble balanced fertilizers with the formula 20-20-20 are used to replenish nutrients. Strong concentration can burn the plant, so dilute the product to about 25 percent of the recommended amount on the package before adding it to the soil. Dry dressings are applied exclusively to wet soil.
Over time, the plant tends to leach nutrients from the soil, and fertilization may not always make up for what is lost. This leads to a build-up of salt or other harmful chemicals that are harmful. It is for this that a complete soil replacement is performed every few years, as a rule, together with a transplant.
Preparing a flower for transplant
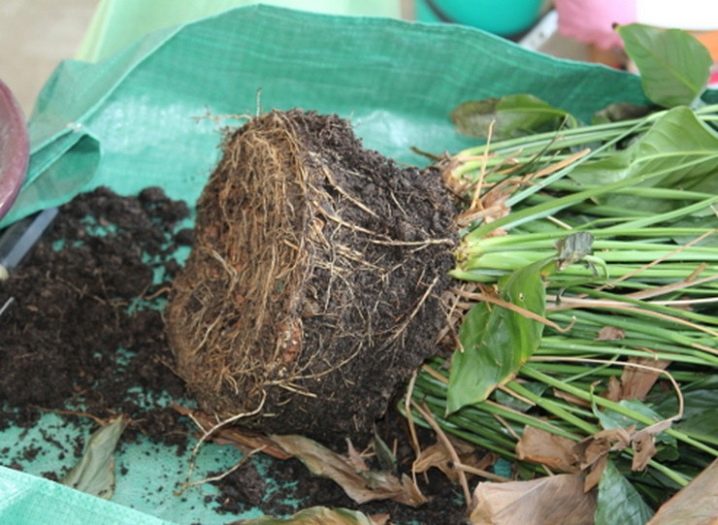
Indoor spathiphyllum will need to be prepared before transplanting it. It is worth improving the quality of irrigation, and applying the required fertilizers in a month. This will allow the roots to absorb enough moisture and vitamins to survive the shock. You need to understand that the plant must be healthy, this is the only way it can tolerate a change in container and damage to the root system. Pay special attention to the roots, they will not only need to be untangled, but also cleaned, removed old, sick, dead.
All cuts must then be sprinkled with crushed charcoal to prevent fungal infection.
How to transplant?
Before carrying out the procedure, it is worth making sure that the soil to be used has the required pH level (5-6). The optimum temperature for the further maintenance of "Women's Happiness" is 66-68 F. You should be especially careful with the amount of nutrients in the soil, since at this stage a large amount of minerals will not be beneficial.
If indoor lighting is used, it is best to keep it off for at least half a day. A transplanted plant needs more shade than sun. After a couple of days, you can return to normal conditions of detention, when the flower is ready for further growth. It is necessary to transplant the plant at home correctly, then it will be easier for him to cope with stress. This process can be described step by step as follows.
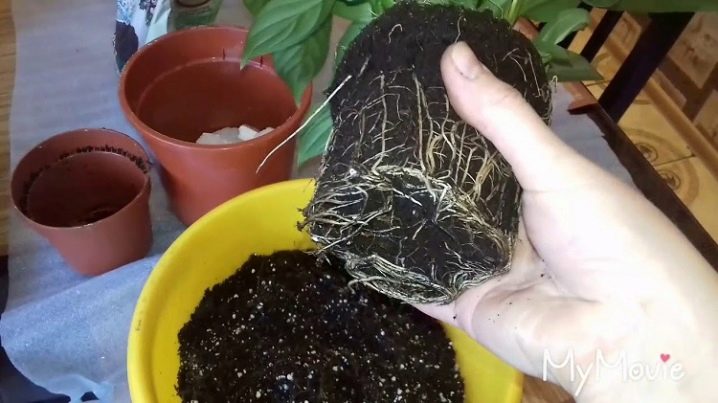
- The first step is to spread out a few sheets of newspaper or a large plastic trash bag to keep dirt and water out of the work area.
- They set the old pot with the plant on the table, and next to it they prepare a new one, which experts advise to disinfect in a bleach solution before use.
- Their dimensions are visually compared, since the new container should be 2 centimeters larger in volume.
- The bottom of the new container is prepared first, organizing high-quality drainage. Small pebbles, sphagnum moss can be an excellent solution, since they are the easiest to get. Some people put foam crumbs, but this is not entirely true, since it does not allow moisture to pass through, but protects the roots from hypothermia. It can be added as an additional ingredient, but in small quantities. A small amount of soil is poured on top of the stones.
- Wet the soil of the plant in an old pot if it is very dry. This is done in order to make it easier to remove the roots without damaging them.
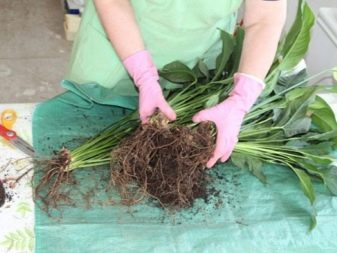
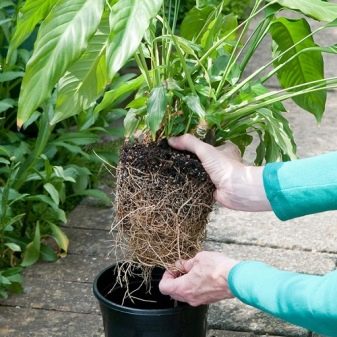
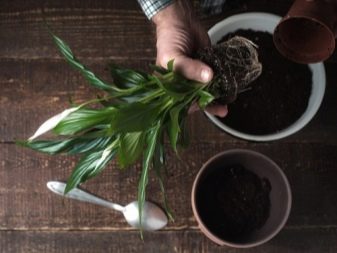
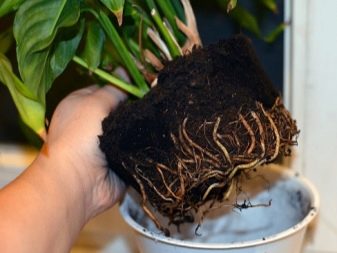
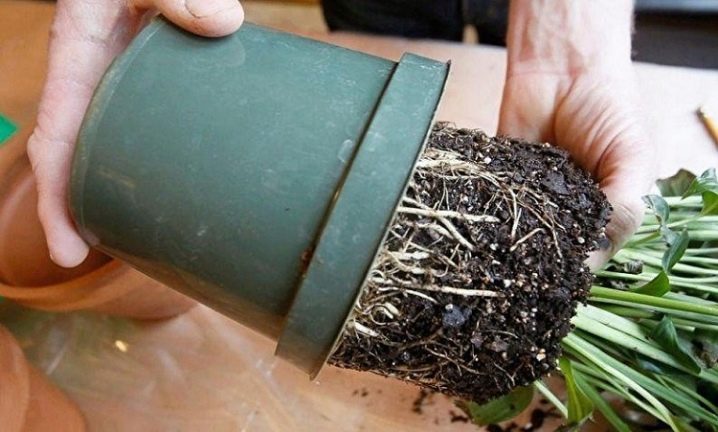
- Turn the pot on its side and, grabbing the plant by the main stem or trunk as close to the ground as possible, carefully pull it out. If it doesn't give in right away, you don't need to put more effort, it is better to take a spatula or knife and separate the earth around the edges, then try again.
- Gently stir up the roots of the plant with your fingers, thus shaking off the old soil. After the root system is dipped in a bucket or large bowl of water, you can rinse it under warm water under the tap.
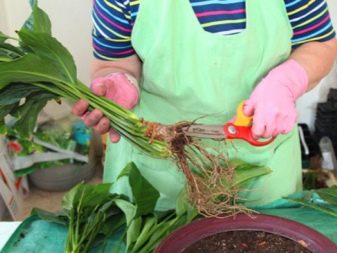
- At the next stage, the roots are examined, whether they are healthy, and if there are damaged or dead ones, then they should be removed.
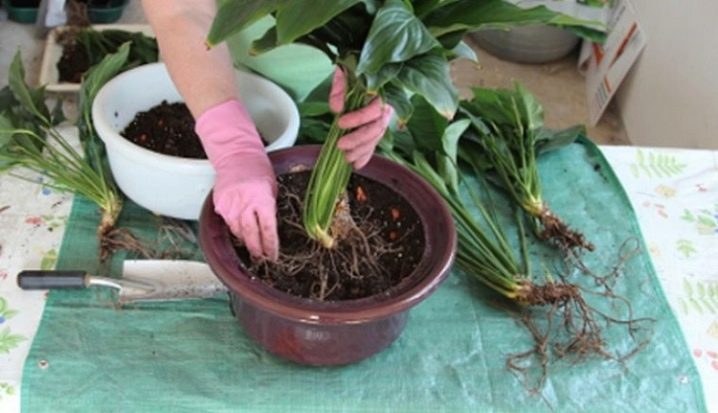
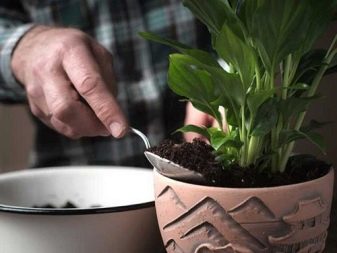
- When the plant is completely ready, you need to place it inside a new container and cover it with soil. It is imperative to adjust the planting depth, since the leaves of the flower should be found at a distance of 5 centimeters from the surface of the earth, respectively, if the lower layer is not enough, it should be poured in to raise the flower.
- The ground is slightly crushed, but not much. This is necessary to remove air pockets.
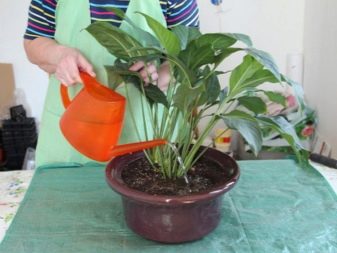
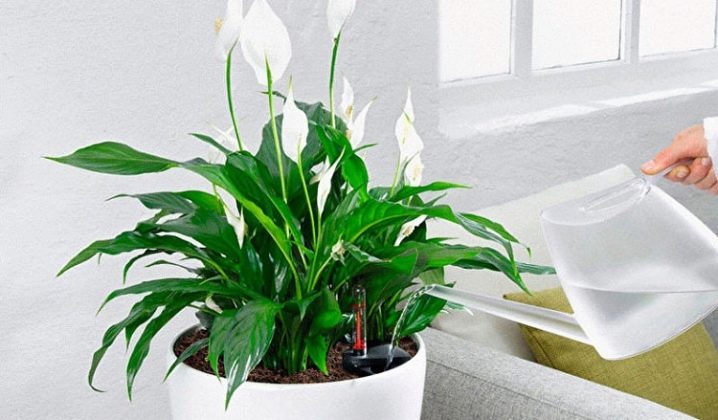
- The flower is watered abundantly, they wait until the excess water drains. Top dressing at this stage is not applied, since it will become an additional load for the plant.
If transplanted from one pot to another, do not use an oversized container. It is best to mix the flower into a container that is slightly larger than the one from which it is removed. The explanation for this is very simple: when the capacity is much larger than the existing root system, more moisture accumulates in its soil, it is not able to consume the entire plant simply because it does not need so much water. As a result, the processes of decay begin not only of the roots, but also of the stems.
Today, there are many additives on the market that, according to manufacturers, help the plant after transplantation to acclimate faster and go through the shock stage. So far, experts are not unanimous in the opinion whether it is necessary to use them or it is better to do without them. Any roots that appear brown or chestnut, have an unpleasant odor and should be cut off with a sharp, clean knife.
You can process the tool not only with an alcohol solution, but also with a weak bleach, or simply crush and dissolve an activated carbon tablet.
Possible problems
It often happens that the flower after transplanting has dropped its leaves, withers. There is nothing surprising in the fact that he is sick, wilted and hung his shoots, it's all about the shock that the plant is experiencing at the moment. Such a state is inevitable, since initially any flower growing in nature was not intended to move from place to place. When we humans start doing something like this, it inevitably causes problems. To minimize this condition, you need the following.
- Disturb the roots as little as possible. The plant breeder should remove the spathiphyllum as carefully as possible, do not shake the dirt on the roots.
- The more the old root system remains, the easier the bush will tolerate a change in capacity.
- It is important to water the soil with high quality, this is a simple and good way to avoid shock during transplanting, which will help the plant quickly get used to a new place.
- You can add some sugar along with watering to help reduce shock.
- Some growers advise pruning the stems at the time of transplant, but this is a bad idea when it comes to the particular flower in question.
You always have to wait patiently, sometimes the plant just needs a few days to recover from the transplant. The main thing is not to overload it, not to put it in the bright sun with direct rays, not to flood it with water, not to feed it, but to prepare optimal conditions for temperature and humidity.
Further care
When a plant begins to suffer from a transplant, the leaves are the first to speak about it. If the grower learns to read the symptoms, he will be able to correct the problem in time and revive the plant. Experts give their advice on this matter.
- If, for special reasons, the transplant was carried out at the time of flowering, and this happens with fungal infection of the roots, then after all the flowers will need to be cut off so that the plant can focus its energy on recovery. Be sure to remove yellowed or brown leaves. Once the flower comes to life, it will quickly replace the lost shoots.
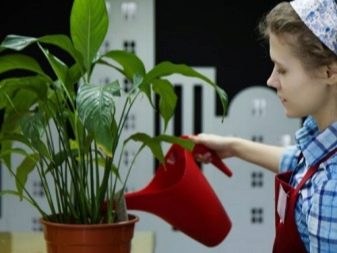
- Watering spathiphyllum must be correct. Allow the top layer of potting soil to dry, and then water again with water at room temperature until the soil is thoroughly moistened. Every time the excess moisture must be drained off.
- It is important to adjust the amount of sunlight the plant receives. If the leaves are pale and have curled brown edges, these symptoms indicate that the flower is receiving too much light. In spring and summer, the plant is placed on a window, but do not allow direct sunlight. Harvested in autumn and winter, when the flower needs more rest.
- The bush will quickly tell whether it has enough nutrients or they are being applied in excess. Yellow edges on the leaves may indicate that the plant is not getting enough iron and magnesium.
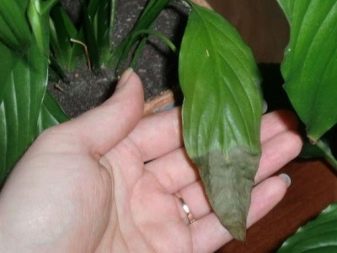
- After transplantation, when the flower is weakened, infection by insects and fungi occurs faster. During this period, it is necessary to carefully examine more often than usual spathiphyllum, carefully examine the leaves, sometimes even with a magnifying glass, since many insects are too small. You need to pay special attention to brown spots on the leaves, cotton masses and yellow bloom.
Clean plants look good, foliage absorbs carbon dioxide and moisture from the air faster. Use a soft, damp cloth or cotton swab to gently wipe the dust off the leaves. Insecticidal soap or neem oil can be used as the best prevention against insect attacks.
If the plant has wilted or drooping leaves, sometimes dead areas appear along the edges, it means that the plant breeder is not watering correctly. It is very easy to fix the problem at an early stage, you just need to reduce the frequency of application of moisture in order to improve the amount of oxygen in the soil. Often, a similar problem arises when the ambient temperature drops sharply or when the leaves come into contact with cold glass. The main thing to remember is that the hotter, the more often you need to water, the cooler, the less often.
Decreased growth and chlorotic leaves are common symptoms of micronutrient deficiencies. This disorder is common during the winter months when the soil is cold. The lack of iron and manganese must be produced with an additional increase in the temperature of the soil.
If the soil is cold, the use of trace minerals will not be beneficial.
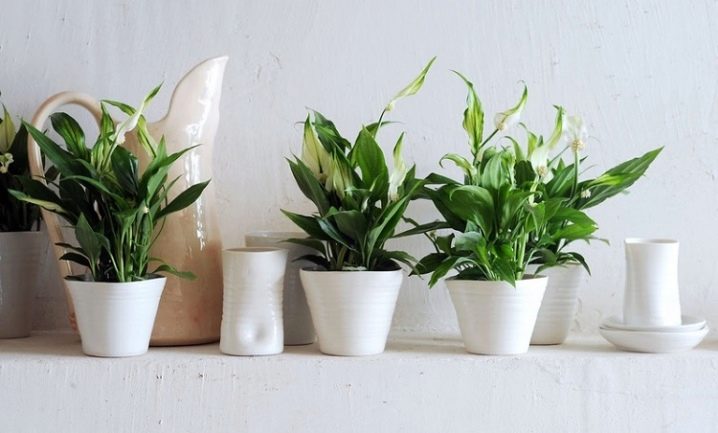
When the leaves are curled, pale, the tips are burnt, it is required to reduce the level of lighting in the room. Increasing the amount of fertilizer applied will improve the color of the plant, but may lead to an increase in soil salt levels. Do not be upset if the flower does not please with abundant flowering. This deficiency is especially common in young plants.Bushes that are 9 to 15 months old usually bloom from February to April, depending on the indoor temperature in winter.
Oddly enough, but a flower can develop normally and just in water, without soil. It blooms in such conditions no less actively, does not rot and does not get sick. However, it is sensitive to chemicals commonly found in tap water, such as fluoride. Therefore, experts recommend using filtered water for growth, settled, rainwater, well or distilled water. Fertilizers are best applied from the end of winter, when the flower begins to wake up and enters a phase of active growth. Despite the fact that the plant is very tolerant of a lack of light, this does not mean that it does not need it at all, because without sufficient illumination, you can not wait for flowers.
You can learn about the secrets of spathiphyllium transplant from the following video




The comment was sent successfully.