All about caring for black currants
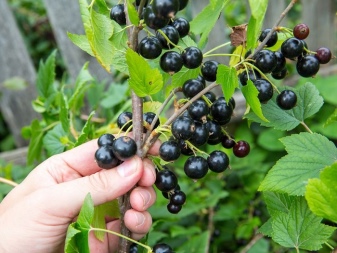
Currants are considered one of the healthiest berries. Its nutrients are quite concentrated, making it one of the first foods needed to support immunity. Unfortunately, most kids don't like her. But despite this, it grows on the site of any gardener, even a beginner.
Caring for this culture is not difficult, but it will nevertheless require effort, as well as adherence to the rules and certain deadlines. Read everything about how to properly care for this culture in the article.
Loosening and mulching
The most basic care for currants includes mandatory mulching, as well as loosening.
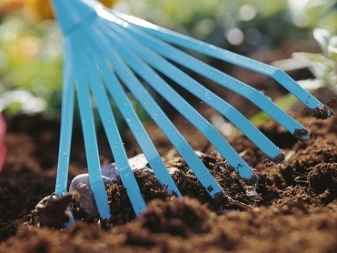
- Loosening... The first loosening is carried out in the spring. Due to the fact that the roots of the plant are not at a great depth, you need to loosen the ground carefully, using a small rake for this, but not a shovel. Re-loosening should be carried out in the fall. Before this, the soil around the currants is cleared of weeds, leaves and other things. Next, you need to mulch the currants. Ash is usually used for this. Thus, first cleaning is carried out, then loosening, and then mulching.
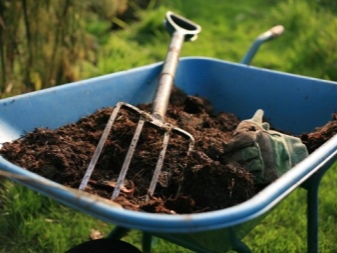
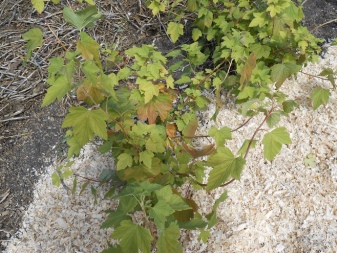
- Mulching... After harvesting, the bushes require abundant watering. Due to the fact that the roots of the currant are fibrous (located on the surface), you need to help it retain moisture. Therefore, it is imperative to do mulching. In the spring, all mulch must be removed. This is usually done with a shovel and a bucket. It is necessary to remove mulch in the area where currants grow in order for the soil to warm up faster. Pests and spores of various fungi can also live in the mulch. As mulch, you can use compost, rotted manure, straw, sawdust, decorative chips. In rare cases, the use of peat and even dry soil is allowed.
It is necessary to mulch currants even if the spring is extremely dry and without precipitation. Even dry soil can reduce the rate of evaporation of moisture from the soil.
Watering
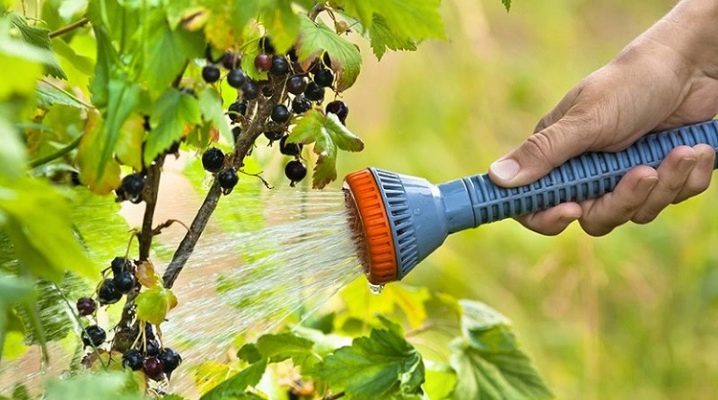
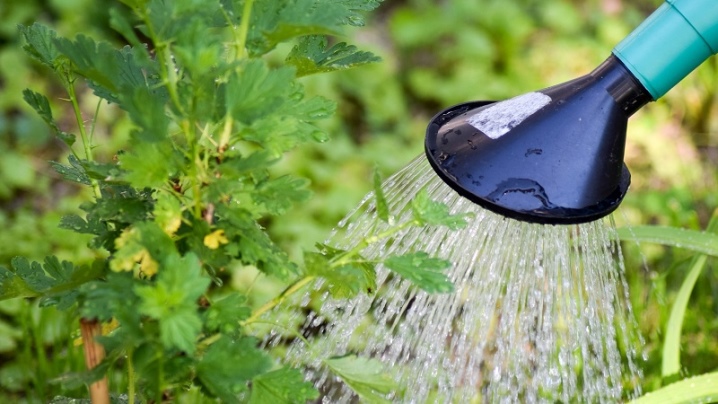
Watering must be regular and abundant. If watering is irregular, and there is also an insufficient amount of water, then this can immediately be seen from the state of the berries. Watering should be done well in all seasons except winter. If you watered currants well in spring and summer, and after harvesting, you stopped watering or reduced the amount of water, then this can also affect the health of the plant. In some cases, under conditions of water shortage in the fall, currants may not survive the winter. It will become clear only in the spring.
Immediately after the winter period, it is not recommended to water the currants in large quantities - usually enough melt water and melted snow. If the winter turned out to be without snow, then it is necessary to water abundantly immediately with the onset of spring. Watering is especially necessary during the period of ovary formation, as well as ripening of fruits. Usually the plant is watered after 5 days. Each square meter should take from 20 to 30 liters of water. The soil must become moist 40 cm deep. But in practice, gardeners usually recommend and water them themselves once a week, 3 or 4 buckets (per bush).
It is advisable to water with warm water. Currants are not very fond of ice or cold water.
Top dressing
Some summer residents believe that the best fertilizer for currants is not manure at all, as you might think, but potato peelings. They contain a large amount of starch, which currants love. If you apply such fertilizers to the soil where currants grow, then the size of the berries will be relatively large. Some gardeners claim that they can even grow to the size of a cherry. You cannot replace potato peels with starch, which can be found on supermarket shelves. You need to understand that for currants this is not the same thing. It is also recommended to make infusions from potato peel. With this broth, you can feed the currants during the flowering period, as well as in the fall or even earlier, in August. Potatoes will have a beneficial effect on the condition of the currants in the spring. Cleanse the plant and mix it lightly with the soil under the bush.
For currants, it is recommended to carry out several basic dressings per year.
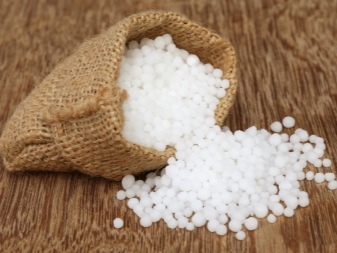
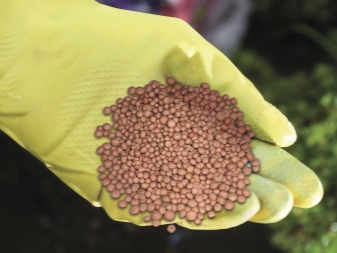
- The first feeding is done before the buds swell.... The air temperature should rise to +5 degrees and be no higher than +10. True, at this time it is recommended to use only nitrogen fertilizing. Replacement with urea is allowed, but in small quantities.
- The second feeding is done before flowering.... This time you need to use a little nitrogen fertilizers, as well as fertilizers with a high content of phosphorus and potassium.
- The third feeding comes at the beginning of fruiting (when the berries have just appeared and they are green). Phosphate-potassium fertilizers are used.
Top dressing is done only on wet ground. For example, you can water the plant in the evening, and add top dressing in the morning.
Treatment against diseases and pests
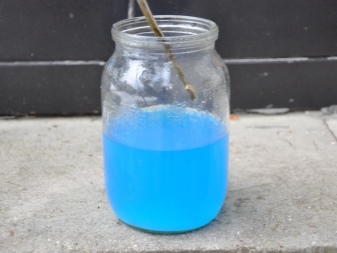
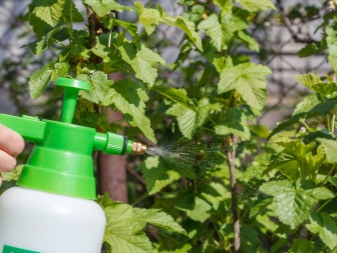
If some buds are affected by a mite, then they must be removed along with the pests. The same goes for diseased leaves and branches. Because of them, currants always grow poorly. It is forbidden to treat bushes with chemicals a month before the berries ripen. During this period, you need to try to fight pests and diseases mechanically or sparing folk remedies. The best period for processing is early spring. It is necessary to process the bushes even before the first buds swell. Plants are sprayed with 1% copper sulfate solution. It can also be replaced with karbofos or Bordeaux liquid. Together with the plant itself, the nearby soil is cultivated.
In the spring, many gardeners recommend boiling water. The best time for this is before bud break, early spring. True, it is best not to water with boiling water, but to reduce the degree of heating of the water to 85. In the summer, it is recommended to regularly inspect the place where the currant grows for the presence of weeds. If there are weeds, then they must be pulled out. If the currant has dried up sharply, then, perhaps, the matter is in the death of the root. A common cause of a root rotting or already rotting is a fungal disease. The mycelium can be clearly seen on the rhizome, it looks like white scale. With a constant presence in moist soil, the mycelium begins to actively develop. This can last up to several years. Therefore, it is important to carry out anti-fungal treatments.
Pruning
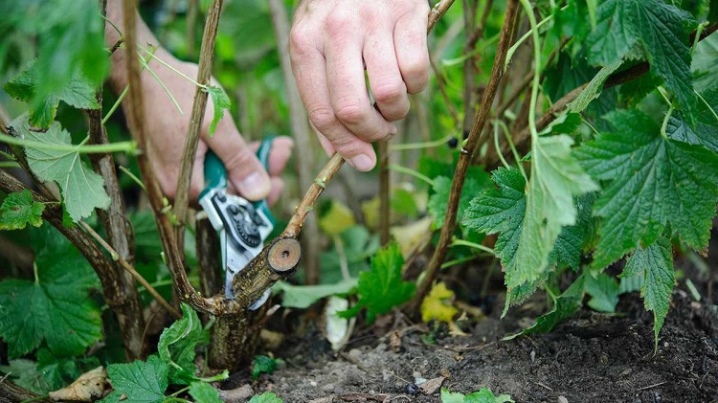
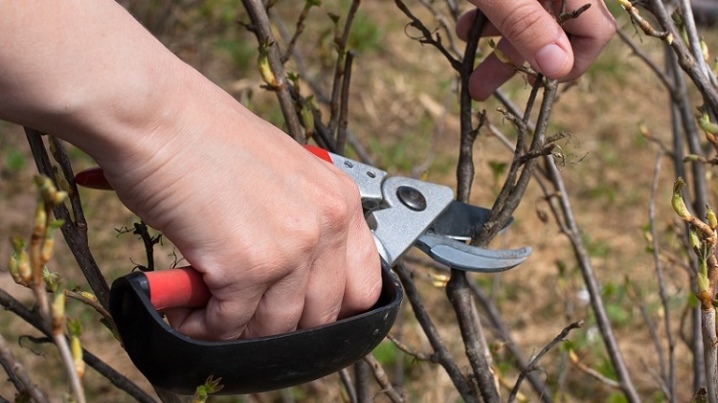
There is no need to randomly pick off currant leaves and branches. This should be done carefully and with a knife or secateurs. Branches are cut just above the buds. The cut must be done at a slight angle. The longest branches are cut. Later they can be used as cuttings. Branches over 6 years old are cut anyway.
With proper pruning, zero shoots (ground shoots) will grow annually. It is imperative to control their number and leave 3 or 4 pieces of the strongest. It is also recommended to cut off any shoots that are thicker than a pencil. They bear fruit poorly, but take a lot of energy.
In the spring
Pruning after winter is a must. Pruning is carried out so that the currants give new shoots. If you do not cut the shoots in the spring, then by the fall you can notice that the plant did not give new shoots, but continued to "grow" the old shoots that the seedling had.An uncut shrub has yellow leaves and also looks very sparse.
The pruned bush becomes "dense", its leaves are green and a large number of shoots are noticeable. Two similar-looking bushes in the fall can produce different plants in the spring.
In autumn
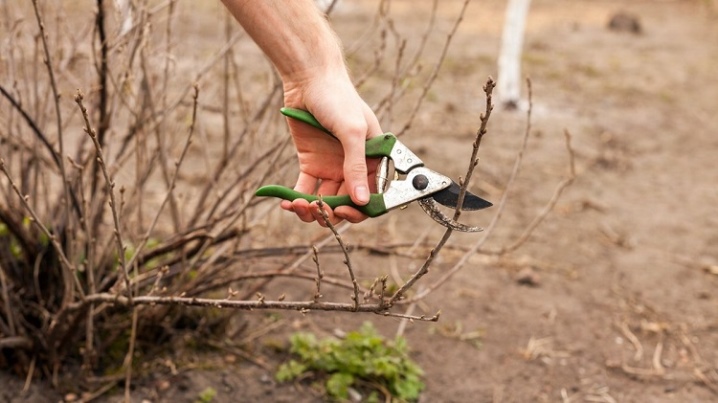
When pruning in the fall, start again by eliminating all leaves and other debris around the soil.... During this period, the recommendations remain the same as for the spring period. Old and thick branches are cut first. They will shade the young. You also need to inspect the plant for the presence of diseased and dried branches. They also need to be pruned. During this period, it is necessary to remove those branches that over the summer have strongly bent to the ground.
Next year, these branches will not be able to give good fruits due to lack of light. Pruning should be done almost at the very soil. It is not advisable to leave the stumps. Older branches are dark brown in color. Often covered with lichen. In young shoots, a third of the length is cut off. This is done in order to activate their growth next spring.
Garters
There is no need to tie up young bushes. This should be done only with bushes that are older than 4 years. They usually have up to 15 different branches. A stake is placed in the center of the bush in the soil. It should be about the size of the bush itself. All branches of the bush are gathered "in a bouquet", twine is thrown over them and tightened. Some gardeners use homemade garters. For example, one part of the "clamp" is made of wire, and the other is made of dense rope. For a large currant bush, up to 4 strings may be required. Do not overtighten the "clamps". They should allow free access to the ground around the bush, and also not damage the plant itself.
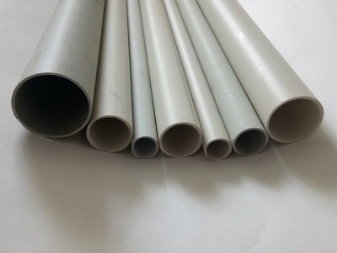
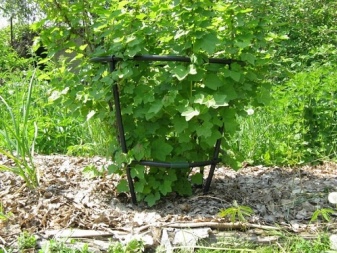
Some gardeners prefer to replace the garter by installing specific enclosures. Mostly they are made independently and from PVC pipes. They represent a hoop with three legs. PVC pipes can be bent with a construction hair dryer, and a tire or barrel can be used as a stencil. For bushes planted in a row, the most acceptable way is a garter on a trellis. To do this, two pegs are driven in along the edges of the row where currant bushes are planted. Threads are pulled on them in several rows parallel to each other.
Be sure to sprinkle humus on the soil of the bush before tying up the currants. It is believed that humus fights parasites and saturates the earth with the necessary useful elements. A good period for a garter is the flowering period.
Preparing for winter
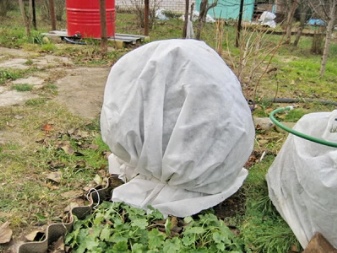
In the third decade of September, it is already necessary to start preparing the currants for winter. During this period, fertilizers are applied - organic as well as mineral. Treatment against pests and diseases is also carried out. All fallen leaves are removed for the winter. As already mentioned, pests can live in them, which hibernate in winter, and begin to wake up in spring. Another important preparation step is careful pruning. It is necessary to cut off all unnecessary branches, the number of which could have increased from spring and during the summer period.
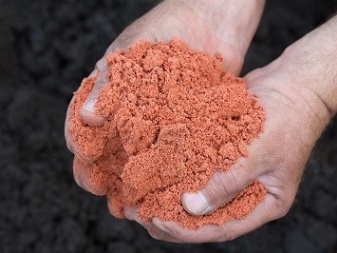
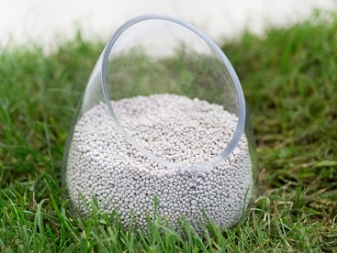
For the winter, 4 or 5 zero strongest and healthiest shoots are left. Phosphorus-potassium fertilizers are applied before winter... Fertilizers are placed on the soil, after which you need to dig up the soil with a pitchfork. You do not need to do this too deeply, it is enough to loosen the ground to a depth of 15 cm. A little further from the plant, you can dig deeper. It is also necessary to loosen the soil around the plant so that in winter it does not freeze too much.
Recommendations
Growing black currant is a simple process. With proper adherence to agricultural technology, the result will delight every gardener. Here are some tips on how to properly care for your bushes.
- In order to grow a good harvest, chemical and organic fertilizers must not be mixed. That is, you cannot use them at the same time. This has a bad effect on the condition of the plant and the subsequent harvest.
- Garden currant loves three types of fertilizers - nitrogen, phosphorus and potassium... Nitrogen is absorbed only at temperatures above 5 degrees. It is important to respect the proportions of these three elements. Instructions can be found on the labels of these products. It is almost impossible to prepare these fertilizers at home on your own.
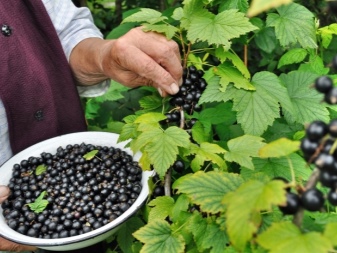
- When harvesting, you can pick currant berries either individually or in whole branches. In this regard, black currant is universal. Some varieties of currants can only be plucked with brushes. If you plan to transport berries, then you need to harvest in advance, even before it ripens. Spoiled fruits must be plucked and discarded. They will spoil both the plant itself and the rest of the crop.
- Professional gardeners do not like to fertilize currants with potatoes. They consider this method unhygienic. They argue that potatoes are a good breeding ground for animals that are not needed for a plant. Therefore, they recommend opting for chemical feedings.


The comment was sent successfully.