Reproduction of currants by cuttings in autumn
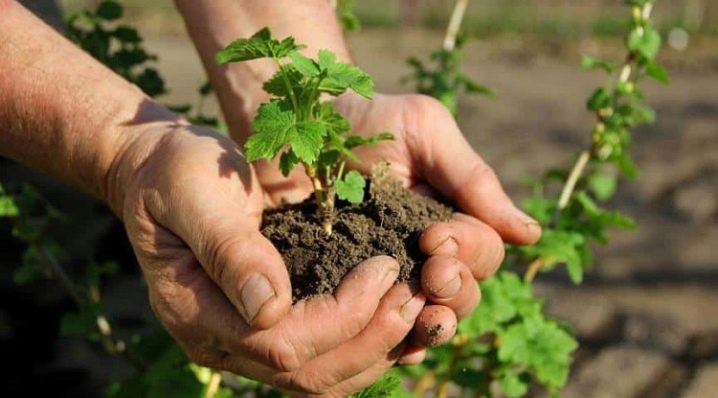
Currant is one of the most popular shrubs that gardeners grow on the site. This berry is considered a "favorite" in terms of vitamin C content, and the yield level with proper care is more than 4 kg of berries from one shrub.
If there is an unoccupied piece of land that is perfectly illuminated by the sun, and after the rain the moisture does not linger in this place, then it can be used to breed currants. Independent reproduction of currants is considered better than purchasing them ready for planting at a specialized outlet or on the market.
Advantages and disadvantages
Cutting currants in the fall among gardeners is very much in demand. There are several reasons for this:
- one bush gives planting material in large quantities;
- under favorable conditions, the shrub can be planted immediately;
- the seedling acquires all the properties and positive characteristics from the original (also called maternal) plant;
- the ability to prepare planting material throughout the year;
- this method rejuvenates the variety;
- no need to transplant seedlings, they take root perfectly in the planted place;
- the survival rate of seedlings is almost 90%;
- the opportunity to acquire a new variety through the exchange of cuttings.
Nevertheless, the reproduction of currants through cuttings also has its negative aspects:
- it is impossible to predict the survival rate of the bush;
- risk of freezing due to severe frosts.
In order not to be left without young seedlings in the spring, it is advisable to plant a large number of currant cuttings in the fall. Reproduction of currants in autumn can be practiced for various varieties of this berry culture.
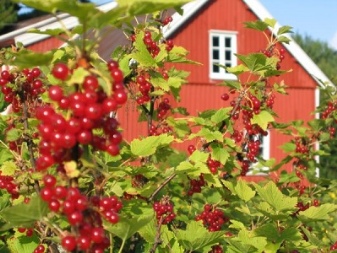
- For red currants, the reproduction time by cuttings should be moved to the end of August, since this shrub must be well rooted in the ground before the cold weather begins.
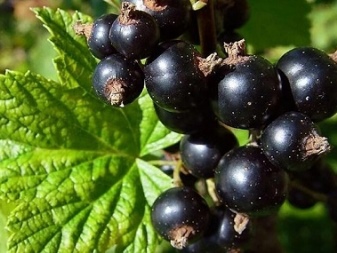
- For black-fruited species cuttings can be performed in early October.
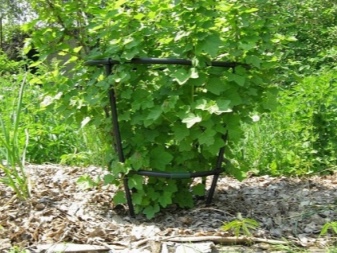
Material preparation
In order for currants to give a decent harvest from cuttings in the fall, it is important to know how to harvest them. For propagation of a shrub, it is necessary to first prepare the cuttings. To obtain them, you need to choose a strong 3-5-year-old bush. The harvesting period is selected based on the type of currant.
- For black currants - a warm period of autumn: end of September and full October.
- For propagation of red currants the end of August and mid-September will be ideal.
- For white and gold reproduction is carried out by lower branches (layering) in the spring.
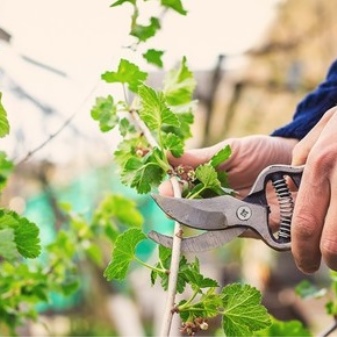
For the preparation of cuttings, the ideal period is autumn. This is due to the fact that during this period of time the plant loses less moisture, the movement of sap in plants decreases. In spring, due to moisture, they sooner take root and form a strong root system. Shoots that fit are cut with pruning shears, then, using a sharp knife, they are divided into seedlings of 20-30 centimeters each. The top of the workpiece is cut at an angle of 90 degrees, and the bottom is cut at 60 degrees. The lower cut is carried out at a distance of 0.5 centimeters from the kidney from above, and the upper cut - up to 1 centimeter from the lower kidney. For harvesting, the ends of the shoots should not be used due to the fact that they dry out in most cases.
After the place of the cuts, they are processed so that they do not lose their moisture.For this purpose, beeswax or hot paraffin is used. Some gardeners use a garden variety. Planting a cuttings of a plant is carried out in the fall.
When planting, the lower bud is buried in earth, and roots are born from it in the spring.
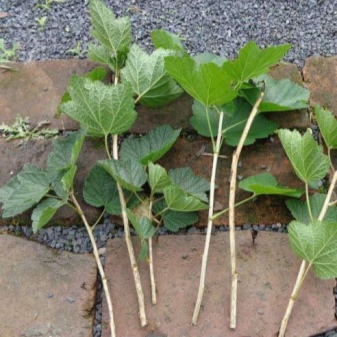
How to root?
With the prepared material, you can do this.
- Save until spring... Cuttings are distributed according to varieties, labeled, tied in bunches. Wrap it up with cellophane and put it in the refrigerator for storage. Alternatively, future seedlings can be covered with snow and left in this state until spring.
- The next way is to plant in open soil, without rooting, before the arrival of the first severe cold weather. With the onset of warm days, the moisture from the melted snow will assist them in rooting and create favorable conditions for intensive development.
- Rooting at home, and in the spring to land in an open area.
On a note! The third method is the simplest and most effective, since during the growth process, you can select especially strong and weed out weak seedlings.
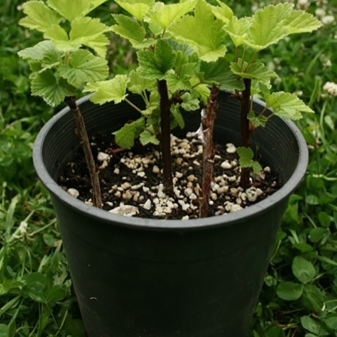
In water
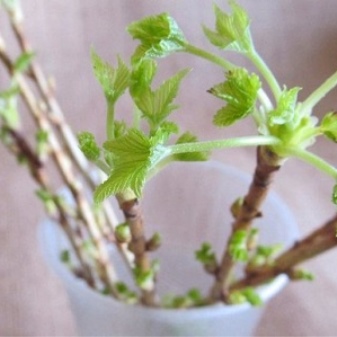
The most ingenuous, very affordable way of rooting is familiar to every summer resident. We all repeatedly cut the cuttings, placed them in a bowl of water and waited impatiently for the roots to form. At times they appeared, at times they did not. It turns out that in order to have more successful rooting, you just need to adhere to a few simple rules.
- Do not change the liquid in the dishes, but add it as needed... Changing cuttings water is stressful.
- The water in the dish (and the water to be added to it) must have room temperature.
- Do not put too many cuttings in one dish... It is advisable to distribute them in such a way that there are 2-3 pieces per 200 ml of liquid.
- Do not pour too much liquid into the dishes. The higher the liquid level, the greater the risk that the cutting will rot.
- Use light-proof dishes... In dark jars and bottles, the roots form better.
- If the cuttings were harvested in the fall, and they began to root them in the spring, first of all, the lower parts of the seedlings should be lowered into water for several hours, then the dried part should be cut off to a living tree, and only after that put into water for germination.
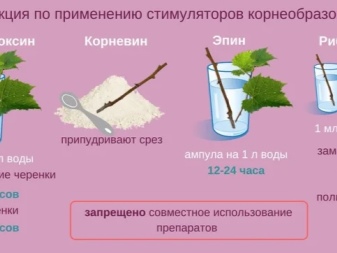
- Add 2 tablets of activated carbon or root formation stimulants to the liquid, fertilizers based on potassium and phosphorus, or use willow water.
- If the harvesting of cuttings was carried out in the fall and they do not have leaves, it is necessary to keep the containers in a dark place. And if the cuttings are summer harvesting, and they have at least a part of the leaf, in this case - in the light one.
- If necessary, aerate the liquid in the container. This procedure makes it possible to exclude rotting of the lower part of the seedlings.
In the open field
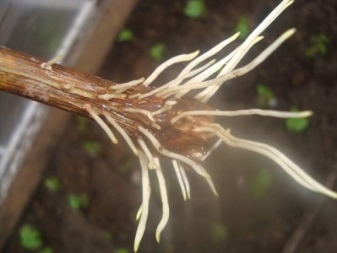
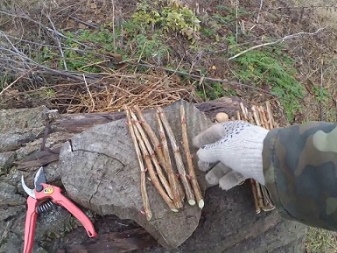
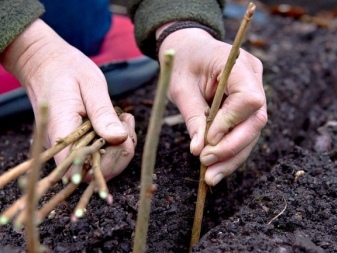
You can propagate currants by cuttings, planting directly in the open air. A favorable place is selected - sunny, windless and with deep groundwater. Humus is applied to the site - 10 kg per 1 m2, in addition, it is sprinkled with wood ash - 3 kg. Attention! When the soil is acidic, you need to sprinkle another 350 g of lime spar or dolomite flour.
Then digging, leveling and irrigation are performed. The holes are dug at a distance of 50 cm with a distance in a row of 40 cm. The bottom is covered with sand to ensure the collection and drainage of excess water. Then add a little bit of a fertile mixture, made up according to one of the recipes indicated above.
Cuttings should be planted to such a depth that there are 2-3 buds outside, they are sprinkled, as a rule, with earth, trampled on a section of soil around the trunk, then irrigated and covered with a thin layer of peat.
In the substrate
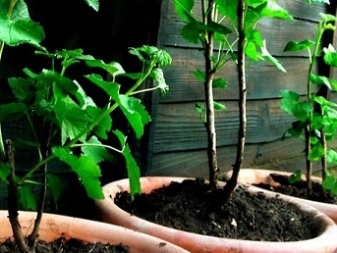
Rooting of currants can be done in potting soil. There are 3 ways:
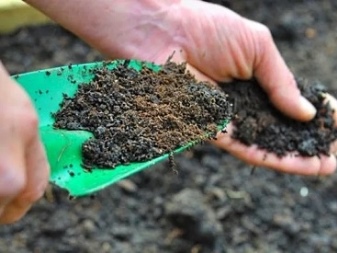
- peat with sand, mixed in equal proportions;
- sod land, rotted manure, sawdust of deciduous trees (alder, linden or aspen) in a ratio of 1: 3: 1;
- peat soil with sawdust in equal proportion.
Before propagating by cuttings, the sawdust should be steamed, since pathogens and pests may be present in them.... On a note! Handy cuttings in ordinary plastic cups with a capacity of 0.5 liters. On the bottom, it is necessary to make several holes, sprinkle with vermiculite or expanded clay, then fill it with a substrate, sprinkle it with earth from the garden on top. Planting depth of cuttings - up to 2 upper buds. After that, they are irrigated with settled warm water.
How to put in a permanent place?
If you managed to successfully propagate currants, you need to perform the correct transplanting of seedlings in open ground - as a rule, this is done in the fall, from September 1 to September 15, so that the plants can take root and prepare for the upcoming wintering.
Cuttings can be planted in the soil after the spring frost is over. Preliminary and landing operations are performed in the established order.
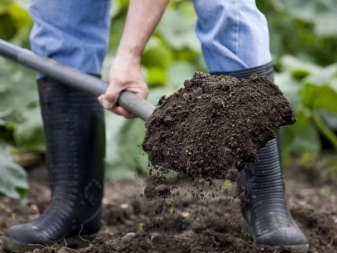
- The soil is pre-dug deeply.
- 2-3 weeks before planting, fertilizer is applied to each m2 of 4-5 kg of organic matter, 150 g of phosphate lime and 25-30 g of potassium sulfate.
- Cuttings deepen with a distance of 20-25 cm, leaving 2 buds outside.
- The distance between the rows should be 30-50 cm.
- Irrigate in such a way that the soil is constantly moistened to a depth of 25-30 cm.
- To preserve moisture, the ground is mulched with rotted manure, sawdust, grass, peat or a dark film (3-5 cm).
Choice of land
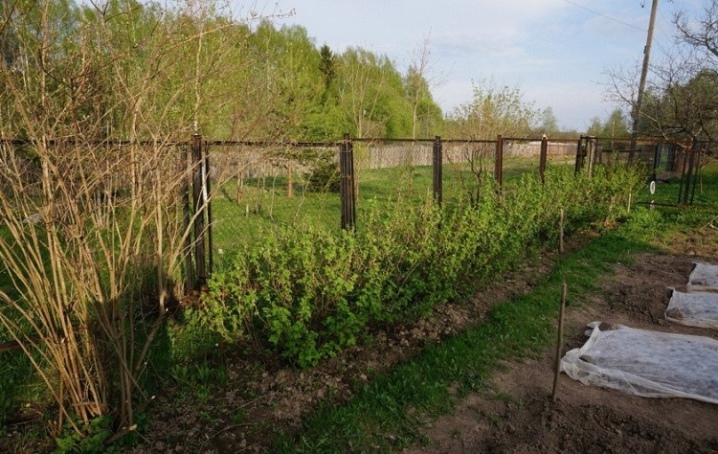
Do not forget about the varietal characteristics of currants. Black currants prefer open or semi-shaded areas with normal moisture content, without flooding the upper soil layer with large volumes of water. White and red species like hills, which are well warmed up and illuminated.
It is necessary to protect the berry from drafts. Groundwater should be below 1.5 m from the surface of the earth. Soils are suitable for this berry culture:
- medium and heavy loamy;
- sandy loam;
- with a slightly acidic or neutral reaction.
Follow-up care
How to care for the seedlings after planting, as well as in the spring, depends on their further viability and subsequent formation. If you don't look closely enough, then the seedlings can die or subsequently bring a bad harvest.
In order for the propagation of plants through cuttings to be successful, it is necessary to provide the seedlings with a number of important conditions.
Immediately after landing
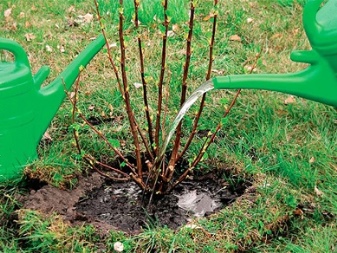
After the seedlings have been planted, they are thoroughly watered. The main thing is to systematically maintain a high level of humidity so that the seedling does not disappear.... After 3 weeks, the roots begin to take root, as a result of which the irrigation intensity is significantly reduced. After that, they are taken for feeding the plantings. It is necessary to mulch the shrubs with compost, peat or straw. They cover the soil surface with a 10-centimeter layer.
This will make it possible to reduce the evaporation of moisture from the ground. Some gardeners practice a film that covers the entire surface of the site, with the exception of holes with seedlings. In the spring, in order to speed up the process of awakening of the shrubs, all the shelters are removed, and the plants are broken up. After a year, the seedling becomes a full-fledged currant bush, which will begin to delight with a rich harvest.
For the 2nd year
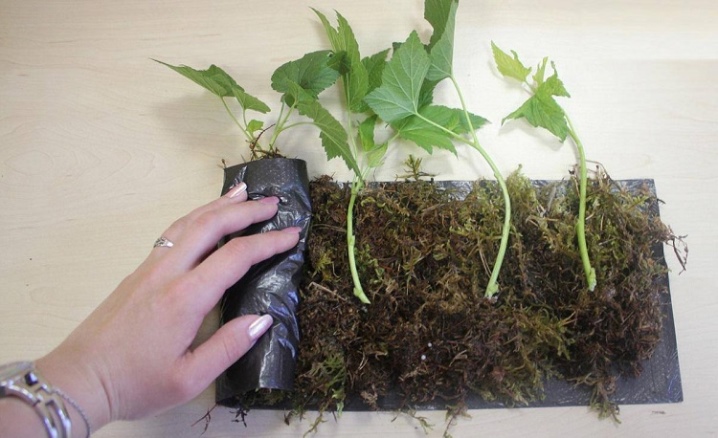
In the 2nd year after planting the seedlings, if there is a need, they can be transplanted or transplanted to a permanent place. It is advisable to do this in the fall, when the bush has already managed to gain strength and vitality. The main care for the currant bush in the 2nd year of its existence is its feeding and protection from insects. Specialized feeding can help the seedling to gain strength and become stronger. For this, mineral phosphorus fertilizer is quite suitable. Of the pests, the kidney (currant) mite is especially dangerous for currant bushes.This insect damages the kidneys directly.
Ashes are also harmful to shrubs. Mostly red currants are susceptible to it. Breeding currants in autumn by means of cuttings is an opportunity to grow a good harvest of a useful berry culture without significant expenditures of effort and resources. The most important thing is the preparation of the seedlings. And this requires a strong mother bush. Then it is important that the cuttings are properly rooted and then regularly taken care of.
Through propagation by cuttings, you can effortlessly increase the yield of rare species of currant - you can get a harvest already in the year coming after planting.


The comment was sent successfully.