All about reproduction of plums by cuttings
Like most fruit plants, plums can be grown naturally and artificially. Natural methods of vegetative propagation are: growing from seed (bone), by means of root young shoots, layering. Of artificial technologies (cuttings, grafting), cuttings are mostly practiced. How to propagate a plum by means of cuttings, we will consider in this article.
Advantages and disadvantages
Experienced gardeners prefer to cut this fruit crop in the summer, believing that this method is the most reliable due to the positive stability of the results, the high ability of the seedlings to take root while maintaining varietal purity. As a rule, cultivation is carried out with healthy annual matured branches (woody cuttings), the harvesting of which is planned for the autumn period with their subsequent preservation until spring.
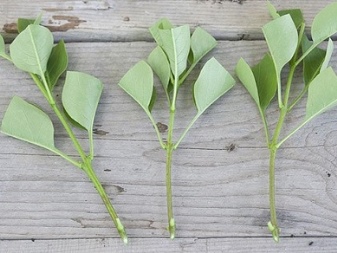
Vegetative propagation by means of green cuttings, which is carried out in the summer, was previously practiced only on an industrial scale. However, at the moment, this method has become interesting to amateur gardeners. It involves the use of summer cuttings that have not yet had time to become woody.
Among the positive aspects of summer cuttings are:
- forcing the cultivation procedure;
- high survival rate;
- preservation of varietal characteristics;
- no need to provide conditions for storing future planting material in winter.
There are also disadvantages of cuttings in the summer:
- the method is not suitable for any variety, but only for those that are able to form a large number of young root shoots;
- the need to create conditions for the correct root formation of the material;
- monetary costs associated with the purchase of aids.
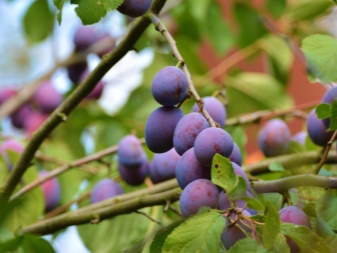
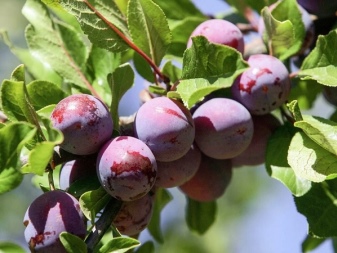
When choosing a summer method of cultivating plums, the seedling will be successfully accepted, having brought a good harvest in 3-4 years.
Timing
Green cuttings should be cut during the period of maximum activity, during the active growth and growing season, which begins in June. In regions with mild climatic conditions, cuttings are harvested from the first days of June to mid-July. A visual indicator for the start of the event is the manifestation of redness at the base of young growing shoots.
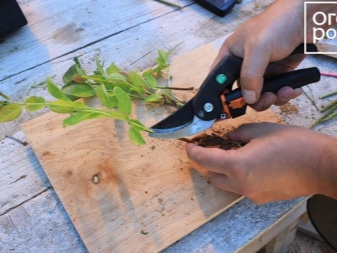
Keep in mind: pruning is best done in the early morning before the heat of the day, or in cloudy weather, when the most moisture is present in the cuttings.

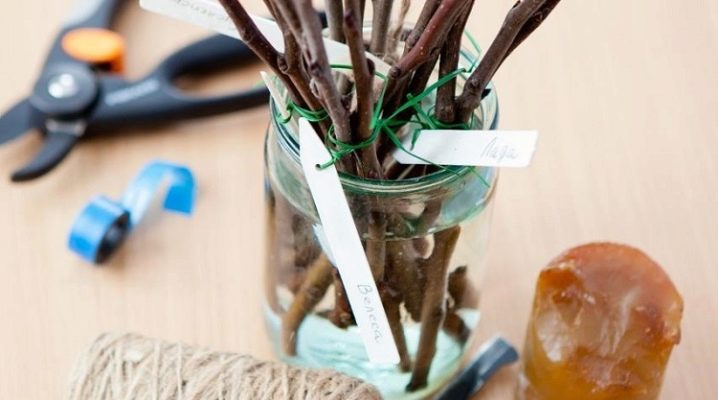
Harvesting cuttings
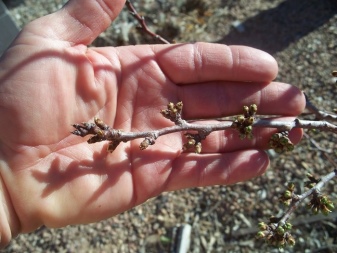
For harvesting cuttings, thoroughly matured branches without noticeable unnatural or mechanical defects are selected. Harvesting is carried out in the fall after the movement of the sap in the plants ends. Cutting cuttings can be done in early spring, until the juice begins to move. Only in this version, the process of root formation will not be very intense, since the overwintered branches will give all their strength to build up the green mass.
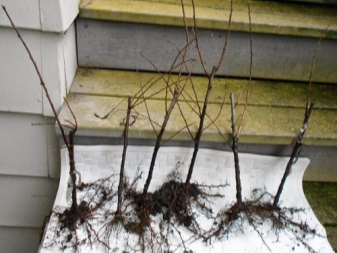
After cutting the cuttings, it is necessary to ensure that they are stored correctly before planting in the soil. To do this, the diameter of the branches should be the same as that of an ordinary pencil. If the cuttings are thinner, they will simply dry out during storage. An annual branch is used for harvesting, which has formed about half a meter in length. The suitable storage temperature is 2-4 ° C above freezing.In regions prone to heavy snowfall, cuttings can be kept in snowdrifts with a height of 50-70 cm.
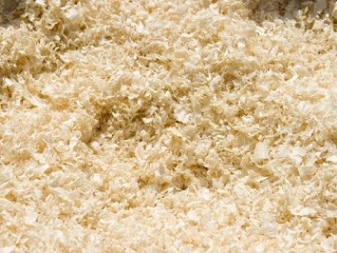
In areas with frequent increases in atmospheric temperature to positive values in winter, cut branches are covered with wet sawdust, and then taken out into the cold. When the sawdust is sufficiently frozen, forming a dense and strong cocoon, they are sprinkled with a layer of dry sawdust 30 cm thick. A plastic bag is placed on top of the sawdust and fixed. Branches are removed from the shelter obtained a few days before planting. It is possible to keep the cuttings in the refrigerator. Just do not try to keep them in the freezer, as they can freeze. Any place where planting material is stored should not be too dry or humid, otherwise it may deteriorate.
2-3 days before the rooting procedure, the cuttings are transferred to a warm place, where they will begin to thaw systematically.
Rooting
Several effective methods are practiced to root cuttings at home. For example, you can plant the cuttings in the ground and organize the greenhouse conditions by stretching the cellophane film. The formation of the root system is possible at the most appropriate values of the level of saturation with moisture and temperature. Or the cuttings are placed in small pots of earth, making a cellophane shelter. Between the pots, containers with water are installed to prevent the soil from drying out quickly.
For the nutritional formula, we need:
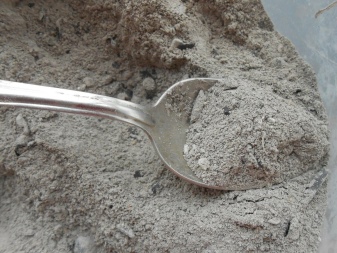
- approximately 4 tbsp. ash spoons;
- 1 liter of water;
- 1 tbsp. spoon of mineral nitrogen-phosphorus-potassium fertilizer.
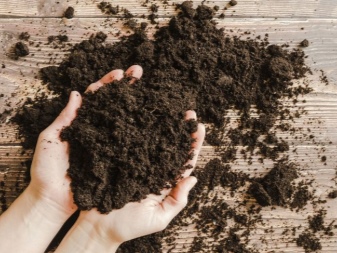
With this composition, you should irrigate the soil with sand, remembering to loosen it if necessary. The plant requires a temperature regime of 25-30 ° C with sufficient air humidity. In this regard, a small greenhouse should be built. You can make a greenhouse from a plastic bottle (box) or use an ordinary bucket. A layer of prepared moist earth (approximately 12 cm thick) is poured onto the bottom of the vessel. It is desirable that the soil is loose and lump-free.
Cuttings are planted in moist soil 6 cm deep so that the lower bud sinks into the soil... After planting, the vessel should be covered with a lid or foil, only so that the leaves do not touch. In the future, it will be necessary to remove weeds and irrigate the soil to maintain the desired moisture level. Ensuring the impermeability of the greenhouse must be respected without fail. A vessel with a handle can be installed in the shade, where the sun's rays sometimes penetrate, or placed at home on a loggia (balcony). If you follow all the rules, the roots will form in 15-20 days.
Landing in open ground
Planting of green cuttings is carried out in greenhouses immediately after cutting in the summer. Woody cuttings harvested in autumn or winter, after prolonged storage, must be prepared for spring planting. To do this, they are cut a little and set in cold water for three days. Renewing the cuttings by submerging them in water for several hours will benefit even fresh cuttings cut before planting.
Here are some of the nuances of the planting process.
- Ideal seedling soil mixture: neutralized peat and river sand in the same ratio. A sand layer 1.5-2 cm thick is poured on top. It is desirable to feed it with a solution of phosphate lime: 1 teaspoon per 10 liters of water.
- The greenhouse is heated to + 25-30 ° C, and the ground is thoroughly irrigated before planting. The lower leaves are removed from green cuttings. For high-quality root formation, the lower segment of the cuttings, before planting, are treated with growth-stimulating substances - "Zircon", "Kornevin" or "Heteroauxin".
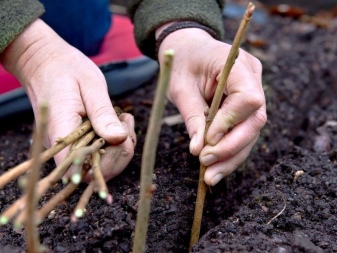
- Cuttings are planted at a depth of 3 cm with a distance of 5 cm between rows and cuttings in a row at a slope of 45 degrees. Covering material is spread from above.
- Grown up samples are seated at a distance of 20-30 cm between themselves. Seedlings are looked after in the same way as adult plum plants. At the same time, timely irrigation is extremely important, since even a short drought can ruin fragile roots.
Propagation of plums by cuttings is a rather laborious technique, but at the same time very effective. If everything is done correctly, it is possible to grow a healthy fruit-bearing tree.


The comment was sent successfully.