How do I scan a document from a printer to a computer?

Scanning documents is an integral part of any paperwork. Scan can be done both on a separate device of the same name, and using a multifunctional device (MFP), which combines the functions of a printer, scanner and copier. The second case will be discussed in this article.
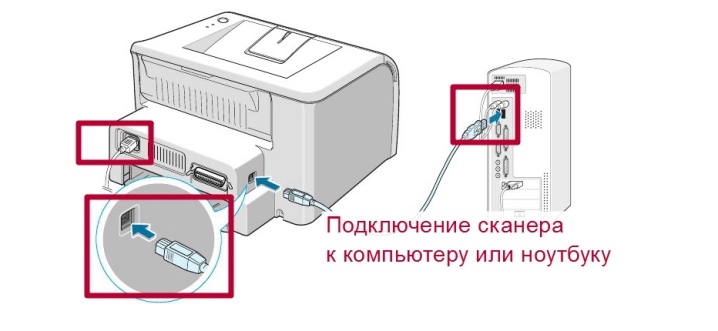
Preparation
Before starting the scanning process, you need to install and configure your MFP. Keep in mind that if the device is connected via the LPT port, and you do not have an old stationary PC, and a laptop or PC of a new model, you must additionally purchase a special LPT-USB adapter. As soon as the printer is connected to the computer using a USB cable or via Wi-Fi, the operating system will automatically detect the device and start installing the drivers.
Drivers can also be installed manually using the disc that comes with the device, or you can find them on the official website of the manufacturer of your device.
After that, you can start setting up.
Setting up for work via Wi-Fi
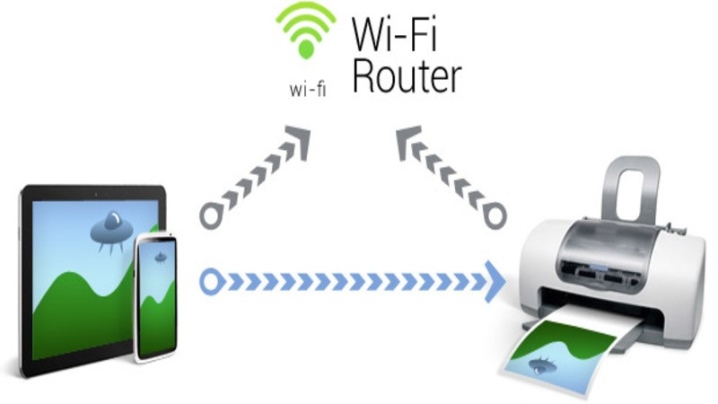
Using a wireless network, you can scan documents on a printer even from a smartphone, while on the other side of the city. This is a very convenient feature, which includes proprietary software from manufacturers, is the best option for those who work from home.
To configure the MFP via Wi-Fi, you need to place the device so that it can easily pick up the signal. Next, set up the router and connect the MFP to power. After that, the setting should start automatically, but if this did not happen, then do it manually. Then you can connect the network:
- turn on Wi-Fi;
- select the connection mode "Automatic / quick setup";
- enter the name of the access point;
- enter and confirm the password.
Now you can install the drivers and connect the cloud storage.
Configuration via utility
Each MFP brand has its own utilities, which can be found on the manufacturer's official website. Make sure that the selected program matches the installed software and download the required version. Then just follow the instructions on the screen. When finished, the utility shortcut will be displayed on the taskbar.
Office setup
Usually in an office one device is used for several computers at once. There are two ways to configure the MFP in this case.
- Connect the printer to one computer and share. But in this case, the device will scan only when the host computer is running.
- Configure the print server so that the device appears as a separate node on the network, and computers are independent of each other.
As for the new type of devices, which have a built-in print server, additional configuration is not required.
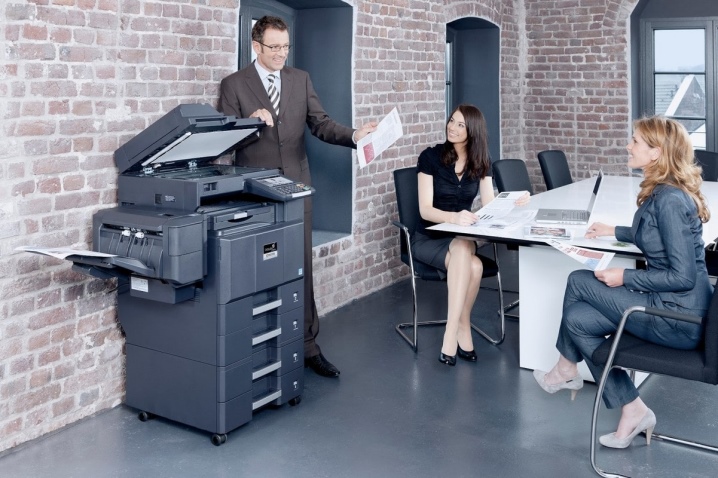
Several options for how to take a scan from the printer are discussed in detail below.
Classic version
This is the easiest and most common way to scan a document and transfer it from the printer to your computer.
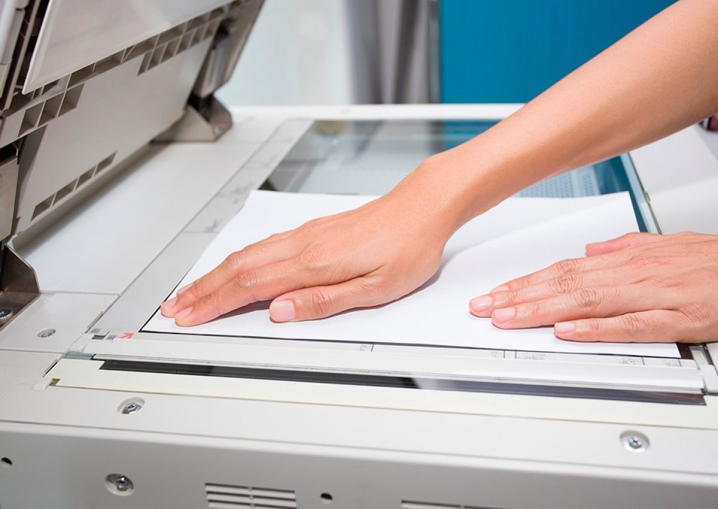
- Turn on the printer, open the cover and place the sheet you want to scan face down. To place the page as evenly as possible, be guided by special markers. Close the cover.
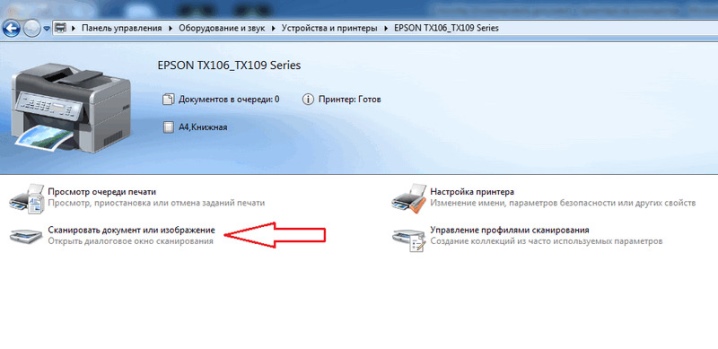
- Go to the Start menu and find the Devices and Printers tab (for Windows 10 and 7 and 8) or Printers and Faxes (for Windows XP).Select the desired device and click on the "Start Scan" tab located at the top of the menu.
- In the window that opens, specify the necessary parameters (color, resolution, file format) or leave the default settings, and then click the "Start Scanning" button.
- When the scan is finished, come up with a name for the file in the pop-up window and click the "Import" button.
- The file is ready! You can now find it in the Imported Pictures and Videos folder.
How do I scan with Paint?
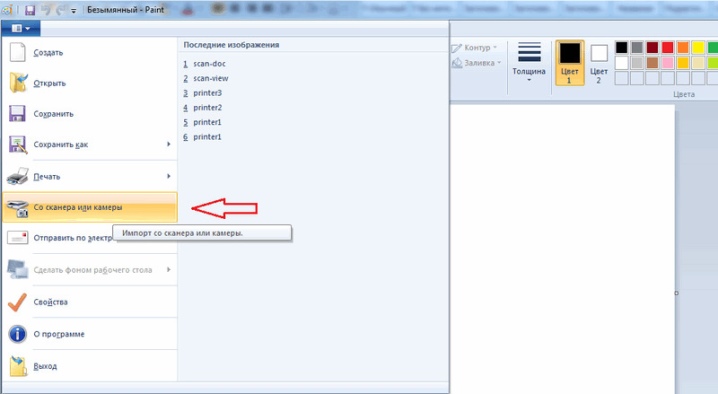
Starting with the version of Windows 7, you can also make a scan using the Paint program built into the operating system. This method is especially useful if you only want to send an image to your PC, such as a photo. It is very easy to learn it.
- First you need to open Paint. Click on the "File" tab in the upper left corner and select the "From Scanner or From Camera" option.
- In the window that opens, select your device.
- Configure the required settings and click "Start Scan".
- The saved file will be opened with Paint.
Scanning with special software
There are several programs for scanning documents. Working with them, you can achieve significantly better quality of the final file. We list just a few of them.
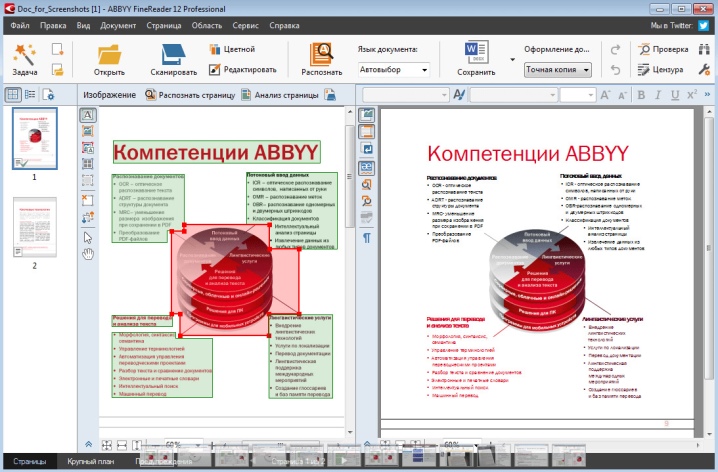
ABBYY FineReader
Thanks to this software, it is easy to scan a large number of text documents, as well as process images from cameras of smartphones and other mobile devices. The program supports more than 170 languages, with its help you can transfer any text to a regular format and work with it as usual.
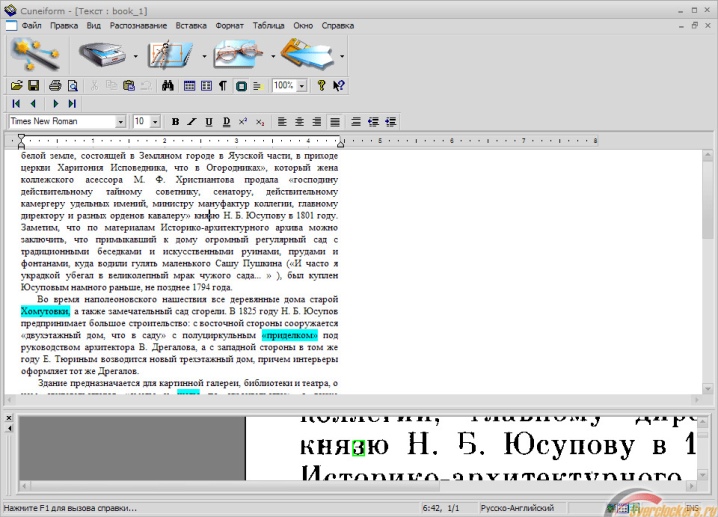
OCR CuneiForm
This free application allows you to convert texts in any font, keeping their original structure.
An indisputable advantage is the built-in spell-checking dictionary.
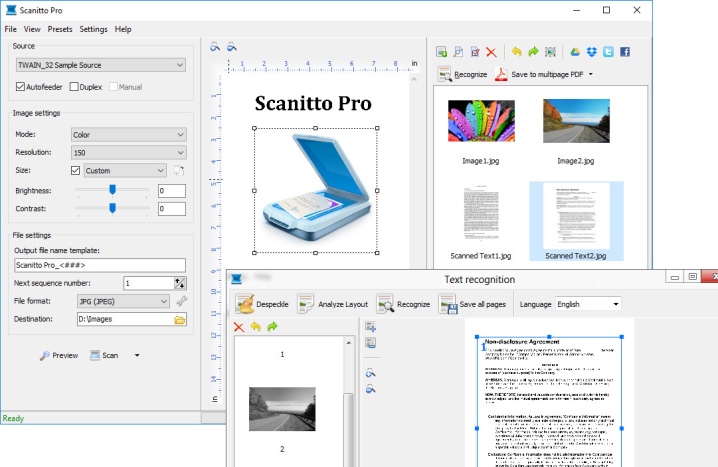
Scanitto Pro
The program has a simple interface, a powerful scanning system, integration with all Microsoft platforms, as well as convenient tools for working with text documents and images.
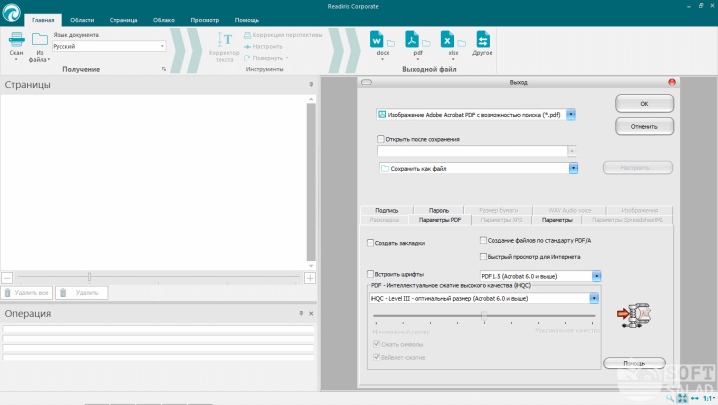
Readiris Pro
The utility successfully performs all the functions necessary for a scanner and even handwritten text can be accurately recognized.
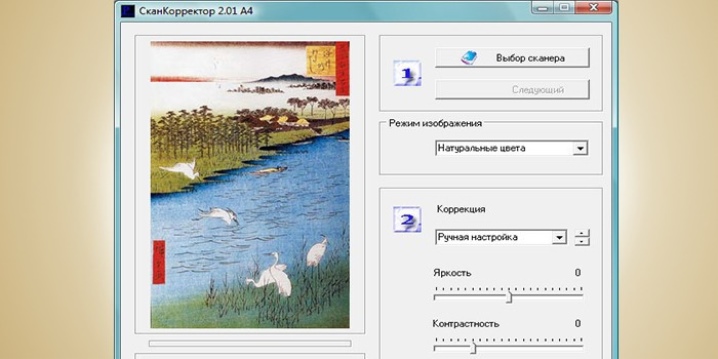
"Scan Corrector A4"
This utility is ideal for novice users who want to make a scan and document corrections as quickly and easily as possible without additional use of graphic editors.
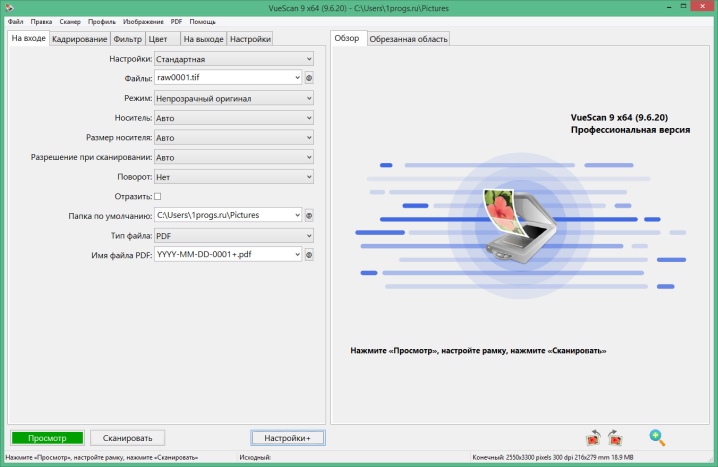
VueScan
And with the help of this utility, you can significantly expand the functions of an outdated device, because it is compatible with almost any scanner and MFP. True, there is a minus - the lack of a Russian-language interface.
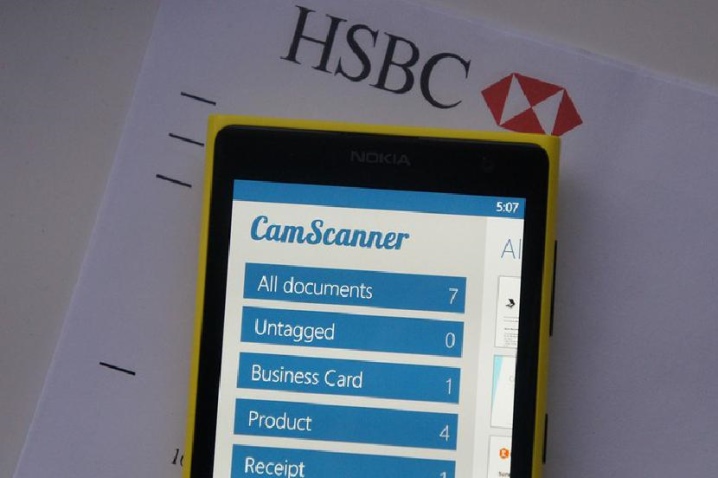
You can also use the scanner by operating it from your phone. Here is a list of the best mobile apps for this purpose:
- CamScanner;
- Evernote;
- SkanApp;
- Google Drive;
- Office Lens;
- ABBYY FineScanner;
- Adobe Fill and Sign DC;
- Photomyne (for images only);
- TextGrabber;
- Mobile Doc Scanner;
- ScanBee;
- Smart PDF Scanner.
Working with all software and mobile applications is intuitively simple, so even a beginner will not be difficult to do everything right.
You just need to run the utility and follow the instructions in the rules of use step by step.
Useful Tips
- Before making a scan, do not forget to thoroughly wipe the glass of your device with special impregnated wipes or dry microfiber cloth and spray for cleaning glass and monitors. The fact is that any, even insignificant, contamination is imprinted on the digitized image. Never allow moisture to enter the MFP!
- When placing a document on the glass, follow the special marks on the body of the device so that the finished file is smooth.
- When you need to digitize the pages of a thick, bulky book, simply open the scanner lid. Never put more weight on the device than specified in the instruction manual!
- If the pages of your book are thin paper and the back is visible when scanning, place sheets of black paper under the spreads.
- Images saved in JPEG format remain as they were and cannot be improved further.To make the highest quality images with the possibility of further processing, choose the TIFF format.
- It is better to save documents in PDF format.
- If possible, do not use the "Document" scan option and never select 2x scan enhancement to maintain quality.
- Instead of black and white scanning, it is better to choose a color or grayscale.
- Do not scan images below 300 DPI. The best option is in the range from 300 to 600 DPI, for photographs - at least 600 DPI.
- If old photographs have stains and scuffs, select the color mode. This will make the processing easier. In general, it is better to digitize black-and-white photos in color - this way the picture quality will be higher.
- When scanning color images, use the deepest color.
- Always inspect your document for staples or other parts that could scratch the surface of the scanner glass.
- Install the MFP away from heating appliances and direct sunlight, and avoid sudden changes in temperature.
- Remember to unplug the device when cleaning.
- Never leave the lid of the MFP open after completing your work to prevent dust or damage from light from entering the scanner.


The comment was sent successfully.