Do-it-yourself bench making options
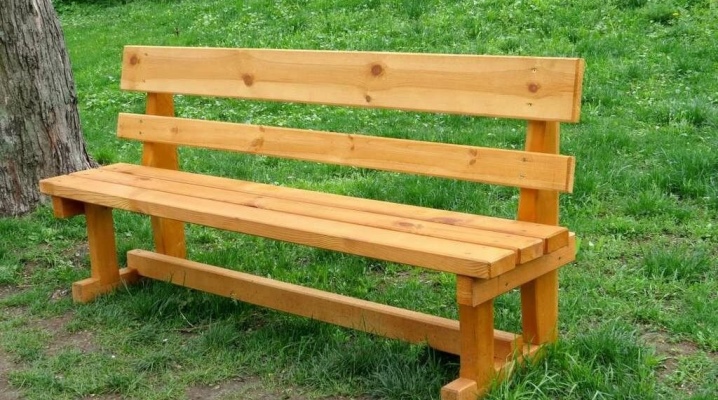
It is not necessary to buy a high-quality and beautiful bench in a store. It will not be difficult to make it with your own hands according to your own sketches. In this article, we will learn how you can make these things yourself.
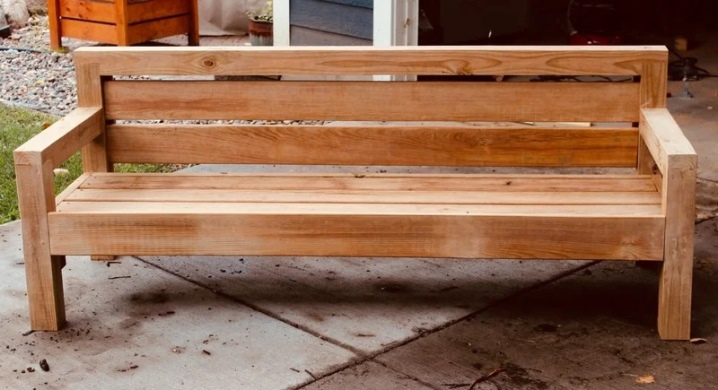
How to make a simple shop?
If you do not have enough experience in making the structures in question on your own, it is not recommended to start training with very complex and intricate products. It is best to gain experience by making simpler, but equally high-quality shops.
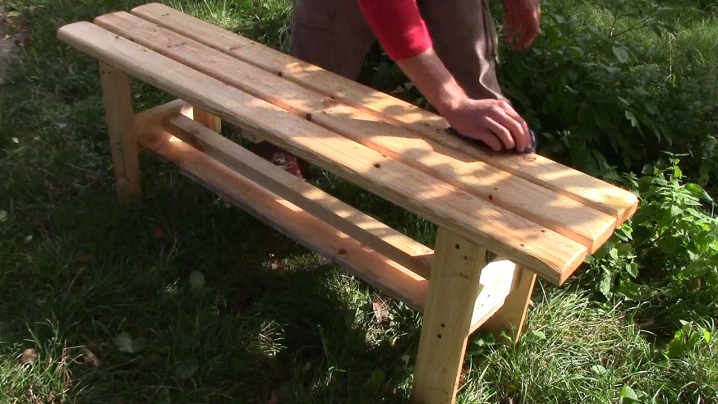
A simple shop can be easily built with your own hands. The main thing is to first draw up a detailed drawing of the future homemade product, indicating all the dimensional parameters and features of its device. Having a ready-made work plan at hand, it will be much easier for the master to make a reliable bench without making unnecessary mistakes. It is not at all necessary to prepare the scheme of the future bench yourself - you can find many ready-made options on the Internet.
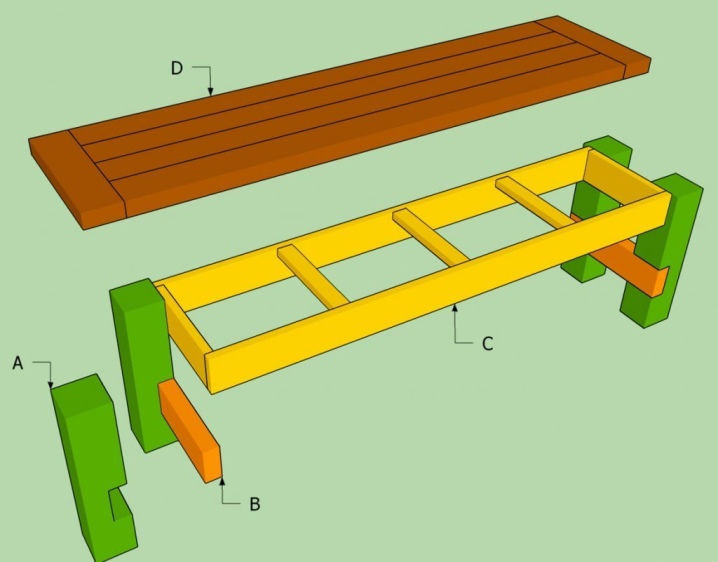
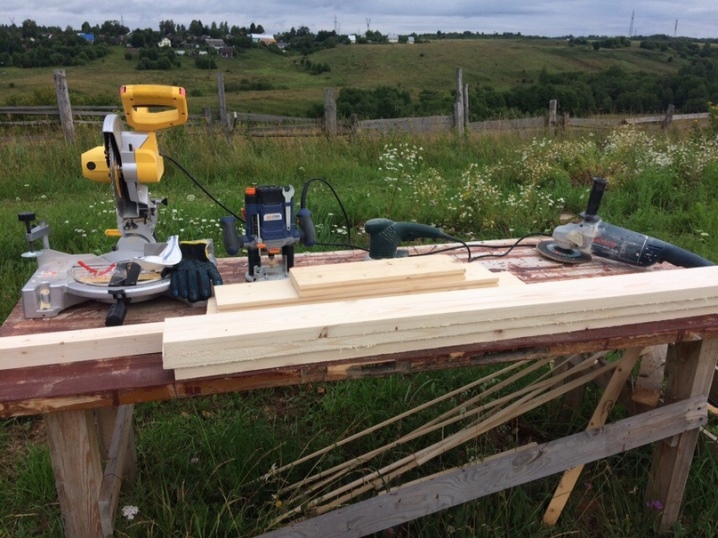
Benches of the simplest designs are assembled very quickly and easily. For this you will need:
- timber and boards;
- hammer and nails;
- saw and planer.
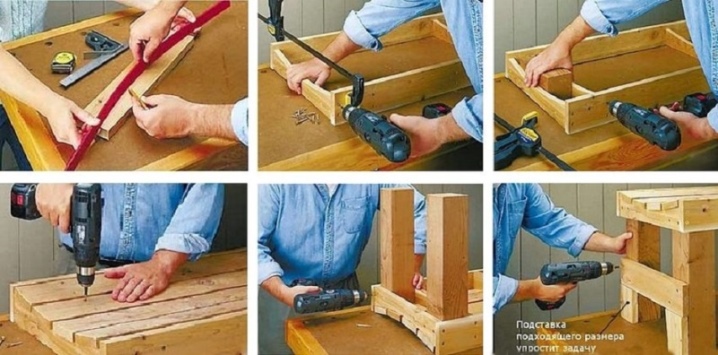
To build the legs, you need blocks 45-50 cm long. The boards must be adjusted to each other so that they are of equal length. Then you will need to assemble a rectangular piece from the boards. She will play the role of a frame. On the one hand, the side strips will need to be deepened towards the center, forming a kind of semicircle. Then the boards should be nailed. Thus, the seat of a simple bench will be ready.
After that, along the edges of the resulting structure, you will need to firmly nail the legs prepared in advance. At the very base, crossbars must be nailed on each side. The more massive the supports, the more stable the bench will be.
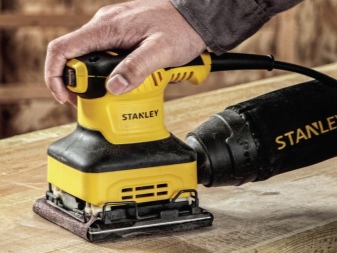
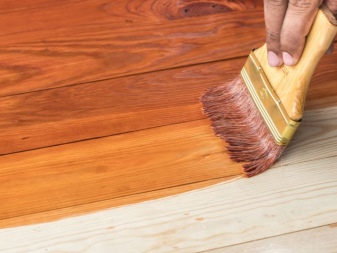
Despite the fact that we are talking about the simplest and fastest construction to manufacture, this does not mean that it will not require proper processing at the final stage. The master will definitely have to process the wooden parts with a grinder or sandpaper. There should be no protruding parts or sharp corners on the bench. The user should not get a splinter when using homemade furniture. Also, at the end of all work, it is worth treating the wooden bench with protective antiseptic compounds, painting it in your favorite color.
Making a bench with a back
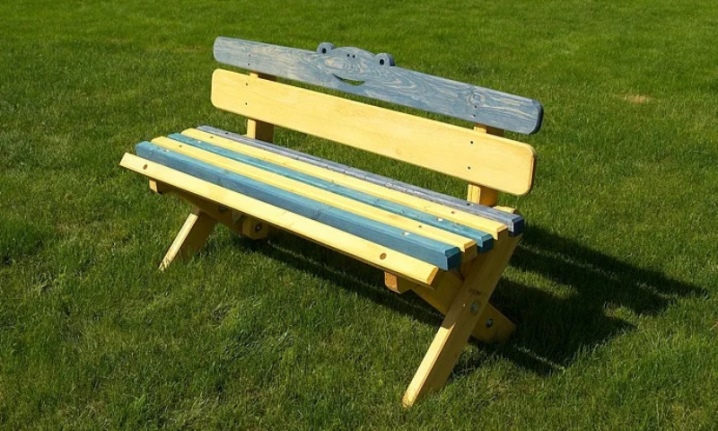
The most comfortable and practical benches are those with a backrest. It is more comfortable to sit on them, because the user can completely relax thanks to the support under the back. You can also build this type of bench with your own hands. Often, structures with a back are displayed on the veranda or in the garden. In addition, they can find a great place in the house, especially when it comes to the more complex version with a seat that can be folded onto the wall.
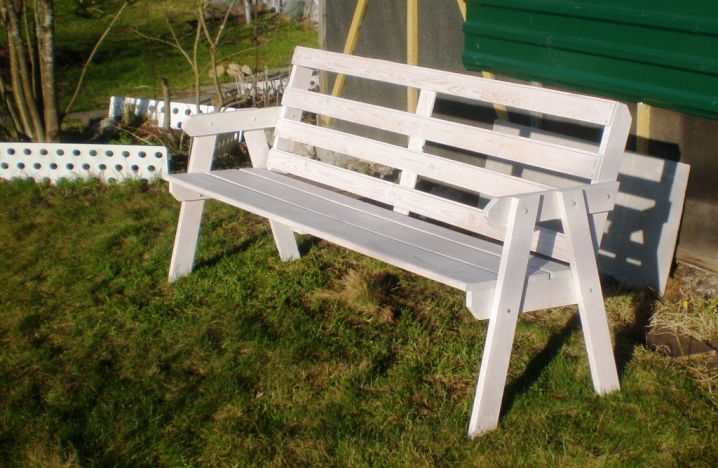
If you are an experienced craftsman, you can build a quality reclining bench that will use and look like a cozy sofa. If you don't have a lot of experience, it is better to start with a simpler option. Below we will see how it can be done.
- The first step is to prepare all the necessary details for the future bench with a back. After that, they will definitely need to be treated with an antiseptic composition in order to protect them from negative external influences.
- The next step is to assemble the supporting parts of the bench from the prepared parts. First, you will need to properly round off all the sharp corners, remove the chamfers. The components must be bolted together in the following order: A and B, then B, C, D.
- The backrest inclination will be determined by part D of the structure. After that, it will need to be attached to part A. In the same way, as if in a mirror image, you will need to build a second support part.
- Next, you need to assemble the back and seat of the bench. To do this, the support bases will need to be set so that there is a gap of 1 m 20 cm between them. First, the front and rear strips will need to be screwed to the supports, and then all the others. Then the technician will need to securely screw the stops.
- At the final stage of assembling the bench, the back is installed.
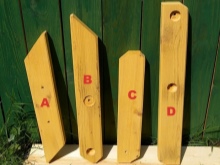
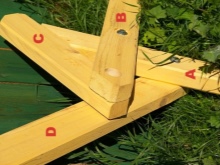
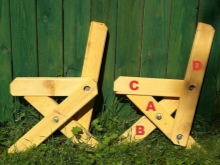
After that, the bench will need to be treated with protective compounds and painted in a suitable color. If done correctly, the design will be very reliable, comfortable and attractive.
Manufacturing products from pallets
Few people know, but very good and original furniture for home and garden can be made from ordinary wooden pallets. Often they make beautiful and most reliable designs that look original and stylish.
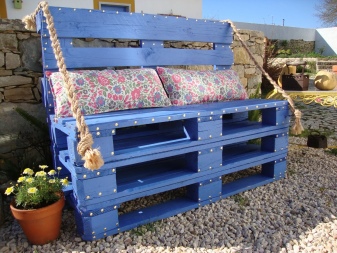
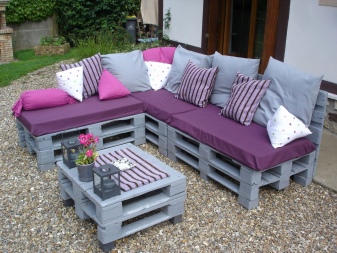
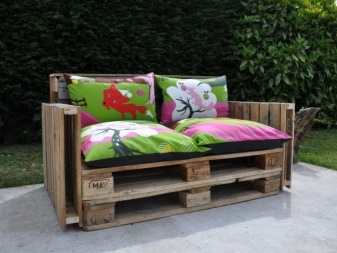
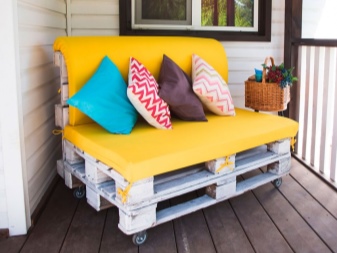
It is possible to build an excellent bench from pallets. It can be placed in a summer cottage, in a garden or in an apartment on a balcony, loggia. Consider a step-by-step instruction on how to make such a bench yourself.
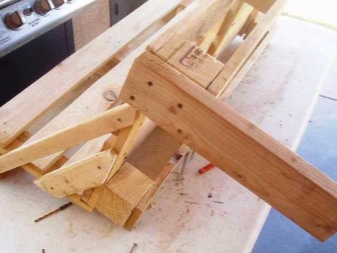
- You need to prepare 3 or 4 wooden pallets. Some of them will need to be carefully sawed to get separate parts for the future design of the bench. There is also the simplest bench device, which is made from only 2 pallets, which must be attached to each other perpendicularly, constructing a seat and a back.
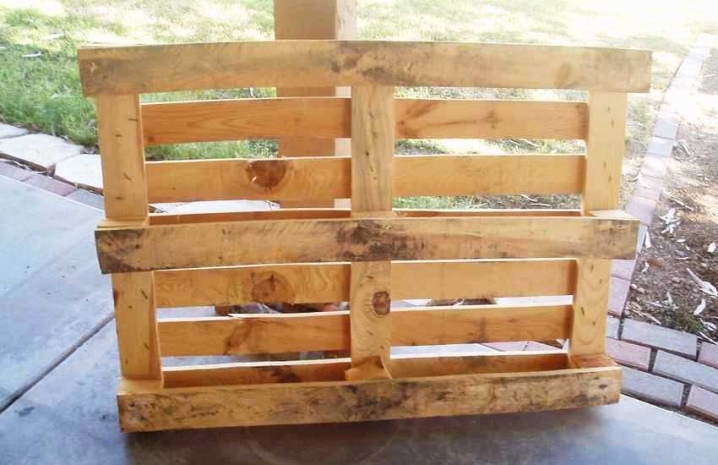
- So that the homemade design does not turn out to be overly bulky and large, it is recommended to properly cut the pallets in accordance with the required dimensional parameters. All parts during assembly will need to be fastened with self-tapping screws.
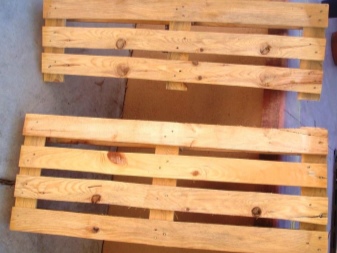
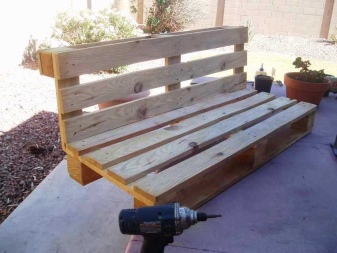
- You will need to add side elements to the structurewhich will both strengthen the bench and give it a more attractive, complete look. Then it will be necessary to build strong legs for the resulting structure - supports.
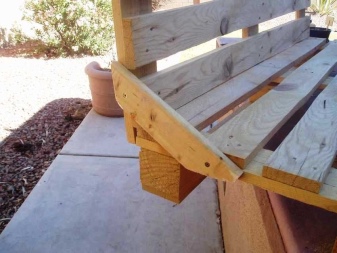
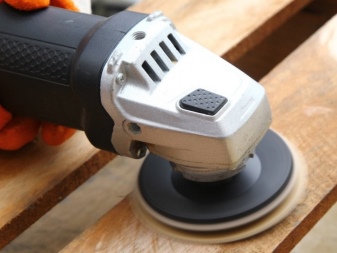
- Since pallets are made from material that has not been pretreated, then the bench will have a rough, sloppy surface. To get rid of this effect, the pallets will need to be properly sanded. It is recommended to do this even before assembling the structure, at the stage of preparing all materials - it will be more convenient this way.
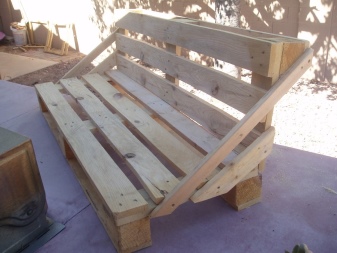
- The final step of making a bench from pallets - treatment with an antiseptic, then - varnish or paint.
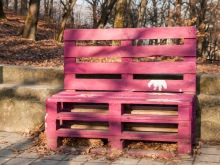
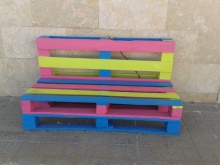
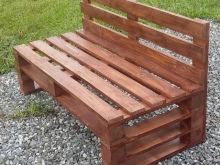
Often, such designs are complemented by soft pillows or woven padded liners. The result is very cozy, cute and comfortable benches.
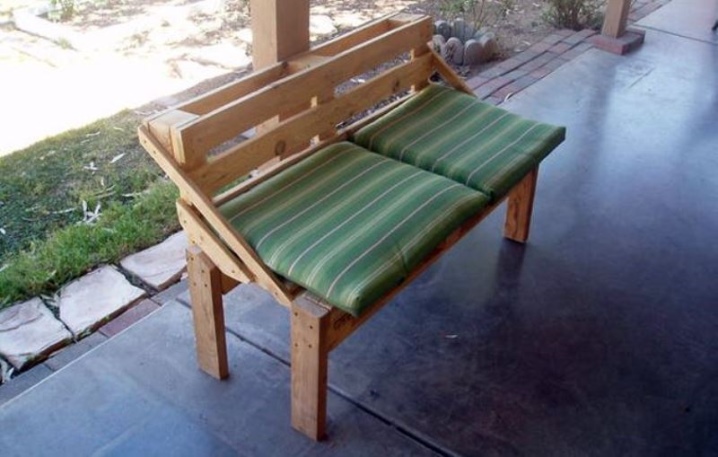
Other options
You can make many more different types of benches yourself. The main thing is to think over the design, size and device of the future homemade product in advance. It is also very important to use quality materials that will last a long time and look aesthetically pleasing. Consider a few instructions for making benches of various modifications.
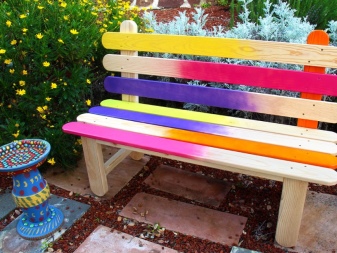
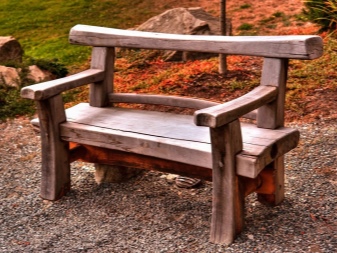
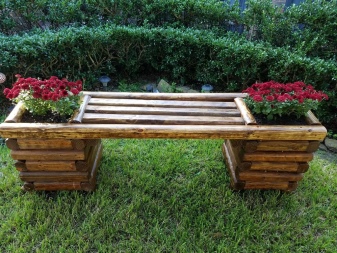
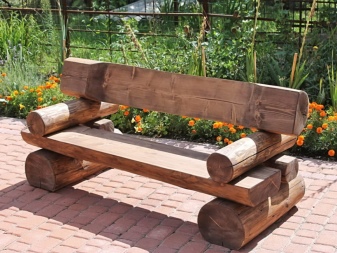
Puzzle bench
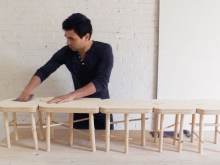
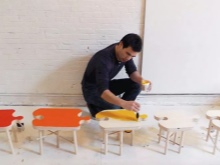
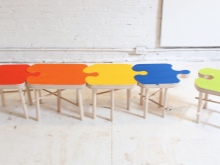
The original puzzle bench boasts an interesting device. You can make it with your own hands, having a wide board and cuttings from shovels. From the board, you will need to carefully cut through the curly seats, which will take the form of separate pieces of the puzzle. Sturdy legs made from shovel cuttings are securely attached to these components. As a result, you get separate home-made stools that can be easily and quickly assembled into one long bench.
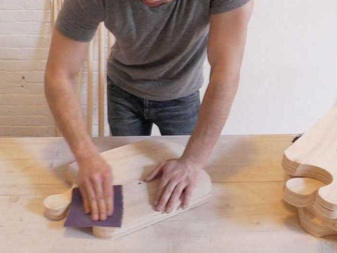
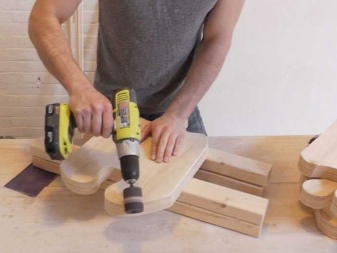
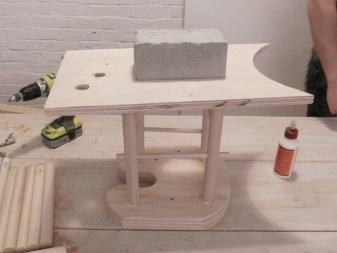
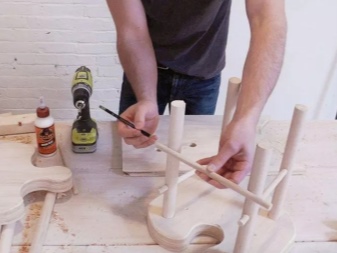
The resulting bench can be painted in any color you like.If everything was done carefully and correctly, the design will turn out to be very interesting and unusual.
Of old chairs
Old chairs can be used to build an excellent bench. Subsequently, it can be placed in the garden, in the local area, on the terrace or veranda.
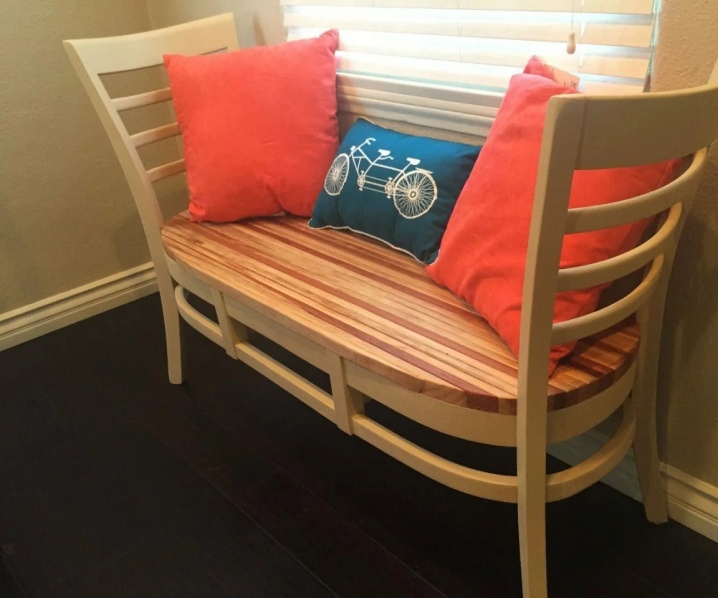
Such models of benches are made very easily and simply.
- To assemble such a bench, you need to prepare 4 old chairs that you no longer need.
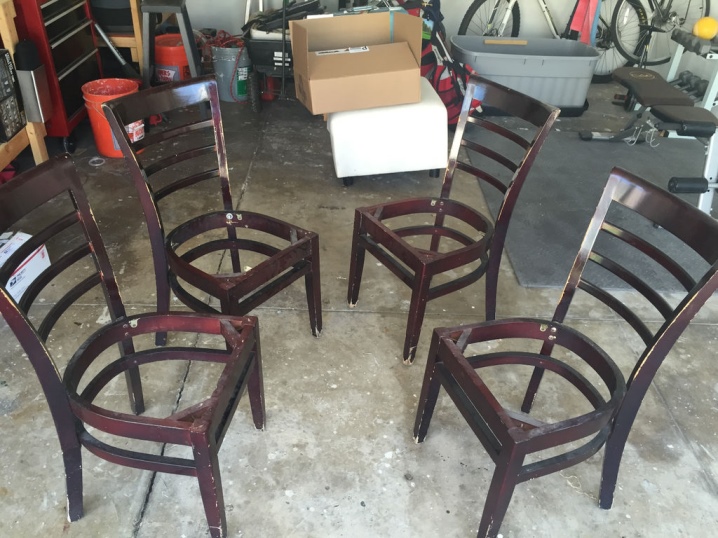
- In the first 2 of them, you will need to remove all parts located on the front half of the seats.
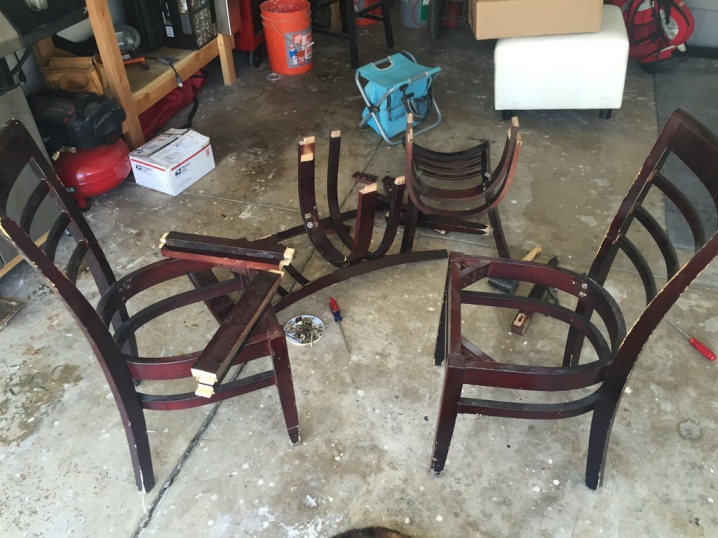
- For the remaining components, you will need to carefully cut the front legs just below the seat structure itself.
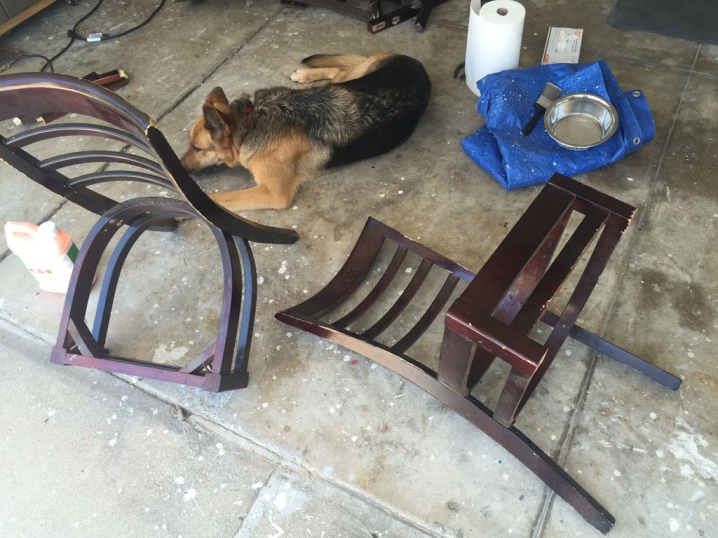
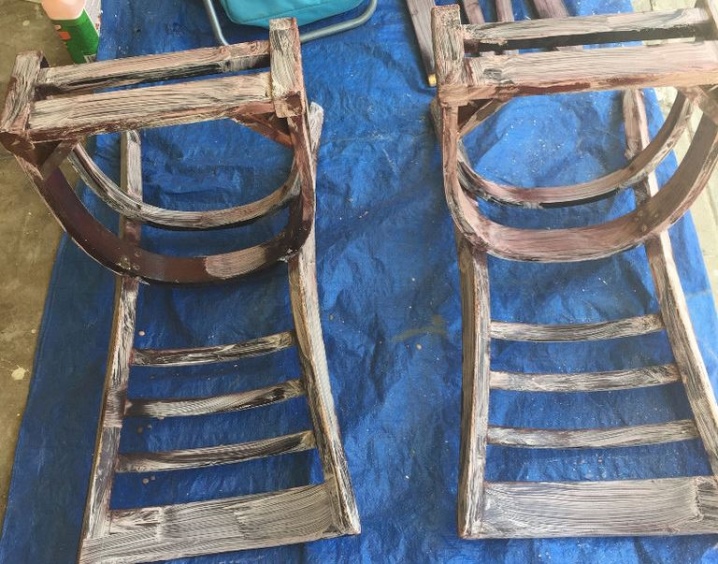
- From the prepared elements, it is necessary to carefully remove the entire top layer of old varnish or paint. To do this, you need to apply a specialized agent to the old furniture, which can effectively soften the old paint and varnish layers. Then it will be possible to remove the already softened layers with a spatula.
- In the uprights of the chairs, you will need to drill holes for the subsequent installation of the dowels. Holes need to be made on both the front and front sides.
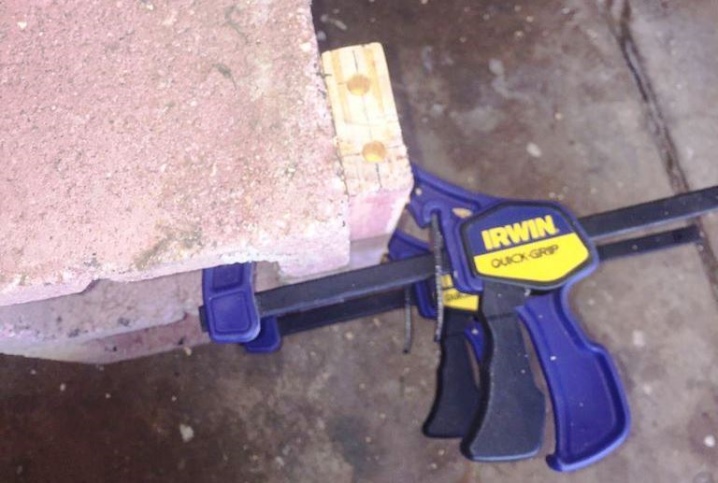
- First, the dowels are greased with adhesive, and then installed in the prepared holes.
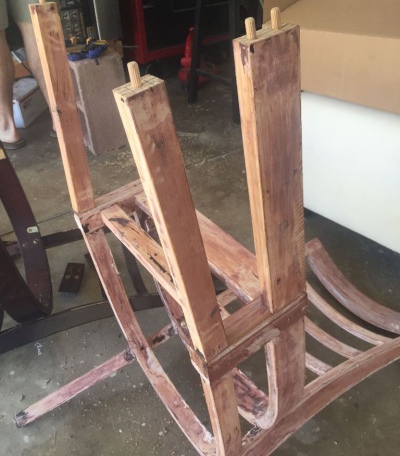
- Once the dowels are fully glued, you can start assembling the base of the homemade bench. To make the design as strong and reliable as possible, the corresponding parts must be fastened with self-tapping screws. The surface of the resulting structure must be properly sanded.
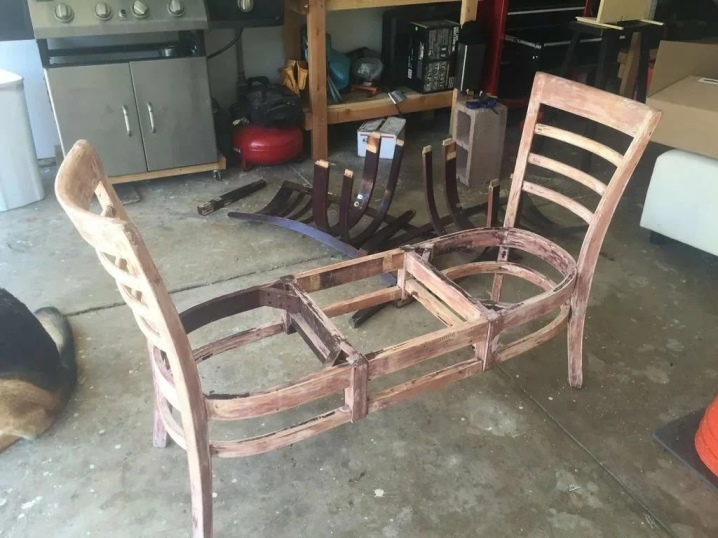
- To make a good seat for such a bench, you can choose a board of the right size. The excess sections must be cut off.
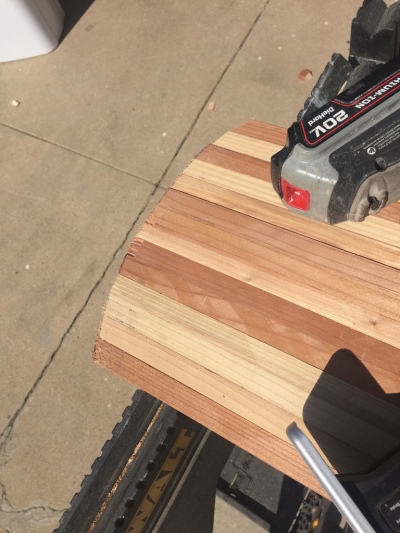
- If you have used several thinner boards to lay the seat, then they should be held together with good quality wood glue. For a tighter and stronger connection, it is advisable to clamp them with clamps. Then you will have to wait until the glue is completely dry.
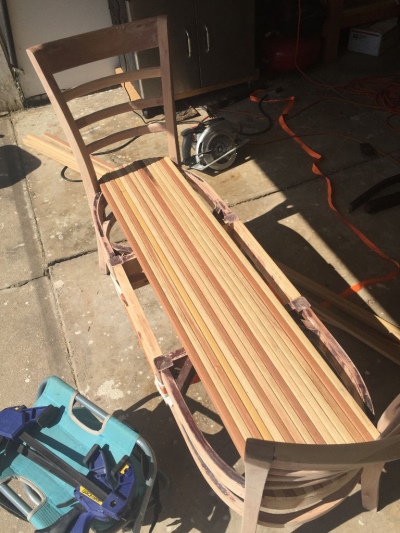
- The finished seat must be glued to the base of the bench using wood glue.
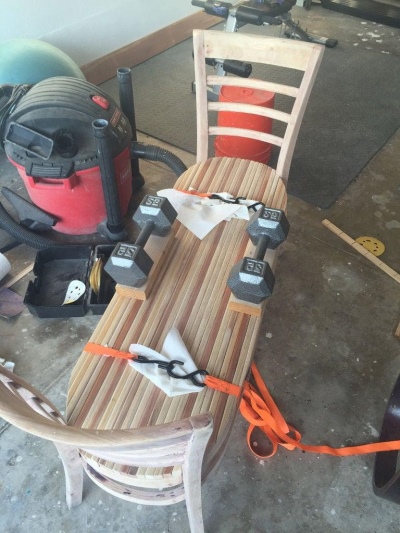
- As soon as the glue is completely dry, the seat will need to be sealed with special masking tape. Then the remaining components of the structure are painted with high-quality wood paint.
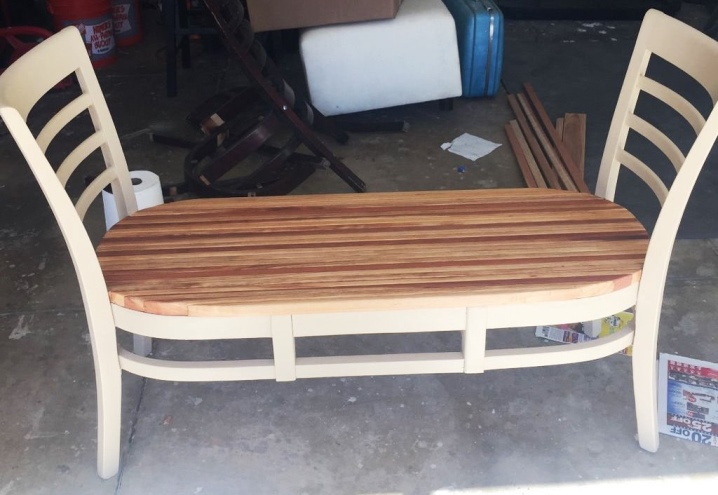
- The tape can be removed and the seat stained. At the final stage, the bench is coated with varnish.
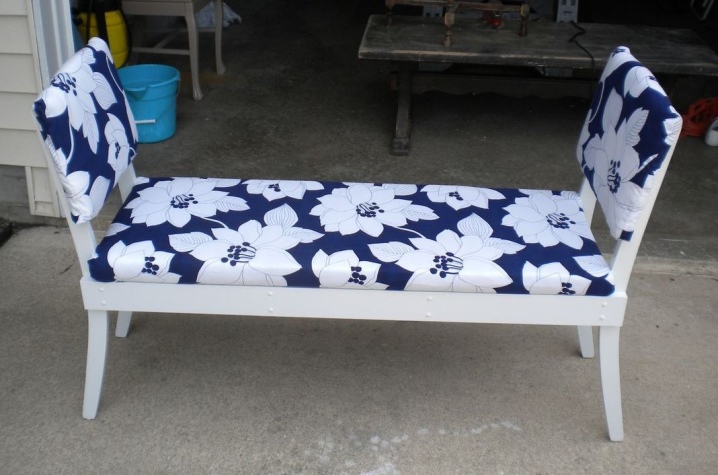
Very nice and comfortable benches can be made from old furniture. For the construction of such homemade products, you can use not only unnecessary chairs, but also parts from an old bed (including a metal one).
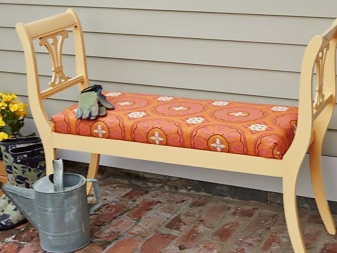
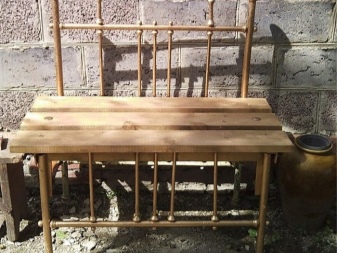
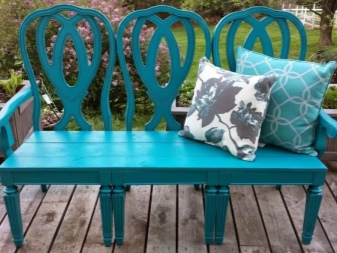
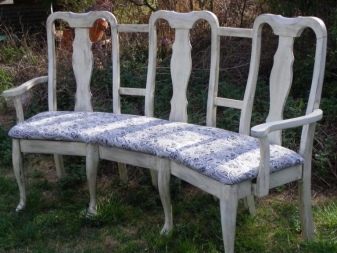
From a log
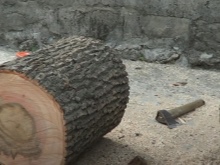
Solid and beautiful benches are obtained from logs. They are not so difficult to manufacture, but they turn out to be very convenient and reliable. The main tool that will be needed for the manufacture of such a structure is a high-quality chainsaw. The main material will be a dense, thick log 1 m long.
- Beforehand, the log is carefully marked out to get 2 slightly unequal parts. The backrest will be made from the smaller half, and the bench seat will be made from the larger one.

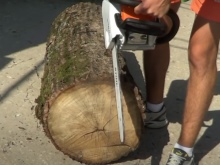
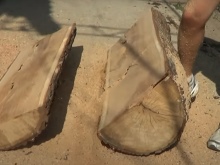
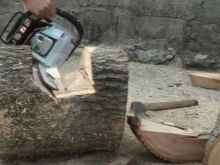
- Then the chainsaw will need to cut the log, starting from the applied marks. Remaining irregularities must be cut off immediately using the same saw.
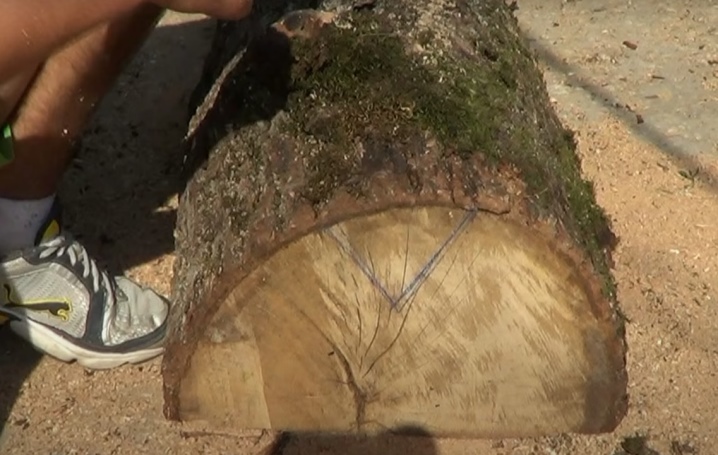
- The next step is to carefully cut out a triangular piece, so that later you get a mount called "dovetail". Recesses will need to be cut both on the back and on the seat of the future bench.
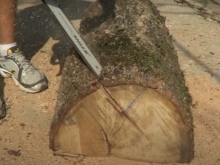
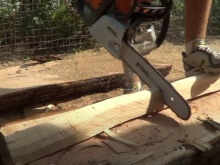
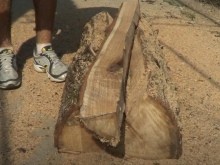
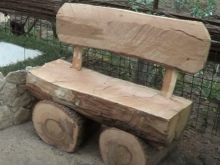
- The cut triangle is divided into 2 parts and holes are left on the seat. The back of the bench is fixed on top. The original bench is almost complete. It remains only to give it a more attractive decorative appearance.
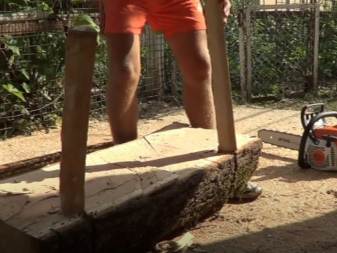
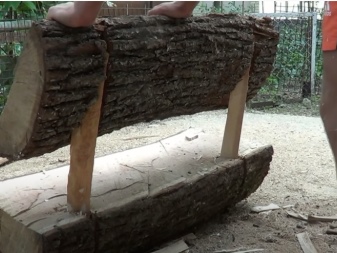
- The seat can be placed on the support parts. To do this, in the lower part, you will need to prepare grooves for fixing a pair of logs in the role of dense legs.
Rocking bench
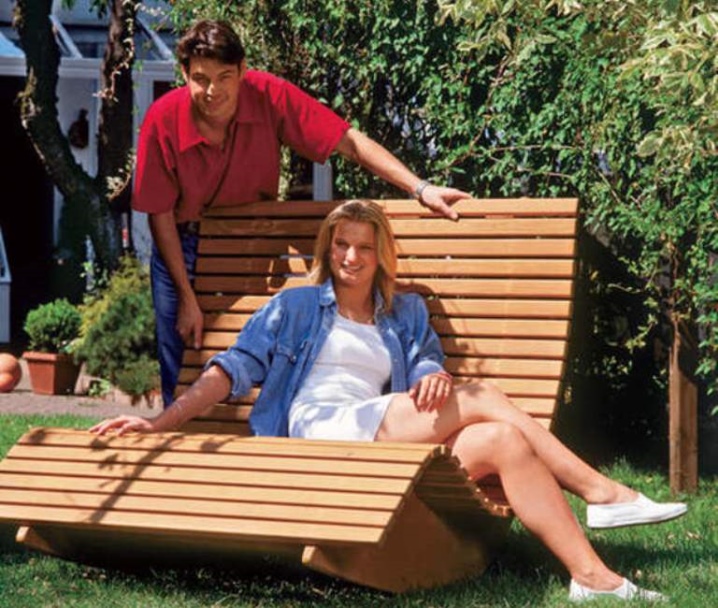
If you want to make a really unusual and interesting bench with your own hands, you should consider the option of making a rocking structure.Such a product will definitely have a very comfortable back. It is also possible to make a rocking bench with your own hands. If this is your first time taking on such work, it is recommended that you choose options for assembly that do not provide too many parts.
- Using the pattern of the side parts, they must be transferred to a sheet of plywood, the thickness of which is 3 cm. Further, the necessary parts are carefully cut out with a jigsaw. The ends must be processed with a grinder.
- To secure the connecting strips, you need to make accurate markings. Then the necessary holes are drilled. Having assembled the frame base of the future bench, it is necessary to fix the rails with self-tapping screws. Areas with fasteners are putty, and the entire product is completely treated with high-quality varnish.
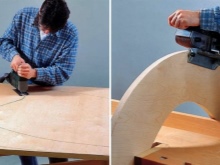
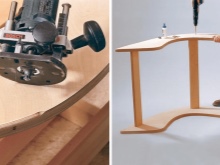
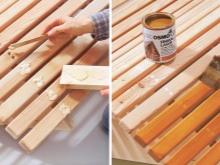
As a result, you will get a beautiful semi-reclining bench, on which households can relax properly.
Transformer
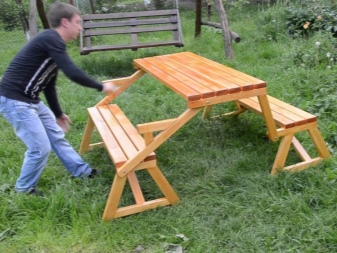
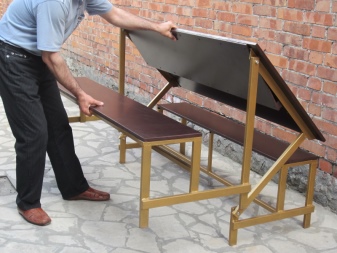
Another original type of bench is a transformer. It is quite possible to make it from a planed board, previously sawn in accordance with all the planned dimensions. Of course, before starting work, it is necessary to draw up a detailed plan for the future structure, providing for all its device features.
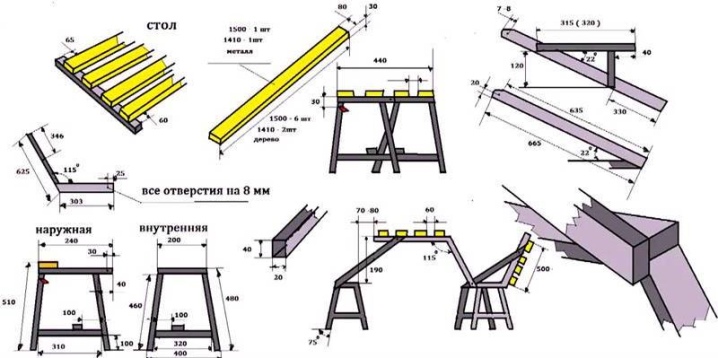
- On the cut pieces of beams, you will need to make holes for the subsequent installation of fasteners.
- For a countertop that is located on the edge, you can make wavy lines.
- In the material that will be used to make the countertop, you will need to drill holes with a diameter of 22 mm and a depth of 3 cm. Cuttings of the same size will be installed in them.
- The edges of the part and its edges are carefully processed and made more rounded.
- The assembly of all prepared elements should be carried out using screws and screws. All wooden parts of the structure will need to be stained. Those components that will move will need to be fixed using hinges.
- Between the boards of the countertop, it will be necessary to mark out the parts of the round shank. Then the backrest is installed.
- A self-made transformable bench will need to be covered with high-quality varnish.
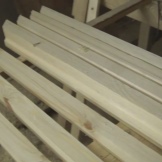
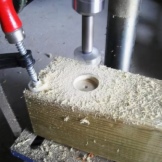

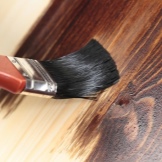
Such a multifunctional design will be very useful in the yard in the local area.
Helpful hints and tips
If you decide to make a comfortable and high-quality bench with your own hands, you should listen to some useful advice regarding this process.
- If you have planned to make and install a bench in a gazebo or in a dedicated barbecue area, it is worth calculating in advance how many seats will be provided in its design.
- A good bench can be made not only of wood, but also of metal. True, in this case, the master will need to properly weld all the necessary parts according to the scheme. Welded structures turn out to be strong and reliable, but without the ability to work with a welding machine, it is better not to take on such things.
- If you wish, you can build a decorative bench, which will only become an attractive decoration of the garden / plot. Such things can be easily and quickly made from scrap materials, PVC or propylene pipe.
- It is not necessary to use ordinary boards to assemble wooden benches. It is allowed to use the sawing of logs, especially if the site is made out in a more natural, naturalistic way. The tree, on the surface of which there is bark, is easily varnished and looks great after that.
- For self-made benches, it is recommended to purchase material with a small margin. No one is immune from random mistakes and other unexpected nuances, so buying wood or metal "back to back" is quite risky.
- Treatment of wood with antiseptic solutions cannot be neglected. If you are making a bench from this natural material, it cannot be left without the specified procedure.Untreated wood will quickly begin to dry out or rot, losing its former attractiveness.
- Homemade benches are recommended to be made exclusively from high quality materials, be it metal or wood. You shouldn't skimp on these components. It will not be possible to build a reliable and durable shop from low quality materials, which will delight households with its convenience and long service life.
- When developing the device and design of the future home-made bench, the master is strongly encouraged to build on the environment in which the product will then be located. The bench should harmoniously fit into the home interior or landscape design. Otherwise, it will stand out from the overall picture.
- Try to process the wood from which you are making the bench as carefully as possible. Natural material should not have jags or protruding corners, otherwise it will certainly lead to accidental injury. Introduced splinters from the use of a poorly processed shop will also not cheer you up.
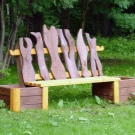
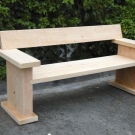
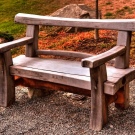
Ready examples
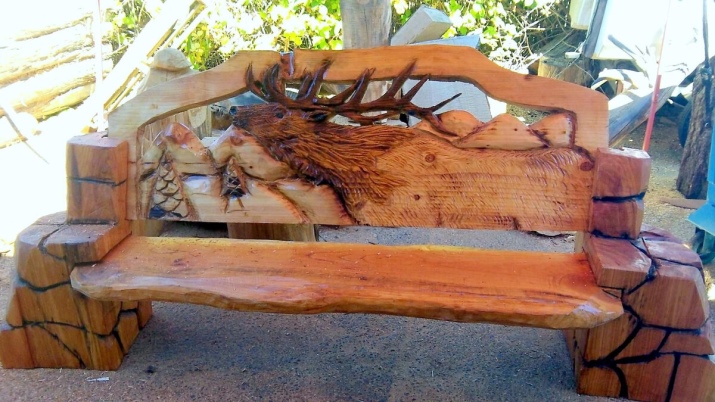
A correctly made bench, the design of which was well thought out by the master, can become a spectacular decoration of the local area, garden, terrace or balcony. Let's look at some good examples of environments that have such a beautiful detail.
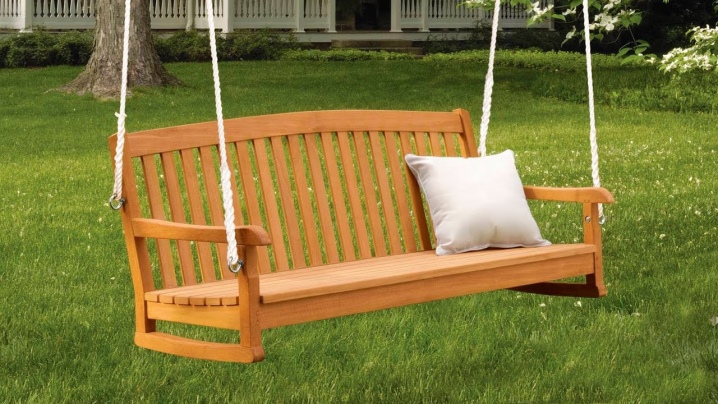
- The benches are very cozy and comfortable, which also serve as a strong swing. In manufacturing, these structures are more intricate than the classic versions, but they have an interesting appearance, and it is more convenient to rest on them. So, against the background of a well-groomed area with a trimmed lawn, a small hanging bench made of wood, fixed on strong ropes, will harmoniously look. It is better to paint such a product in a light shade and complement it with a snow-white seat cushion.
- A very comfortable solution with a large number of seats is a wooden bench with a backrest and armrests, made in the form of a large corner. Such a homemade product, made of a light board, will easily fit into almost any setting. It can be placed in the country next to a flower bed.
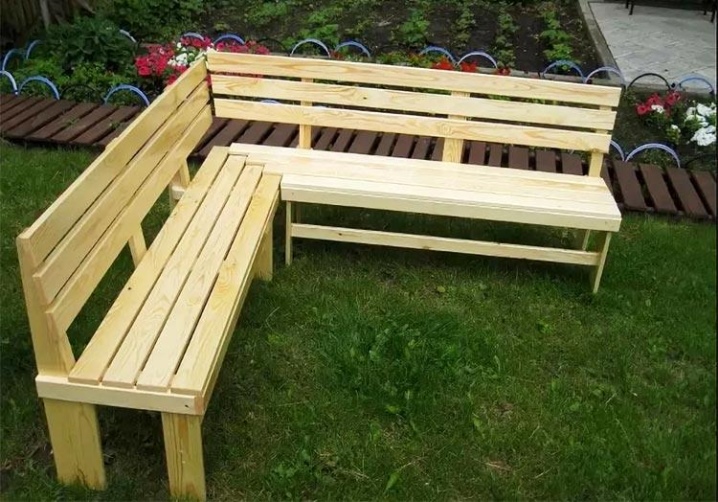
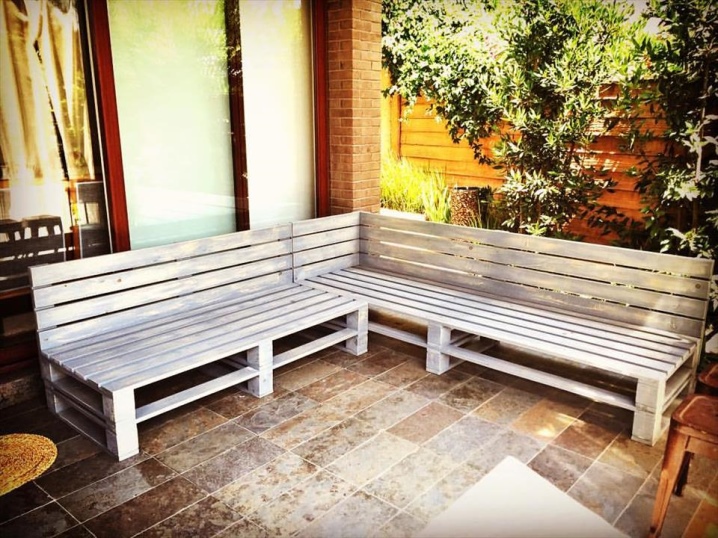
- A large corner bench made of several pallets will look simple and original on the site. The design should include not only seats, but also backs. To make the product seem more unusual, it can be painted in a light gray or ash shade, which will effectively contrast with the green plantings.
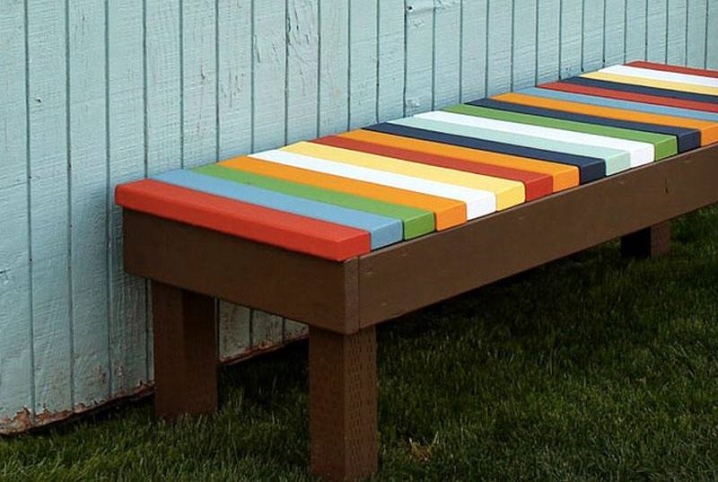
- If you want to bring bright colors to the situation on the site, you can make a small and neat bench with a back and armrests, and then paint it in several different colors. The product can combine green, blue, yellow, red, brown and turquoise colors.
How to make a garden bench with your own hands, see the video.


The comment was sent successfully.