How to make a climbing wall with your own hands?

Parents have always cared not only about health, but also about the leisure of their children. If the area of the apartment allows, then various wall bars and simulators were installed in it. In addition, you can install at home and a climbing wall, especially since such a sport as rock climbing has been gaining popularity lately. And this is not surprising, since in this type of activity muscles are strengthened, endurance and dexterity are developed.
In order to engage in this sport for physical development, it is not necessary to spend time and money on gyms, where the appropriate grounds are equipped. A climbing wall for children can be made independently.
Location
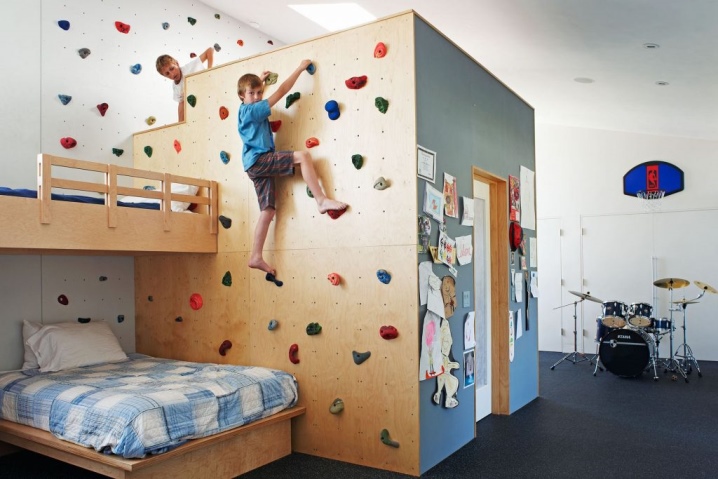
A home climbing wall can be placed both in the yard and in the apartment.
If you plan to build a structure in the fresh air, then it is necessary that it be the shadow side. Otherwise, children will not only overheat, but there is a high probability that young athletes blinded by the sun's rays will fall.
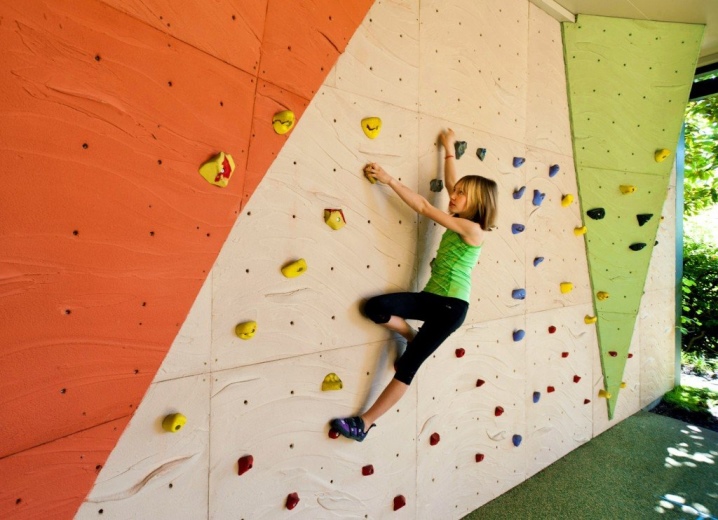
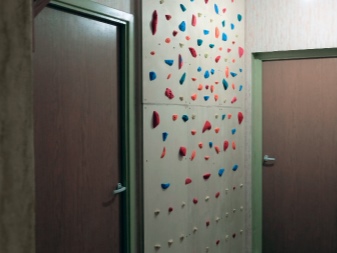
In the absence of a suburban area, you can build a climbing wall in the room. It could even be a corridor. The main requirement in this case is that around the structure there should be at least 2 square meters free.
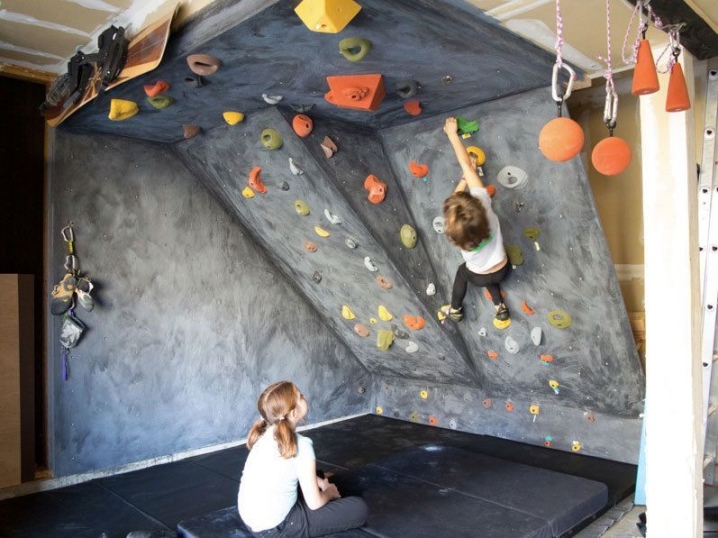
Usually, for a climbing wall in an apartment, any free wall or part of it is selected. It is desirable that the climbing wall is not straight, but has an angle of inclination. Such a model is considered not only more interesting, but also safe, since when falling, the probability of injury is completely excluded, hitting the elements (hooks) along which they climb up.
Design
The construction project begins with the selection of a free, uncluttered wall. The dimensions and shape of the future structure can also be determined by the free space in the house.
With a free (uncluttered) standard wall height of 2.5 m, it is better to erect a structure from floor to ceiling (if chandeliers or stretch ceiling do not interfere).
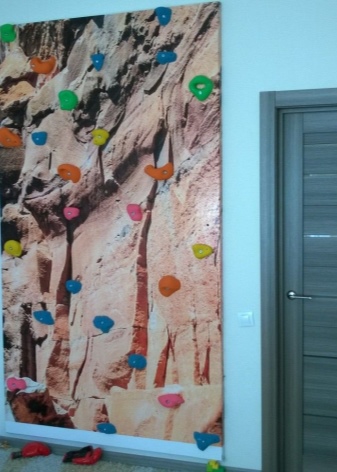
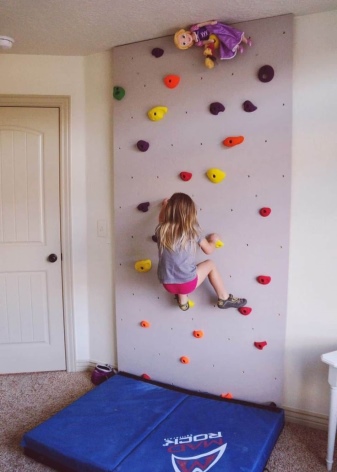
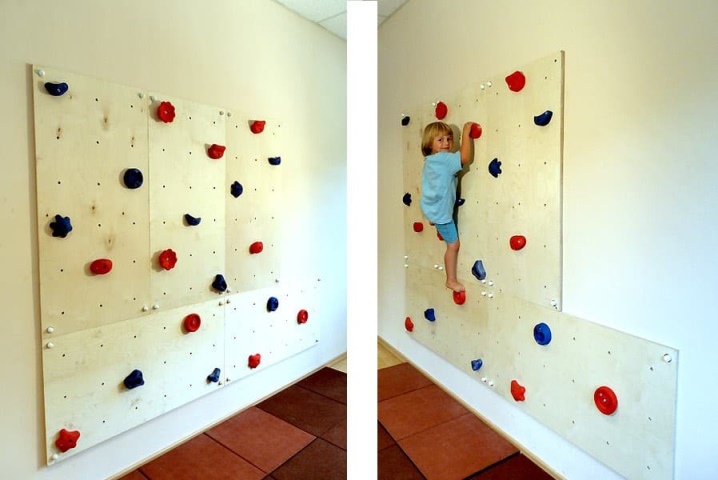
If, for some reason, it is not possible to make a climbing wall to the entire height of the wall, then you can erect it in sections in breadth so that the child can move left and right. With this design, the location of the holds should be properly planned to eliminate the likelihood of the young athlete falling. (it is better if there are more of them for reinsurance than less).
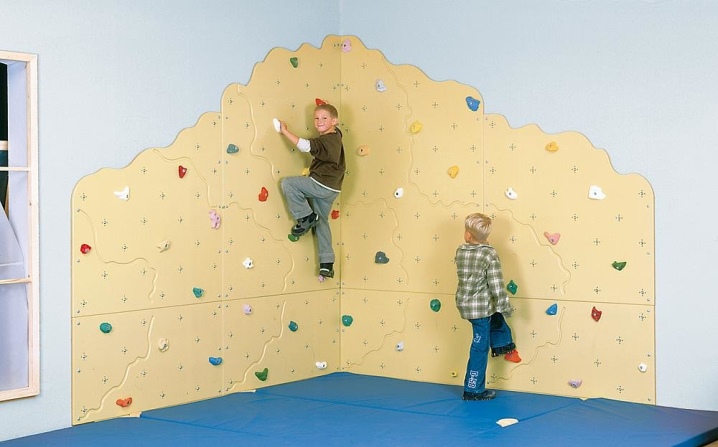
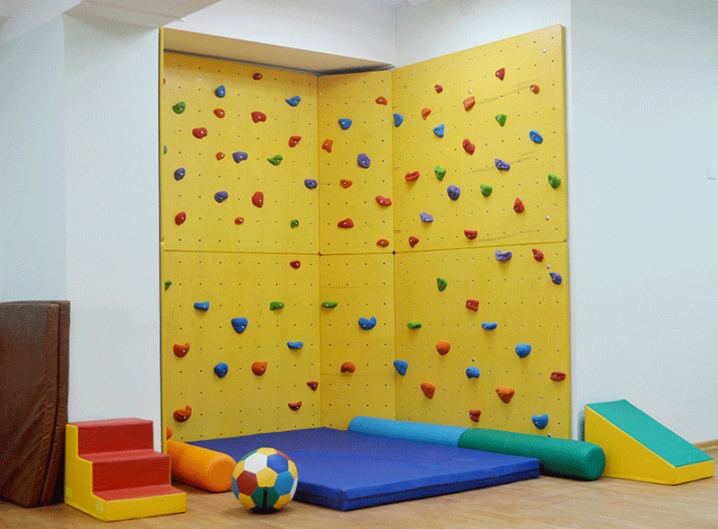
A good option would be a climbing wall, designed in the corner of the room, which should be wide enough on all sides. Such models are especially interesting for children, since they allow you to move not only up and down, but also left and right.
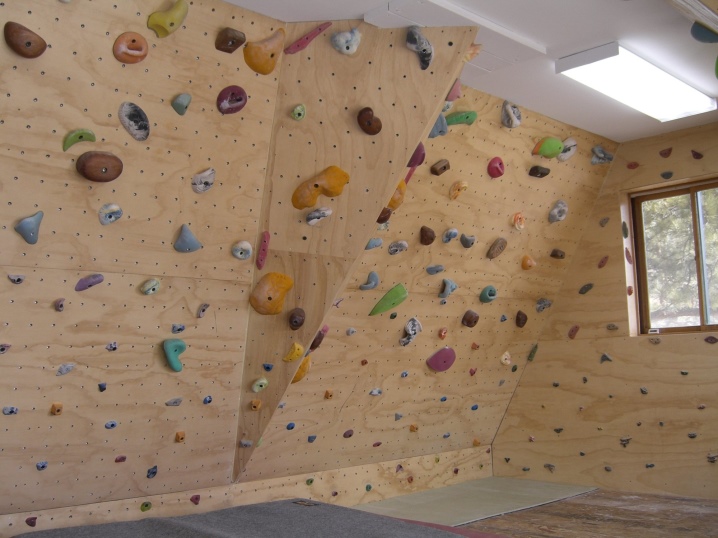
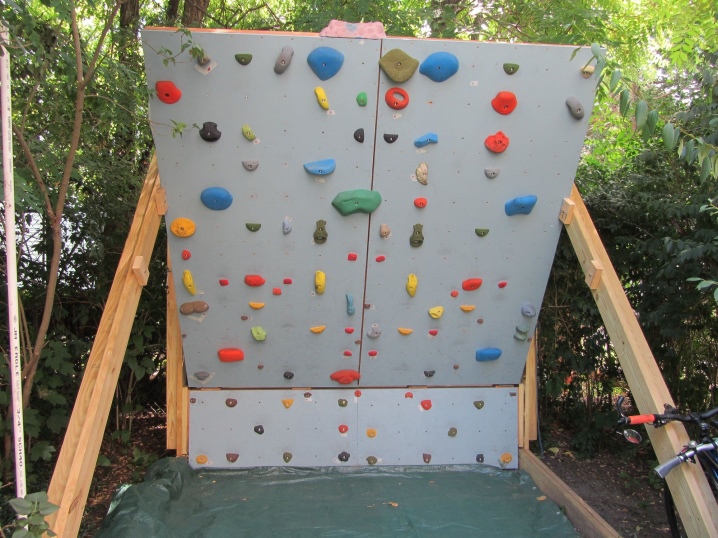
An interesting option, from the point of view of complicated structures, is a climbing wall with a slope. The optimum overhang angle is 90 degrees. No special blueprints are required for its construction. The degree of the angle is regulated by the length of the beam launched on the ceiling, the end of which is connected to the floor, forming a slope.
Tools and materials
The structure is being built practically from improvised means:
- plywood, the thickness of which should not be less than 15 mm .;
- wooden bars;
- hammer and screws;
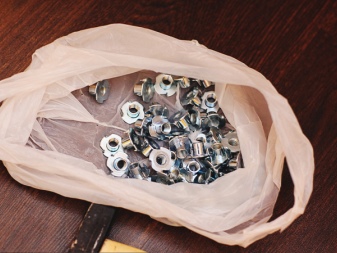
- fasteners for hooks, represented by nuts and bolts;
- hooks with holes.
To erect a structure, you need to prepare tools:
- hex screwdriver for tightening the bolts;
- screwdriver or drill.

To give an aesthetic look, you will need paints and varnishes and sandpaper for cladding.

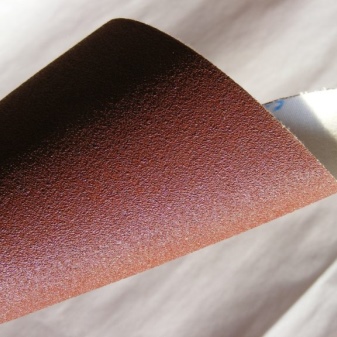
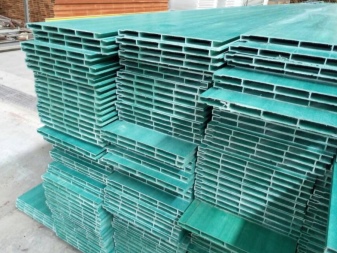
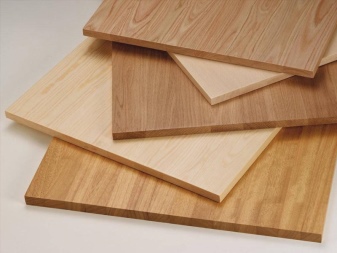
The required parts may vary depending on the component parts. For example, instead of sheets of plywood, you can use fiberglass panels, wood panels, which will need to be properly sanded to give smoothness.
The choice of the materials mentioned is especially due to the use for the construction of a climbing wall on the street, since plywood will quickly deteriorate due to weather conditions (rains).
Construction stages
To make a climbing wall for children with your own hands, it is not necessary to learn any complex schemes. It is quite possible, having studied a certain sequence of mounting a climbing wall, to assemble a homemade climbing wall yourself.
Having decided on the location of the future home climbing wall, you should calculate how much area it will occupy. It can be the whole wall in the house, or it can be part of it.
It is important that there is no furniture in the vicinity of the structure.
Then we start making a frame, which can be straight, and maybe at a certain angle.

Frame
The frame is made of 50 x 50 mm timber. This is a kind of lathing to which the base, usually made of plywood, will be attached later. As for the frame, its size and shape is the appearance and dimensions of the future climbing wall, which can be either square or rectangular.
To make it, a bar is nailed to the wall set aside under the climbing wall along the perimeter. Then the inner lining is made, which allows you to fix the middle of the structure.
You should not save time and timber, limiting yourself to the manufacture of a cross for the inner lining (this option is suitable for a narrow, single-row climbing wall).
Having planned a relatively wide climbing wall, inside the bar it is necessary to fix it horizontally as often as possible, which makes the structure more reliable.
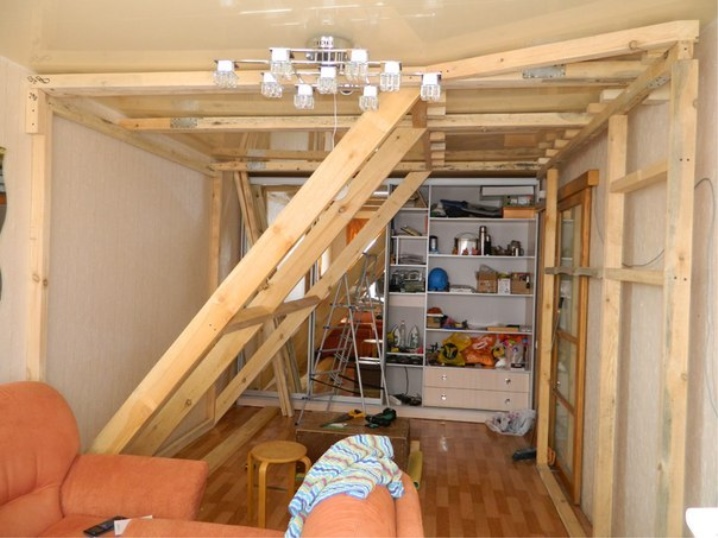
If it is necessary to make the climbing wall at an angle, then the frame is made at an angle. To do this, the lathing is also displayed on the ceiling, from which it is connected to the frame on the floor. The angle of inclination of the structure depends on how long the bars on the ceiling are. Once the frame is ready, you can start forming the base.
The foundation
As a base, you can use plywood with a thickness of at least 15 mm., A board that will need to be well sanded is also suitable. If you plan a flat structure (not tilted), then chipboard sheets can be taken as a basis. For reliability, if the structure is made at an angle, it is better to use boards as a base.
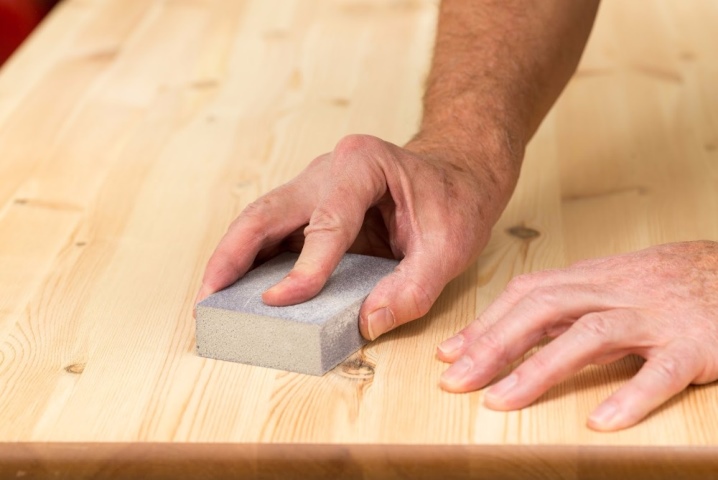
The selected material is properly prepared before installation: the boards are sanded, and the plywood is treated with an antiseptic (when erected on the street). To give the structure an aesthetic look, the base is painted or varnished. But first you need to make holes for attaching the hooks.
It is better to drill them from the front side so that all the roughness is from the inside.
As soon as everything is ready, proceed to the installation of the hooks.
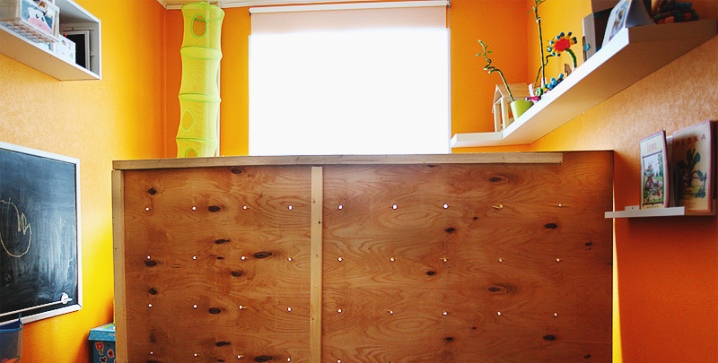
Installation of hooks
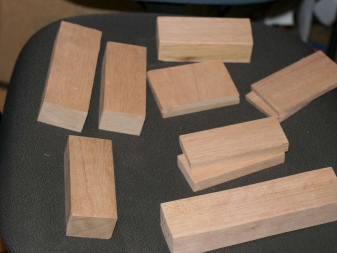
The hooks can be made independently from the material at hand. For these purposes, wooden blocks can be nailed to the base, which are pre-sanded and varnished, or small stones can be planted on superglue. But the easiest, and most importantly safer, is to buy factory hooks in specialized stores, which do not require preliminary processing and their fastening is more reliable. For example, wooden blocks as hooks can cause splinters on the legs and arms, the glued stone can fall off from the load.
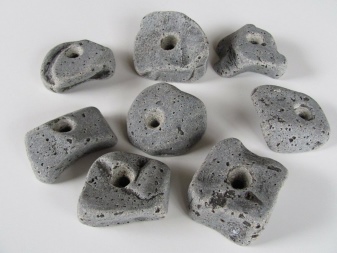
Factory hooks are varied in shape and size. These can be various animals or pockets convenient for small children. For older children, they are represented by small tubercles.


This element is fastened from the back side to furniture nuts, which are fixed with a hex bolt. Such fasteners allow, if necessary, to replace the element with a more complex one for older children.
Features of creating an outdoor climbing wall
When choosing a material for creating a climbing wall on the street, you should pay attention to an important detail in this case: the presence of a canopy. If the structure is being built under a roof that can shelter it from rain, then materials that are used to build a climbing wall in an apartment (for example, plywood) are suitable for creation.
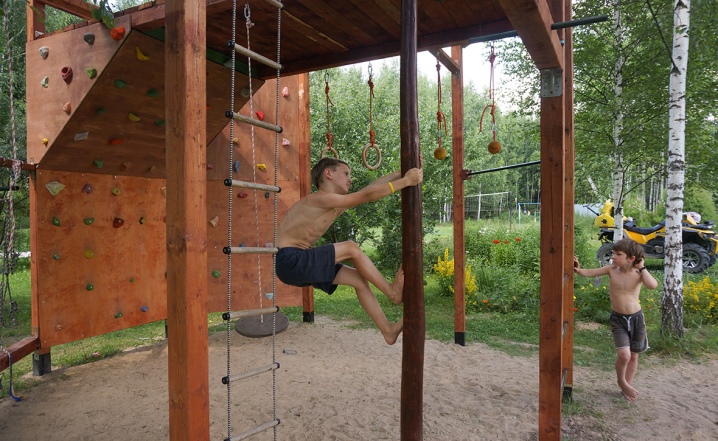
And if it is planned to build an open-air structure, then the choice of materials should be approached more seriously, since due to rain and snow it is likely that the climbing wall will last no more than a year if its base is made of plywood. To avoid this, it is recommended to use fiberglass panels as a base. Since this material is not entirely cheap, strong wooden shields can be used instead.
In this case, it must be borne in mind that such a design will need to be redecorated annually. And the point here is not beauty, but safety.
The paint in the rain, peeling off the tree, forms bumps that are hard for the child's skin. They are quite dangerous if they fall under the nail (decay may occur). In addition, it is quite painful to get them out from under the nail.
The easiest way to build a climbing wall on the street is to connect it to a wall of the building (veranda, barn, etc.). In this case, the construction sequence will not differ from the construction of a structure in an apartment, since there is already a blank as a wall.
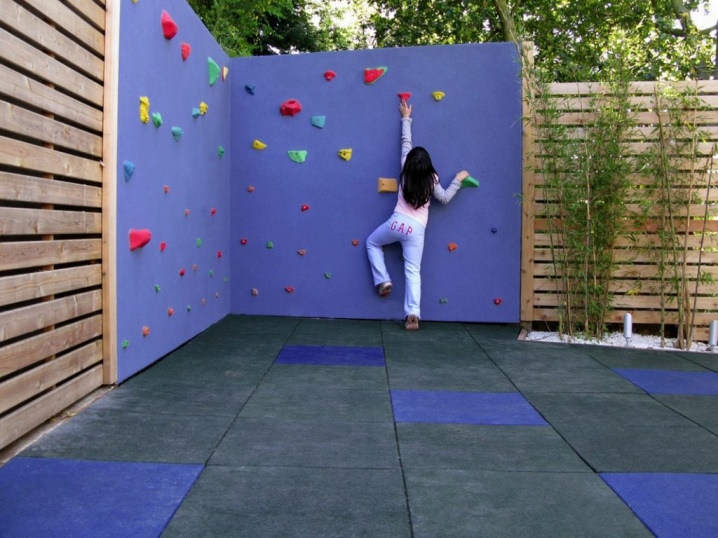
If it is not possible to connect the construction of the climbing wall with the wall, then the first step is to build a support. The support is, as a rule, a wooden shield that is attached to the beams on the sides. The beams, taking into account the dimensions of the flap, should be large, capable of withstanding rather large loads. The shield is nailed to the beams from the upper part, and their lower part is buried in pre-prepared pits to a depth of at least 1 meter.
For better fixation, it is recommended to sprinkle the beams with crushed stone, and then fill in with cement. Otherwise, there is a high probability that they can turn over from the load of the children involved.
In addition, in order to avoid this, it is extremely necessary to attach to the beams, from the rear side, the supports, represented by the same beams, fixed deep in the ground with crushed stone and cement mortar.
Useful Tips
- In the apartment, it is advisable to plan the joining of the climbing wall to the load-bearing wall, since such a structure will be safe, capable of withstanding any loads.
- It is not necessary to attach the climbing wall to the wall where the sound insulation was built from a fragile material (fiberboard, chipboard). Under the influence of gravity, there is a high probability that the entire structure will collapse (along with sound insulation).
- Do not forget to lay mats under the climbing wall, both in the apartment and on the street, which will protect the child from falling (mats soften the blow).
- For an outdoor climbing wall, it is preferable to choose a place under a canopy.
You can find out how to quickly and efficiently make a climbing wall in an apartment with your own hands in the video below.


The comment was sent successfully.