Features of children's climbing walls
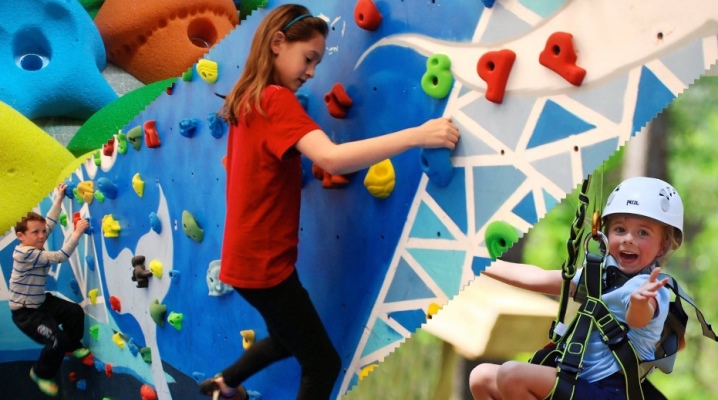
Every parent dreams of seeing their child not only healthy, but also cheerful and happy. This has recently caused an increased interest in climbing sections in general, and in particular in the climbing gyms themselves. And it is not at all by chance that in city apartments you can more and more often find a children's climbing wall.
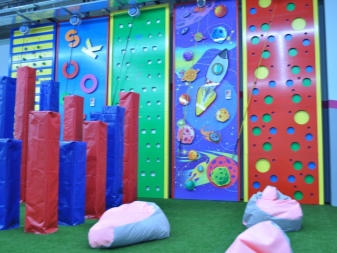
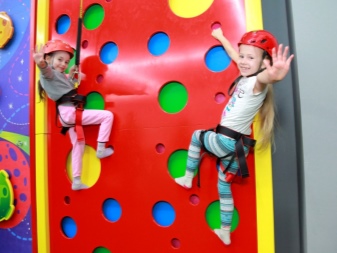
Advantages and disadvantages
Children's climbing walls, unlike models for adults, are not only a simulator that develops almost all types of muscles, but also fun entertainment that allows you to go through obstacles both alone and together. The advantages of the structure (climbing wall) include the following factors:
- ensures the development of all muscles;
- develops coordination of movements;
- contributes to the development of endurance and thinking (the quick route needs to be thought out);
- does not take up additional space in the apartment.
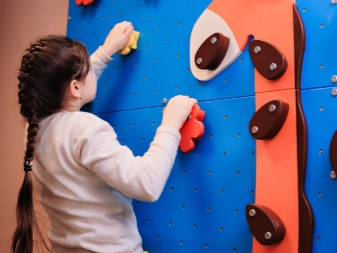
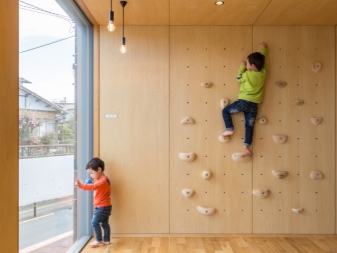
There is only one drawback of a climbing device - it is a traumatic structure.
In this regard, when making or choosing a children's wall model to hone movement coordination, you should first take into account the child's age (you can use it from 4 years old).
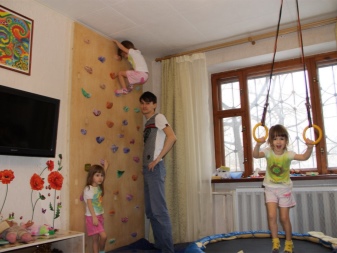
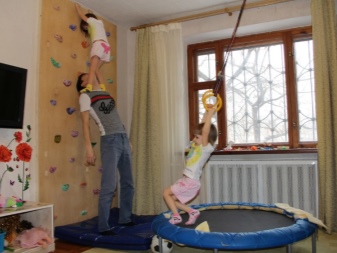
The model should be safe and interesting at the same time. At each certain age, interest is different, which is associated with the complexity of the design. For example, a 6-year-old child will not be interested in climbing up and down at a height of 1.5-2 m.
When installing the structure, it is advisable to implement multilevel obstacles.
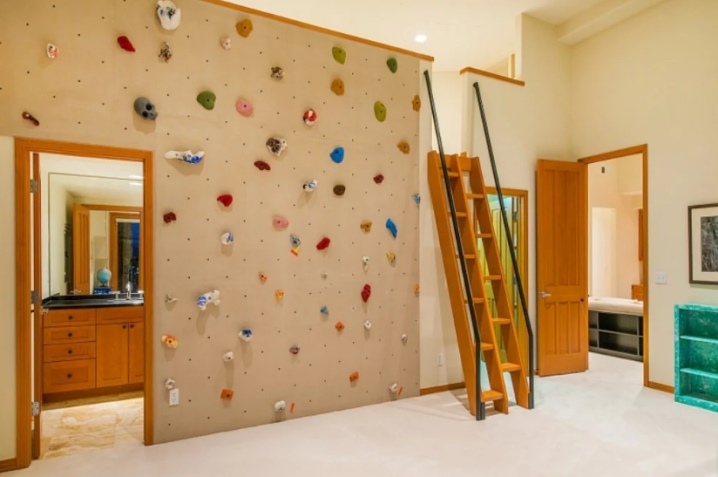
Species overview
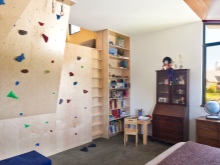
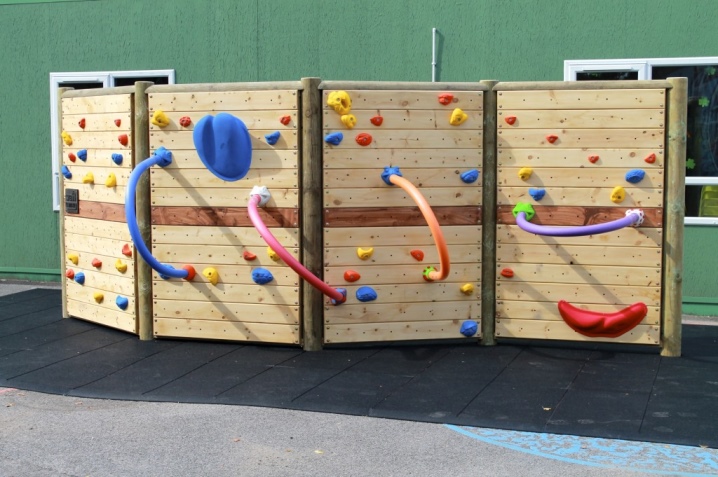
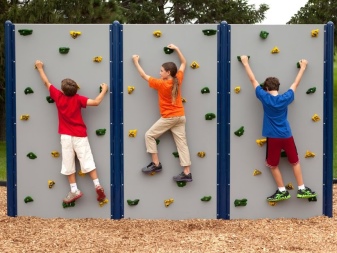
A home climbing wall is a climbing wall placed in an apartment or outdoors. It is a board with a specific set of elements.
If we talk about home structures, then climbing walls can be divided into 2 groups:
- for babies (from 4 to 6);
- for older children (from 7 years old).
For children, for safety reasons, it is better to combine such a wall in a room with a slide with steps, and for older children, it is preferable to use rope climbing frames.
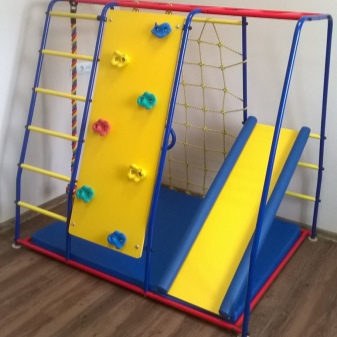
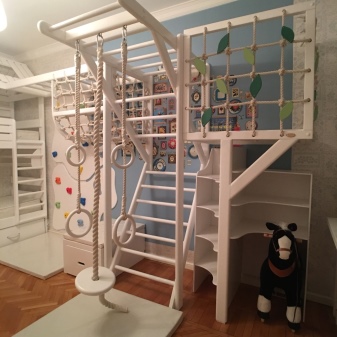
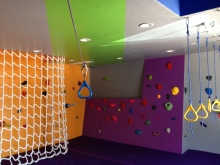
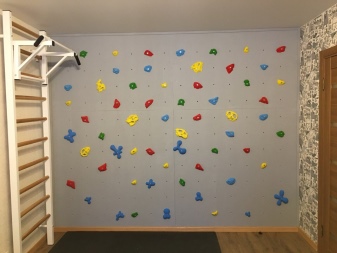
And if you combine, for example, a climbing wall with a Swedish wall, you can get a good interactive complex for a climbing house.
As for the height of the structure, for babies, the height should not exceed 1 meter. For older children, you can take the field to the height of the entire wall.
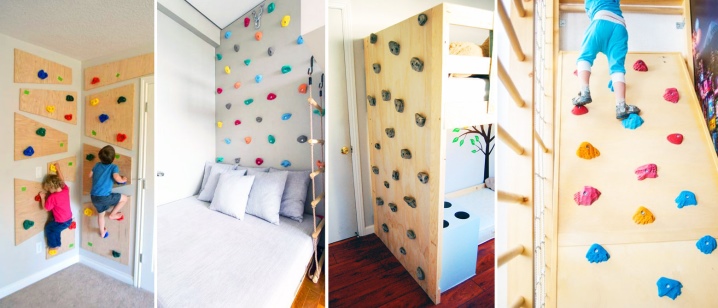
The factors mentioned above should be taken into account when purchasing the "Skalodrom" sports complexes, which, according to their intended purpose, are:
- complex (up to 6 m high);
- entertainment (height from 2 to 4 m);
- bouldering (the height does not exceed 5 m), with short but difficult obstacles.
The type of insurance directly depends on the height, which is represented by the following types:
- A set of lower and upper rope belay (available in complex climbing walls up to 6 m high);
- with top (automatic belay) - entertainment complexes are endowed with this type;
- mats in bouldering climbing walls are used as insurance (for every meter of height there is 10 cm of the mat).
In factory models, it is possible to choose an exclusive option in terms of appearance.
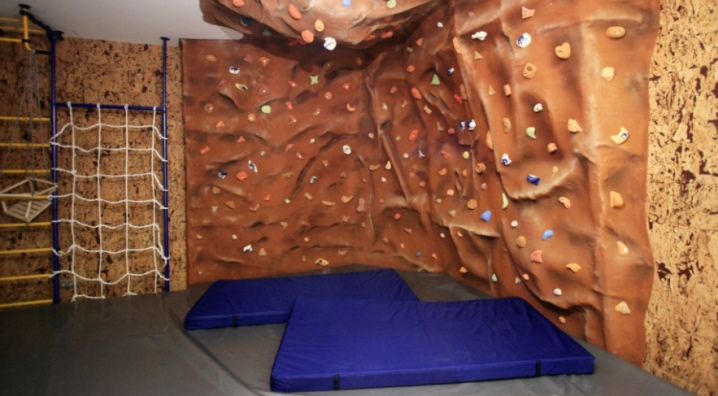
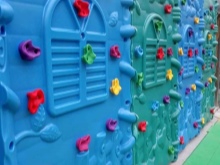
By the type of panels, the factory climbing walls are divided into:
- plywood;
- plastic (resembles a mountain surface);
- made of polycarbonate (transparent).
The panel does not affect the operation, the difference between them is mainly in the price category.
What do you need for operation?
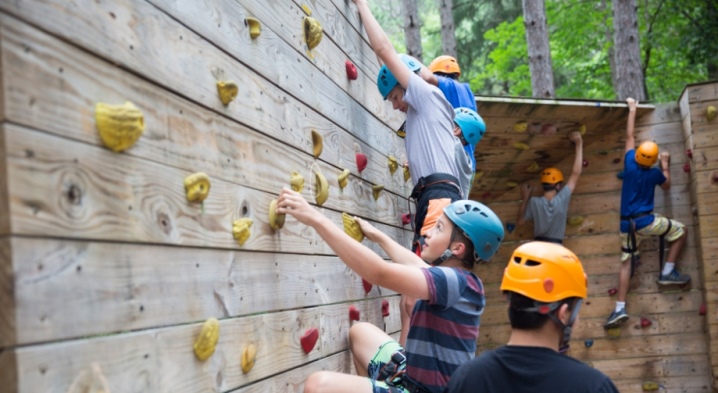
When preparing for operation, special attention should be paid to safety during use. Experts pay attention to the main rule: if the height of the climbing wall is more than 3 m, then the composition of the component elements must include insurance in the form of a rope. It is clear that ceilings will not allow installing a climbing wall in an apartment with a height of more than 3 m, but it is quite possible to do this on the street.
In addition, without fail, both indoors and outdoors, below, under the climbing wall, there must be mats to cushion the blow in the event of a fall.
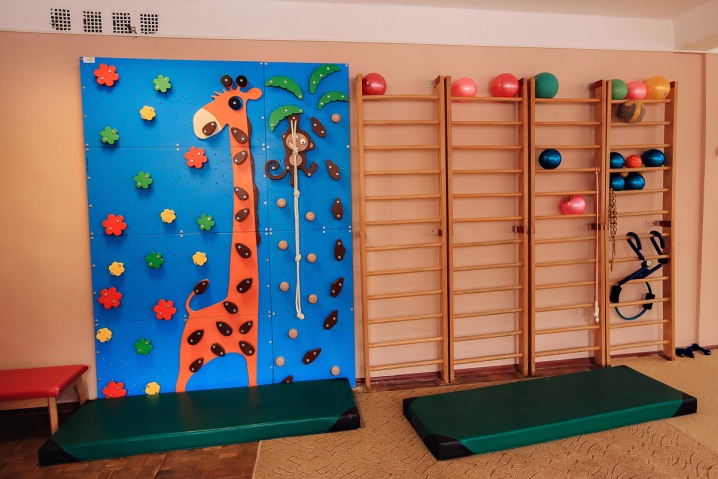
If homemade hooks are used, then they must be properly sanded (we are talking about wooden ones). If stones are used for these purposes, then reliable superglue is used as an attachment.
When a wooden structure is used for climbing outdoors, it should be redecorated annually. And it's not about aesthetics, but about security. The paint on wooden surfaces begins to flake off under the influence of sun and rain and can get stuck, for example, under the nail. This tends to be the cause of abscesses.
How to do it yourself?
Having decided on the installation of the climbing wall, there is no need to rush to buy a ready-made structure in the store, since the cost of models with interesting obstacles can reach 25 thousand rubles.
Having properly planned all the actions, you can make an interesting climbing wall with your own hands, both for the street and for the premises, which will not be inferior in quality to the purchased one.
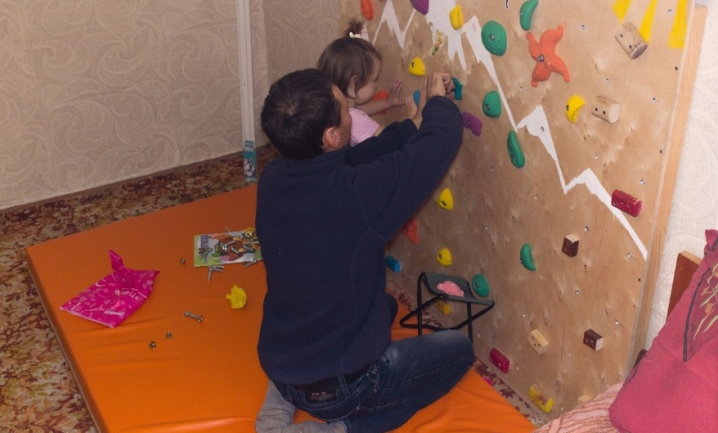
First, you need to choose the right location for it. It is desirable that this be a load-bearing wall that excludes the possibility of collapse. Installation on secondary walls is also permissible, but they should not be sheathed with sound insulation or any other panels or sheets.
The best options for the construction of a climbing wall are free walls in the nursery or in the corridor. You can also use the corner of the room for these purposes. The main thing is that there is no furniture within a radius of 2 m near the future climbing wall.

It is possible to make a straight wall for climbing with your own hands, or you can make an unusual structure at a negative right angle. And in one case, and in the other, you will need a crate. The difference is that for a model with a negative angle, the crate will need to be launched onto the ceiling, and then, forming a slope, direct the beam either to the floor or to the middle of the wall.
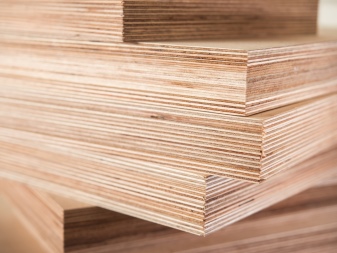
As soon as the crate is ready, we start making the base (frame). For this, plywood with a thickness of at least 15 mm is used. At your discretion, in any form or in a checkerboard pattern, holes are made in it for fastening the hooks.
To have where to put your feet, you need to install at least 20 hooks on 1 square meter. Especially this requirement cannot be ignored if the structure is made for small children (4-6 years old).
Do not forget that over time, children will get bored with the monotonous planning of holds, so it is better to make a little more holes right away so that in the future you can change the location of the holds.
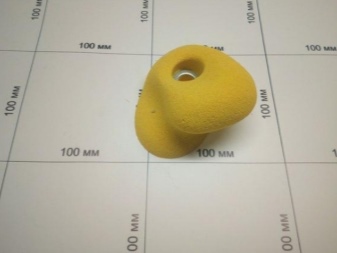
The hooks themselves can be made independently from stones or from wooden blocks. But it is easier to buy them in a store where they are available in different shapes and colors. A homemade hooks will need to be polished and varnished even more thoroughly, otherwise they will cause splinters.
As soon as everything is ready, hooks are attached to the plywood base, after which the plywood is fixed to the frame. The final touch is to give the structure an aesthetic look. Why is it necessary to use paints and varnishes.
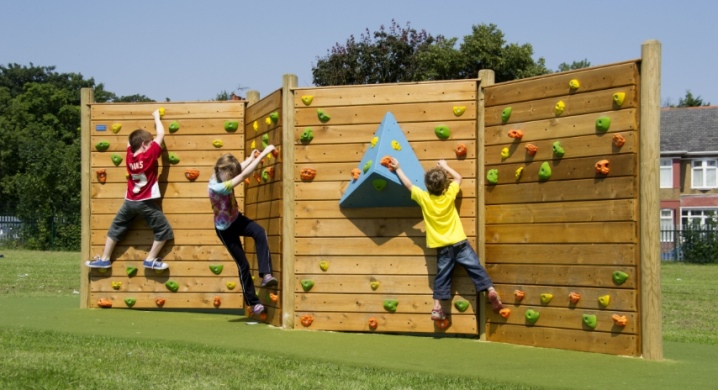
The principle of building a climbing wall on the street is the same as the principle of building in an apartment.
The simplest option would be to create a structure on the wall of a building. If this option is excluded, then you will have to erect a wooden shield, attach supports to it in the form of strong beams.
Tools and materials
If it is necessary to save money, a climbing device can be built practically from improvised means, which include:
- plywood with a thickness of 10 to 15 mm;
- wooden bars.
You will have to spend only on the hooks and attachments to them. If the decision is made to make the hooks yourself, then stones and wooden blocks will fit as a material.

By the way, projections of various shapes can be made from wooden blocks, thanks to which the model will become more complex and interesting.
To erect a structure, you need to prepare tools such as:
- hex screwdriver for tightening the bolts;
- screwdriver or drill;
- hammer and screws.

Manufacturing scheme
There are a lot of climbing wall manufacturing schemes developed, but they are all of the same type. Completely accurate reconstruction according to the scheme is, in principle, impossible, since in each individual case a space with its own characteristics is allocated for the structure.
For manufacturing, it is enough to find a more or less understandable and suitable scheme, which must be adjusted for yourself.

At home, if the area of the room does not allow making a crate, you can imagine the structure not as a continuous canvas from floor to ceiling, but in the form of segments of different shapes. These can be triangles, squares, etc. It should be noted that such segments are attached only to load-bearing walls.
Useful Tips
- On the street, it is better to build a climbing wall under a canopy, which eliminates the likelihood of sunstroke.
- At home, it is not recommended to make the base of the structure made of plastic, as the legs will slide (in sports halls, special shoes are provided for this).
- If there is a possibility (for example, there are no stretch ceilings), then it is preferable to erect a structure with a negative angle. In the event of a fall, this eliminates the likelihood of injury from the hold.


The comment was sent successfully.