How to unscrew a screw in different situations?
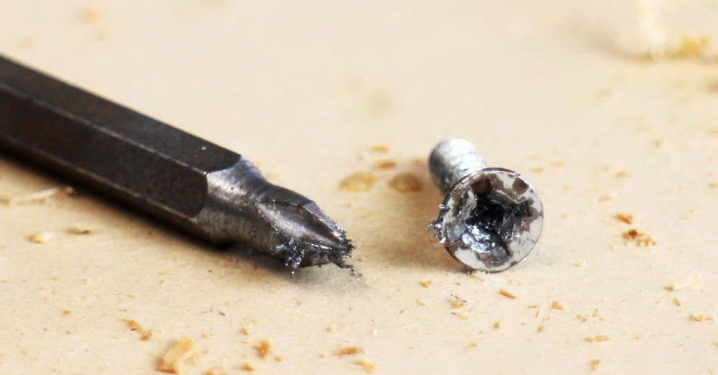
Any screw is not screwed in forever - sooner or later there may be a need to remove it. But not everything is so simple - if before you have not tried to disassemble the structure for years, then under the influence of air or moisture, it could get stuck tightly. In some cases, the repair itself takes one minute, and the removal of "stubborn" fasteners - 10 minutes. Sometimes it happens that the bolt cannot be removed at all. However, you are not the first in such a situation, and before you, many people wondered how such a problem was solved. Fortunately they have come up with quite a few wayshow to get out of the situation.

Possible difficulties
You can understand that there will be problems with the bolt even before the start of work or at the very beginning of it. In some cases, understanding why the fasteners are not unscrewing directly indicates the best way to solve the problem, so it is worth taking a closer look at the “anatomy of a disaster”. Here are some examples of why we have to tinker with the screw:
- rust is visible on the surface of the fastener, there are characteristic red streaks around the head - a rusted screw is almost always stuck, and as a result it is often also "licked", because the edges of a weakened product quickly become torn off under the rough influence of a screwdriver;
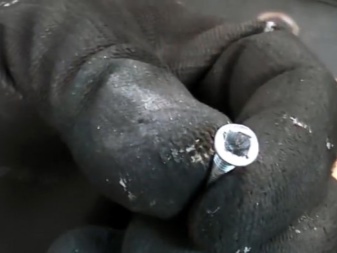
- broken or gouged head - if the cross is torn off, and instead of a quadrangular one has a triangular or generally shapeless hole, it will be difficult to pick up a screwdriver for it;
- the base into which the fasteners are screwed underwent deformation: the wood could swell from moisture, and the metal flattened under pressure - then the thread is tightly clamped, and the frame will not just release the bolt;
- the connected parts are displaced relative to their original position - this is especially true in the case of large products that simply cannot be re-aligned as expected, and in the meantime, heavy parts create an increased load on the self-tapping screw.
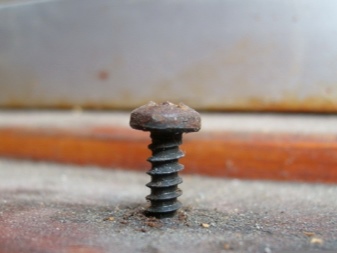
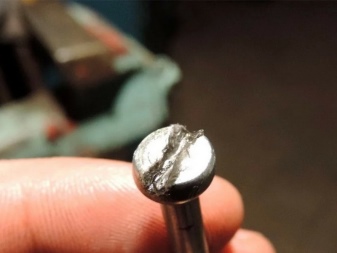
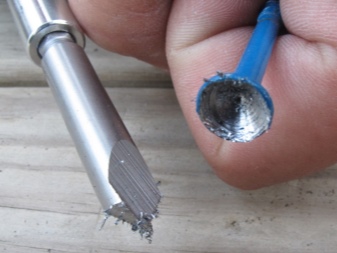
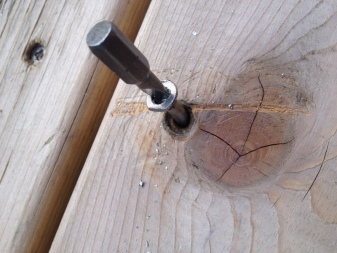
Be prepared for the fact that in most cases the trouble does not come the same - the same a rusty screw is dangerous both by sticking and breaking the cross. Worst of all, if the mount is also placed in a hard-to-reach place that you can't really get to.
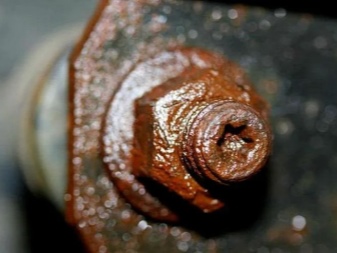
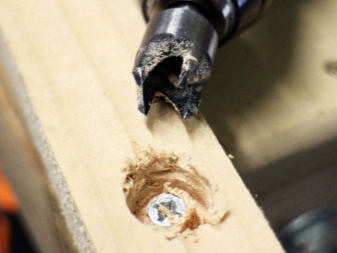
Many home craftsmen in such cases simply give up, but in fact, there is almost always a solution.
Ways to unscrew different screws
This may seem ridiculous to some, but sometimes the problem lies not so much in the screw as in the lack of proper experience of the one who is trying to be a master. Therefore, to begin with, let's clarify that most fasteners in the modern world have right-hand thread, which means that they need to be unscrewed counterclockwise. We will also clarify separately for those who think that his experience is relevant always and everywhere - it is most of the bolts that are unscrewed counterclockwise, but not absolutely all, therefore, in case of a problem, it is worth changing tactics and trying to unscrew the screw by rotating the tool in the other direction. Please note that you should not be overzealous under any circumstances - if the thread or head is loosened, you can make it even worse with your zeal.
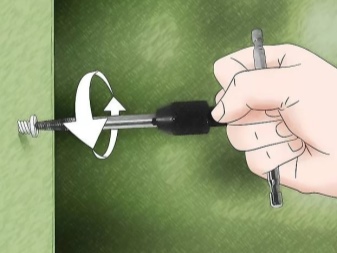
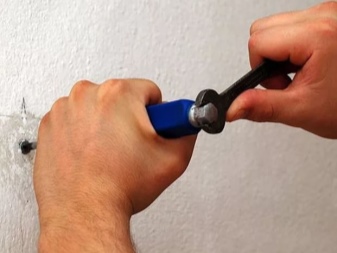
At the same time, there are several generally accepted recommendations on how to unscrew the fasteners in a given situation. Do not use force - use the mind, and then everything will work out!
Unscrewing
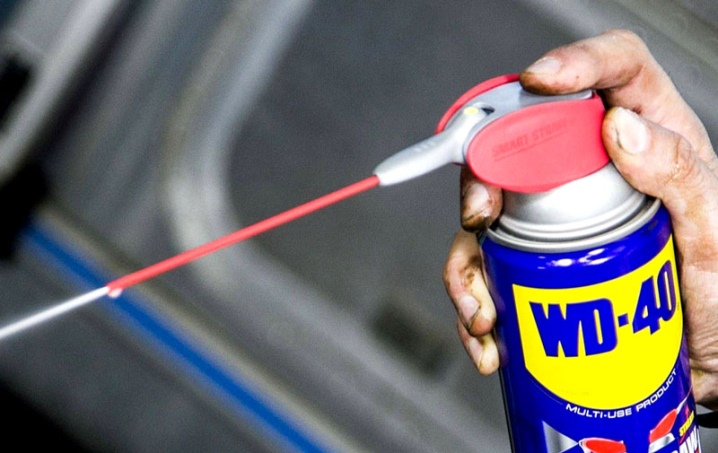
In many cases, the problem is precisely that the bolt stuck to the base, clings to it, and you are trying to unwind it, as it should be, neatly, effortlessly. If friction is clearly interfering with the process, it is logical to assume that lubrication would solve the issue - this method also works with fasteners. There are liquids that have the ability to flow into the narrowest cracks and spaces - these include, for example, kerosene or WD-40. Both are capable of providing the effect you are seeking - it will be easier to unscrew the fasteners, you do not have to make risky strong movements that threaten the integrity of the cap.
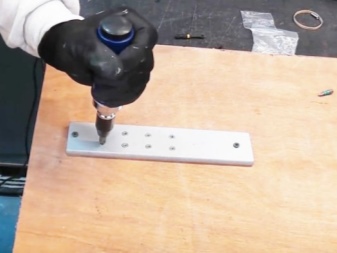
It is also worth remembering that in the case of sticking, sometimes just a little bit to move the "frozen" self-tapping screw, so that things go sharply. With the screwdriver in place, try tapping lightly from side to side. It is important not to overdo it, so as not to rip off the cross on the cap, therefore, after two or three light blows, you can already check whether the desired effect has appeared.
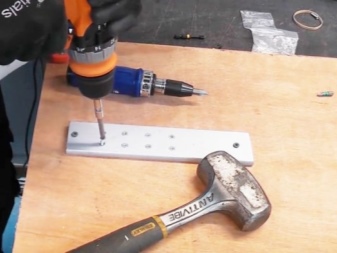
If tapping on the screwdriver does not help, but the cap protrudes slightly above the base, you can try to knock directly on the head of the fastener. Of course, you are unlikely to hit directly on such a small target, so pry it off with a chisel and knock on it. Here you need to act even more carefully, because with one careless movement you can cut off the hat completely, and then serious problems will begin. In general, this method is suitable only if you are sure that the fastener itself is very strong, and the only problem is that it has become very attached.
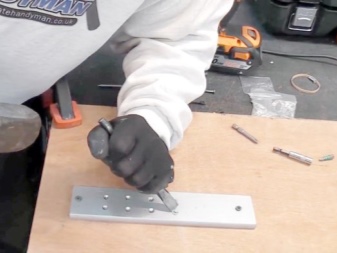
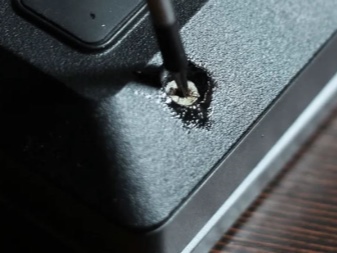
A typical problem is when there are no problems with the hardware itself or its thread, just structurally, the fasteners are located so deeply in the funnel that it is not possible to get to it with improvised means. This often happens in laptops and other equipment, if the manufacturer is so afraid of breaking the cap that he hides it almost inside the processor. In this situation a screwdriver is made independently from a long straight piece of wire - the end must be flattened to make it look like a flat screwdriver. Experts note that any cross slot can be “defeated” with a flat tip, but then it should be slightly smaller than the cross on the head.
Sawing
It also happens that the screw head is completely wiped off. - it is generally not possible to find an adequate hold for a Phillips screwdriver in it. If, at the same time, the hat itself is still more or less intact, the conclusion suggests itself - it is necessary to deal with the slots, that is cut the "marking" for the screwdriver again... As a rule, the additional cut-out slot is already made single, under a flat screwdriver, so as not to mess around for too long and less "injure" the cap. It is clear that the procedure is possible only if the head of the fastener protrudes noticeably above the surface of the case, but you still need to act very carefully. The task of the master is drill the slot at least half the depth of the cap, otherwise there is a great risk that it will be possible to break the latter rather than pull out the unfortunate screw... To achieve the goal, we will use either a grinder or a hacksaw for metal.
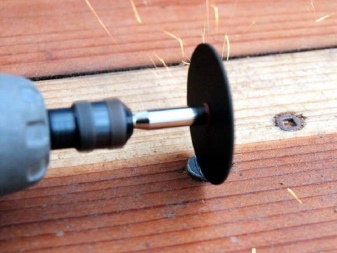
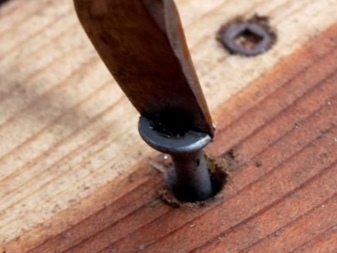
When the slot is ready, we take an ordinary flat screwdriver and try to remove the fasteners. Since we have come to sawing, it means that the situation looks quite difficult, so you can and even need to help yourself in parallel in other ways from the ones described above.
Sawing is actually relevant even if the cap is no longer at all, but then the scheme becomes a little more complicated. The emphasis will have to be “invented” from improvised means - often an ordinary nut is seen as an ideal candidate for this role. It must either be welded to the remnants of the hardware, or glued, although the second solution is suitable only if the bolt just goes easily.When the new "head" is successfully attached and is securely held, follow the procedure already described above - drill the slot and work with a screwdriver.
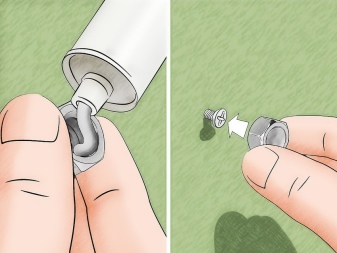
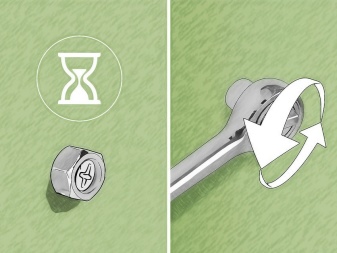
Cutting
Another "emergency" method, which is resorted to only when there is no other way. This option is suitable for solving all kinds of problems, including a torn cross or even a completely missing head, as well as a scrolling screw or lack of a suitable screwdriver.... Another thing is that the proposed procedure is quite complicated technically and requires the availability of appropriate equipment.
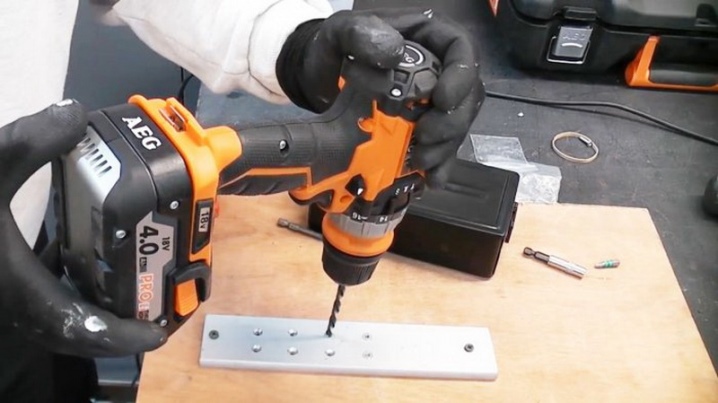
The meaning of the task is as follows: since we do not have adequate stop points in the form of a head and an internal thread, it means that it must be created not outside the hardware, but inside it. Of course, the method is only suitable for fairly large fasteners, because the craftsman needs to find a drill with a smaller diameter than the threaded part of the stuck screw. This drill makes a left-hand thread in the bolt (the opposite of the failed unscrewing) and allows you to try to unscrew it in the other direction. It should be noted right away that this trick can be cranked with most fasteners, especially Chinese ones, but there will be a problem with self-tapping screws - they are almost always hardened, drilling them will become real flour.
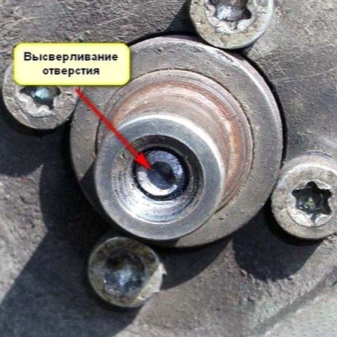
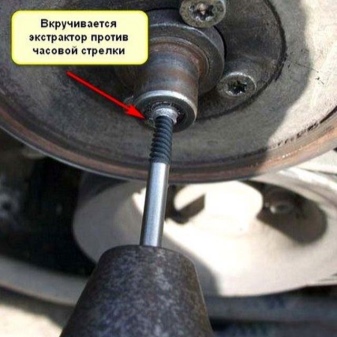
If it was possible to cut the internal thread, the product can be turned off using conical extractors.
Recommendations
In many cases, the success of the entire enterprise is determined not so much by obvious decisions and applied force as by creativity and cunning. At the same time, it is important not to outwit yourself and think in advance whether the result will become even worse. For example, if the bolt is likely to be stuck due to some deformation of the surrounding material, you can try to resolve the issue with heating the head. This is especially true for plastic products - they are made of a material that reacts fairly quickly to heat. The screw expands slightly during heating and, as it were, pushes the base that has clamped it, now a little softened.
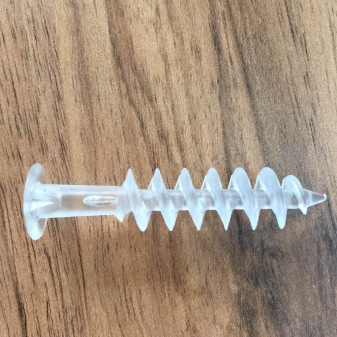
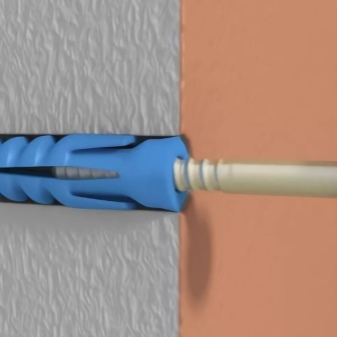
Please note that the “melted” plastic can “grab” the fasteners even more tightly, so the latter should be unscrewed while still noticeably warm. The difficulty here is to correctly calculate the heating and in no case overdo it, since the plastic base for the screw is the most typical for technology, and excessive overheating of the plastic case can lead not only to noticeable deformation of the product, but also to disruption of its functions.
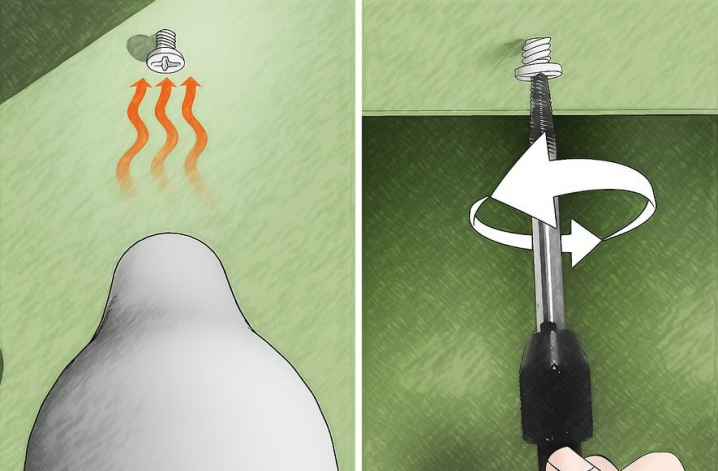
A similar situation with heating is especially relevant if the manufacturer, immediately before screwing in the bolt, smeared its thread with paint - this is often done so that the fastening is reliable, completely forgetting that there may be a need for untwisting. In this case, heating is required quite strong - a soldering iron with a thin tip is used for it. At the same time, with this approach, the hardware not only should not be directly screwed into the plastic base - there should not be any plastic next to it at all! Remember also that as a result of heating, the bolt itself also became a little less durable, and any excessive efforts may well end in the breaking of the thread or head.
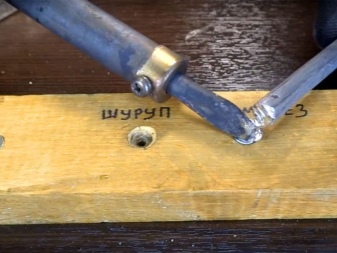
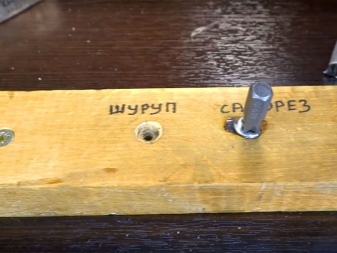
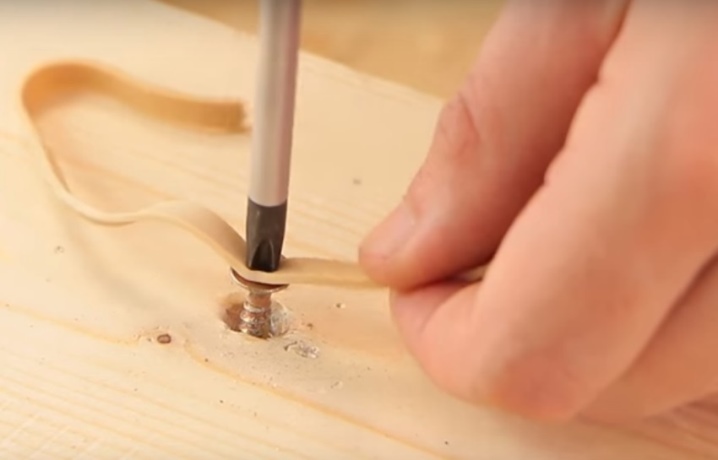
If the cross on the head has worn out so much that it no longer lends itself to an adequate description in terms of geometry, try you can solve the issue with a thin rubber gasket. It must be attached to the place of the damaged cross, and then press firmly from above with a slightly smaller Phillips screwdriver. You still need to get used to this method, but the point of the trick is that the rubber does not slip, it adheres tightly to the hardware and is hammered into all its cracks, yielding to the onslaught of a screwdriver. As a result, a kind of temporary slot is formed, allowing you to unscrew the fasteners.
A similar method assumes using super glue or solder (less effective). The selected mass must be dropped into the torn slot, and then immediately insert a screwdriver there to form a new slot. The subtlety of the task lies in the fact that the tool should in no case change its position while the glue dries, otherwise you will again create unnecessary problems for yourself. It remains to wait as long as, according to the instructions (or experience), this type of glue dries, after which you can try to unscrew the mount a little.
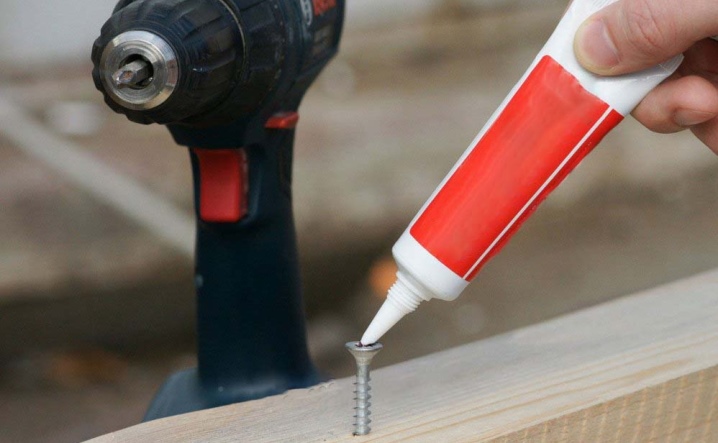
If you see that the bolt is giving in, the onslaught can be gradually increased.
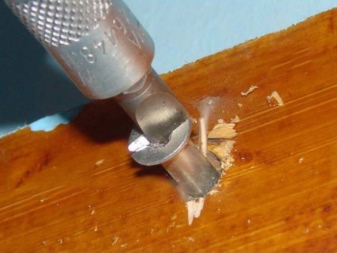
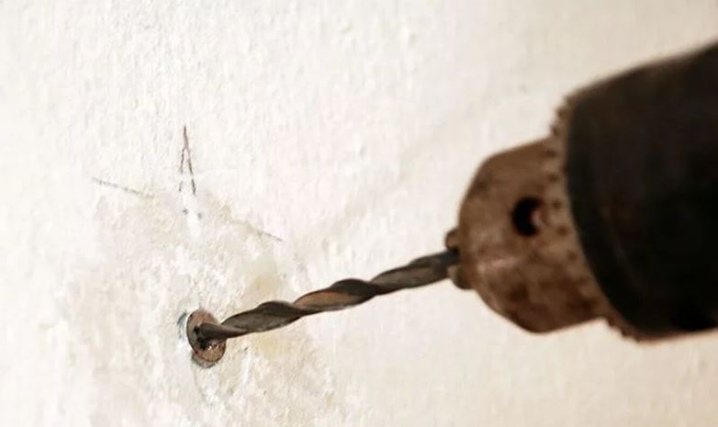
If you are sure that you have spare fasteners of the same size, but cannot remove the stuck old copy, you can use the method that is often used in equipment repair shops to extract small fasteners. First you need to choose a drill, whose diameter is exactly equal to the diameter of the hardware head. After that, the cap is drilled out with extreme caution, doing everything possible so as not to touch either the surrounding plastic or the lower, threaded part of the mount. As a result, it does not interfere with removing the cover after all the other bolts have been unscrewed. After removing the cover, it will appear that the threaded part now protrudes slightly above the inner part. Next, you need to carefully pick up the piece with pliers and unscrew it - this time the displacement of the fragments to be connected will no longer interfere with it, and it is not screwed in at all so deep as to strongly resist. Accordingly, during assembly, the finally disassembled bolt is replaced with a new one.
For information on how to unscrew any bolt, see the next video.


The comment was sent successfully.