Wall decoration with gypsum plaster: pros and cons
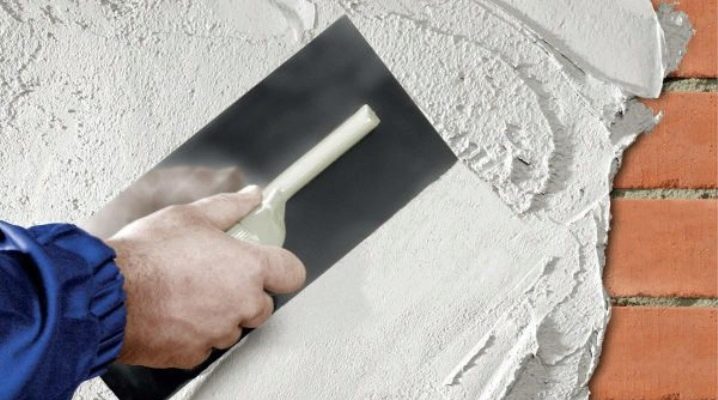
Plastering walls with a gypsum composition has found wide application in eliminating surface irregularities for the purpose of further painting or wallpapering. Such a composition is environmentally friendly, does not cause allergies, has no odor, is quite easy to use, is economically consumed, is not afraid of fire, has heat-insulating and noise-suppressing properties.
The indisputable advantages also include the ability to maintain a constant microclimate in the room, since gypsum quickly absorbs excess moisture when it appears, and then also easily gives it up when the air becomes excessively dry.
Also, the surface, pre-treated with gypsum mortar, is not afraid of driving in nails and screwing in the weight.
Most often, walls, ceilings and partitions of residential premises, as well as offices and other buildings of a similar purpose, are trimmed with gypsum composition. It is not recommended to use it for leveling walls in bathrooms and laundries, where high levels of air humidity are present all the time. For these purposes, a moisture-resistant dry plaster mixture is better suited. It is also undesirable to use plaster mortar for leveling walls in unheated rooms and on open street facades.
Gypsum plaster is applied to a wide variety of substrates - concrete, foam concrete, brickwork, cement-sand and other surfaces. The only condition is that the material is not susceptible to moisture.
Please note that if the surface to be coated has serious damage, you must first seal it with cement, since the gypsum coating is applied in a thin layer and will not be able to hide cosmetic defects.
Gypsum plaster is highly plastic and therefore makes it possible to create fillets on the ceiling area.
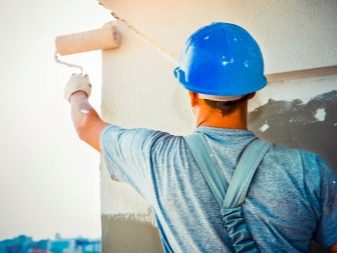
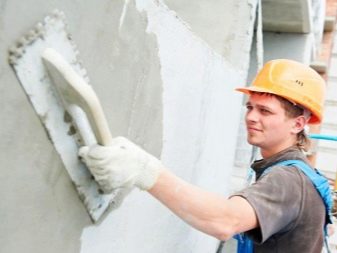
Wall decoration with gypsum plaster, due to the characteristics of the material, has certain nuances, which will be discussed in detail below.
Peculiarities
Taking into account the technology and observing all the recommendations of the instructions for use, even an inexperienced person in plastering will cope with leveling the walls on their own.
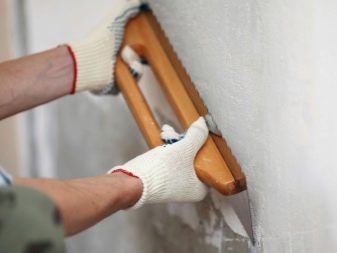
First of all, you need to prepare the work surface., namely, clean it from dust and possible contamination and pre-prime it. This manipulation will provide better adhesion and tighter adhesion of the treated surface with the composition. Before applying the composition, determine the desired thickness of the plaster layer: the thinner it is, the more liquid the composition should be. Spread the composition along the wall with a thin spatula, and for leveling use the rule - a long, even strip 1.5-3 m long.
In the case of plaster application in several layers, before proceeding to the next one, allow the previous one to dry properly - this will take at least 3 hours. Spread and level the first layer, moving horizontally, the second layer - on the contrary, vertically.
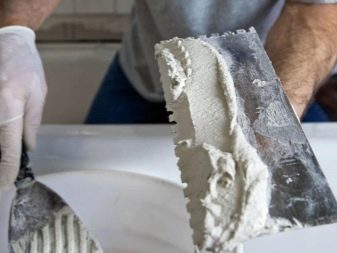
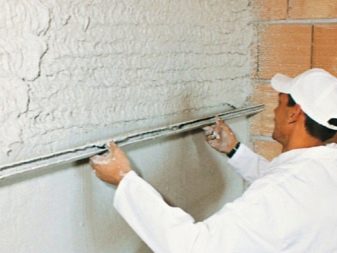
Gypsum plaster does not form cracks, therefore, surfaces treated with it provide ample opportunities for decorative processing. For work with concrete bases, a gypsum mixture with priming materials is used.
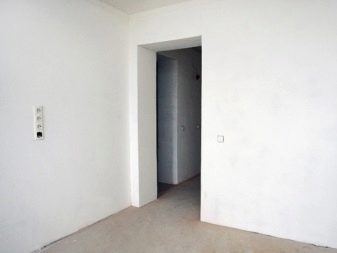
As the application proceeds, the plaster spreads evenly, and then acquires a perfect smoothness.It takes at least 5 days for the coating to dry completely, after which the surface is ready for final finishing.
Types and design
For a long time, plaster has been used as a base and as a leveling component. Currently, its decorative varieties are widespread, which can easily compete with wallpaper in popularity. It is easy to combine it with other types of finishes and, as a result, to bring to life the most daring design ideas. It can be smooth or textured.
Decorative plaster can be divided into types according to the binding agent:
Acrylic elastic, perfectly applied to a wide variety of surfaces, suitable for creating decorative elements and patterns with a roller or spatula. Available on the market as a ready-to-use mixture. If desired, you can add the desired dye to it. Suitable for work in bathrooms and kitchens. To apply plaster to the base, special installations can be used, which is usually done with a large amount of work. Please note that in order to obtain a uniform shade and equal texture, it is necessary to constantly stir the composition so that it does not lose its uniformity, and, if possible, do not interrupt work for longer than half an hour. The resulting surface can be cleaned using mild detergents.
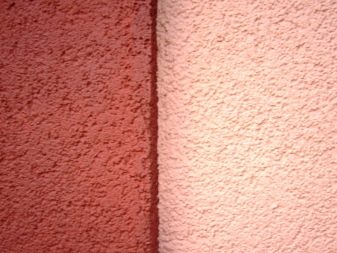
Mineral. It uses cement as a binder. This formulation is sold in powder form. Of the positive aspects, one can single out its strength, resistance to mechanical damage, good soundproofing properties. Allows painting or varnishing.
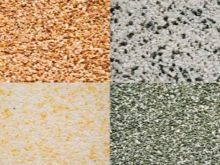
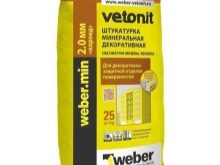
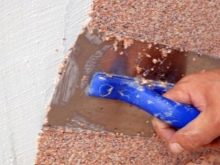
- Silicone produced on the basis of synthetic resin. Plastic, easy to apply, upon completion of drying, forms a water-repellent film on the surface, which allows it to cover surfaces in the bathroom. Long-lasting, not afraid of mold and mildew. It is used exclusively for decorative purposes and does not require preliminary preparation of the surface for application, since it perfectly levels the walls. The price category of such plaster is slightly higher than that of the previous types. It is sold in containers of various sizes, which is extremely convenient for creating a unique interior design during the final finishing work.
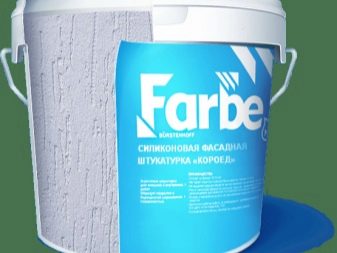
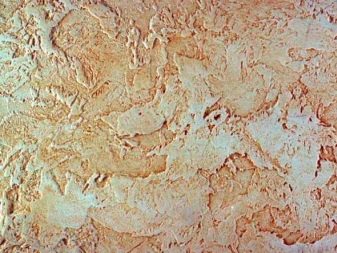
- Silicate - manufactured using liquid glass. It is the most durable and durable type of coating, it prevents walls from rotting and the appearance of mold, therefore it is more often used for external decoration of facades, although sometimes it is used for indoor work. Does not suffer from temperature and wind changes. It comes in white or it can be colored. Ideal for porous substrates such as aerated concrete.
Careful preliminary preparation is required for working with other surfaces. Also, one of the disadvantages is to point out a possible change in the color of the coating under the influence of direct sunlight.
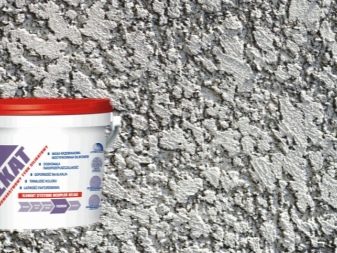
In appearance, gypsum plaster is divided into the following types:
Structural - with the addition of marble chips or quartz, it looks like a non-uniform granular surface. Highly breathable and moisture resistant.
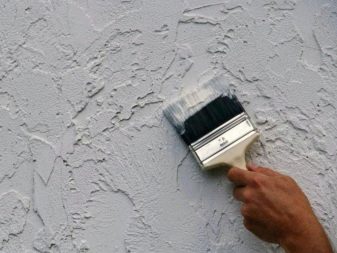
Textured - demonstrates high adhesion to brick, wood and simply smooth plastered surfaces. Easily creates an imitation of wood, fabric or stone, it is possible to paint the composition in different colors. This type of plaster perfectly masks irregularities.
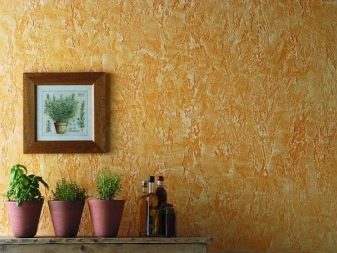
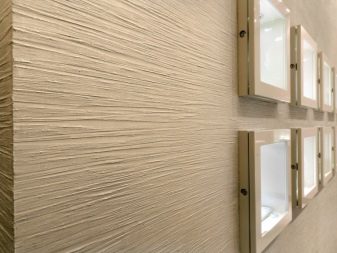
Venetian - imitates marble or onyx, is often used in interior decor in a classic style. The application of such a plaster requires careful preparation of the walls, including reinforcement, putty and primer. Then the paint is applied with a rubber spatula. Each smear requires careful drying. Can be matte or glossy.
Flock is a new development containing acrylic flakes in the composition.Creates an imitation of suede or velor, is widely used for finishing ceilings and columns.
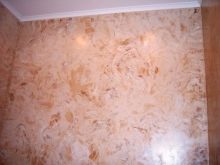
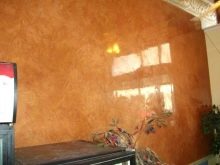
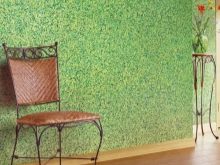
I would like to briefly highlight the currently most popular types of finishes:
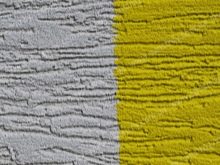
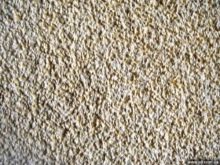
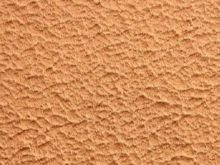
"Bark beetle" - contains mineral granules, which, when applied, imitate a pattern similar to the path of a wood beetle. It is used only for finishing work, it fits perfectly on plasterboard, brick and concrete substrates.
"Lamb" - contains mineral chips. As a rule, it is used for facade work, it fits perfectly on any kind of surface, previously cleaned of dirt and primed. After drying, painting in any desired color is possible.
"Fur coat" - has been ranked first in popularity for a long time. Stir the composition thoroughly before starting work, since decorative elements tend to settle to the bottom of the container over time.
How to mix the composition?
The recipe for the solution is extremely simple:
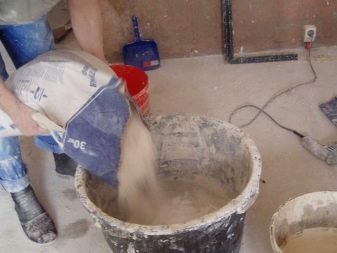
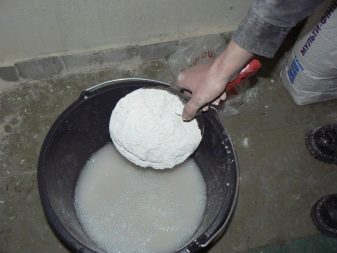
In a deep trough or bucket, clean water is collected at the rate of 0.5-0.7 liters per 1 kg of powder.
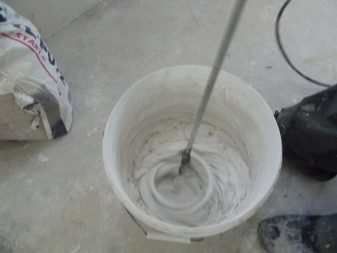
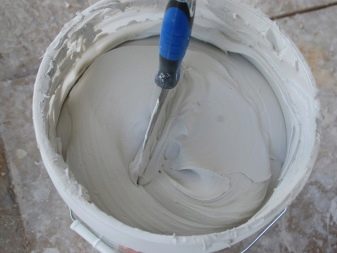
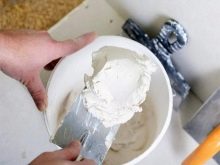
The mixture is poured into the container and thoroughly mixed using a mixer for construction work or a drill. If this technique is not available, the solution is mixed by hand until smooth.
Then the mixture is allowed to stand for 5 minutes, kneaded again, after which it is completely ready for use.
Compared to cement, gypsum mixture hardens very quickly, keep this in mind, this is an irreversible process and cannot be slowed down.
Tips & Tricks
When carrying out work, pay attention to the following nuances:
Gypsum plaster hardens very quickly, so it takes no more than half an hour to apply it to the surface.
After hardening, the composition is unsuitable for work. It is unacceptable to try again to dilute it with water or add new components to slow down the curing process.
In the room where the work is carried out, there must be dry air and the temperature should not be lower than +5 and not higher than +25 degrees.
Make sure there are no drafts, otherwise the work result may be damaged.
Before plastering, make sure that all necessary wires (eg electrical or alarm related) have been routed.
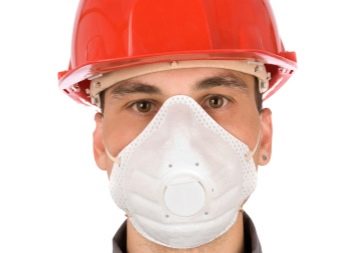
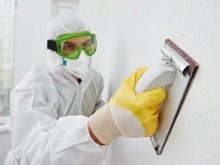
Remember that plaster is irritating to the respiratory organs - it makes sense to protect yourself if you are doing the work yourself.

If there are aluminum or steel parts in the walls, dismantle them or treat them with an anti-corrosion agent, as gypsum tends to oxidize metal objects.
At the end of the work, make sure that there are no unwanted marks or stains on the plastered surface. If found, remove them with a special degreaser or steam.
It is better to re-inspect the surface, ready for final finishing, in good light.
Take your choice of mixture seriously. It is better to give preference to brands that have long been known on the market and have good reviews from customers.
When mixing, it is allowed to use a construction mixer for faster and more uniform preparation of the mixture.
Do not forget to carefully study the base and prepare it for work - concrete and wooden walls must be primed in different ways before plastering.
Subtleties of application
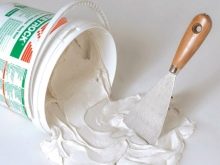
Before starting work, it is necessary to prepare to cover the floor with a protective film in order to avoid getting the composition on it. Carefully read the instructions for use of the powder you are going to work with.
Before diluting the gypsum mixture, you need to prepare the work surface so that it is as clean and dry as possible.
It would be correct to do this in several stages:
pieces of concrete are chipped off, which do not adhere well to the surface of the base;
tap the wall - if a dull sound is heard, the concrete has become loose, it also needs to be knocked down;
cracks and cavities are cleaned out and filled with cement;
dry surfaces are polished with a steel brush;
dust from the walls can be brushed off with a soft brush or removed with a vacuum cleaner;
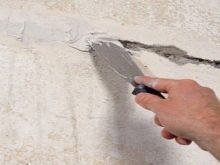
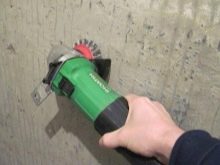
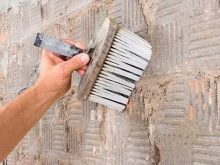
the gypsum coating will not adhere to the oil paint, so the latter must be removed with a special drill bit, the surface of the stain must be sanded with a hard steel brush or wiped off with a solvent, and then a layer of gypsum composition must be applied;
for the pretreatment of basalt and granite walls, specialized compositions are used that are applied to the surface in the form of an aerosol. After a period of time, the solidified mass is removed from the surface in the form of a film that has absorbed all the contaminants, after which the walls are primed with an acrylic primer - it is important not to allow air to drip from the walls and form air bubbles;
in order to improve the adhesion of the base and the coating, a primer is used; for concrete walls, the "Concrete-contact" tool is suitable;
walls made of bricks and blocks are treated with soil that has deep penetration characteristics to reduce their hygroscopicity. Also use specialized products before working with a wooden base.
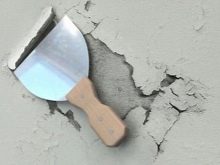
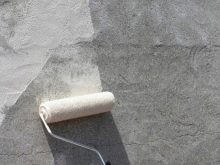
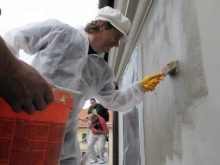
Plastering of walls is carried out with the help of beacons or without their use, as well as with the installation of a reinforced mesh or without it.
Work without a lighthouse is carried out when you need to slightly trim the wall in a plane or create an external decorative layer. This is often done by hand. Using the rule, irregularities on the ceiling and walls are determined - the tool is pressed in different places, thereby indicating the area of work. A plaster composition is applied to these areas and smeared over the surface. Further, using the rule, the presence of a gap between the tool and the treated surface is determined.
If the tool fits snugly, the same algorithm is worked out in the next section. All planned areas are processed in the same way. The approximate thickness of the layer will be 2-3 mm, after the composition has dried and its surface is sanded, you can proceed to the decorative finishing of the base.
Working with lighthouses is appropriate when working with large areas of the base, when machine plastering cannot be carried out. Specialized metal profiles, fishing line or thin cables are used as beacons.
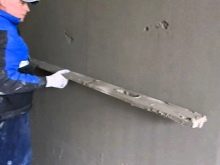
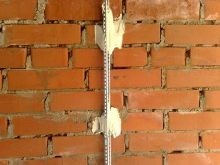
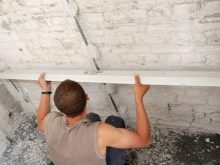
The technology is as follows: beacons are leveled, trying to keep the plaster layer as thin as possible. Using a level, create a markup for installing beacons. Apply a little mortar to the indicated places and attach the beacons, be sure to check the level. Please note that the distance between them should be between 30 and 50 cm - small gaps guarantee an easier procedure. Try to keep the step between them no more than the length of the building rule. Further, with an eye on the beacons, the composition is applied to the base and distributed, the excess is removed.
To carry out this manipulation, a rule is also used. After the layer of plaster dries a little, its surface must be leveled with a cutter. Keep in mind that you need to start this stage at least half an hour after the end of the work.
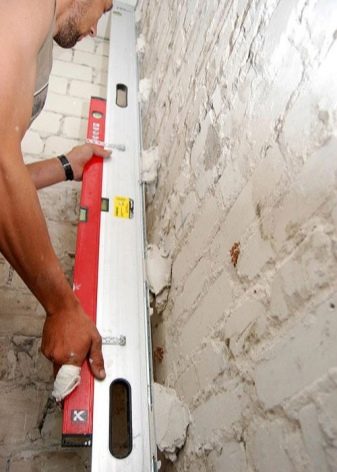
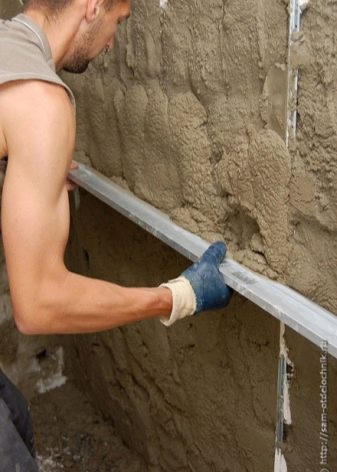
After two hours, the surface can be trowelled. To do this, spray water with a spray bottle and allow moisture to be absorbed into the upper layer of the gypsum composition. When the plastered surface becomes matte again, using a special brush, the moistened top layer is rubbed over the entire wall, filling in the slightest irregularities and making the surface flawlessly smooth. Then the surface is again well ironed with a specialized trowel.
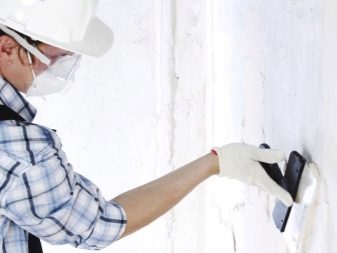
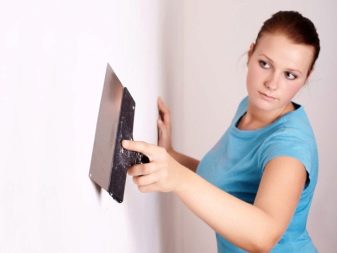
If you need to give the plaster a glossy shine, after a day it is again moistened with water and quickly rubbed with a spatula until the desired effect is achieved.It is highly advisable to get the metal profiles after the work is over, and the remaining pits can be easily repaired with a small portion of the solution, but if it has come to an end, you can always dilute an additional amount.
Beacons can rust over time and ugly spots will appear on the surface, thereby disrupting its appearance. If the metal profiles are not bent or damaged, they can be used next time. The only time the profiles can be left under a layer of gypsum plaster is if you want to lay the tiles on top of the plaster base.
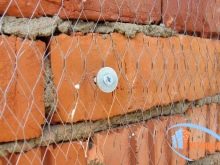
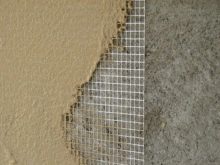
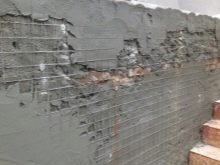
Reinforced mesh is used when it is necessary to plaster walls of insufficient strength or in the case when the layer of plaster must exceed 2 cm. In most cases, if the walls are smooth enough, they are treated with a layer of primer. Plasterboard or aerated concrete bases are primed in several layers.
How long does it dry?
As mentioned above, the solution sets very quickly - depending on the characteristics of the mixture, the setting time varies from 45 minutes to 1.5 hours. The maximum setting time is demonstrated by mixtures for hardware application - they harden in two hours.
To increase the service life and reliability of the plaster layer, it is necessary to allow the layers to dry properly. The second layer is applied only after the first one has completely dried.
When the work is over, the surfaces are allowed to dry for 5-7 days, then the plastered walls can be sanded and prepared for decorative finishing work.
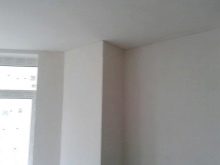
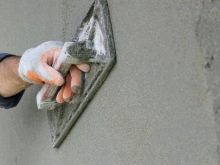
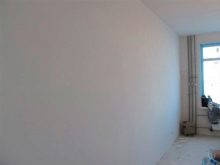
The process of decorating walls with gypsum plaster, see below.


The comment was sent successfully.