Electronic calipers: features, how to choose and use?

Along with a micrometer, bore gauge and other instruments for more accurate measurements, a caliper is also used. This is not just a ruler, but a more accurate tool than it, measuring the distances between the edges of parts with an accuracy of 0.1 mm.

Features and purpose
A caliper allows you to more accurately determine the outer and inner diameters of gaps and holes, the length and depth of parts in various projections. A special purpose caliper also allows you to measure the distance in grooves, small-diameter holes, the distance in the part machined in a certain way, the distance between the axes, the thickness of the pipe walls, etc.
The classic caliper can be modified and improved with the help of additional scales and elements of its design, allowing to expand the scope and scope of its application.

In its simplest form, the main part consists of a fixed base with a left-hand jaw. The right one moves together with a movable guide - a rod, and is rigidly connected to it. This pair of jaws is used for external measurements. The second pair has incisors turned 180 degrees and moves similarly to the first pair and serves to measure internal diameters and distances. There is a second scale on the bar, which helps to more accurately measure the desired distance. At the end of the ruler there is a depth gauge that allows you to read the distance for the depth of the holes. To fix the readings taken from the part or hole, so that the rod does not move, a holding screw with a handle is provided.
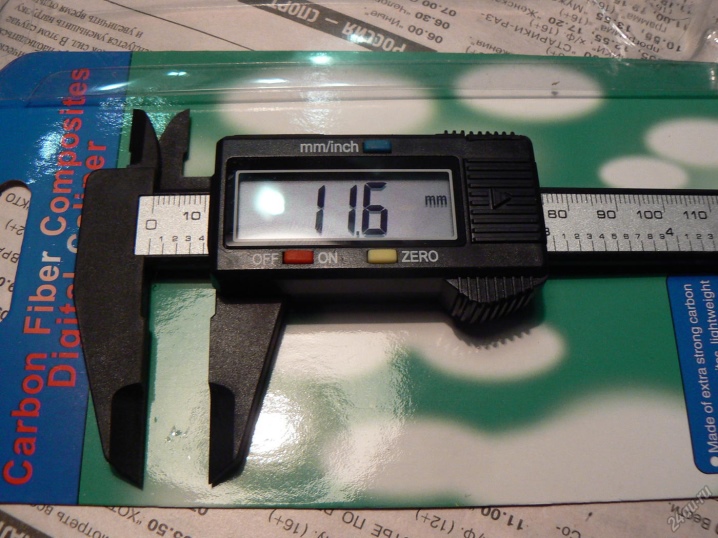
But an obligatory attribute of a digital caliper is a digital module with a display.
The sensor for the rotation of the roller rolling along the bar is located inside - it counts on it how far the moving part has moved, and is guided by the main scale.
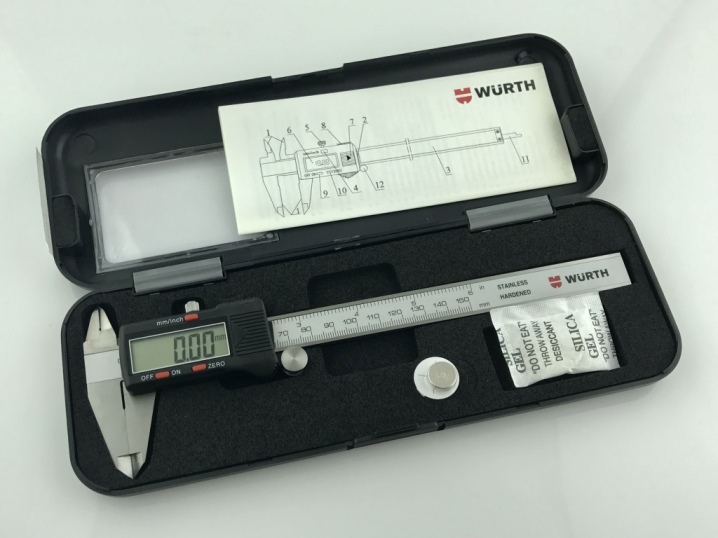
The accuracy of the digital caliper is up to 0.01 mm, which brings it closer to an analog micrometer. A mechanical micrometer also has an accuracy of up to 10 microns, but in that the measuring range is limited to 2.5-10 cm, and for a caliper, this limiting distance is much greater - 15-130 cm. An electronic caliper is, in fact, a simple microcomputer with a processor, ADC, RAM.
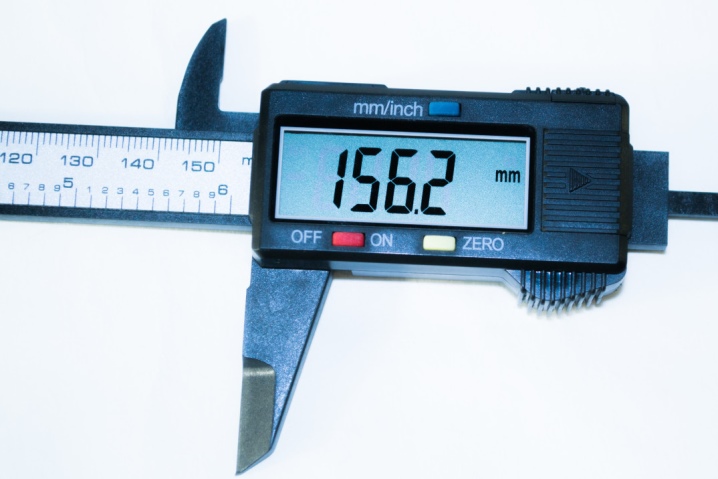
If a purely mechanical (analog) caliper does not have special requirements for error (“as much as I saw, I noted as much”), then in a digital one, according to GOST and international standards, the error should not be more than 10% of the graduation price.
If you come across a high-precision caliper, whose accuracy is close to micrometric (0.01 mm), then its error should be one micron. If there is a significant deviation from this indicator, the caliper after the product leaves the conveyor is given for re-verification or rejected.
The scope of the caliper is metalworking production, auto industry and car service, repair of all kinds of equipment and products, construction.
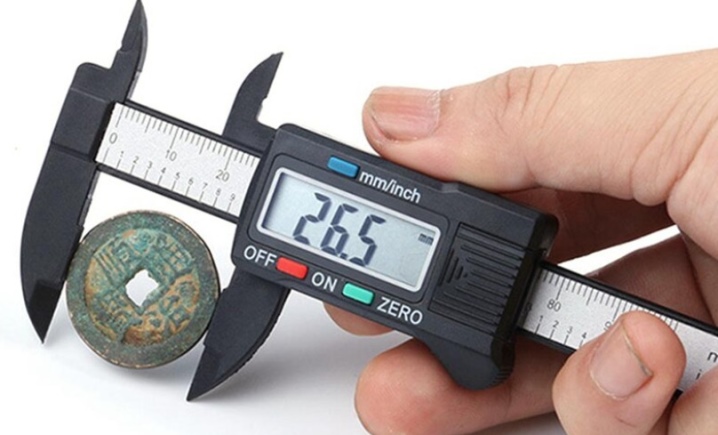
Principle of operation
The principle of operation of any caliper is based on the coincidence of the required scale marks on the stationary and retractable parts. But a digital device has its own characteristics. It uses a capacitive matrix with an encoder. Simply put, in the circuit, a pair of simple capacitors works, connected one through the other, and the top plate of each of them is a common terminal. To create a capacitive combination, several capacitor plates are used.

Such a system has a sensitive response to sensor movement. The rotating part in this system is the slider. The fixed part is placed in a steel ruler. The digital block with a slider is fixed on the moving part of the caliper. When sliding the jaws of the caliper, not only the movable part moves, but the slider rotates, pulling it in the right direction.

A long-term memory chip, or ROM, contains a microprogram that is loaded into the processor each time the digital module is turned on and organizes its operation. It interprets the data received from the caliper sensor through the ADC into readings and displays them on the display.

Advantages and disadvantages
The benefits of a digital caliper.
- Increased accuracy and low error, which is extremely important for accurate measurements, where the slightest discrepancy in a certain part will immediately cause unstable operation in the entire mechanism or installation.
- Simplified verification (or calibration) - when it is necessary to check the operation of several calipers at once.
- The speed of perception and transmission of the received data. This is extremely important in production, where the conveyor has an inspector who determines the accuracy and accuracy of certain dimensions of the produced parts and identifies manufacturing defects. The readings of the device are given instantly - the calculation on the scales is not required here.
- Beginners do not need to learn how measurements are made - the sensor and the digital module will do everything for them.
- The ability to switch from one type of measurement to another - on multi-profile parts that have different approaches to measuring a particular gap.
- The ability to easily convert inches to centimeters and vice versa, as well as transfer data using the built-in interface for external communication with PCs and mobile devices.
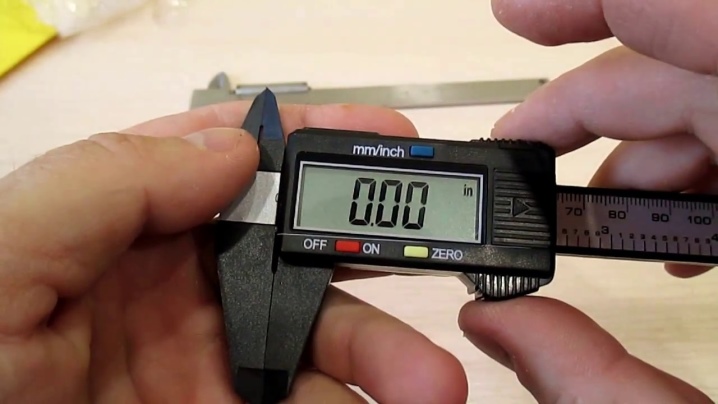
Disadvantages of an electronic device.
- The presence of a battery - forgetting to replace it in time, you will be faced with the need to make measurements "the old fashioned way".
- Sensitivity to high humidity, shock, shock, and vibration, which can easily damage the electronic module.
- Software glitches due to strong nearby interference, static sensitivity. Hence, the inoperability of both individual functions and the entire device as a whole. The indication may disappear - most calipers do not have a backlight, and it is impossible to guess that the device is still serviceable and functional (when the display is off).
Rating of the best models
Well-known manufacturers are the following firms:
- Microtech (Ukraine);
- Intertool, Miol, UKC, Vemer and Wenzhou Sanhe Measuring Instrument (China);
- Came To, Digital (South Korea).

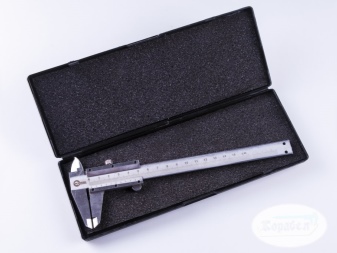


However, the best models today lined up as follows (starting with the most versatile).
- Holex 412805 150 - vernier caliper with 150 mm travel and microUSB interface for transferring data to a PC, smartphone or tablet.

- Yato today it holds the record for sales of such devices. They have a high quality of workmanship, the measurement accuracy is 25 microns. The guarantee is six months. It will measure in 1.5 milliseconds. Suitable for people with the need for high-precision measurements. This Polish model is reliable, the best in terms of everyday tasks, which include such measurements.

- Fit digital caliper - devices with an unsurpassed quality of construction and electronic module, extreme clarity and speed of work on small parts. The weak point is the plastic housing of the electronic part. Measures as quickly as the previous model, but the accuracy reaches already 10 microns. The Canadian product is perfectly combined in quality with its value and is suitable for small-scale production or at home.

- IP67 Filetta 907 series - the device provides consistently high accuracy. It is possible to measure underwater, as it is designed for immersion for up to 20 minutes. Has 300 mm of travel.

- CRIN SHTSTs-1-125 / 150 0.01 has a length of up to 250 mm, an accuracy of up to 10 microns.

- MATRIX 31611 - measurement range up to 200 mm, accuracy - as in the previous one. Equipped with a depth gauge. Increased performance (up to 1.5 ms). Works at a temperature of 5-40 degrees.

- Models ШЦЦ-1/2/3 also contain a digital reading device - their length ranges from 15 cm to 1 m, they are professional devices.

- "Ermak" MT-027 - measurement range up to 150 mm, the same accuracy - 0.01 mm.

- Qstexpress 150 - a precise device, but its quality is average, justified only in terms of price. A slight discrepancy between the scales on the carrier part and the readings on the screen. Protected from moisture, easy to use.

- Qstexpress 008 - related to the previous model, but has its own design. Plastic housing of the electronic module, accuracy - only 0.1 mm, but suitable for infrequent use. There is no locking screw. The performance is still the same - 1.5 ms.
The supporting structure of all these calipers is made of stainless steel, there is support for both measures, auto-shutdown when the user is inactive (after a minute).

How to choose?
When buying a caliper, check the accuracy, measuring range (in length), the presence of a digital gauge, a depth gauge pin and a locking screw, the integrity of the claws and the entire supporting structure as a whole.
It is not recommended to buy a caliper with a weakened or low-quality digital module housing - it will easily break, and at best, only the analog component (scale markings) will remain from the caliper.
At worst, the device can completely fail.

The body of the digital module must be made of an aluminum alloy or a high-quality composite. It should not play and creak. The bright scale can be striking if you left the instrument somewhere, but this is just a nice bonus to it. The caliper must be made by itself at least from aluminum or an alloy based on it. But the best choice is precisely the instrument made of stainless steel.

Examination
Checking a caliper is an important aspect before purchasing one. It is extremely difficult to obtain calibration technologies close to the factory ones at home. Read the data from the data sheet.

It should not contain any inaccuracies or omissions in the description of the device.
- During an external examination, the integrity and cleanliness of the "barbell" mechanism is checked. Lack of clarity in the notation, markup and movement is a sign of poor quality of performance, do not waste your time and money in this case.
- Check if the movable frame "sits" at zero in the initial position (before measurements).
- Make sure that when measuring the thickness, for example, a flat board or smartphone, the light does not pass through the line of contact. If this is not the case, the instrument must be free of dust and grains of sand, foreign particles (if found). At the same time, his lips should clearly touch, again, not letting light through the closing line.
If the selected model has passed the test and suits you in all respects, you can stop at it.

How to use?
According to the operating instructions, before starting work, clean the tool jaws from foreign particles. Hair accidentally caught between them, a lint from upholstered furniture, etc. can lead to an excess of the readings by more than the value that is equal to the declared error of the device.

Using digital calipers differs from analog calipers in some additional features.
- Use the "inches and millimeters" button to select the unit to be measured.
- If the readings at the beginning of work are not zero, press the "Reset to zero" button. Loosen the locking screw holding the moving part of the tool.
- Spread the jaws, the pointed edges of which are directed inward.
- Place the part or pipe to be measured between the jaws.
- Bring them together so that they fit snugly against the part, lightly tighten the retaining screw.
- Check, opposite to which division the pointer (line) is located. The instrument will immediately show the desired value on the display.
- If you need to calculate the difference between two parts in the same projection, click the "Reset to zero" button, loosen the locking screw and measure the same area on another similar part. The caliper will show the difference from the previously obtained value.

The resulting value will be the size of the part. If you want to measure the internal dimensions, insert another pair of jaws, the edges of which spread outward, into the hole or groove, and spread them apart, then fix the screw. They are positioned so that the values measured from the outside and from the inside are equal.
If this is not the case, the device is considered a fake caliper.

In the following video, you will learn the main differences between cheap and expensive electronic calipers.


The comment was sent successfully.