How to make a picket fence with your own hands?
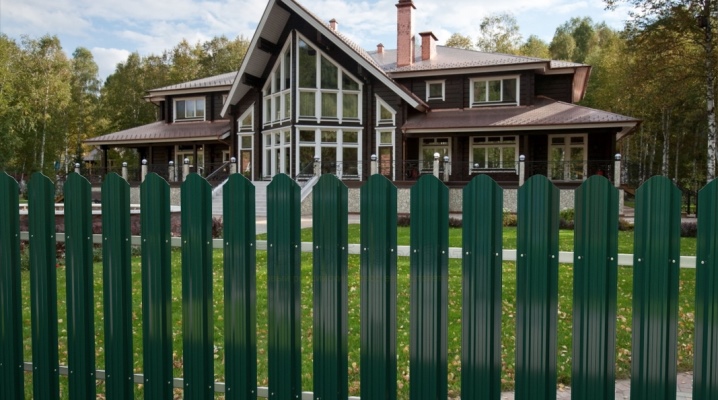
Both summer residents and owners of country houses are thinking about the possibility of making a fence from a picket fence with their own hands. Indeed, this process does not seem complicated, but some of the subtleties have to be learned already in practice. Detailed step-by-step instructions for installing a fence for a summer residence will allow you to understand what distance to make between the posts, how to choose the material, and then fix it on the frame.
Preparation
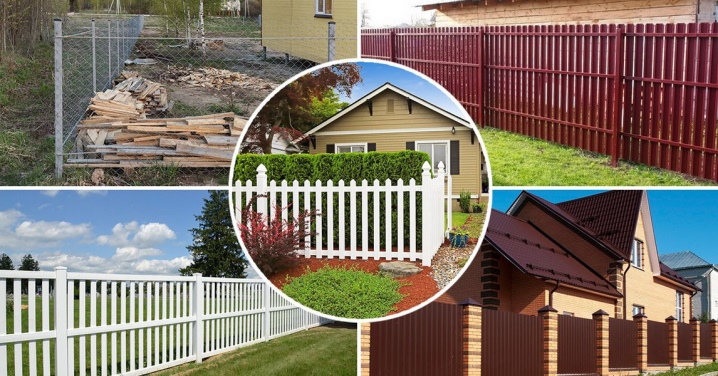
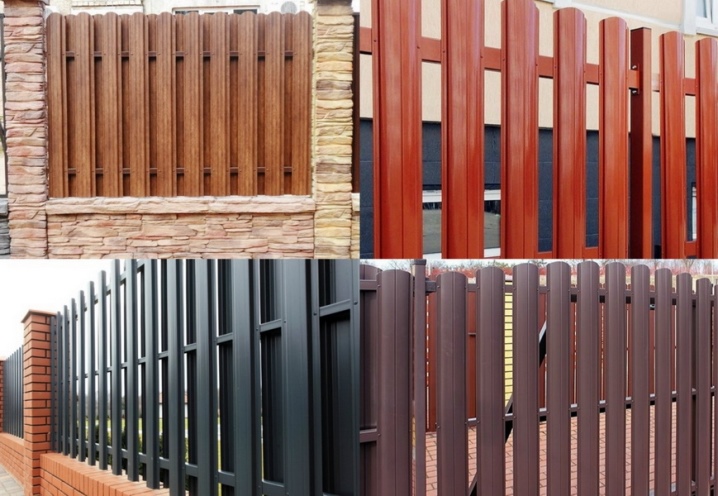
The modern picket fence bears little resemblance to its classic version. Only the method of fastening the vertical strips with a gap between them remains. For a dacha and a country house, zealous owners choose a euro shtaketnik made of galvanized and polymer-painted metal. The design device is as simple as possible, even the distance between the posts can be taken as standard using a ready-made drawing. Self-tapping screws are usually used as fasteners, the frame is assembled from a metal profile or a square pipe.
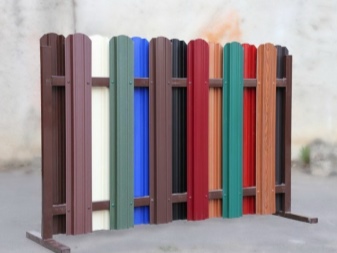
The creation of a fence from a euroshtaketnik implies the use of ready-made materials. You can choose planks with different designs, widths and thicknesses. The installation process is always preceded by preparation: you need to have the necessary tools at hand, mark the territory and decide on the materials.
Required tools
When installing a fence from a picket fence, you will need a certain set of tools. It will be different for each stage of work. It is worth considering the list of devices in more detail.
- For markup. The main tools are a trimmer or lawn mower, measuring instruments (preferably a laser level). You will also need a twine rope, which allows you to designate a place for a future fence. There is no need to level the relief. Euro shtaketnik can be mounted stepwise.

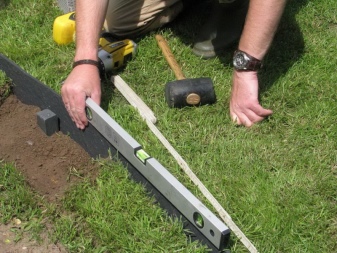
- For the installation of pillars. You will need a hand drill capable of making a hole up to 1.5 m deep, a building level to determine the correct angle at 90 degrees. Shovel and sledgehammer for fixing the support in the pit. A concrete mixer for preparing a mixture, in an area with a high level of groundwater - scrap, fittings and timber for shoveling.
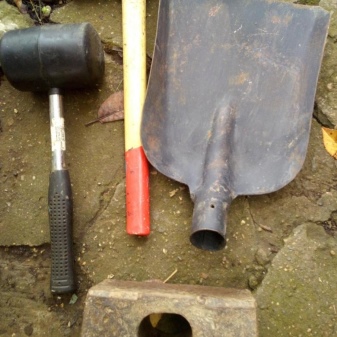
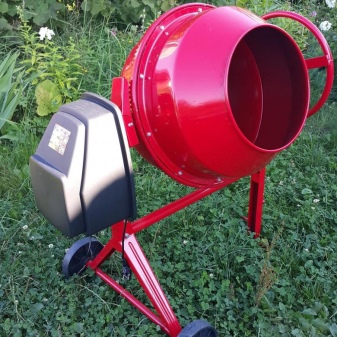
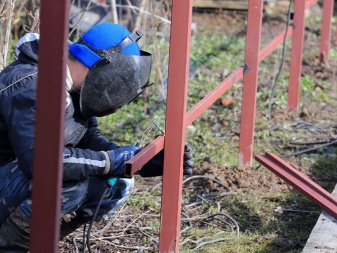
- To assemble the frame... If the fixation of horizontal lags is performed by welding, the only tool required for installation will be a special apparatus. When fixing on self-tapping screws, you will need a drill to drill holes in the metal, X-shaped brackets, roofing screws with rubber gaskets. To screw them in, you need a screwdriver.
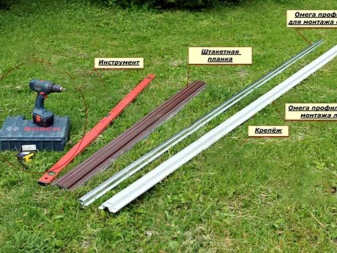
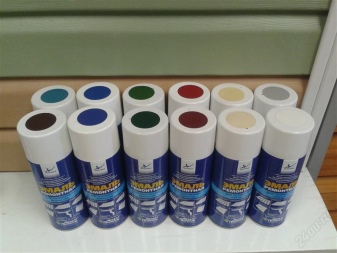
- To install sections. You will need cutting tools here - anyone will do, from a hand-held circular saw to a jigsaw, a grinder. If the material has to be cut, it is worth stocking up in advance with means for processing the edges - a primer, paint and varnish aerosols of the desired shade.
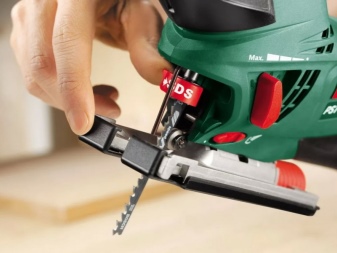
This is a basic list of tools that you may need when installing a picket fence on your site. Wooden planks are also mounted on logs, self-tapping screws can be used, but the sections themselves are usually assembled separately.
Choice of materials
The creation of a fence from a picket fence implies the possibility of forming a temporary fence for 2-3 years from wooden planks or a more durable version of metal profiled material. Depending on the budget and purpose of the fence, you can choose traditional or more interesting design options.
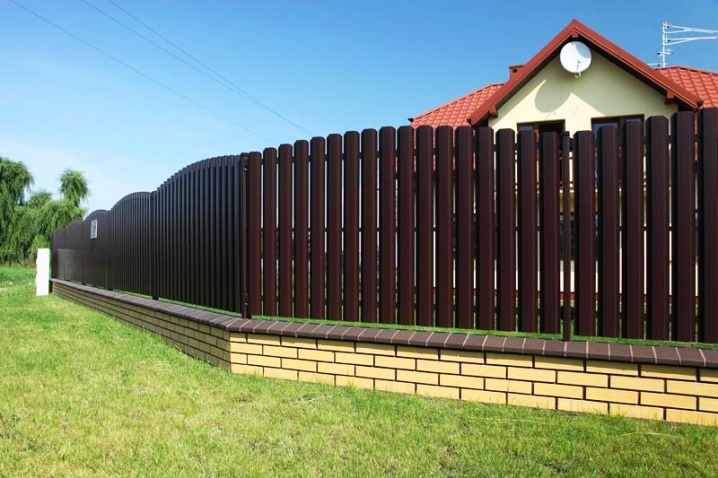
Euroshtaketnik
Fashionable euroshtaketnik - modern design solution with a lot of advantages... He is not afraid of external factors, temperature changes, high humidity. In comparison with a solid fence made of corrugated board, such a design allows many more different options for design. In addition, its windage is significantly lower, which reduces the risk of the fence falling in the event of a strong wind, normal air exchange remains on the site.
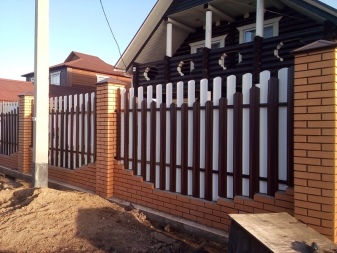
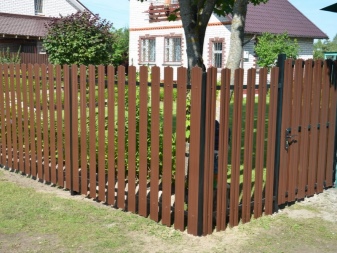
Euro shtaketnik is produced from rolled steel, obtained by hot or cold method... A polymer coating on the top provides an opportunity for weather protection. Such strips are made by cold-rolled method, their thickness does not exceed 0.7 mm. The profile can be semicircular, trapezoidal, U-shaped, M-shaped. Anti-corrosive and decorative coating is presented in a fairly diverse range of colors, you can choose options for home and summer cottages.
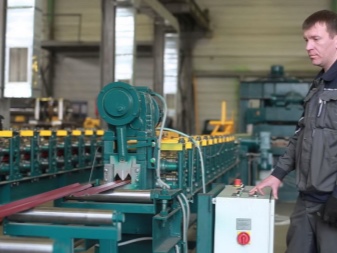
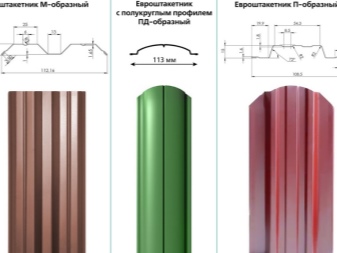
Such types of picket fence are often produced already assembled in sections to simplify their installation.
It is worth noting that the decorative design of the Euroshtaketnik is subdivided into several types. The choice can be made in favor of one of the following options.
- One-sided, from the facade. The planks are mounted with the decorative side on the street, inside, painting with a light primer is used.
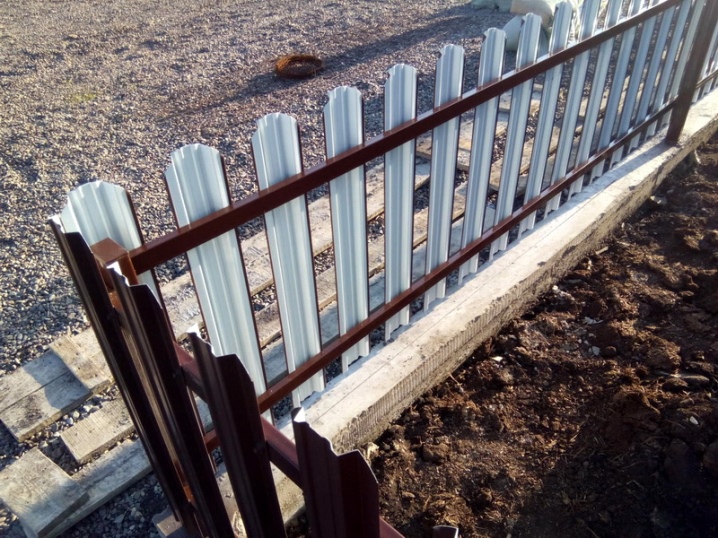
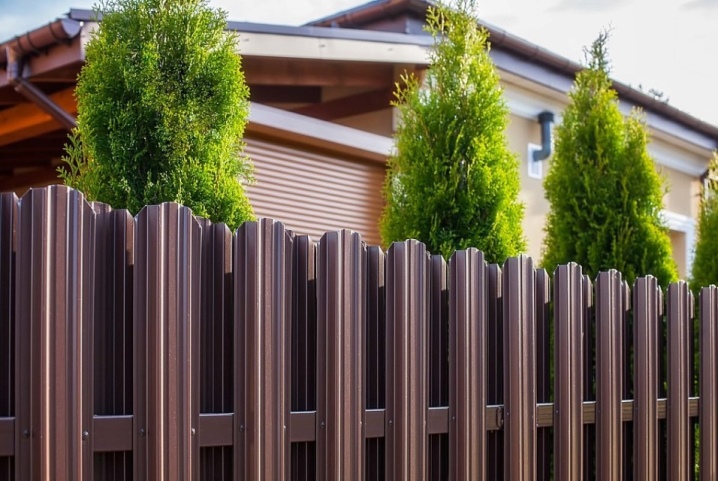
- Polymeric double-sided... The plank is uniformly colored over the entire surface. The fence turns out to be attractive from the side of the house. It is this option that is often mounted on 2 sides of the lag guides, in a checkerboard pattern, making the fence solid, but at the same time breathable.
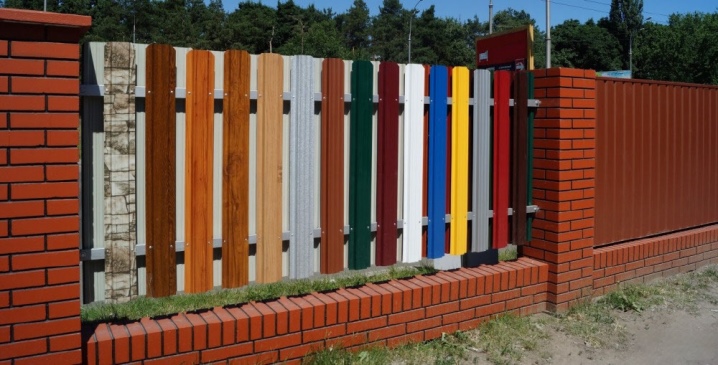
- Printed, in color. Allows you to simulate almost any material. The coating is created using a special film. If the coating is damaged, it is quite difficult to restore it. This option can simulate wood with a high degree of fidelity, while retaining all the advantages of profiled metal.
KDP
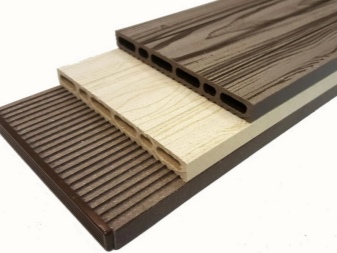
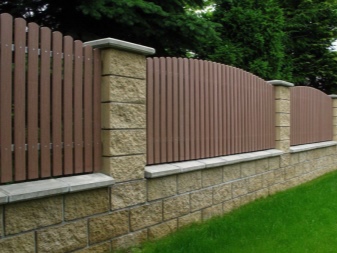
Wood-polymer picket fence - a "relative" of the terrace board, is made by molding a composite from sawdust and plastics of different types... It is considered environmentally friendly, has not too much weight, and is durable. Such a picket fence is made hollow inside, it can be given a different shape and appearance, any color. The coating retains its attractive appearance for a long time; it does not need to be painted regularly. The slats are cut with a grinder, the structure is attached to the base with self-tapping screws.
Wood
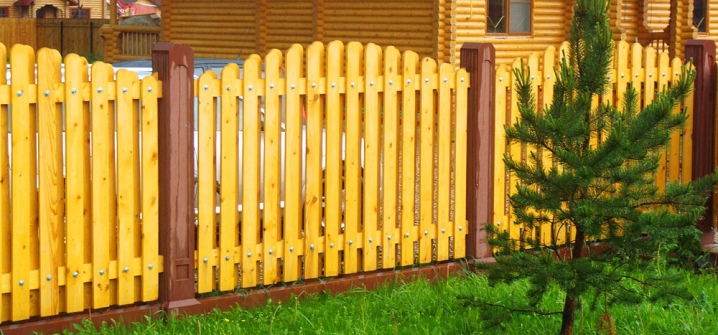
It is made of various types of slats, smooth or profiled, decorative. Such a fence can be mounted on wooden logs, painted in different colors, its elements can be easily repaired. With proper arrangement and priming, the fence will last 3 years without much hassle.
Territory marking
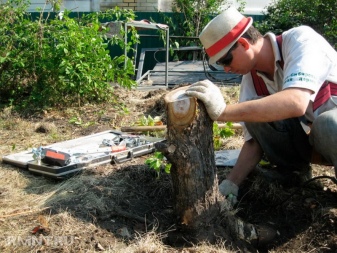
The preparation of the site for the installation of the fence is carried out at the initial stage. To clear the space for installation work, you need:
- cut down shrubs and other vegetation;
- uproot tree stumps and roots;
- remove the remnants of the old fence;
- remove the remnants of building materials;
- mow the grass.
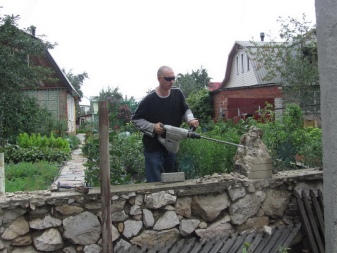
After cleaning the perimeter, you need to measure its length and draw a plan for the future fence. A rope is pulled in place, which determines the binding of the drawing to the real object. The space for the pillars is measured every 2-2.5 m of the perimeter, along its entire length. Separate marks are installed here, allowing you to further dig or drill holes with high accuracy.
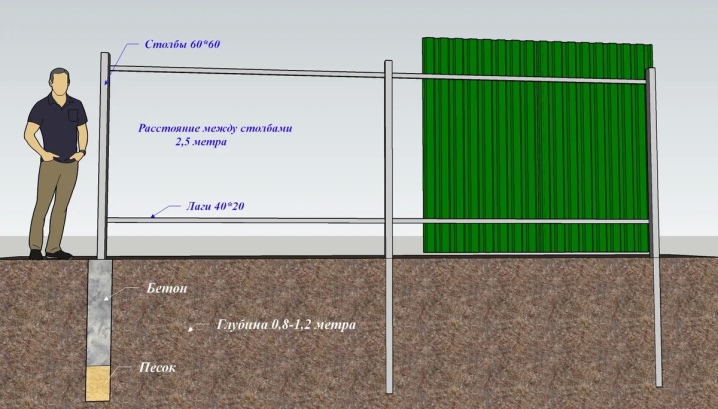
After marking, it will be clear how many sections and posts will have to be prepared.
The calculation of the number of strips is performed based on the size of the gap between them. Usually a picket fence means keeping the distance equal to the width of 1 element. That is, you just need to divide the total area by this number multiplied by 2. This will allow you to find out how much material is required for the entire fence. For a wicket, calculations are made individually if its height differs from the rest of the fence.
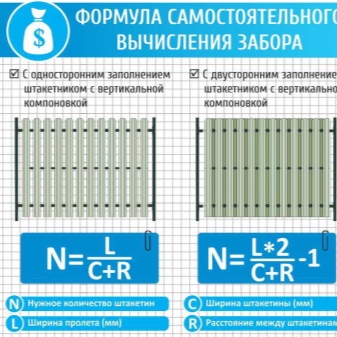
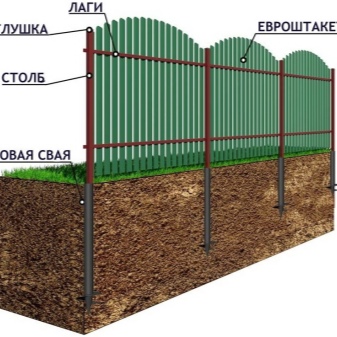
Most often, 6, 7 or 8 planks are used for 1 m, with a step of 60, 37 and 20 mm, respectively. The number of screws for fastening depends on how much lag is used. There will be 6 of them for each bar with three horizontal elements and 4 with two.

Step-by-step manufacturing instructions
To make a fence out of a Euroshtaketnik with your own hands, you need to carefully prepare everything.
Everything is important: to dig in or to concrete the pillars, to install the supports correctly, even to fasten individual planks according to the rules.
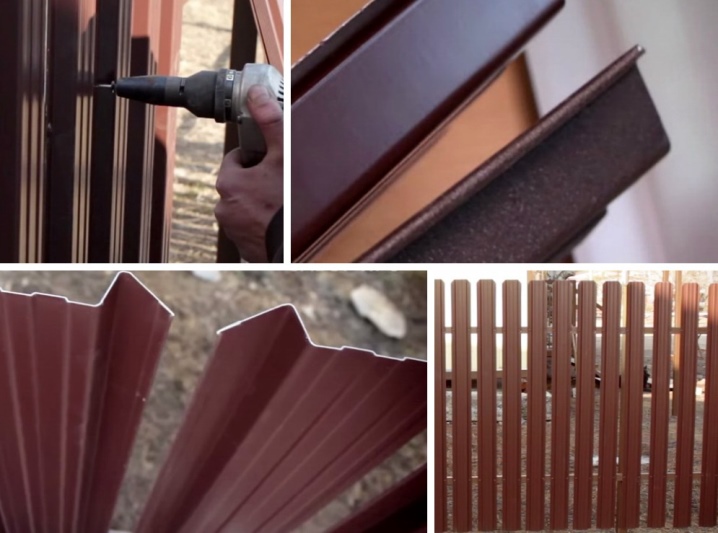
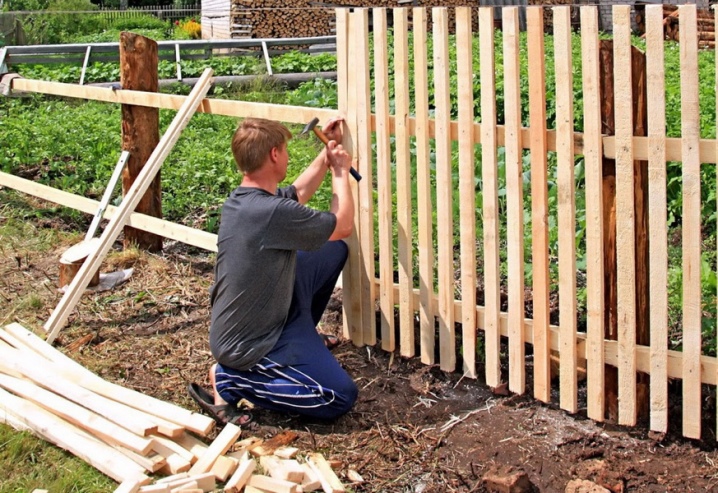
It is easier to make a fence from a wooden picket fence than from a metal one - it is enough to evenly nail all the elements to each other. It is more difficult to build a metal fence from a euro shtaketnik: it is important to follow the scheme, cut off the excess or place without trimming, maintain the gap, quickly remove the film upon completion of installation.
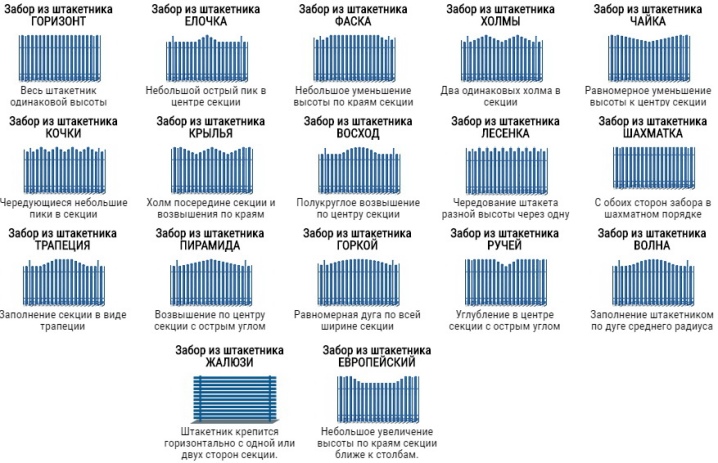
You can attach the slats in various ways.
- Vertically... Traditional or staggered. This option is quite simple in execution, it can be deaf or with a gap.
- Horizontally... Not the most typical option that fits well with country or Provence style. Here you will have to use additional logs, auxiliary vertical supports with a long span.
- A slide. The upper part of the vertical slats has different heights with alternating peaks.
- Herringbone. Each plank has a triangle-pointed top.
- Hills... With two elevations of the same size and appearance.
- On the horizon. With a straight top edge.
The film must be removed immediately after installation. If this is not done, over time it will burst and take on an unaesthetic appearance. It is worth remembering that the protective coating is designed to protect the polymer layer from damage during storage and transportation. It does not provide operational advantages and must be removed.
Installation of supports
A fence made of a euroshtaketnik can be made on a strip foundation, but ordinary pillars are much more often used. The procedure for installing the supports will be as follows.
- Prepared profiled square tube 50 × 50, 60 × 60 or 70 × 70 mm with wall thickness from 3 mm.
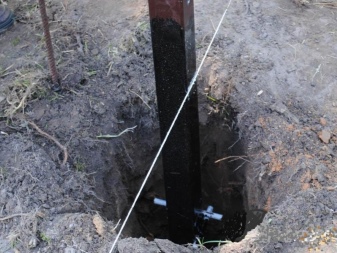
- A hole is being drilled with a depth of 1-1.5 m. The bottom is covered with a layer of sand and gravel of 15-20 cm, the support is installed strictly at 90 degrees relative to the level. Finely crushed rubble is poured on top, the soil is compacted.
- Concreting necessary for increased looseness, flowability of the soil. In this case, a pillar is installed on top of a cushion of gravel and sand. The pit is filled with concrete; it is also better to pour it inside the support. Spacers and plastic plugs are installed on top of the post.

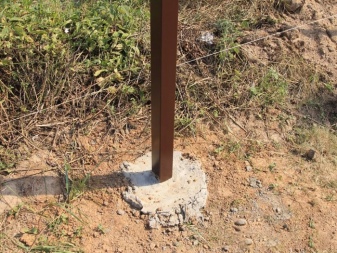
For the release of air bubbles, it is imperative to pierce the concrete solution with an iron rod. The average period for the formation of a monolith is 20 days. During the first days, fresh concrete must be moistened.
Assembling the frame
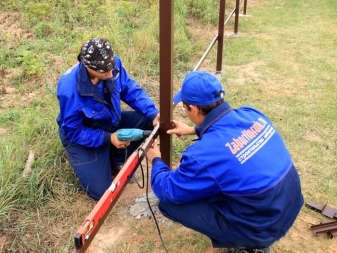
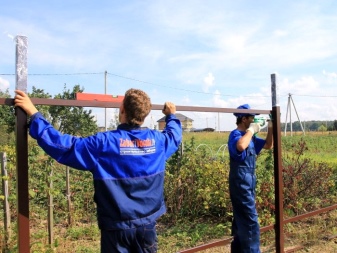
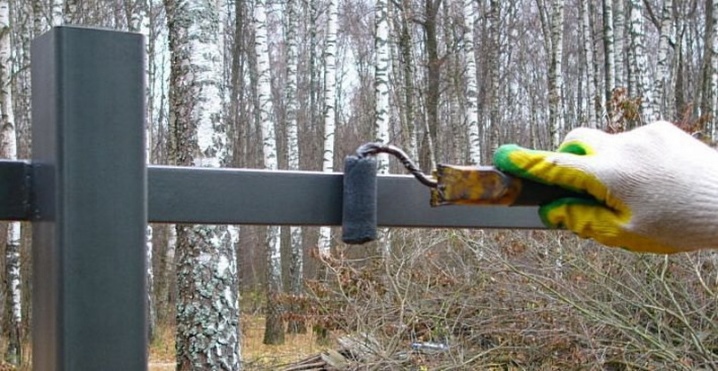
The frame part is assembled on poles by welding or with self-tapping screws. First, the upper lag is fixed, 45 cm below the edge of the post. Then the lower one, if the height is large, it is worth fixing 3 horizontal supports. The lathing is assembled along the entire length of the fence. Then it is covered with a primer, painted in the color of the entire fence.
Installation of rails
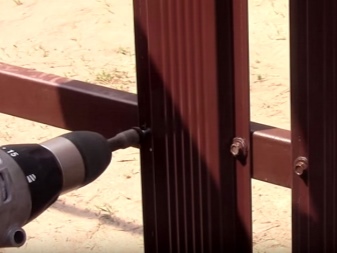
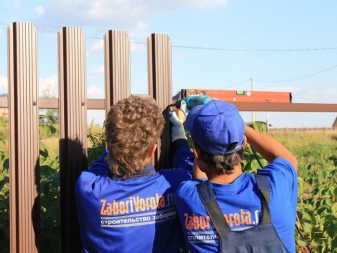
The laths are fastened to the joists with roofing screws with a special rubber washer. They are placed in pairs, above and below the plank. The step is maintained in the range of 35-50 mm, usually equal to the width of the lath or half of it. For a blind fence, the strips are attached on both sides of the log, with an offset of 1/2 of the width, in a checkerboard pattern they are shifted by 1/4. If necessary, the vertical elements are cut in height, the edge is treated with a primer and paint from an aerosol can.
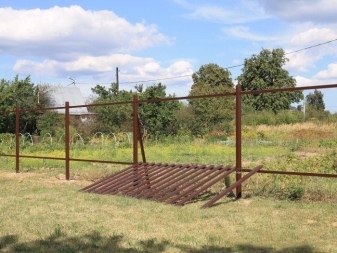
Upon completion of the work, a wicket is mounted, locks are cut in. Usually, a wider profile or planks with an original decor, shape, edge cut are used here.You can assemble the wicket separately, and then hang it on the hinges.
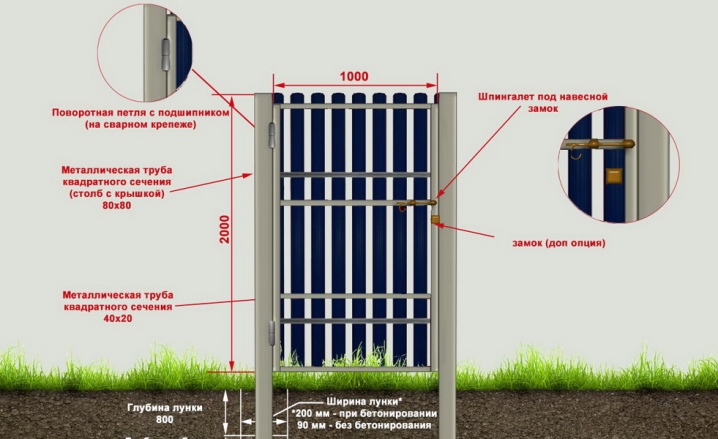
Recommendations
There are certain rules that experienced craftsmen do not recommend breaking. So, when installing the pillars, you should first set the extreme supports for each row, then pull the cords between them, and only then, according to the marks, install the remaining elements. The optimal height for the log from the ground is 35-60 cm. The same step is used to measure the distance between the elements.
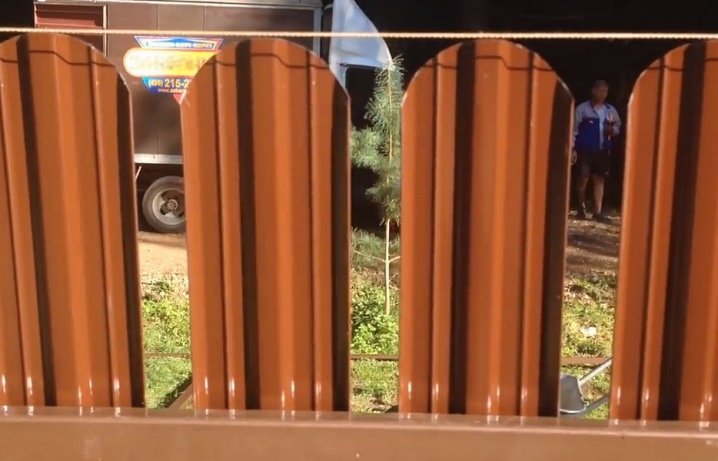
You can paint the wooden picket fence after installation, along with the lags. For metal, this order is not suitable. Here you will have to do everything in a different sequence: first, treat the logs with an anti-corrosion compound, let them dry, and then hang the finished slats.
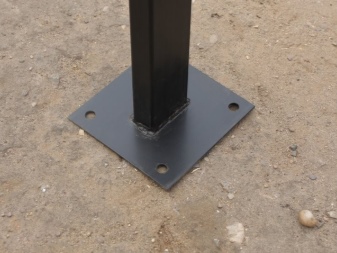
To increase the stability of the pillars, the lower part is welded to a square-shaped metal platform. This will make the support easier to position. To protect against corrosion, the pillars in the area of their burial are covered with bitumen mastic.
For information on how to make a fence out of a Euroshtaketnik with your own hands, see the next video.


The comment was sent successfully.